In embroidery, playing with needles and floss not only makes us creative artists but we also learned mastery of maths in this broad field. This is not like applying formulas and solving equations of traditional maths.
Inhaltsverzeichnis
UmschaltenIn embroidery, we also learn about taking precise measurements of thread, fabric, placement area, stitch count, and length, and the art of creating shapes and designs. In this article, you will learn about the unique concept of Math in embroidery, tricks to use it, and how it adds spices to your embroidered adventure. Feeling excited? Let’s start learning together.
Stickerei-Digitalisierungsdienste
Wenn Sie nach Dienstleistungen für die Digitalisierung von Stickereien suchen, ist EMDigitizer eines der besten Unternehmen für die Digitalisierung von Stickereien. Bereitstellung aller Arten von Digitalisierung von Stickereien Dienstleistungen. Ich empfehle Ihnen, die Digitalisierung von Dienstleistungen auszuprobieren.
Jetzt bestellenHolen Sie sich ein kostenloses AngebotConcept of Math of Embroidery
If you want your embroidered projects to turn out as intended, you must be careful of some factors. It includes a choice of embroidery supplies in terms of both quality and quantity. Poor quality supplies destroy the visual impact of design along with its durability and wrong quantity also does the same. Some questions remind you of the concept of Math of embroidery.
What should be the thread length needle, and hoop size for different types of embroidery projects?
What happens to the design if you place it in the wrong dimension?
Does scaling your design without knowing ratios affect the quality?
How can you calculate stitches applied in one area to ensure the desired shape?
Behind all these questions, there is an art of Math which is the backbone of design and important to learn for being a successful embroiderer. It allows you to create truly flawless pieces of art where everything is arranged in the right proportion that raises the look of your art. Although we are using Math in creating our projects in many ways but are unaware of its concept. Let’s check out how we make use of the Math of embroidery in our artistic creations.
The Math of embroidery and measurement of basic embroidery supplies
Fabric measurement
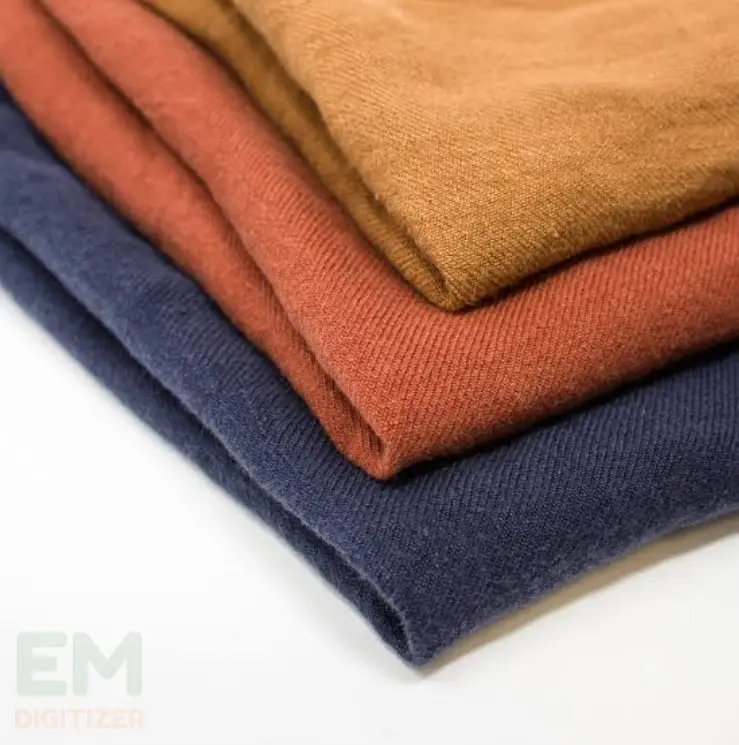
From the variety of fabrics, make sure to choose one that works best for embroidered art. Other than the quality of fabric, thickness and weight also matter. Its thickness is usually measured in inches, gsm and ounces per yard in the US then assigned a tag of heavyweight, low weight, medium weight, etc.
You can also use online fabric measurement conversion tools in GSM to kg or ounces etc. These measurements give us indications of how much the fabric wrinkles and responds to wear and tear which helps to choose the fabric carefully.
Thread weight
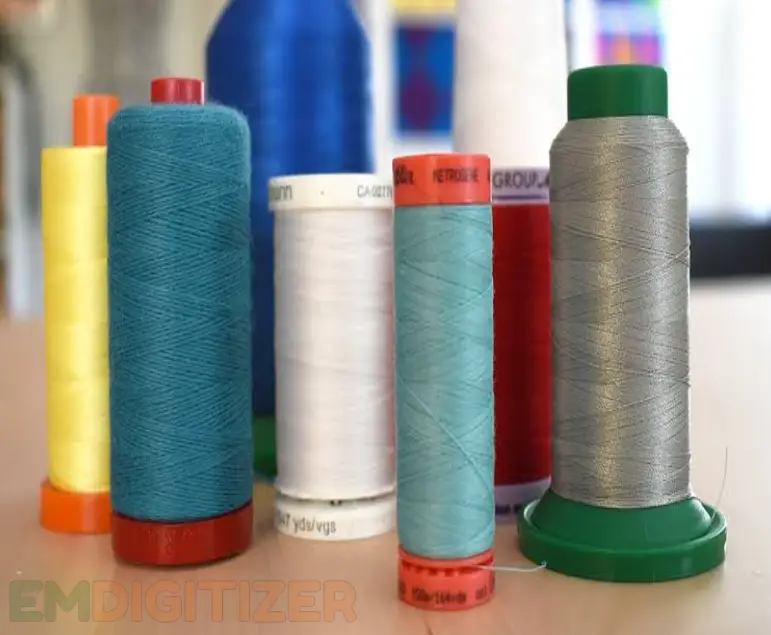
In the case of measuring thread weight, it is given in numbers such as 30,40,50, or 60. Here the smaller digit, let’s say thread weight 30 has more thickness than 40 or 60. For example, the common thread weight we use is 40 to 60 which can vary from project to project.
Thread length
Just like fabric, it also measures in inches. The choice of thread length also relates to fabric, stitch, and thread type. For embroidered use, we typically use strands of floss. Estimate the length of the stitch then select which quantity of thread helps create stitches for covering one design part.
Needle size
From hand to machine embroidery, needles differ in shape and size. Embroidery needles usually have wider eyes with a less pointer tip. They have chrome and steel pleated coating as well. In the case of needle size, we refer to its width according to the thickness of both fabric and floss. The average size taken is 75/11 which works well for medium weight fabrics or 90/14 for denser fabrics. This maths trick is to make sure you go with the right needle type to retain the durability of designs.
Also, read on the blog about selecting needles for machine embroidery im Detail.
Reifengröße
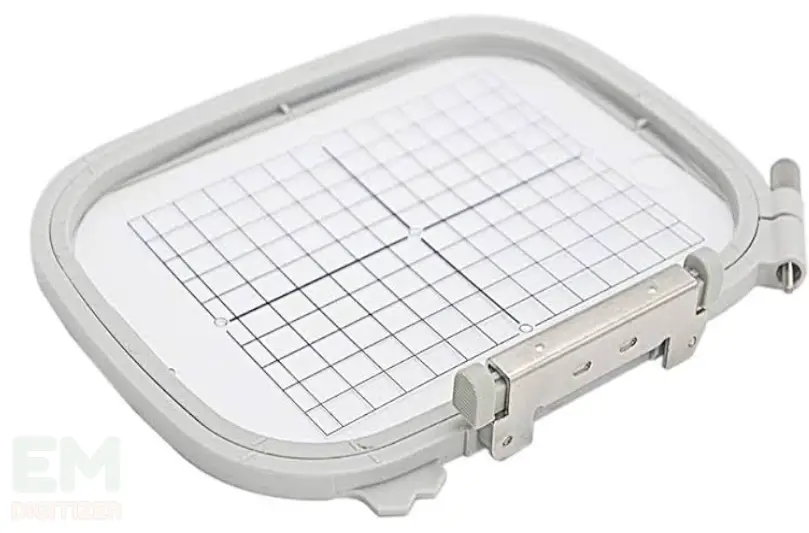
It is usually taken in millimeters and inches. Here, going with the right size as per your design size is a trick of maths that helps in wise selection because hoops help gripping material to prevent its movement. Check your design dimension and get your hoop that covers the design area. If your design measures 95mm x 95mm, choose the “4×4” hoop that exactly fits that design. Choosing a hoop with a diameter of about 2 inches larger than the design width is the best trick for creating smooth designs.
Use of mathematical rules in calculating stitch count and length
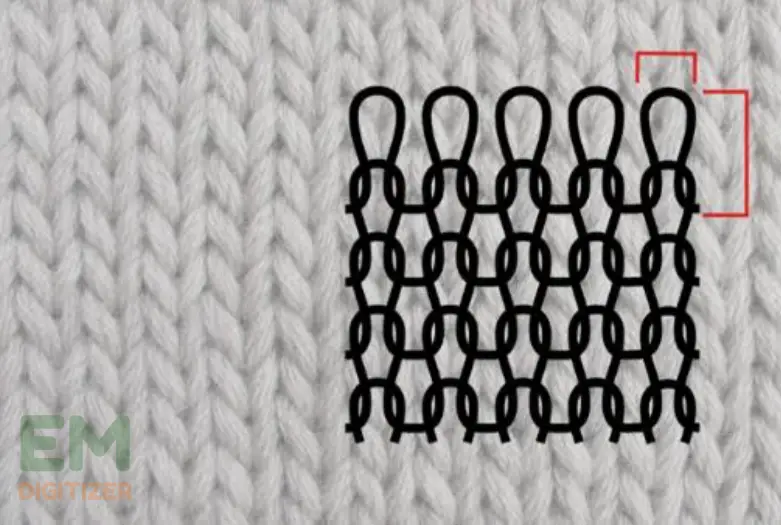
The stitch count means the number of single stitches in one part that collectively make a design. Taking care of stitch quantity is crucial to make sure every design turns out well. Neither does it look messy nor with skipped stitches.
In manual counting, we can count it as length/width x 2.
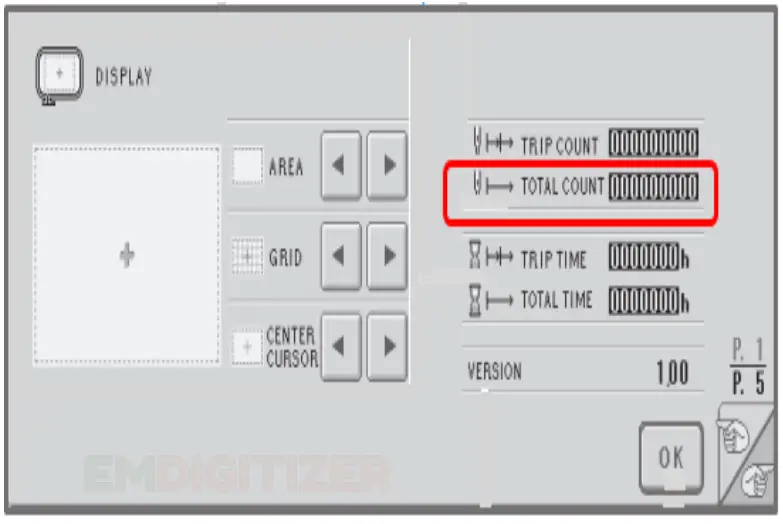
It helps keep a record of created stitches and how much is needed in the next turn. You can also use online tools to count that amount. Then go for precise cutting of thread accordingly to cover that design area. In the advanced embroidery, stitch count calculators available online give you exact measurements.
Stitch length
Also referred to as stitch density it is the spacing between stitches created horizontally or vertically in one design. It also depends on the thickness of the fabric and thread. It helps maintain the cleanliness of your design and avoid wastage of thread for unnecessary stitches.
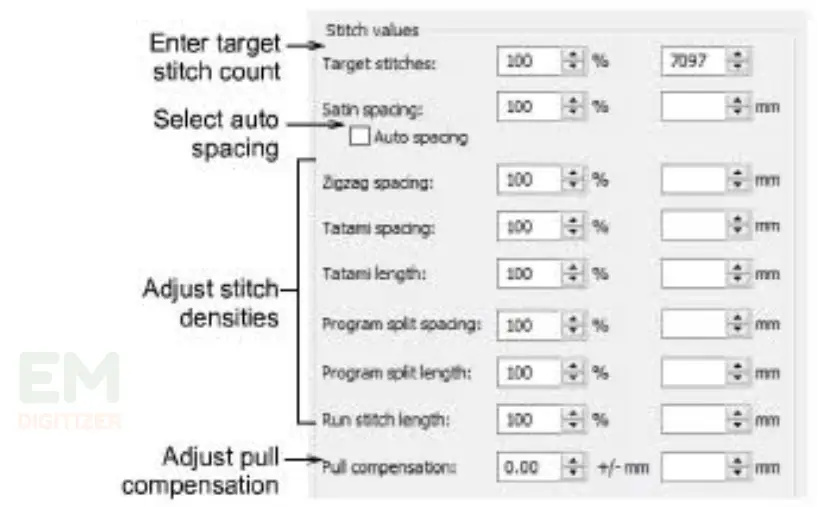
As per maths rules, first measure the area of fabric and quantity of stitches, in this way you can calculate the estimated stitch density for that area. In the case of machine embroidery, some software like Wilcom allows you to adjust and change the densities.
Trick of Math for Design Placement
From choosing the right design to placing it over the intended area, there is a trick of Math you must learn. If you are transferring your design directly, make sure to create a grid or outline with a removable marker over the material in the design shape. It allows you to place the design at the right place which looks better from far away.
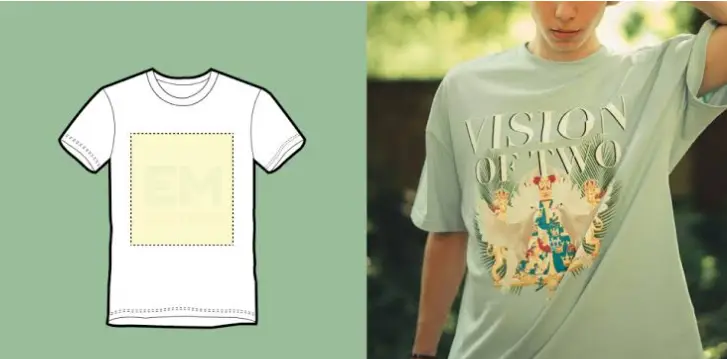
For embroidery patterns and printing logos, take care of proper placement with this maths trick. If you want chest centred printed design, the design must be 6 to 10 inches wide and placed 2 inches below the collar for better appeal.
If you want more details about the Anleitung zum Platzieren von Stickereien, besuchen Sie unseren Blog.
Be creative with lines, patterns, and shapes
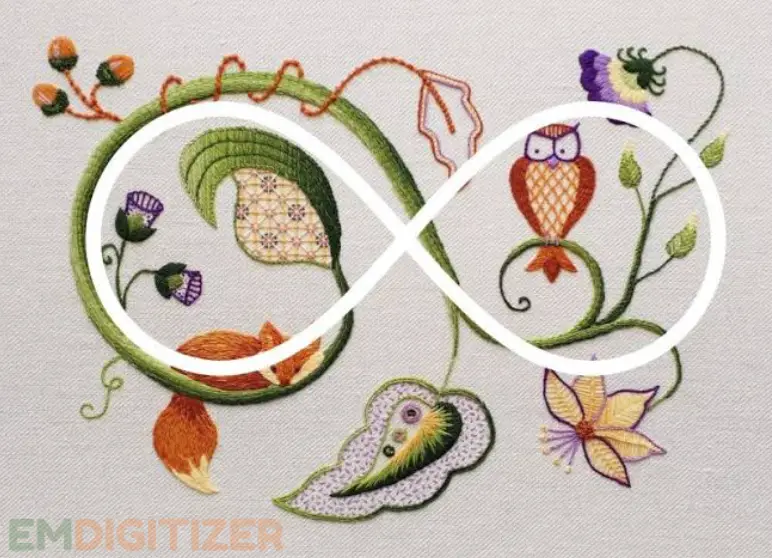
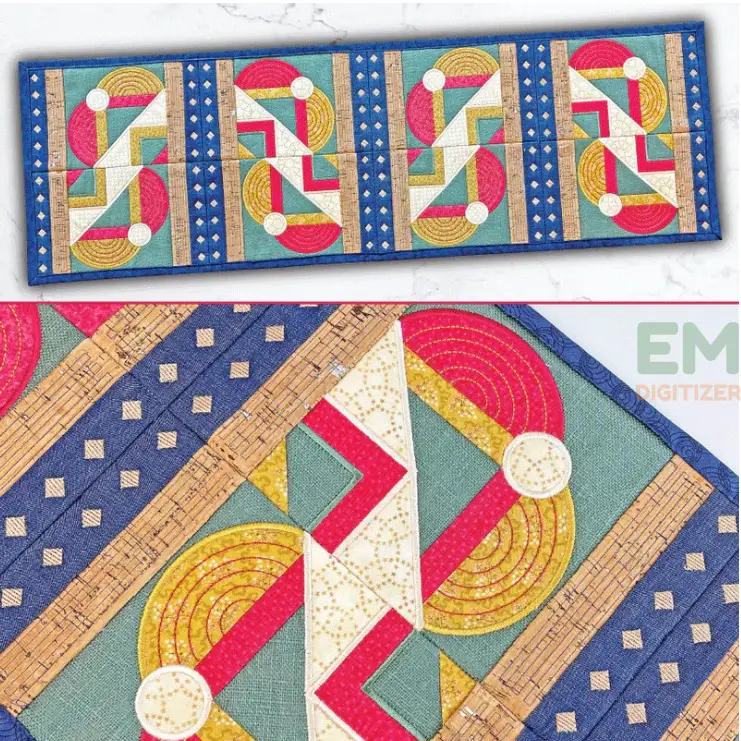
Playing with multiple stitches makes your design attractive but it is only possible with knowing the trick of creating patterns and mathematical shapes. You can try creating a silhouette, or a design in square, cube, or polygon pattern and in any shape for decoration purposes. But be mindful of symmetry. Adding these lines and shapes mostly works for creating home decor accessories and quilting to enhance the look of your room. Either you can create it with one stitch type or use multiple stitches in one design. Make sure to not repeat any pattern and check whether your needle is moving in the right design path.
Resizing trick for embroidery design
Has this ever happened to you that you chose your favorite design to place at the center chest but worried about its size and quality?
Your concern is right because scaling of design affects the quality. But fear not. There are some rules still present to help out of this trouble. First, you can skip the unnecessary parts of the design and resize it up and down with slight measurements. This is how learning the magic of Math helps embroider your desired themes that are of premium quality and catchy appeal.
Abschluss
The Math of embroidery is about using tricks of precise measurement, counts, and proportions so that every design turns out as intended. Either hand or machine embroidery, precision matters that are confirmed by applying some rules as given below. Hopefully, you find this blog helpful during your creative embroidery endeavors.
- Provide a guide for exact fabric and thread thickness measurement
- It helps create geometric lines and shapes in symmetrical order to keep the clarity of the design
- It helps calculate stitch count and a setting guide for estimated density for the chosen design
- We can now change the design after learning some rules without compromising quality.
Stitch count represents the number of stitches used in one part of the design while density is for counting the gap between these stitches. It makes sure to create the exact stitches needed to create that pattern to avoid a messy look.
Learning the Math of embroidery helps us to allot sufficient fabric area for design by calculating estimated measures of placement. First, read out the design size and dimensions, then create a layout in which you can put your design. It should be not too small or too large according to the area.
Wenn Sie Fragen haben, hinterlassen Sie die Kommentare oder besuchen Sie unsere soziale Kanäle für weitere Updates regelmäßig. Wir bieten an Digitalisierungsdienste für Stickereien Wenn Sie Digitalisierungsdienste benötigen, können Sie uns gerne kontaktieren kontaktiere uns oder Schreiben Sie uns eine E-Mail.

