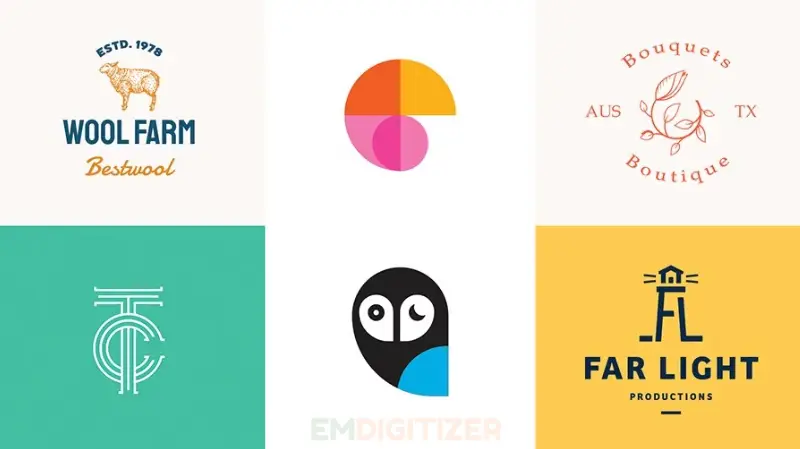
We are all aware of the importance of logo designing especially as it gives our brand a unique identity and differentiates it from the rest of brands with the same services. You can develop a professional brand logo in Illustrator without spending pennies on hiring graphic designers.
Содержание
ПереключатьIn this blog, we will discover some easy steps for designing icon-shaped or text-bearing logos from scratch in Adobe Illustrator. Don’t forget to read the coloring steps for producing distinct logos.
Введение
Constructing an easy-to-detailed logo is now possible with the Adobe Illustrator tool. You can turn any type of vector graphics using its tools into a logo with text features. Within a few steps, you can design a professional quality meaningful logo for your business. Another exciting feature is that it also provides a mobile application app access for editing graphics.
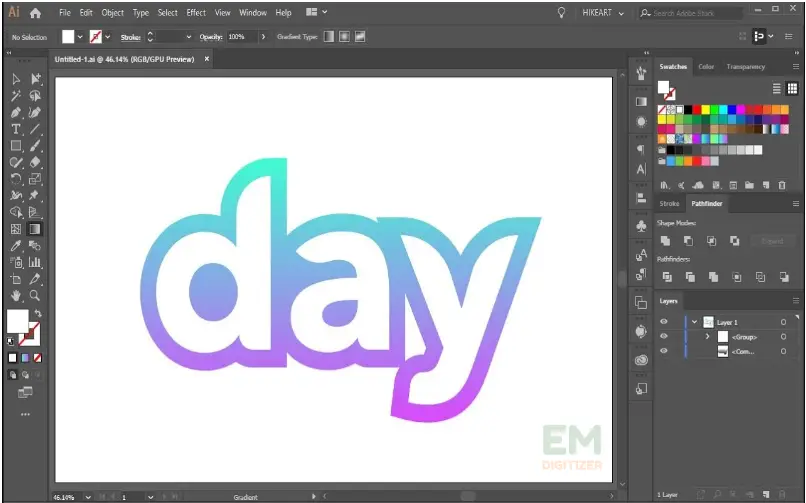
For text-based logos, you can play with multiple fonts and typography to add enchanting effects to the logo. Its integrated Type and Shape tools help create logos of your interest and are easy to use.
Once done with designing a logo, you can save your artwork in suitable formats such as EPS, AI, SVG, or PDF depending on the software you have for processing the logo further. It ensures keeping quality in design even after scaling. That’s why it is a must-have tool for most designers both entry-level and skilled designers.
Create a logo in Illustrator
There are a variety of useful tools in Illustrator for enhancing your creative abilities in logo artwork. Start with a canvas, bring novel and unique ideas, and let the illustrator tools do the magic. You may generate a logo for your own company or offer your services to others. In both cases, make sure to consider the main points:
- The type and background of your brand. You can keep in mind the services, vision, or targeted people to whom your brand serves.
- Brainstorm ideas that correlate with the brand and choose what type of logo you want to design, either icon or text.
- For making text-based logos, search for keywords online that fit best with your brand or think of creative words yourself.
- Draw the rough sketches and ask your nearby people for suggestions to improve the design. Add all your favorite designs into your draft to give them a try to see which looks better.
- You can make it more unique by adding texture, using multi-color and typography that your clients will remember because an attractive logo also attracts large customers.
Steps to design a text-based logo
The use of wording in the logo makes it more memorable for your clients as it reflects the exact meaning and purpose of a brand. For this purpose, follow the steps below.
Step 01- Access a new file in Illustrator
- First, open the tool, scroll the list from the window, and choose “Create new”.
- Enter the name of the file and tap OK. Make sure to enable the artboard rulers from the top left corner of the window.
- From the view option, check all the ruler’s options. It provides you access to the guides for the alignment of the text.
- After you’ve modified the canvas and chosen the dimensions for your logo, go ahead and configure the parameters.
Step 02- Go to the text tool and select the desired fonts
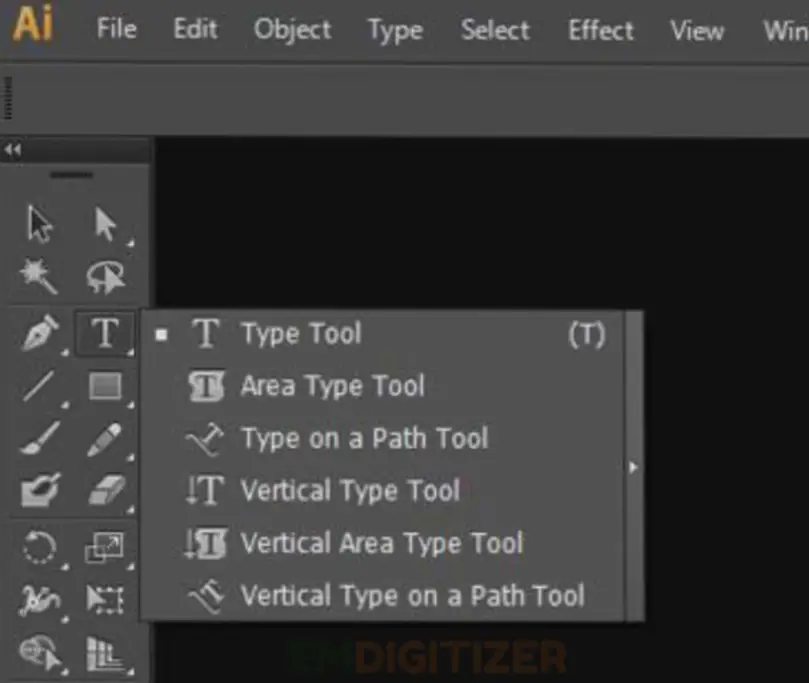
- Simply type “T” in the left-hand toolbar to open the type tool. It allows you to select the desired font style, create both vertical or horizontal lines, and edit the text alignment for a clear look.
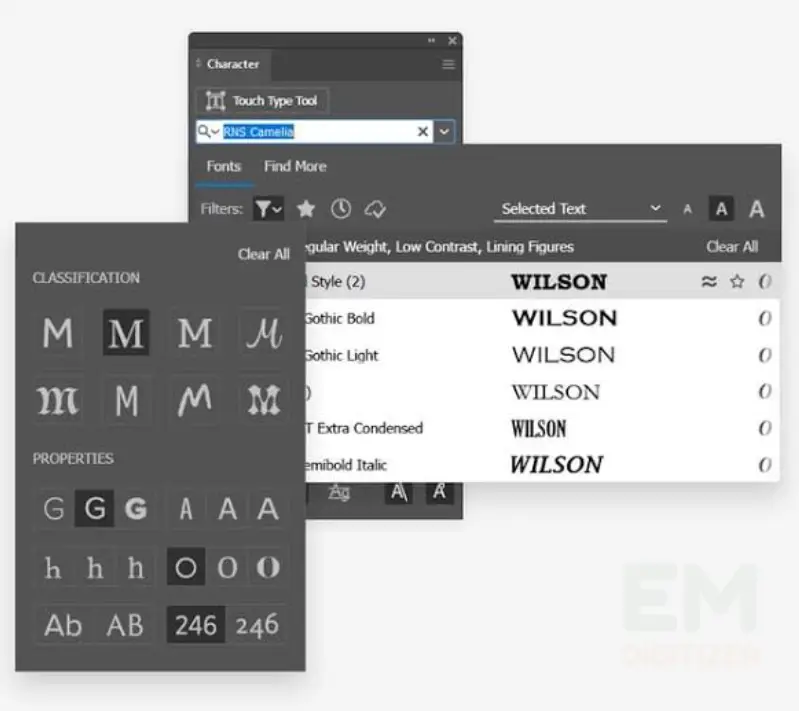
- On top of the screen, choose the new font or click Show More to access Adobe Fonts.
- Now, choose the font format in any style (bold or italic) depending on the desired look.
- It also allows you to draw a boundary around the letters.
Step 03- Enter the text
- Hold the cursor to enter your creative words on the blank file. Either you can enter a small text or enter small boxes to add a colorful texture to logo art.
Step 04- Fine-tune the text setting
- For bold-looking text, double-click on it and pick out the “Character” option from the window display.
- Here you can set the text setting as text lines, spacing between letters, and desired font size.
Step 05- Vectorize the text
- To make your text editable, set it to the vector format. This can be done by turning words into outlines. In this way, your text can be converted into a shape with visible anchoring points. It helps edit your text just like you edit your pictures.
Steps to Design icon based-logo
It is a common type of brand logo as it gives a visually striking appeal because of its use of a variety of shapes. Here are some steps to follow for adding shapes to your logo.
Step 01- Start by creating a shape
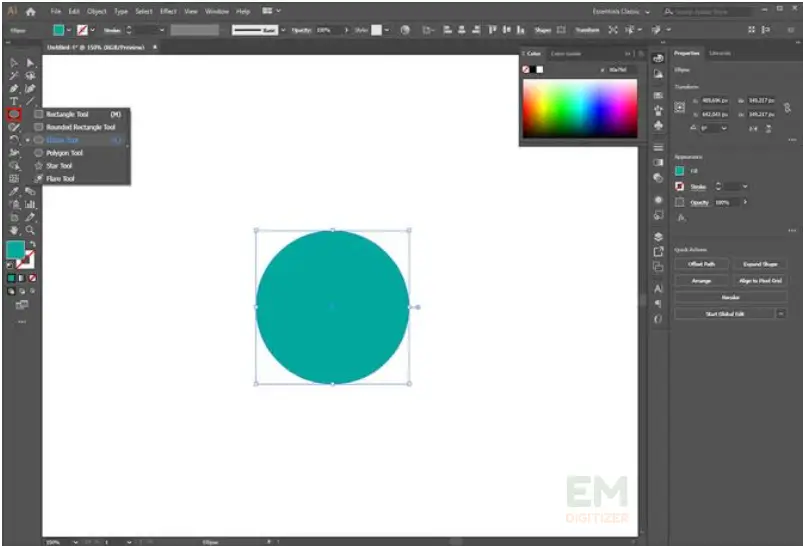
- Go to the rectangle tool from the tool panel, hold it long, and click to view the built-in shapes with the short keys.
- You can create a square with this rectangle tool by pressing the shift key. You can also add multiple shapes in the same way by dragging the shape tool.
Step 02- Adjust the shape setting
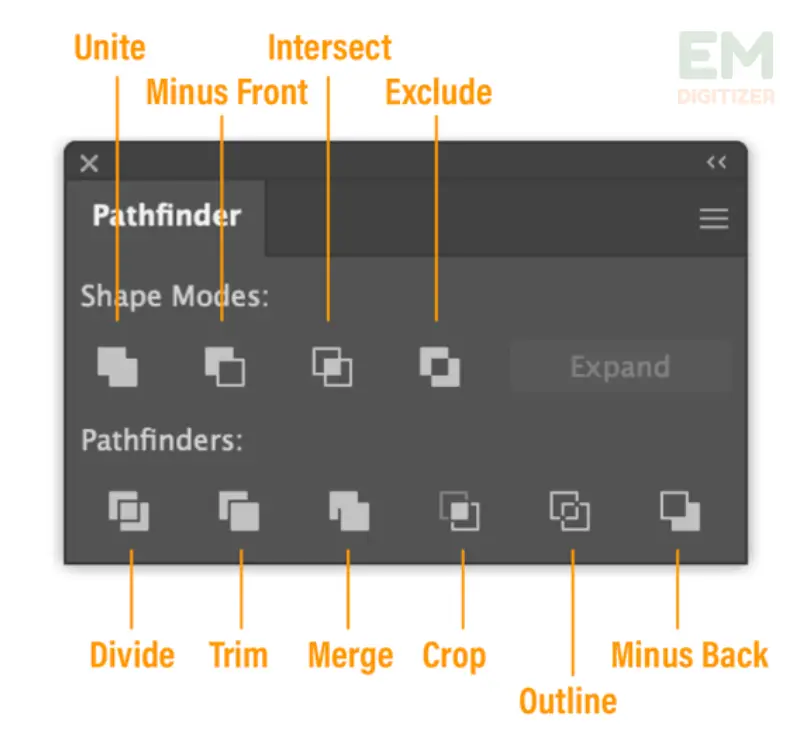
- To make necessary changes to the shape, choose the Pathfinder tool. It did the same job as the selection tool to modify the design part but for shapes.
- You can add, merge, cut, or delete shape elements with this tool, especially for complex ones.
- Now move forward to do further adjustments of lines and curves used in a shape.
Finalize the logo by adding Color and shades
Color selection and application are crucial aspects of building a brand logo that increases the charm of your artwork. There are some methods to help in adding colors to the artwork.
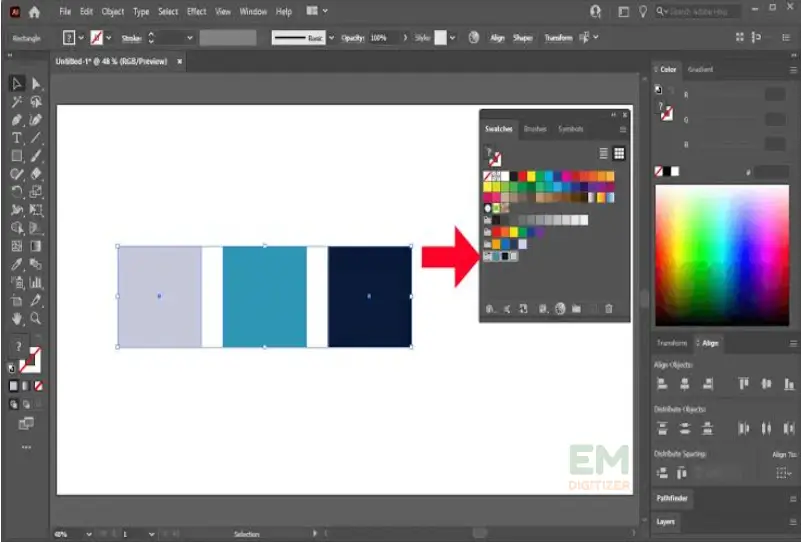
Method 01: You can choose any color from the swatch library or add your own brand-inspired to fit the brand look.
Method 02: From the color panel, you can try colorful illustrations by using color models such as CMYK or RGB.
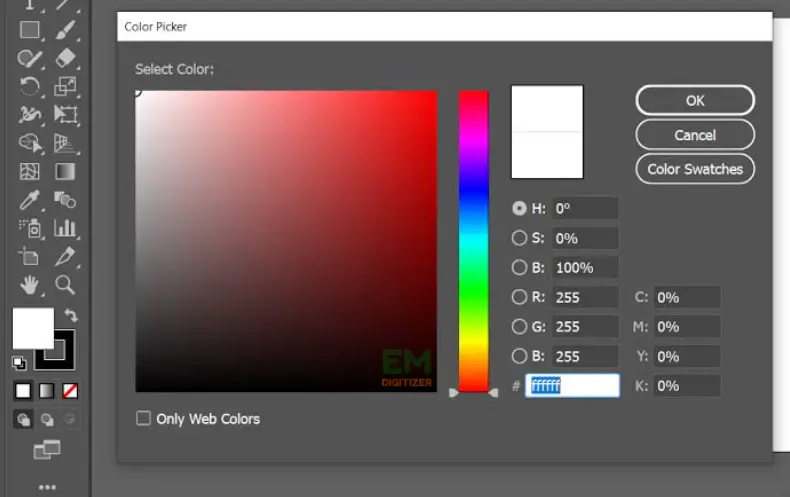
Method 03: The Color Picker tool lets you locate your preferred color from swatch or spectrum. You also match a color with a code.
General steps to follow:
- Go to the properties panel from the window.
- From the appearance section, tap on the fill option. It will open up the color swatches. Choose the preferred color that will fill up your selected shape.
- If you want to adjust the color, go to the color panel, tap fill swatch, and a new window of color picker gets opened.
- To adjust the tone, move the hue slider and enable a selection circle around the color of your choice. For applying uniform colors in the whole logo, copy the color code, open the picker tool, and enter the exact code for the best matching shade. Tap OK and this color will be applied to the whole logo.
Save the file and that’s all
Once you have finalized your artwork, go to the file from the top menu and tap “Save As”. Scroll down the menu and choose vector file formats such as SVG or EPS for saving the logo artwork.
Заключение
We hope you will get insight into which type of logos helps reveal the strong identity of your brand. Learn the use of tools to boost your creativity in designing a logo and pay heed to the outlined steps for adding text, outline, and shades. This editor will help you along your way to become a proficient logo maker.
From the color panel, you can get into the color models such as CMYK or RGB. They help in creating 3D vivid illustrations by mixing matching colors and shades.
Navigate to the selection tool, pick the text, and then hover over it and choose “Create Outlines”. By doing so, your text turns into a shape with anchoring points.
You can add, merge, crop, or delete shape components. It also helps to draw complicated curves. So, you easily find the path to modify it accordingly.
Если у вас есть вопросы, оставляйте комментарии или посетите наш социальные каналы для получения дополнительных обновлений регулярно. Мы предоставляем услуги по оцифровке вышивки если вам нужны услуги оцифровки, смело обращайтесь связаться с нами или Свяжитесь с нами по электронной почте.

