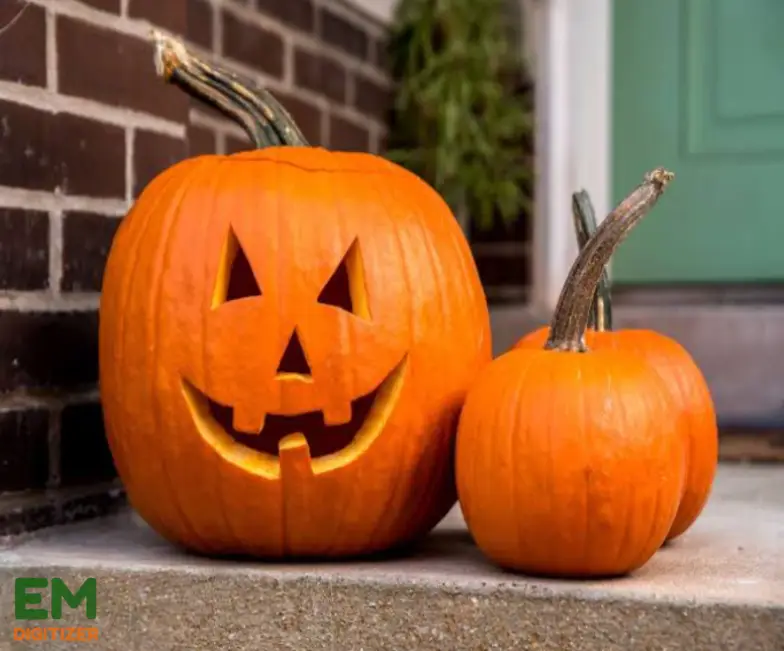
Pumpkin carvings are a traditional fall ritual that evolved to symbolize Halloween. It involves turning a regular pumpkin into a wacky piece of art.
Table of Contents
ToggleIt is usually decorated with creepy faces, ornate themes, or artistic designs. People can embrace a sense of Halloween and share their ideas with this exciting tradition.
If you’re in search of guidelines on how to carve a pumpkin, you’ll find our blog to be quite simple to get started with.
Embroidery Digitizing Services
If you are looking for embroidery digitizing services, EMDigitizer is one of the best embroidery digitizing companies. Providing all types of embroidery digitizing Services. I recommend you try digitizing services.
Order NowGet Free QuoteA guide on How to carve a pumpkin:
So let’s get specific and discuss how to carve a pumpkin by separating the procedure into eight easy parts.
Materials required:
To properly cut a pumpkin, you’ll need some of the essential tools. The procedure will go more smoothly if you have these supplies available:
- Pumpkin
- Marker or Pen
- Pumpkin Carving Kit (Includes blunt knife, scooper, and other cutting tools.)
- Newspaper or Trash Bag
- LED or tea light
- Bowl for seeds
- Template
Step 1: Select The Ideal Pumpkin
Making the correct pumpkin choice is the initial stage in slicing a pumpkin. For maximum solidity when carving, choose a pumpkin having an even surface.
Make sure it’s solid, bruise-free, and vibrantly orange in color. After you’ve found a good pumpkin, let’s get to the fun element.
Step 2: Set Up Work Area
Use a damp towel or a washable cloth to protect the work area. This phase allows for easier cleaning because cutting pumpkins leaves a messy area.
Step 3: Select A Design
The exciting part is about to begin! Choose a pattern for the pumpkin. with the marker, draw the design. Whether it’s a traditional jack-o’-lantern look or a complex pattern—on the pumpkin’s top.
Step 4: Carving In stages
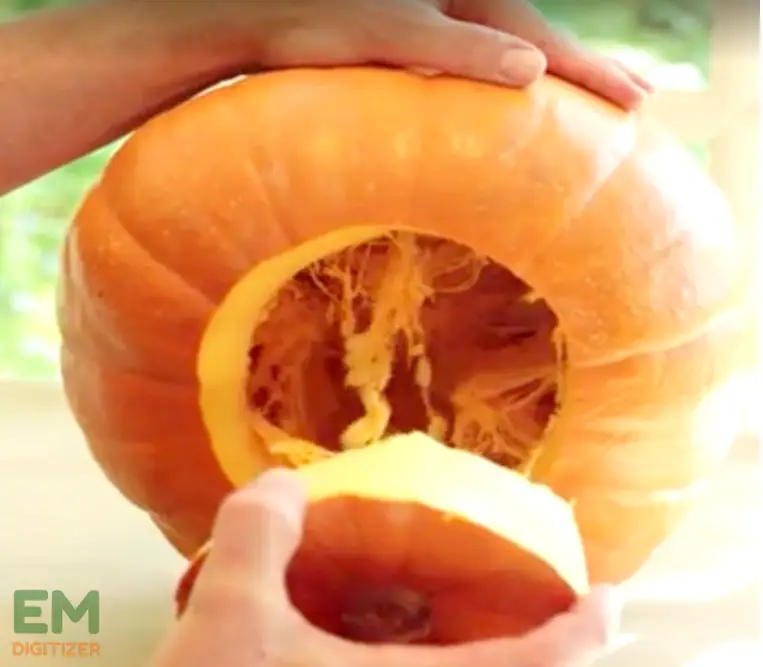
To begin, cut an angle of 45° in the opening near the pumpkin stem. The lid won’t fall into the pumpkin’s cavity because of this tilting position.
It acts as the hole through which the grains and pulp will be taken away. Cut slowly around the indicated circle with a sharp knife.
Expert advice: Expert advice: To make an opening to allow the pumpkin head to lie on, carve inside at an acute angle.
- Scrape From Inside
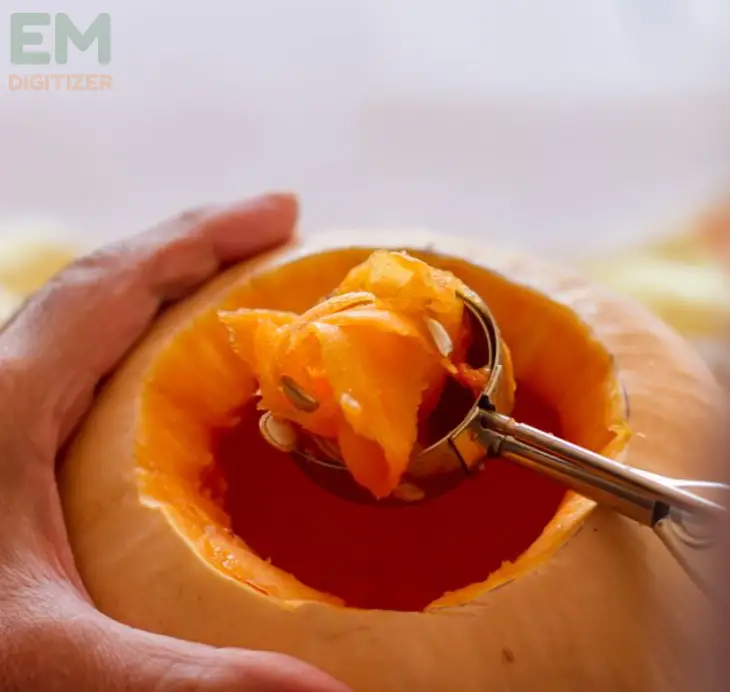
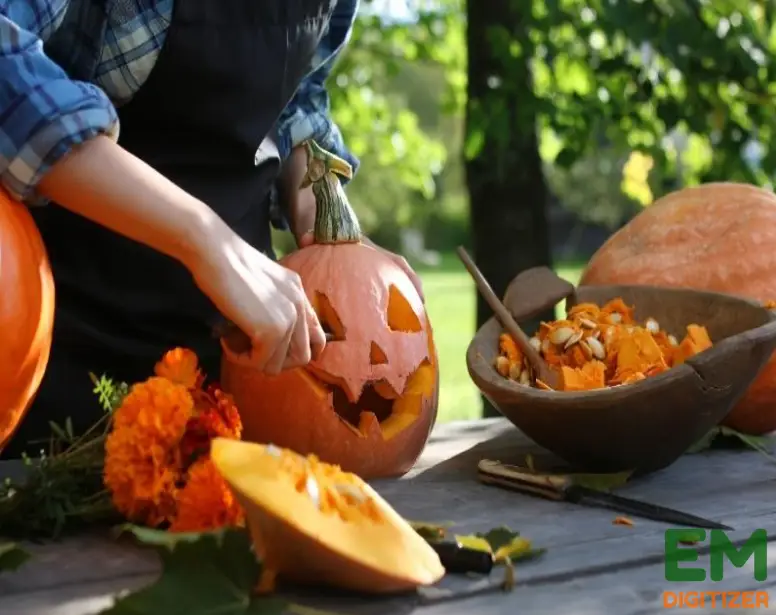
Take up a wide scoop and begin removing the mush and grains out of the pumpkin. This is the final step that guarantees a tidy surface and a longer-lasting pumpkin. If you want a delicious treat, keep seeds for toasting!
- Developing The Layout
Put the created pattern on the pumpkin’s exterior. For higher-level themes, you may draw them by hand or use a stencil to help you.
- Cut It Out
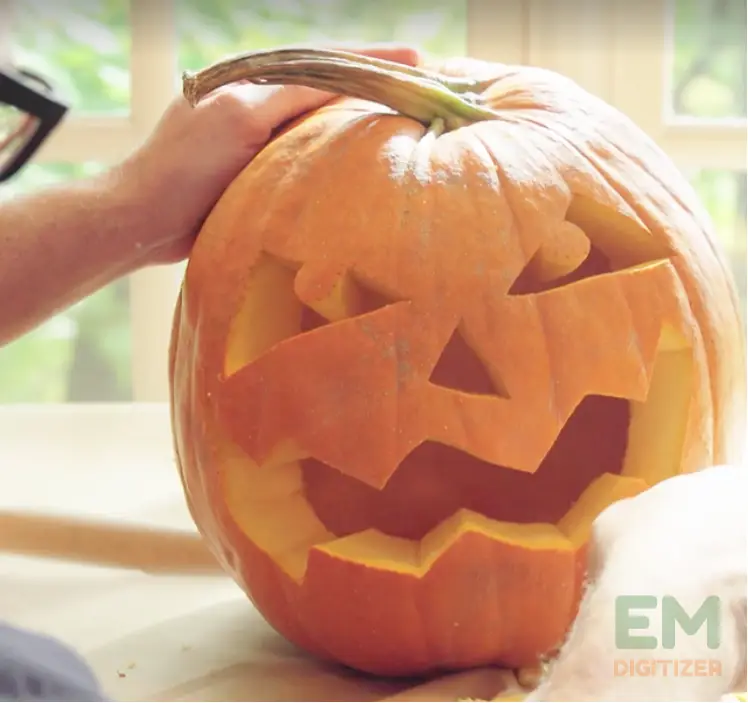
Keeping an even grip, cut along the outline of the pattern into the pumpkin’s skin using a sharp knife. Safety comes first, so go slowly and avoid rushing through the steps!
Step 5: Straighten Up The Corners
After cutting, return to smooth out any ragged edges or missing bits. It gives the pumpkin an elegant and clean look.
Step 6: Light Up Your Pumpkin
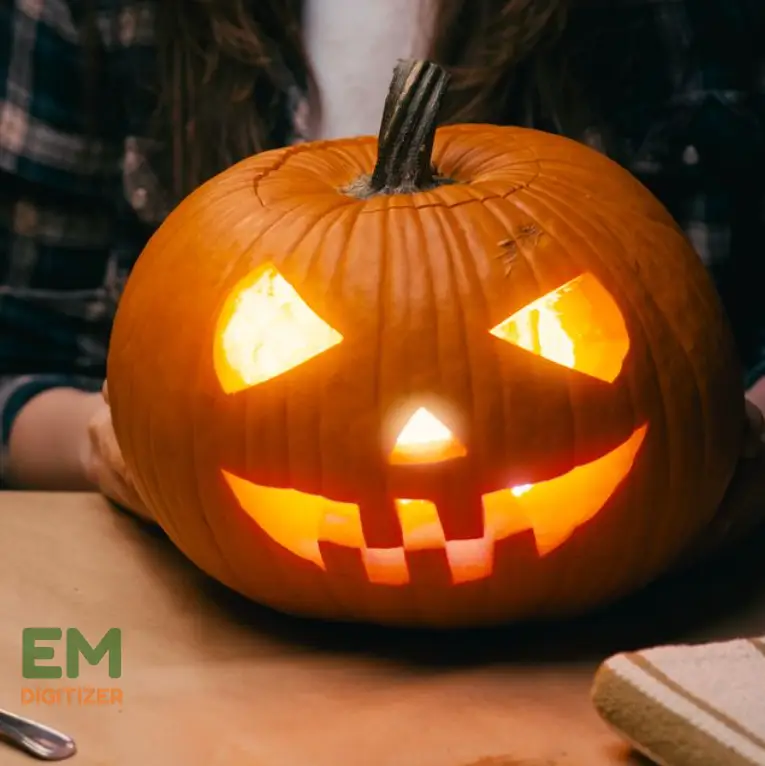
To have the pumpkin come alive, insert tiny, flameless lighting or LED illumination into it. Appreciate your piece of art while it illuminates darkness and creates spooky gloom.
Step 7: Show Off Pumpkin
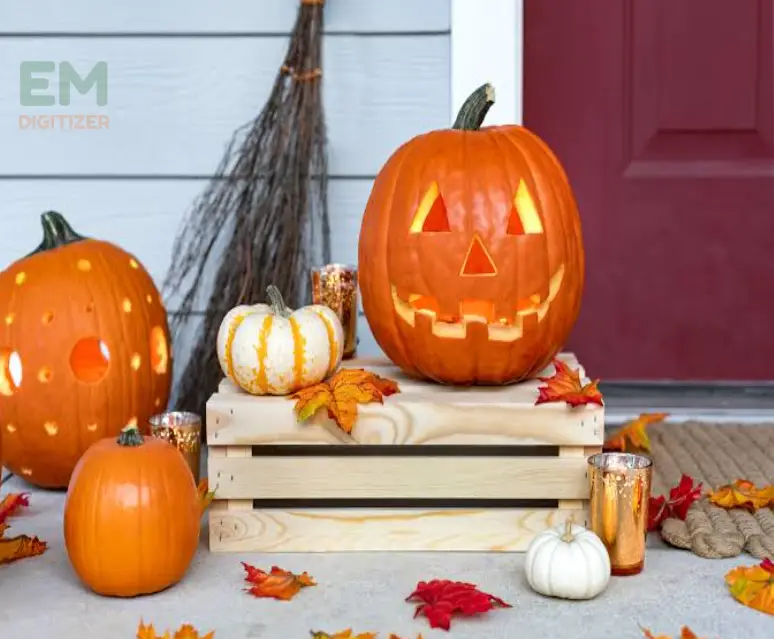
Finally, as you know how to carve a pumpkin, you should be proud to show off your creation. Select where you want to display this masterpiece. Show off the creative flair by putting it on the ledge, or windowsill or make it a decoration for a Halloween celebration!
Step 8: Keep The Pumpkin Safe
Try misting the carved sections of the art using a solution of water and citrus juice to prolong its use. It lessens the chance of early wilting.
Tips to avoid when carving pumpkin:
Want to learn how to carve a pumpkin, use the helpful tips given below. Just be ready for a truly joyous Halloween.
Selecting The Incorrect Pumpkin:
Don’t choose pumpkins that are imperfect or overly soft. For balance when carving, a solid pumpkin having a flat surface works best.
Not preparing the design:
With no clear layout plan in mind, do not begin carving. Choosing an outline at the last moment or making unequal carvings are the result of having no plan.
Making Use of Rough Tools:
Carving can be difficult and more likely to result in errors or mishaps if you use rough or improper tools. Purchase a carving set and check that the tools are sharpened enough for that task.
Slicing Too Fast:
Carving too quickly can result in disruptions and irregular cuts. Spend a moment to create a clean layout if working with detailed elements.
Improper Cleaning:
If the inner part of the pumpkin isn’t properly cleaned, it may lose its crispness and become more rotting. When carving, spend some time removing the mush and seed properly.
Overlooking Safety Procedures:
Safety is always the priority. Take care to handle blunt items. Prevent using the wrong tools for cutting. To avoid harm, keep fingers off their cutting path.
Selecting Designs That Are Too Difficult:
Stay away from extremely complex ideas that could be difficult to implement, even for novices. After developing skills, work your way up to further elaborate layouts starting with basic ones.
Cutting Too Soon:
Pumpkins that are carved too early may begin to rot and decompose too soon. To maximize the pumpkin’s freshness for more time, try carving nearer to when you will be displaying it.
Not Giving Enough Light:
If you don’t have enough light, the sculpted pumpkin will look less impressive. Select an appropriate LED lighting or battery-powered candles, to best display the artwork.
Neglecting Preservation Methods:
Take precautions for saving the carved pumpkin. Wrap it with a light coating of petroleum gel or keep this in a cool, dry spot. It will help to prolong its crispness and prevent water loss.
Conclusion
Congratulations, you’ve mastered how to carve a pumpkin. Embrace creativity and try out different layouts.
You get better at things with practice, so don’t give up if you fail to do it right the first time. Your trust and capacity will grow as you finish each carving.
Errors occur! Toothpicks or tiny hooks work well for reattaching sections that you mistakenly cut off. If there are small flaws in the layout, think of an inventive way to use them.
Use a petroleum-based jelly or an industrial pumpkin additive to seal the sculpted pumpkin’s border. It will prolong the shelf life. If it isn’t on display, store it somewhere safe and damp. For maximum vitality, try chillin’ it overnight.
Go for simple forms like traditional faces, outlines, or easy shapes. These are ideal because they are easy to sculpt for beginners.
The opening allows for easy removal of the flesh and seed. It also offers an interior light-placement option for lighting the crafted design.
If you have any questions leave the comments or you can visit our social channels for more updates regularly. We provide embroidery digitizing services if you need digitizing services feel free to contact us or email us.

