Have you ever considered drawing a bird’s elegance on a canvas?
Table of Contents
ToggleLook into multiple species, surroundings, and creative expressions. Highlight each bird’s individuality in your sketches.
The satisfaction of drawing a bird lies not only in the finished product but also in helping you realize your inner artist.
The process of sketching, regardless of your skill set, lets you uncover the infinite options. It establishes a connection with your creative side.
Are you ready to be surprised? We are going to reveal the mystery of the art of how to draw a bird. Motivate your viewers to grab pencils and discover their creativity.
Embroidery Digitizing Services
If you are looking for embroidery digitizing services, EMDigitizer is one of the best embroidery digitizing companies. Providing all types of embroidery digitizing Services. I recommend you try digitizing services.
Order NowGet Free QuoteOverview
A variety of factors motivate people to pursue the art of drawing birds. The first thing that makes birds visually appealing is their elegant diverse variety of forms, sizes, and coloration.
Anyone can look up how to draw a bird, regardless of age or skill level. This is due to how easily a bird can be sketched on paper.
Birds are symbolic of freedom, which is why people are drawn to them so quickly. They also share a strong bond with the natural world. It’s also the reason drawing birds on paper is an interesting activity.
Simply drawing a bird is a simple way to release stress. It makes it easy for artists to convey their admiration for the natural world.
The artists can improve their skills by having fun with coloring and textures and improving their grasp of basic shapes.
Let’s discuss how to draw a bird on canvas and go over its basic anatomy. Come along to carry on this soothing and entertaining process.
Want to review the best drawing tablets as a beginner, check the blog.
Material Required:
- Drawing paper
- Pencils (2H,6B)
- Eraser
- Sharp line pen
- Colored pencils or markers
- Sketching board
- Reference pictures
- Blending stump for gradient and shading(optional)
How To Draw A Bird- A Complete Guide
Let’s get started by reviewing each step in more detail:
Basic Anatomy:
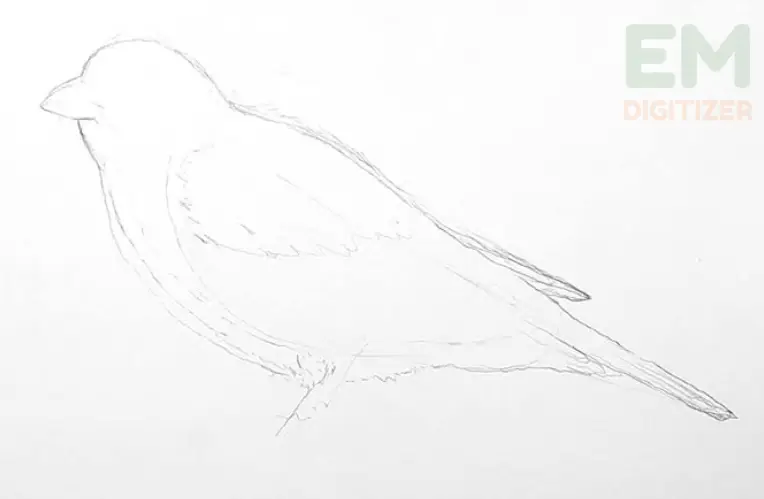
Study the desired bird’s structure before you start sketching it. Note the fundamental dimensions, forms, and unique features of it. Notice the tail, its wings, and the shape of the bird’s beak.
Outline The basic Shape:
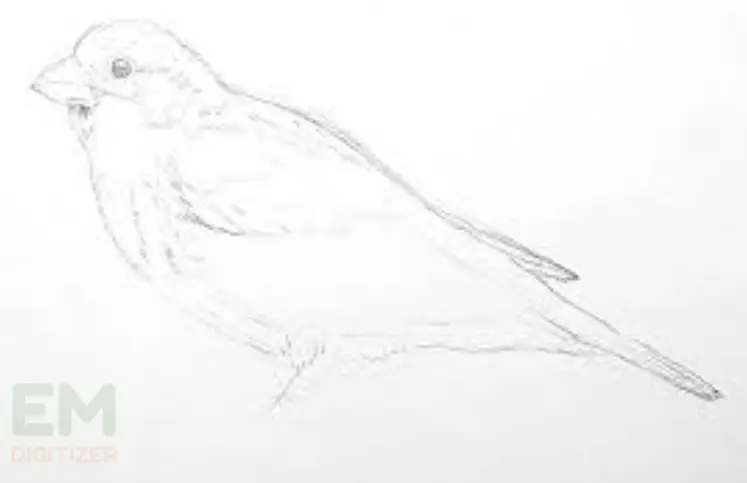
Stretch the circle to form the torso, which will define the overall shape. Draw a tail by adding a tapering triangle to the end of the oval.
Anyway, don’t hesitate to modify the sizes as it’s only a basic outline. For example, lengthen the oval and include a sharp tip.
Wings:
To make the wings, draw a pair of lines across the oval’s upper ends. Think about how the wings relate to the body in terms of length and structure.
Design uniform, proportioned wings for a simple bird. To depict the wings’ genuine form add a small curvature.
Head:
Create the tiny circle that will be the head of the bird over the main circle. Make sure the size fits the body appropriately.
Try capturing the spirit of the selected bird types by experimenting using various head sizes.
Size And Shape Of Beak:
For creating the beak, draw a line across the head. The size and form of the beak vary based on the species of bird.
For example, a heron’s beak is wider and more curved than a hummingbird’s. Be mindful of the point where the beak and head join.
Feet And Limbs:
Draw two lines that extend below into the oval’s base to create the legs. To depict their feet, add several brief, divided lines.
Take into account the leg thickness and length according to the type of bird. Waders have larger legs than perchers, who frequently have smaller ones.
Feathers On The Tail:
Stretch a narrow triangle to form a tail toward the back side of the oval. Enhance a tail’s normal textured look by adding unique feather patterns.
For instruction, inspect the bird of your choice as its tail feathers can differ in thickness and structure.
Face And Ocular Details:
Create a tiny circle for the eye inside the head. Think about the size and location in the context of the physiology of the bird. Add other features particular to the selected species, like crests or obvious patterns.
Add Other Features:
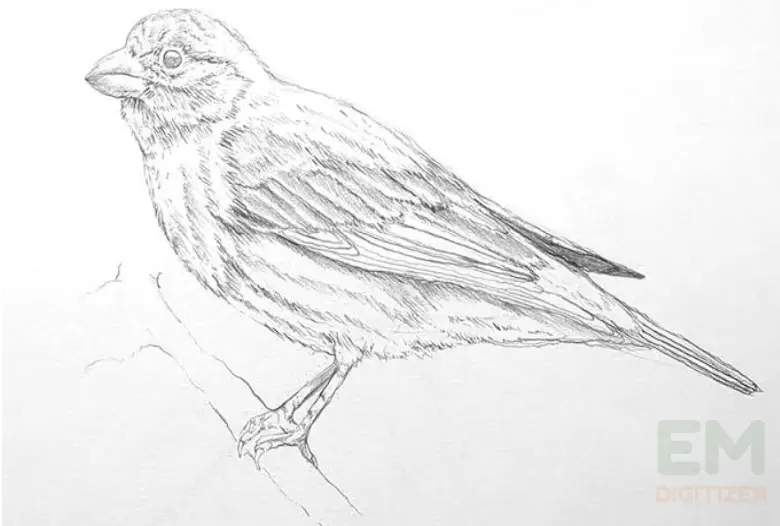
Add additional elements to the sketch, such as the beak’s nose, the feet’s form, and the tiny feathers that form the entire body.
The authenticity of the bird’s drawing is made better by these details. Review reference photos to fully grasp the complexity of the bird type you have selected.
Color And Texture:
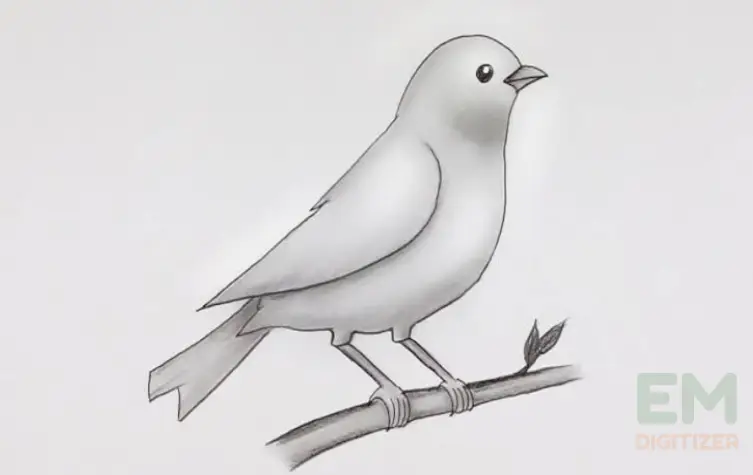
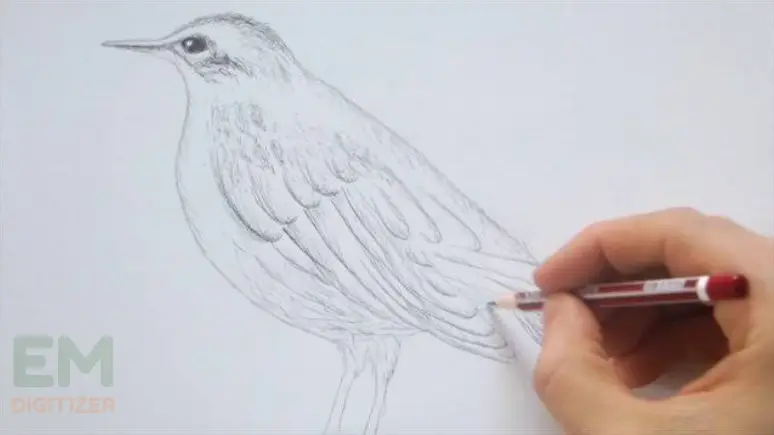
Shade the bird to make it come into existence. When shading, take into account the following guidelines.
- Start highlighting the darker parts like below the wings, back, and the whole body.
- Slowly draw up to a thinner shade by using a finer pencil or adjusting intensity.
- To mimic the look of wings, use hatching, that’s the process of creating straight lines next to one another.
- Apply flat hatching on the bird’s wings and upward hatching upon the rest of the body.
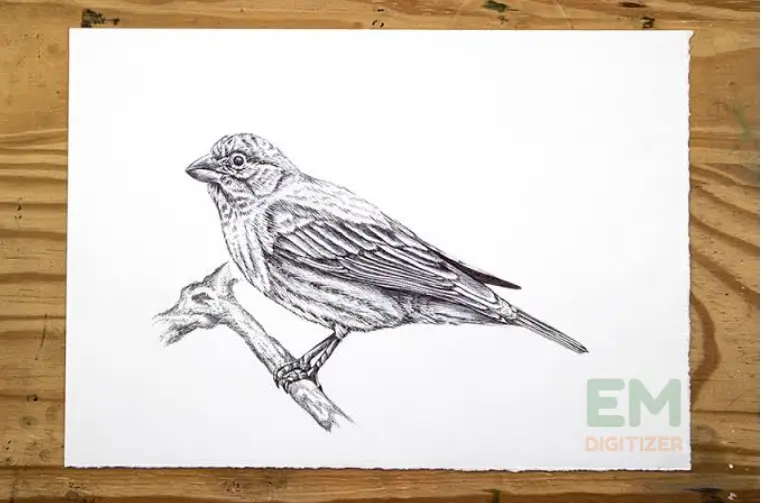
- Cross-hatching works well for clarifying lines and giving the feathers thickness.
- Repeat strokes after you’ve started with softer ones. You can adjust the shading’s thickness with this method. It guarantees a seamless change from bright to darker parts.
- Take a step aside from time to time to review the shading. Apply blending techniques to places that require additional detail and polish them.
- For more seamless changes between light and shadow, use materials like tissue or blended stumps.
Modify And Clear Up:
Review your sketch for any required changes. Remove any extra or errant construction lines.
It gives the bird crisp, polished outlines. This stage makes the sketch look refined and professional.
Final Touches:
Look at the drawing’s symmetry and complete layout. Make sure a bird is positioned directly in the middle of the canvas. It produces a piece that is both compatible and pleasant to look at.
To make your bird look better, think about including a background or a nesting aspect. To place the bird, think about including some scenery or a hanging element.
This might be the sky, the branch, or a bird’s nest. Make sure the surroundings highlight the bird instead of hindering it.
Now put the initials or autograph in a place that is both visible and discrete. the piece will appear polished and defined by this unique finish.
Here’s the list of ideas you can try for displaying your art.
https://emdigitizer.com/best-drawing-tablets-for-beginners/
Conclusion
Drawing a bird is a structured method that starts with the basic layout and ends with the incorporation of shading tactics.
Always keep in mind to locate the origin of light, add layers carefully, and converge for natural transitions.
Persistence as well as regular practice are essential for learning the skill of how to draw a bird, regardless of your skill level.
To add more thickness, incorporate shading. Find a medium of light to produce shadows that will appear naturally, like beneath the wing tips and tail.
Take note of the bird’s anatomical features, such as the structure of their wings, the beak, and tail plumage. For precise details, it is helpful to provide photos of that specific kind of bird.
For an individual look, add final details such as ambient elements, take note of the backdrop of the bird, and try out different postures or expressions.
Your animal gains dimension and texture from coloring. Find a source of luminescence, then add shades using shading to make the artwork appear more 3-D.
If you have any questions leave the comments or you can visit our social channels for more updates regularly. We provide embroidery digitizing services if you need digitizing services feel free to contact us or email us.

