Left Chest Digitizing
$10.00 – $25.00Price range: $10.00 through $25.00
Left chest logo embroidery digitizing services
If you want uniqueness in your crafts by slaying into a gorgeous outfit or promoting your company reputation, you will find a left chest logo a great option. Emdigitizer offers you meticulously digitized patterns for the left chest embroidery at an affordable pricing strategy to make your investment valuable. We promise to deliver designs compatible with your machine and software on time. Let yourself stand out from the crowd with our embroidery digitizing services.
Left chest digitizing
Digitizing is the first step to make sure your embroidery looks great. It is the process of converting an artwork into a stitch file with all the parameters that embroiderers need to follow to stitch the design on desired garments. So we have a team of expert digitizers that use top-notch and tool-rich software to turn any design into reality. You need to go through certain steps to get our services:
- Email us your pattern in a Word file. You can also send an image in a clear format like SVG or PNG. Make sure to put your design instructions such as which size you want, color, and detail in the design and format file.
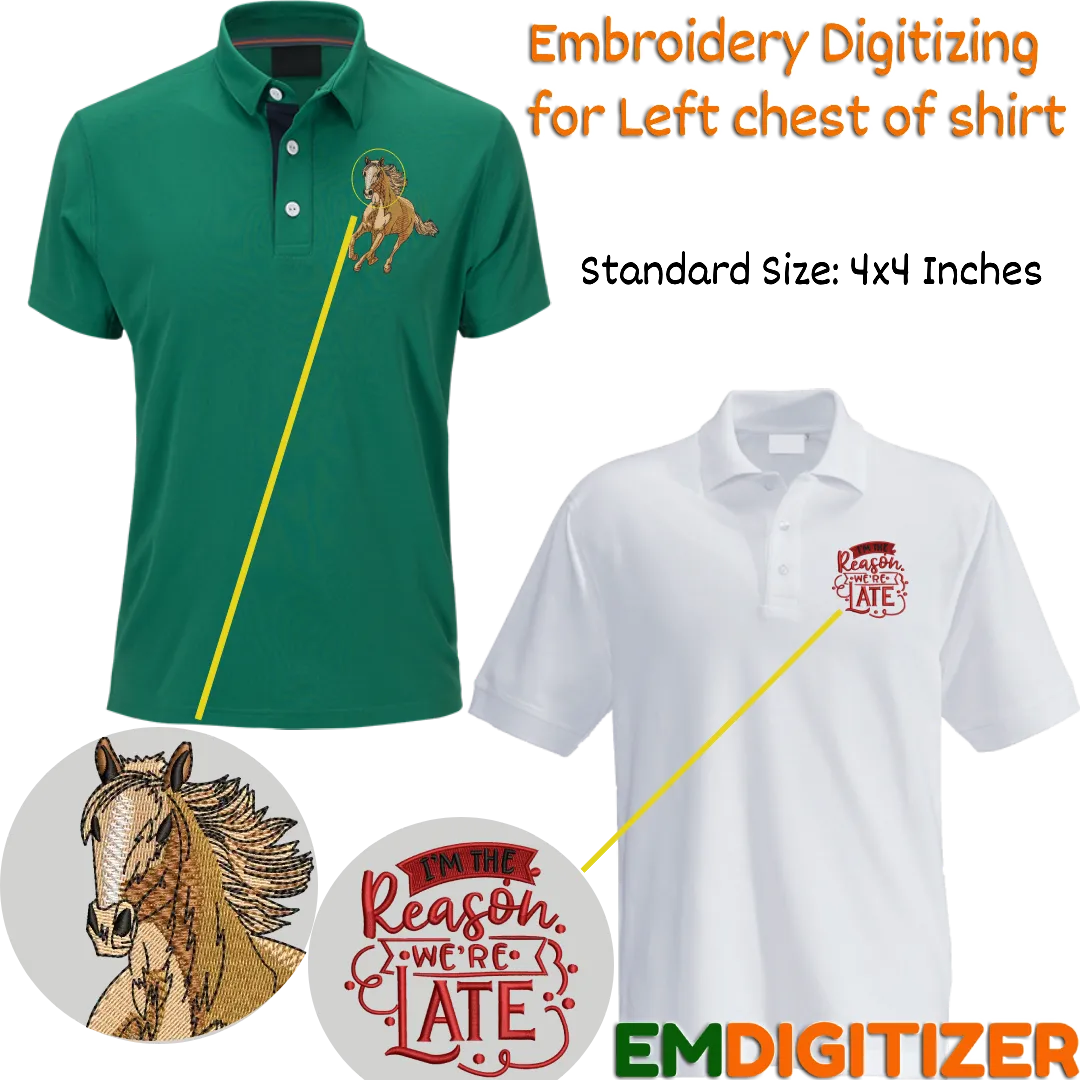
- The next process begins with evaluating the design. Our team looks at your design to make it ready for digitizing. We analyze clarity, color, and set size according to the instructions. The standard left chest logo size is 4 inches high and 4 inches wide.
- We then start working on the design, such as assigning stitches, setting angle, density, push and pull compensation, and ensuring you don’t have thread break and jump stitches. The purpose is to provide a flat design for a smooth embroidery experience.
- For a simple design, we charge $10 with a normal turnaround time. For a detailed left chest logo, we charge $25 with an extra $5 in case of a rush order.
- We will send you a preview before finalizing the design. You can ask for any editing without any cost. After your approval, you will receive your digitized design file via email within 4-12 hours depending on the preferred turnaround time.
Have a look at our featured left chest designs:
Left chest embroidery
It is the most demanding embroidery, especially for corporate and promotional endeavors. The left chest logo or design stands out from the crowd if it is of good size and placed nicely. Unlike other embroidery types, be careful with the left chest design placement. The left chest location is the same regardless of the machine or system. The key aspects of left chest embroidery are garment selection, backing, and hooping. Here are some pointers for achieving great left chest embroidery.
- Always choose the right backing. For the left and right chest logos, a cutaway is the best option that provides stability to the design. It is also comfortable for those garment designs that have direct contact with skin.
- You need to decide whether you want topping or not. Its choice depends on the chosen fabric. If you are working on a Terry towel, it would work for you. But for topstitching fabric, you don’t need to use topping for the left chest design.
- Use adhesive spray carefully to help fix the backing inside t-shirts and keep them from sliding while hooping.
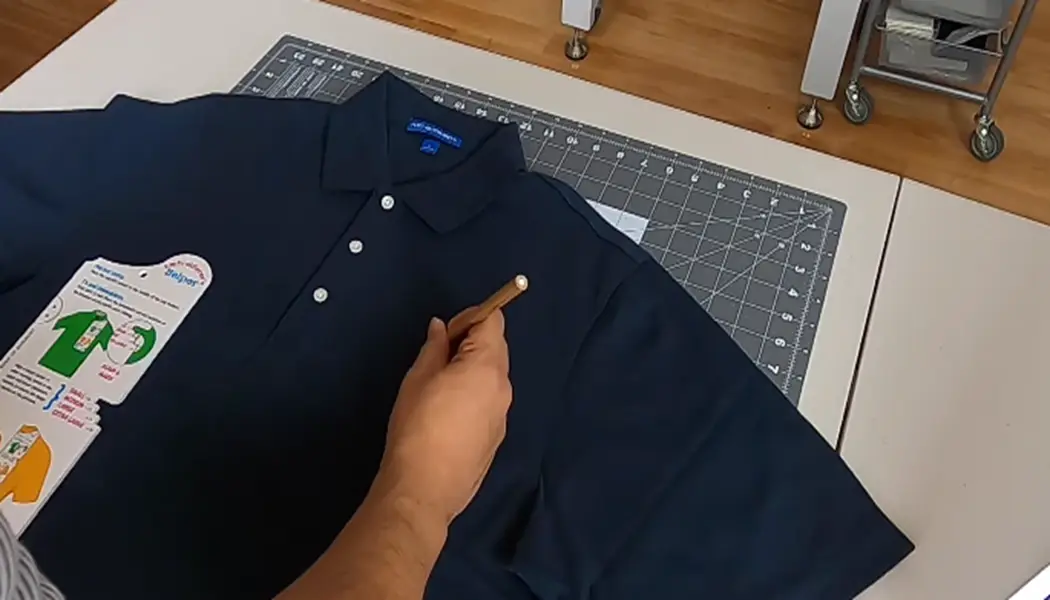
- Mark the left chest area correctly where you want to put your design. As per the standard guide, the center of a logo needs to be about 7 and a half inches down from the top shoulder and about 4 to 6 inches to the left of the center button.
How to embroider the left chest logo or design?
If you never try your hand at left chest embroidery, don’t panic. We are here to provide you with everything you need from placing the design to embroidering it. Let’s work on it.
Material required:
- Embroidery machine
- Polo shirt
- Cutaway backing
- 5.5 mighty hoop
- Placement marker, chalk pencil
- Embroider’s help by brother
- Fiskars
Step 01: Mark the design placement area
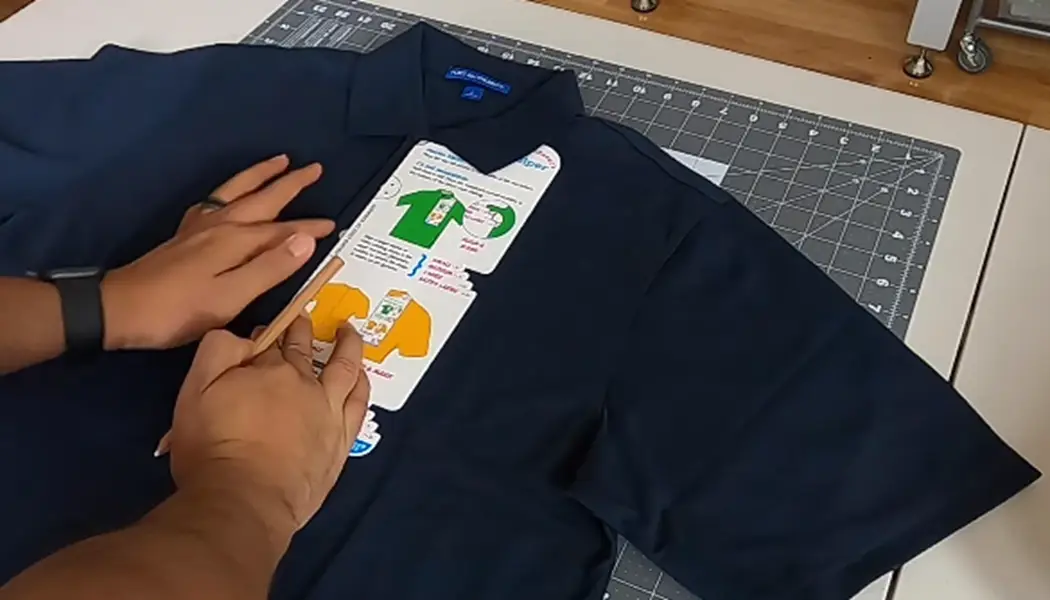
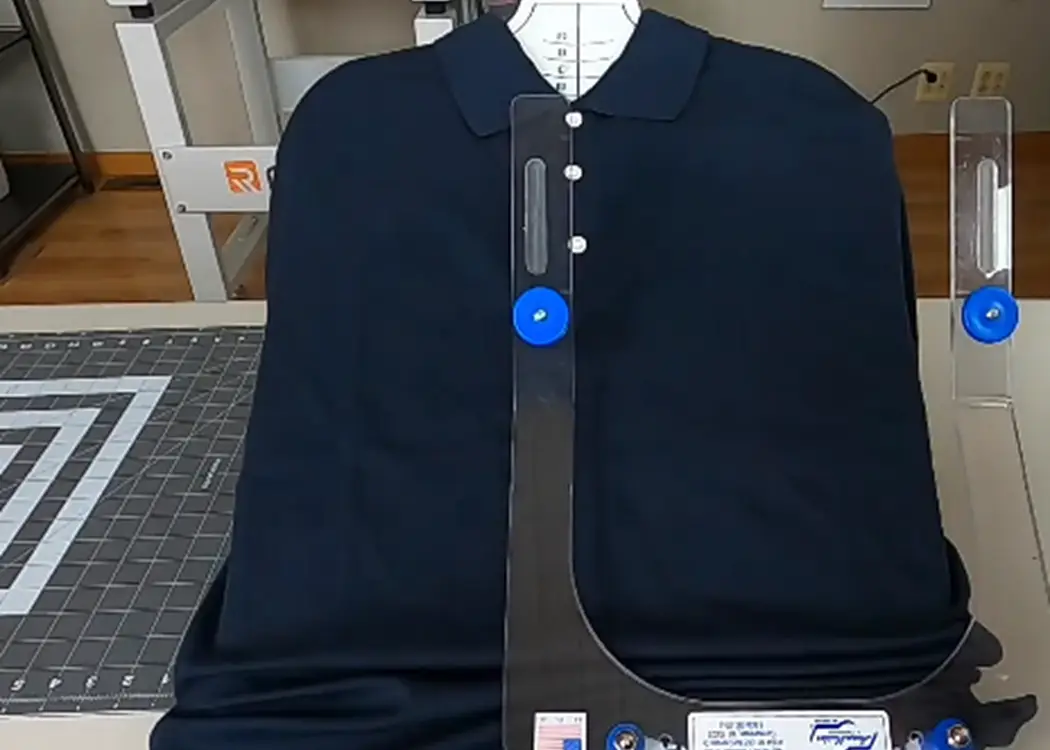
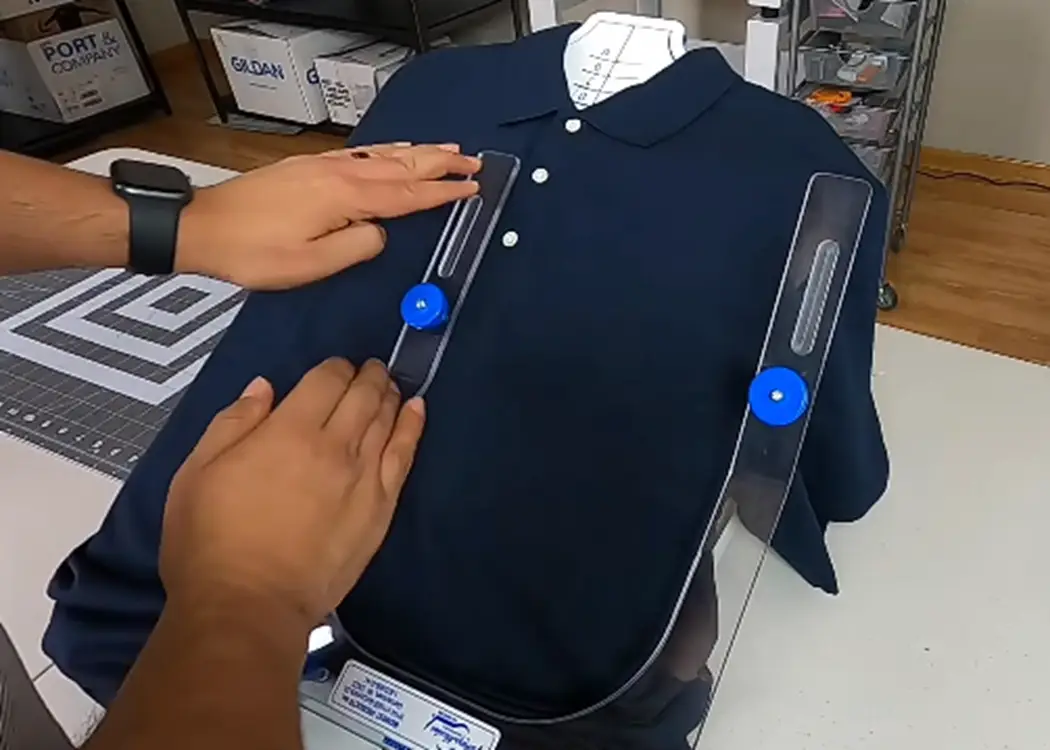
The first step is to mark the area where you want your left chest logo. The embroiderer’s helper will assist in lining up the area correctly.
Place the embroiderer’s helper straight on the shirt and line it up with buttons. Here, the key is to put a small dot over the area where you want to have your design. Take white chalk and put a little dot for stitching the design over dark t-shirts.
Step 02: Set up the hoop
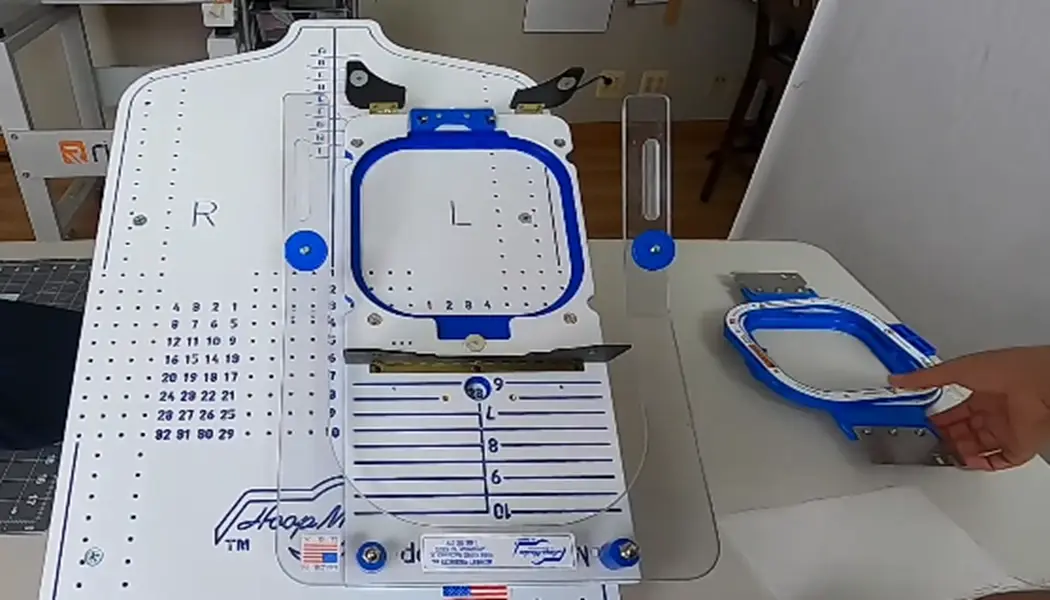
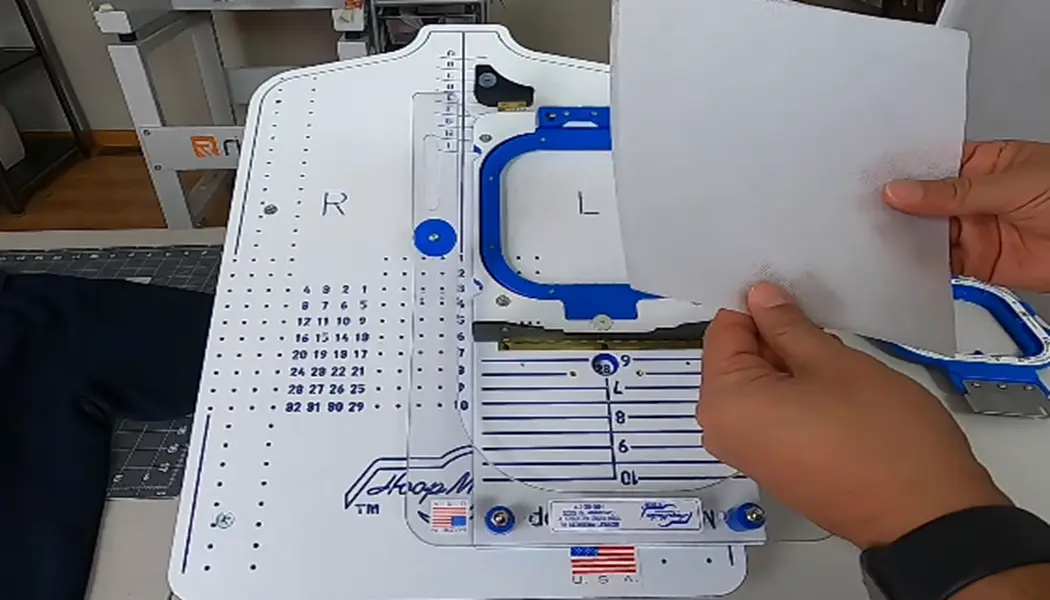
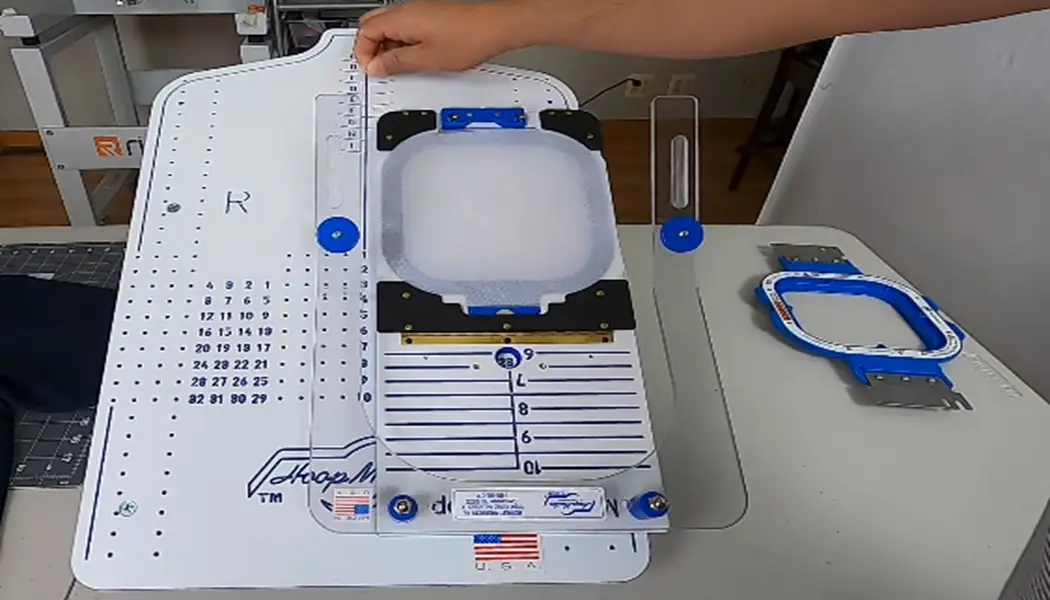
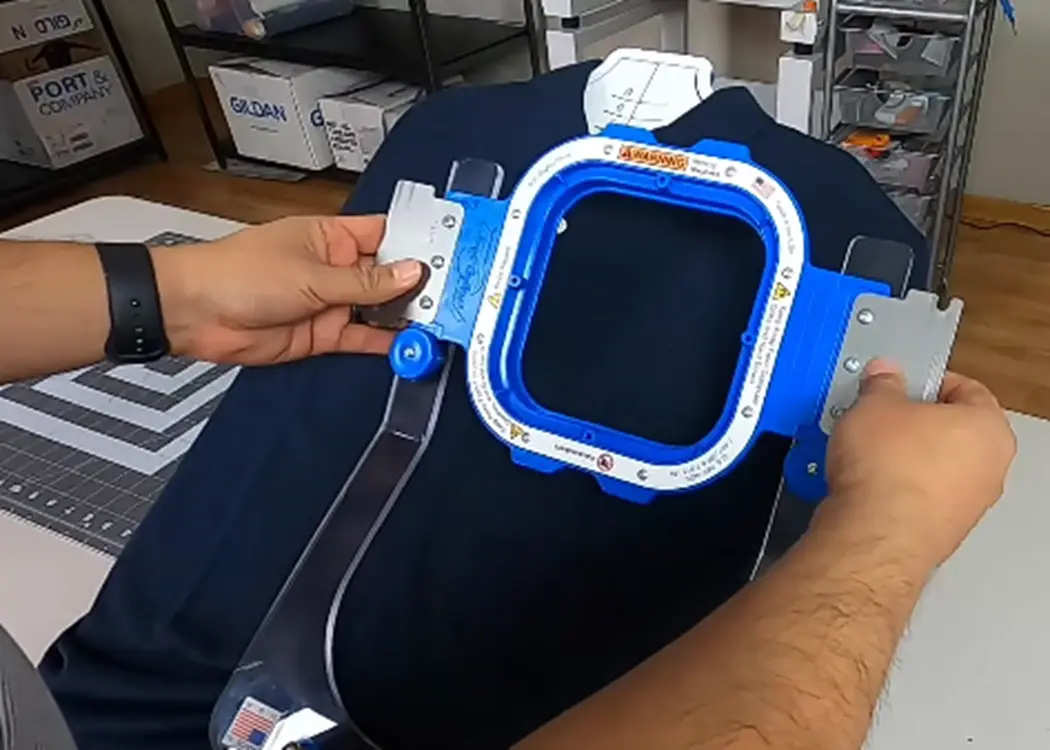
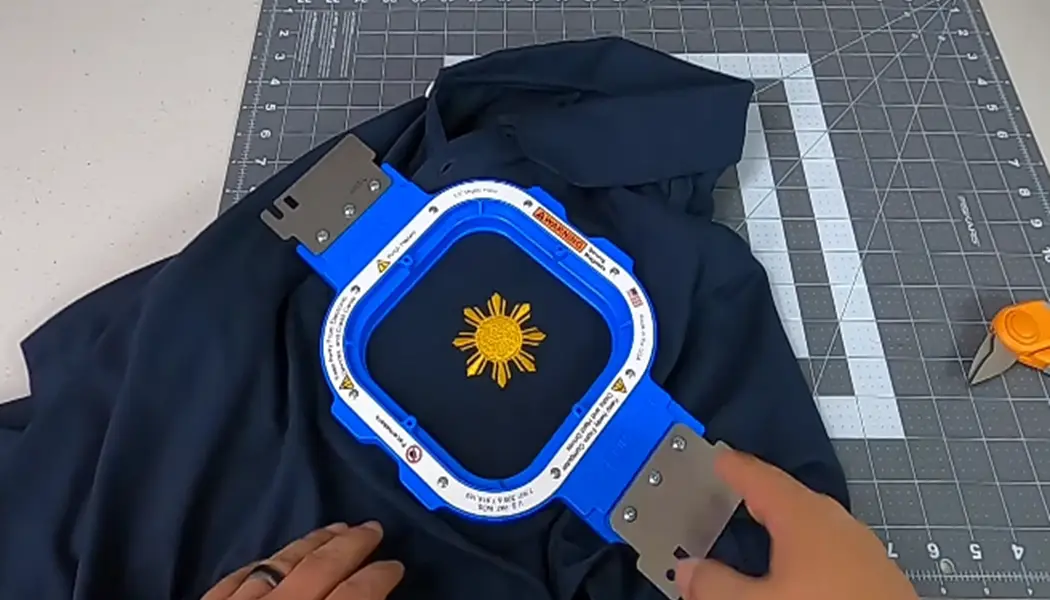
Here we got a hooping station, a 5.5 mighty hoop, and an 8-inch backing.
If you use smaller backing, the hoop’s magnet doesn’t catch and hold it in place, which results in a loose area.
So, for perfect embroidery, you need to get your setting correctly.
Now turn the shirt over this hooping station carefully and ensure the buttons are buttoned. You can check it with a reference guide for proper line-up as well.
Now take a tab facing the front of the collar and push it down tightly.
And check your dot is in the center of the tab.
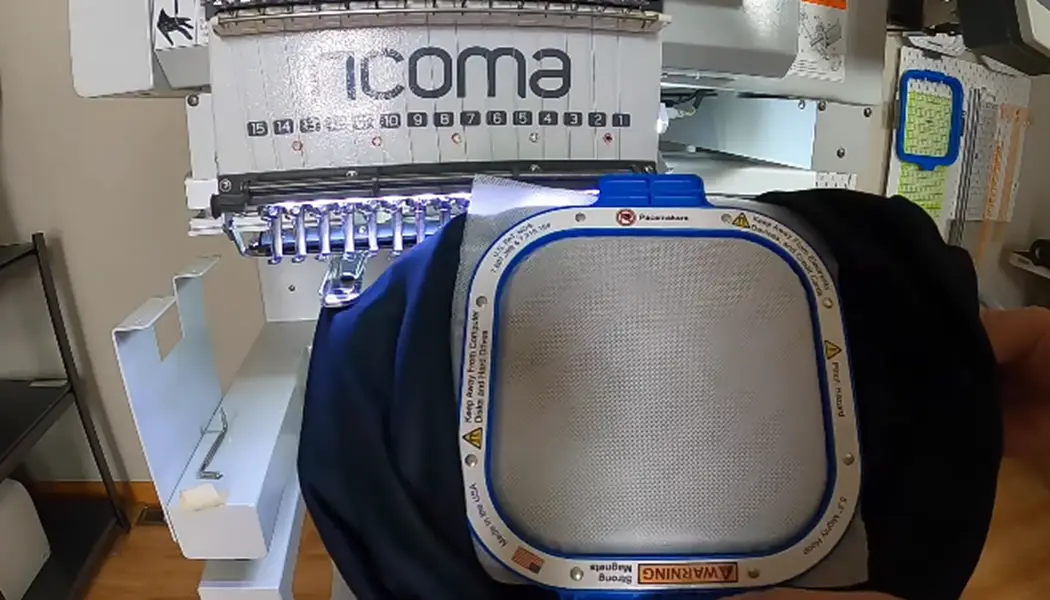
Step 03: Take the hoop into the machine
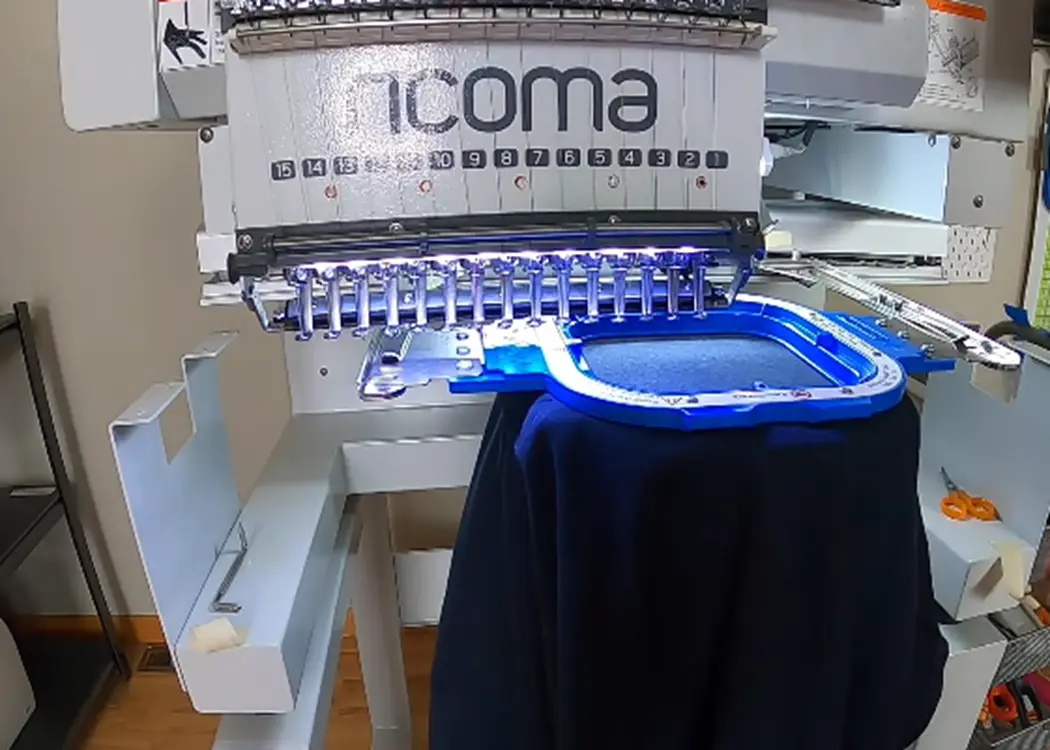
Unbutton the shirt while taking the hoop into the machine.
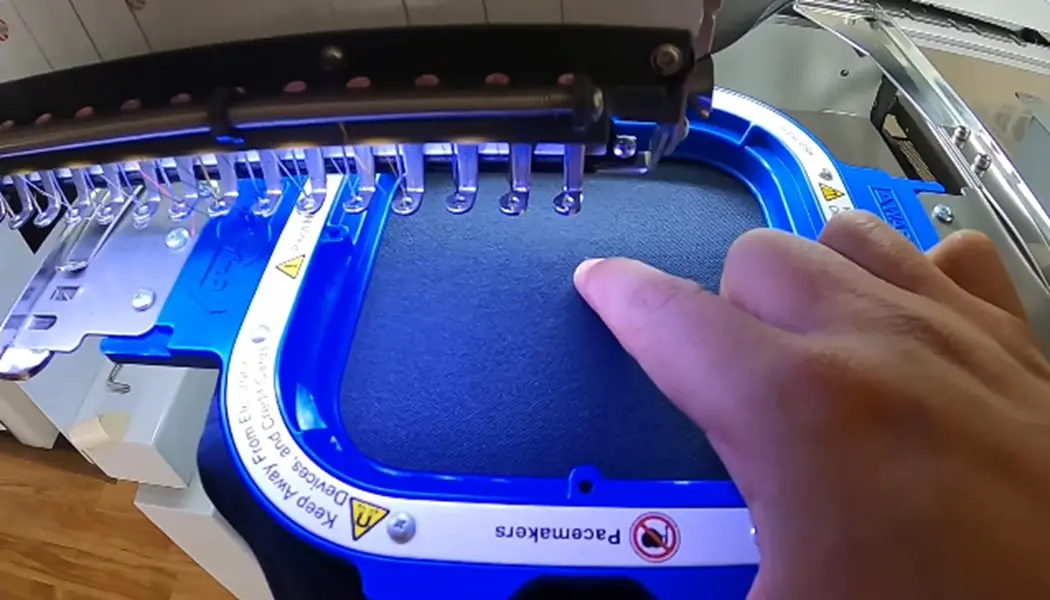
Before starting working on it, check that your arm will not catch on anything, such as shirt fabric.
Now, go ahead and locate the dot that is marked for placing the design. Measure the center point to the dot, and start embroidering the design.
Step 04: Take the hoop off from the machine
Once you have embroidered the left chest design, remove the hoop from the embroidery machine. It takes less time to embroider a design without trim and cutting if your design is properly digitized, it will take less time to embroider.
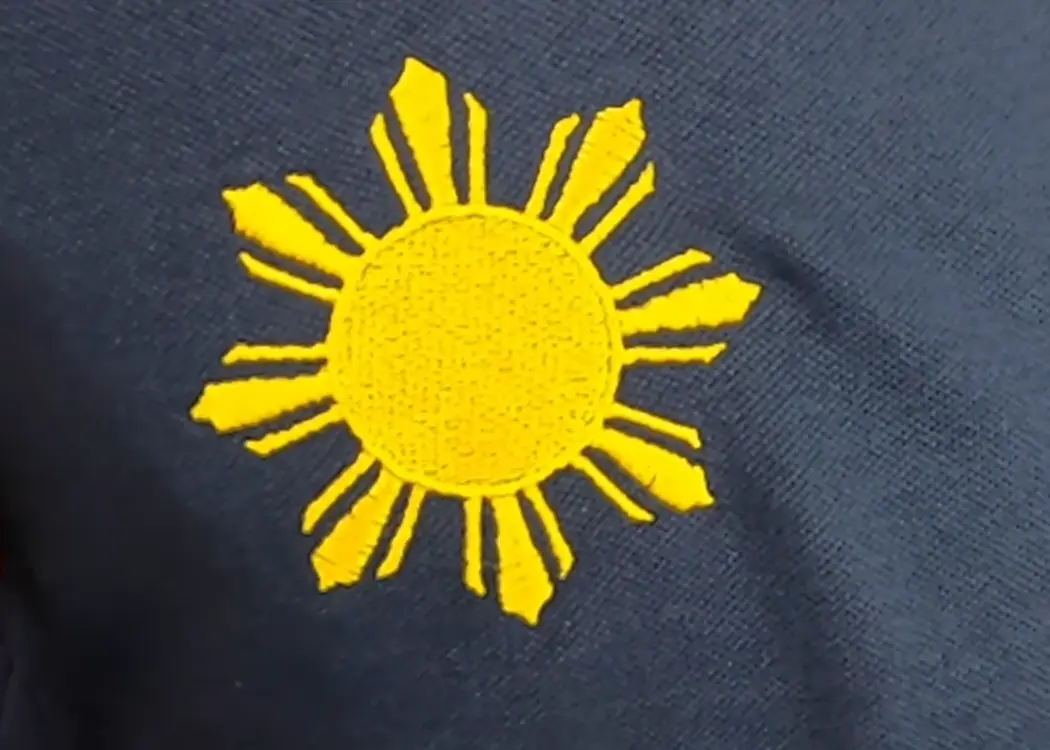
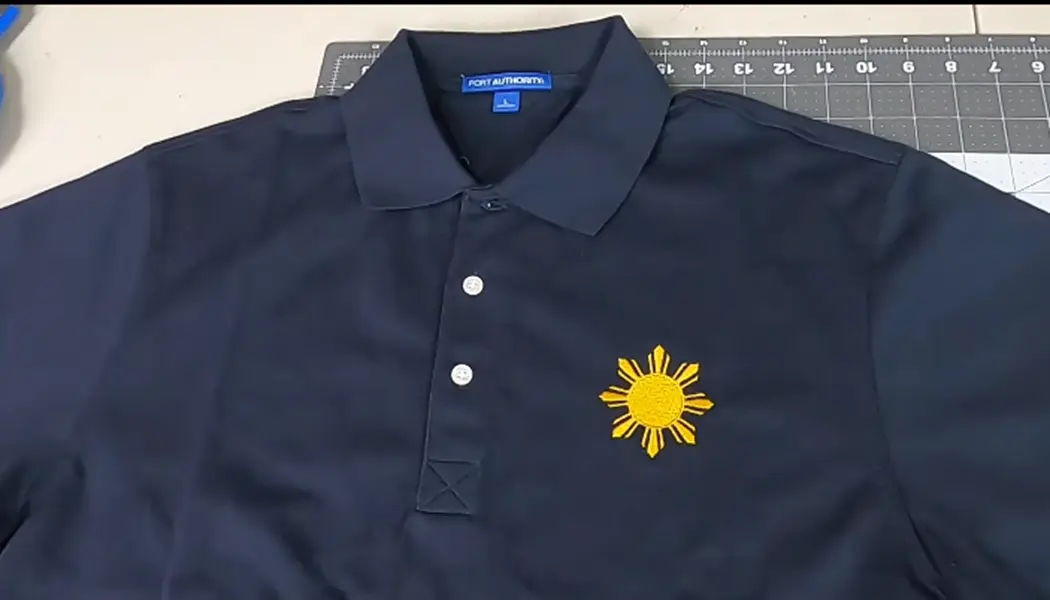
We have our perfect and flat left chest embroidery without any puckering.
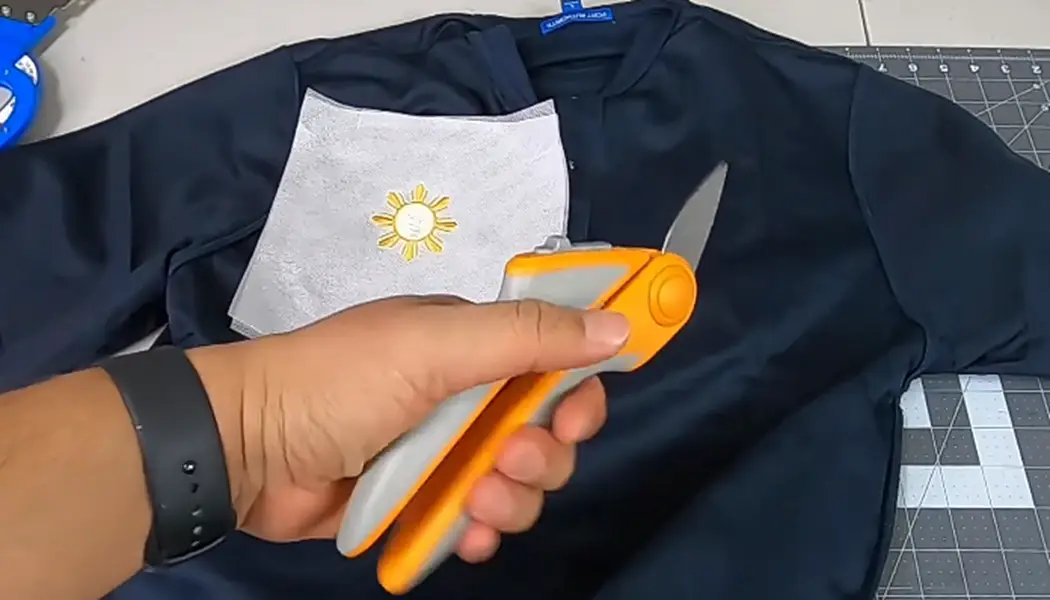
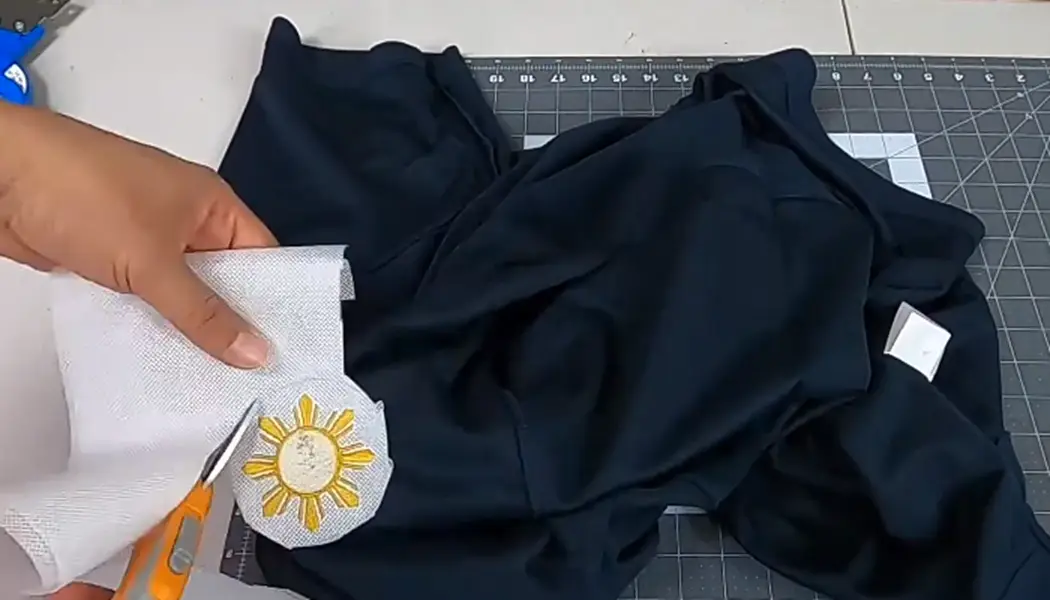
Now, take fiskars to cut off the backing.
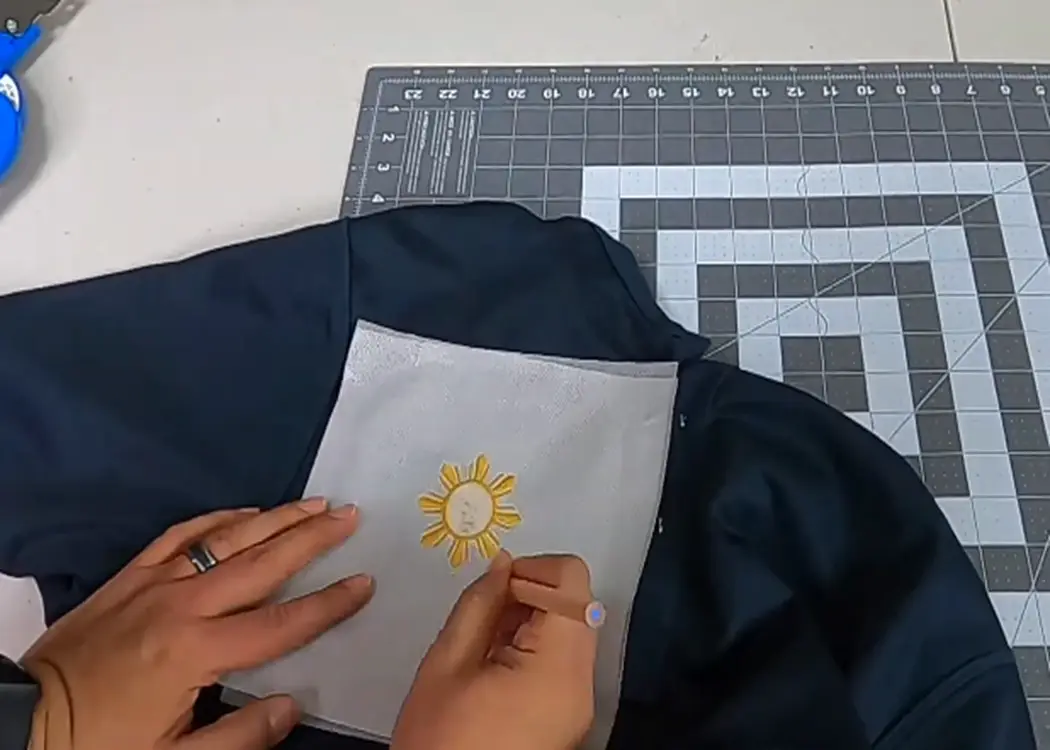
This is the step that needs to be done carefully. If you pull the backing that could pucker your design, the pro tip here is to mark the area around the design that needs to be cut, just like I am making a circle around the design.
It gives you a clean cut off of backing and your left chest design keeps its shape.
That’s how you can embroider any design on the left chest over any garment of your style or for branding purposes.
Frequently Asked Questions.
How can I get your services of left chest embroidery digitizing?
Send us your design by email or get a free quote from the official website for the exact cost estimation. You can send your design in a Word file or any clear image format such as PNG or SVG. Make sure to mention your complete details of a design such as which type of design you want, sizing guide, and format file.
What is the standard size for left chest embroidery?
The standard left chest logo size is 4 inches high and 4 inches wide. We may also customize your designs to your liking.
How much do I need to pay for left chest embroidery digitizing services?
Our pricing varies between $10 to $25 for basic to complex designs. But if you want to place an urgent order, pay an extra five dollars as rush charges.
Can you edit my design after delivery?
Yes, if you want any changes in your design, we can do it for you without taking any charges.
Which payment method is acceptable?
We only accept payment via Visa Card, Master Card, American Express, and PayPal worldwide.
I’m absolutely obsessed with my Mama design it’s a popular design and I couldn’t find it anywhere this company digitized it for me and it’s perfect for my shirts