Patch Digitizing
$10.00 – $25.00Price range: $10.00 through $25.00
Patch Digitizing Services
Patch digitizing is the process of converting your artwork or logo into a digital stitch file that an embroidery machine can read and sew onto a fabric patch . In other words, we take your design and “digitize” it so each thread color, stitch type, and detail is planned out for the machine. This ensures that your embroidered patch looks just like your original image. An embroidery digitizer creates the patch file by carefully mapping each part of your design into stitches, angles, and color fills. Once digitized, the file contains precise instructions for every stitch the machine will sew
Custom embroidered patches are created by stitching thread onto fabric according to a digital design.
Using our patch digitizing service, your logo or artwork is transformed into a machine-ready embroidery file
. The digitized file tells the embroidery machine exactly where to place each stitch so your patch matches the original artwork. Our expert digitizers make sure every detail—lines, text, and colors—is captured accurately in the thread file . With this file, you (or any embroidery shop) can stitch out the patch on your machine as if you had designed it in embroidery software.
Why Use Our Patch Digitizing Service?
Custom patches are a great way to add style and branding to apparel. Many companies, teams, and hobbyists attach embroidered patches to hats, jackets, bags, uniforms, and other items. For example, the image below shows a patch sewn onto a vest – a common use for custom patches. Patch digitizing makes it easy to create these designs from any graphic.
Many organizations use embroidered patches to display logos or designs. Our patch digitizing lets you produce high-quality patches for clothing, hats, bags, or uniforms. Embroidered patches are durable and long-lasting, standing up to wear and washing They are perfect for team uniforms, company branding, or personal projects. By digitizing your design, we ensure the patch will look sharp and match your original artwork, whether it’s a simple logo or a complex badge.
Here are some key features and benefits of our patch digitizing service:
- All file formats accepted: You can send us artwork in any common format (JPEG, PNG, PDF, AI, EPS, CDR, etc.), and we will create an embroidery file for patches. Our experts handle both raster and vector images.
- Machine-ready stitch files: We deliver your design in the embroidery file format your machine needs (DST, PES, JEF, EXP, XXX, etc.) . This means the file is ready to run on your embroidery machine without extra conversion.
- Fast turnaround: Our standard delivery time is 12 hours for digitizing a patch design . If you need it faster, we offer rush service (about 4 hours) for urgent orders.
- Affordable pricing: Our patch digitizing rates start as low as $10 and go up to $25 depending on the complexity and size of the design . This flat-rate pricing makes patch digitizing cost-effective, especially for larger orders.
- Expert digitizers: Skilled professionals handle your design. They know how to choose the right stitches, underlays, and densities for patches so the final embroidered piece looks great .
- Custom shapes and sizes: We can create patches in any shape or size you want (round, square, diecut, etc.) and even add embroidered borders. You tell us the outline and we digitize around it.
- Versatile applications: Digitized patches can be sewn or ironed onto almost any fabric. Use them on uniforms, bags, T-shirts, caps, or as décor. They work for fashion, promotional items, team gear, and more.
Digitizing a patch also saves time and resources. By converting the image to a stitch file, you avoid manually creating designs stitch by stitch. It’s more affordable than manual embroidery for complex art, especially when you need many patches.
How to Order Patch Digitizing
Getting your patch digitized is easy. Follow these simple steps:
- Send us your design: Email us your patch artwork, logo, or image. Include the details like intended size, number of colors, shape, and any text. You can send standard image files or vector files .
- We digitize the design: Our team reviews your artwork and uses advanced digitizing software to convert it into an embroidery file. We carefully set the stitch types, colors, and sequence according to your design.
- Quick delivery: Once digitizing is done, we send you the embroidery file. You’ll have the machineready patch file within about 12 hours (rush option in ~4 hours).
- Receive the stitch file: The final file is emailed to you. Simply load it into your embroidery machine to stitch out the patch. You can also preview and test stitch if needed for quality.
Our process ensures you get a professional patch design without hassle. You don’t need to buy software or do any complicated editing. Just provide the artwork; we handle the rest .
Formats We Accept
We accept any graphics format you have. Whether your design is in JPG, PNG, GIF, PDF, AI, EPS, CDR, or another format, our digitizers can work with it. You don’t have to worry about format – just send us the artwork. We will convert it into the correct embroidery file format (DST, PES, etc.) that your machine needs
. If you already know the output format your machine uses, let us know and we’ll deliver the file accordingly.
Who Can Use Patch Digitizing?
Our patch digitizing service is ideal for a wide range of customers:
- Home embroiderers and hobbyists: If you have an embroidery machine at home, you can create custom patches for yourself, gifts, or small crafts. Send any artwork and get a patch-ready file.
- Small businesses: Shops that embroider can expand their offerings by adding custom patches for uniforms, merchandise, or club gear. Fast digitizing helps you turn designs around quickly.
- Large companies and clubs: Businesses, schools, military units, sports teams, and clubs often use embroidered patches. We handle bulk orders and complex logos so your team has consistent, highquality patches.
- Fashion designers and artists: Patches are trendy in fashion. Designers can digitize unique patch designs for clothing lines or collaborations.
- Event and promotional planners: For events, giveaways, or branding, patches are memorable merchandise. We can quickly digitize logos or mascots into patches.
Our customers come from all over the world (USA, UK, Canada, Australia, etc.) and span many industries. No matter where you are, you can order online and get your embroidery files delivered by email.
Benefits of Embroidered Patches
Choosing embroidered patches has many advantages:
- Durability: Embroidered patches last a long time. The thread is strong and the patch can be washed repeatedly without fading or unraveling.
- High detail and color: Even small text or complex logos can be turned into stitches. Digitizing captures the detail so your design looks sharp.
- Customization: You can choose fabric, edge style (merrowed or heat-cut), and backing (iron-on, velcro, etc.) when making the actual patch. Digitizing lets you preview the embroidery design first.
- Branding and personalization: Patches are perfect for branding (logos, slogans) or personalization (names, awards). They make any garment look custom and unique.
- Reusability: Once you have the digitized file, you can reuse it anytime to stitch more patches. You own the design file for future orders.
In short, patch digitizing combines the creative flexibility of graphic art with the precision of machine embroidery. You get the exact look you want in thread form.
Patch embroidery
Embroidering patch is a fun and creative way to add a new look to old clothes and accessories. They are embroidered to make a fashion piece or to recover the worn areas on your jeans and bags. When you have extra supplies in your workplace, the patch is probably the best solution that is created by productively using these supplies. Patch embroidery is just like regular embroidery done with needle, thread backing, and fabric but these supplies are part of scraps that we recycle. The traditional way of embroidering a patch is just to set up your fabric, and backing, hoop it, decide the placement of stitches, leave it to the machine and that’s it. So, if you get an order for embroidering and digitizing patches, you must have the following details of your customer’s designs.
- Size and shape of the patch: You can ask for any shape and size such as standard square, rounded, rectangular closed, etc. This choice is also associated with how you price your patchwork.
- Patch border: You can offer different options to choose to your clients when embroidering a patch border with an embroidery machine. You can select a regular satin stitch, or decorative border stitch, especially for Merril patches. This marrow border charges you a little bit high but gives your patch a new look. Whatever you choose, keep the stitch count minimum.
- Base material for making patches: It is important to go with the right fabric when creating embroidered patches. Polyester, felt or poly twill fabric are among the best options for patchwork and keep all stitches in place.
Tip: Keep neatness in the embroidering patch
People use various tools to give the patch a neat finish after embroidering it. You can use traditional scissors, a hot knife, or even a laser to save time while finely cutting off the edges of the patches to prevent fraying.
How to embroider patches on an Embroidery Machine?
For your convenience, we will share an embroidering patch tutorial with you. This is a pretty simple procedure that requires minimal supplies as well.
Required material:
- Base fabric (twill)
- Cutaway stabilizer
- 505 temporary Adhesive
- Mighty hoop (10 by 19 for larger materials)
- Teflon sheet
- Embroidery machine
Step 01:
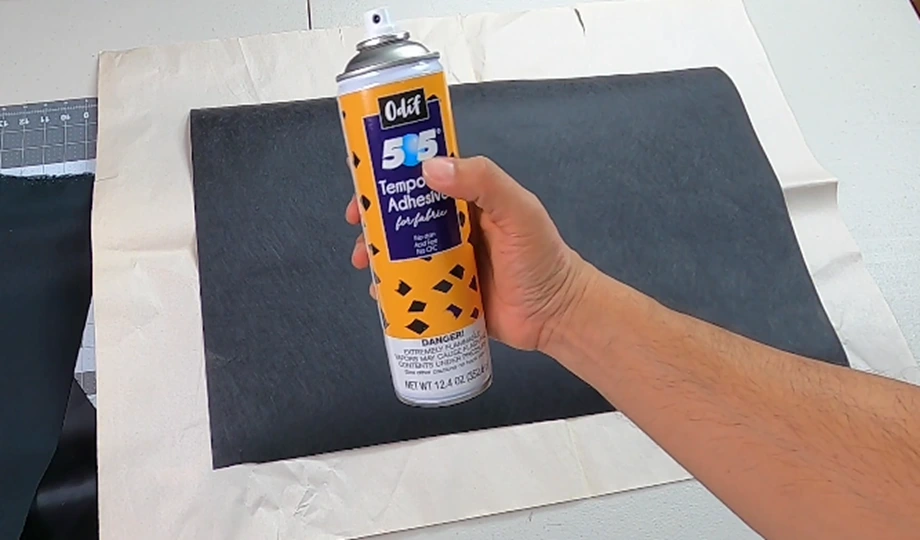
First, add some 505 adhesive spray on top of the cutaway stabilizer. This spray doesn’t get all over the place. Hold your fabric firmly and nicely and set up your hoop.
Step 02:
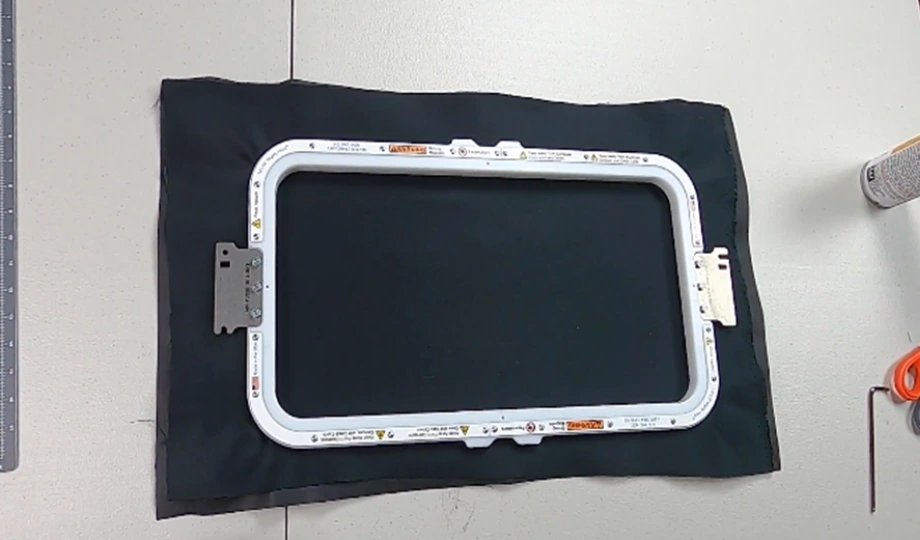
Take a big tab of the mighty hoop and place your fabric over the hoop. Make sure to keep it in the center. Now put the small side of the hoop in a way that is facing away from the larger side. Lock down the hoop carefully and take it into the machine.
Step 03:
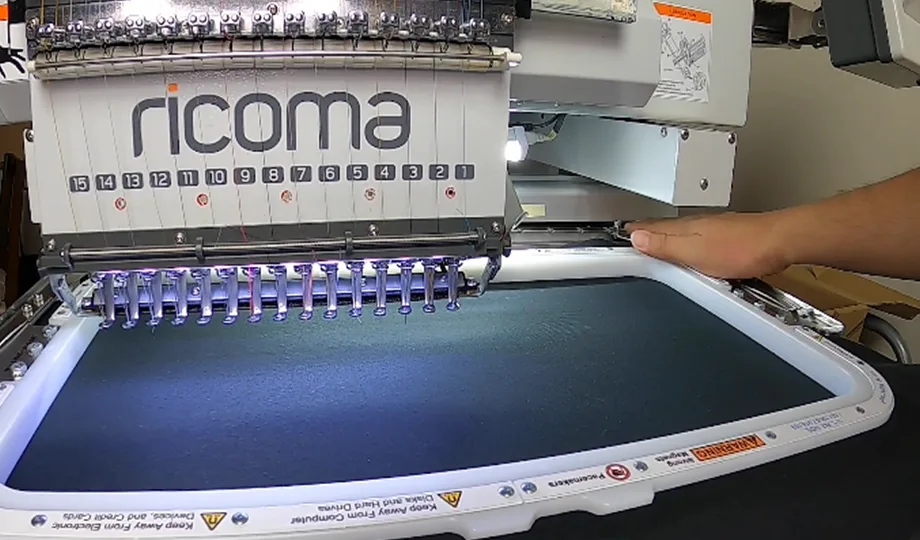
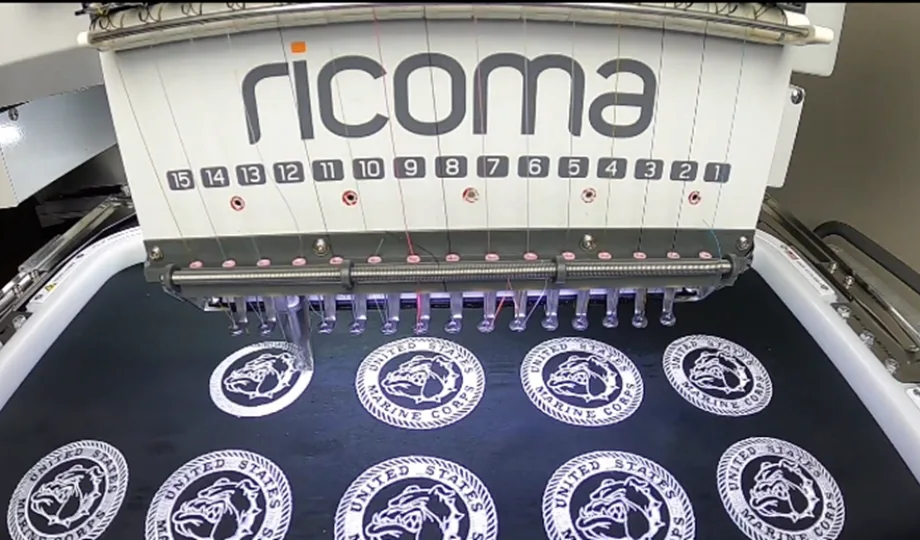
Now we are on the embroidery machine, and the hoop is wide enough to cover our design. Push the start on the machine and go to trace the design.
We stitch this patch with almost 190 stitches and it takes 4 to 5 hours to complete.
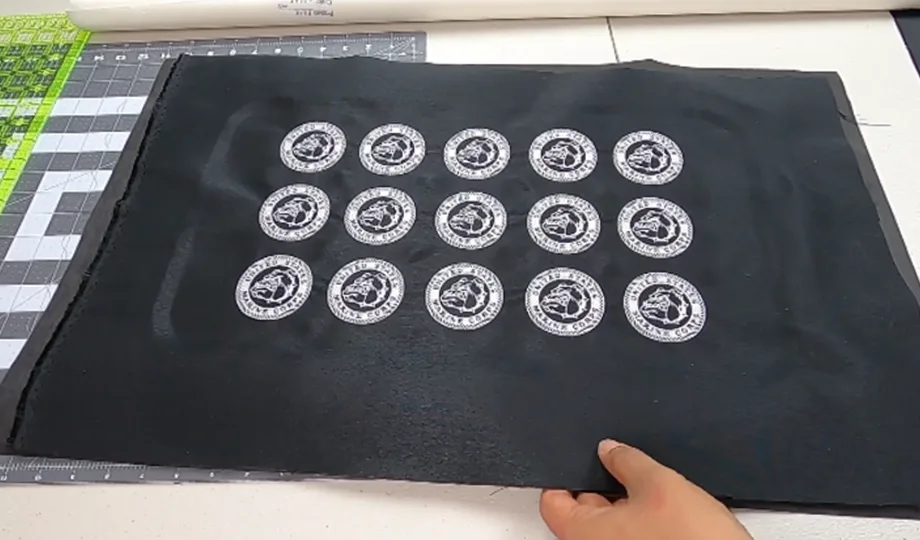
Once done, take the hoop off the machine. You can see the clarity in detail in these patches.
Step 04:
Now we are going to add a cutaway twill base for these patches. You have two options for backing, cutaway and tear away and their choice depends on personal preference.
For example, if you want your patch to be more stable and thick, using a cut-away stabilizer is a good option. Take a soft fabric to act as a pillow for your stitches to be set properly. And prepare it for the heat press.
Step 05:
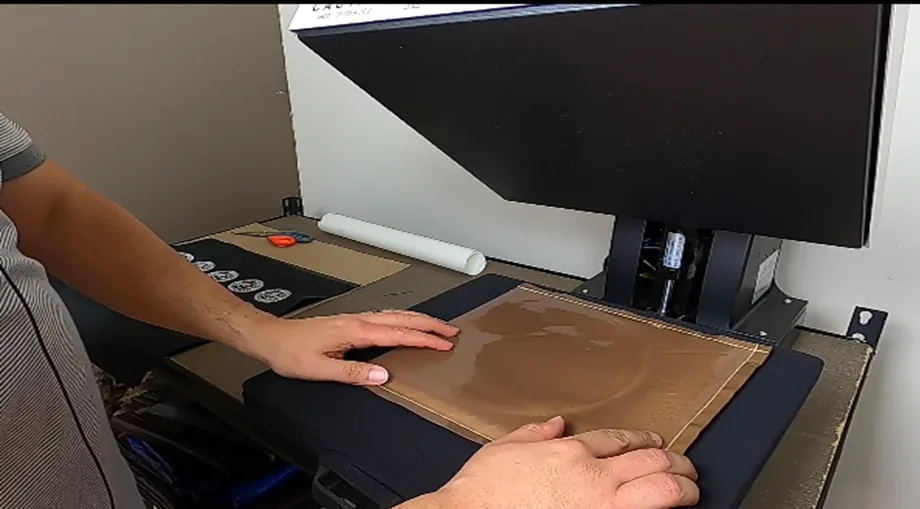
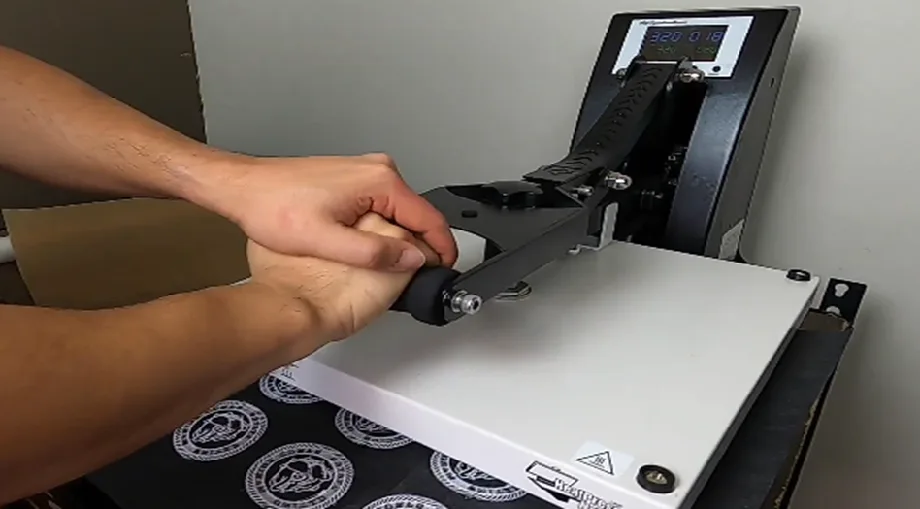
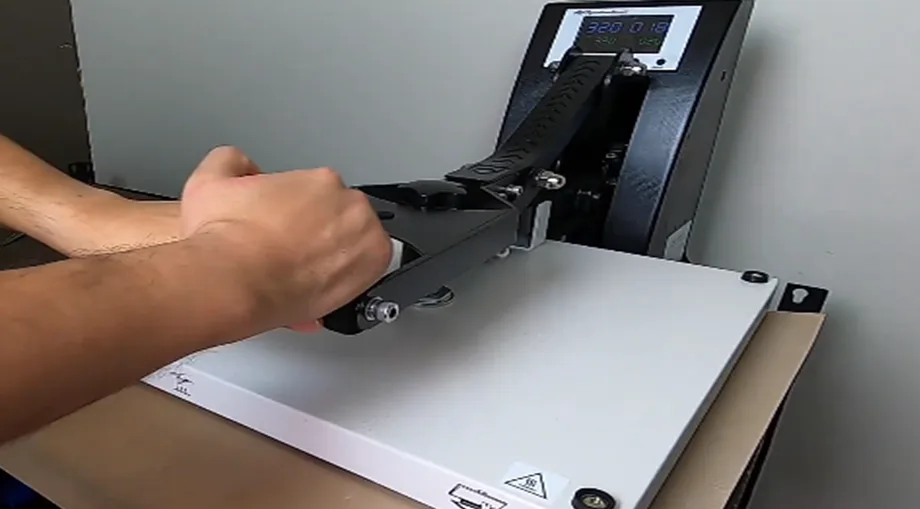
First heat press the fabric for about 5 seconds to warm it up.
Now add a shiny side of cutaway over the fabric and a Teflon sheet for protecting equipment.
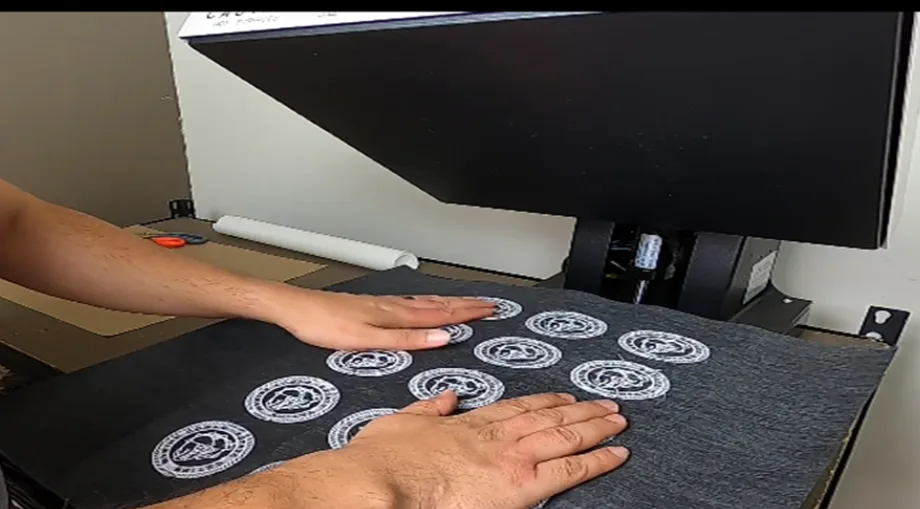
Now push it again and set 10 sec for heat pressing the material.
Step 06:
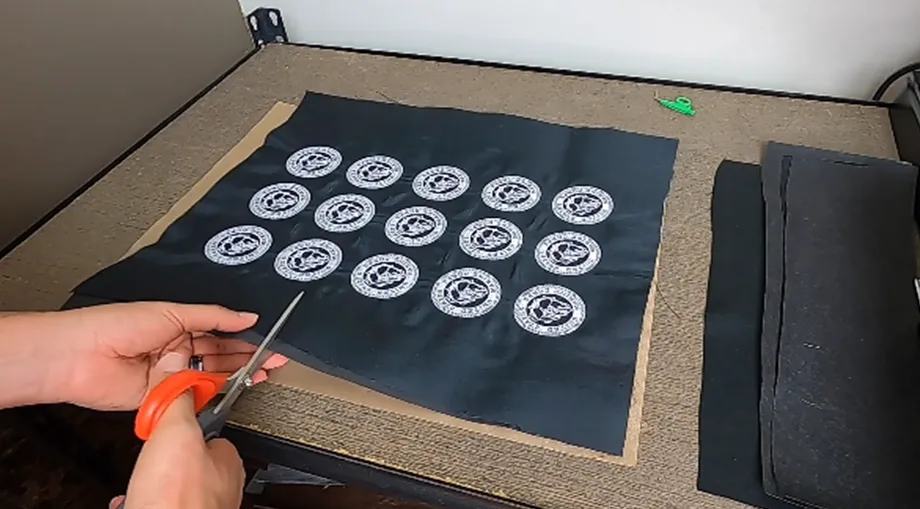
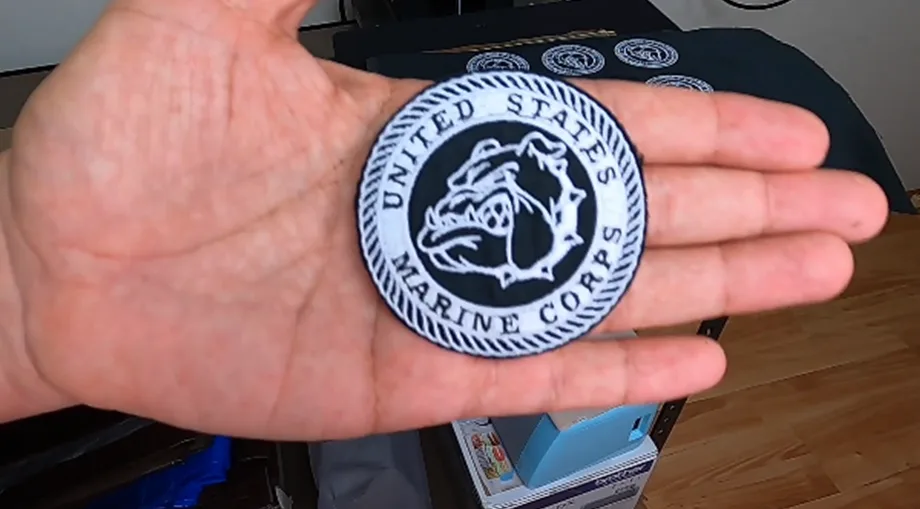
Once done, cut the patch design into its shape.
If you are not sure about fine-cutting the design, you can stitch an outline around the patch with thread that helps cut the exact shape.
Step 07:
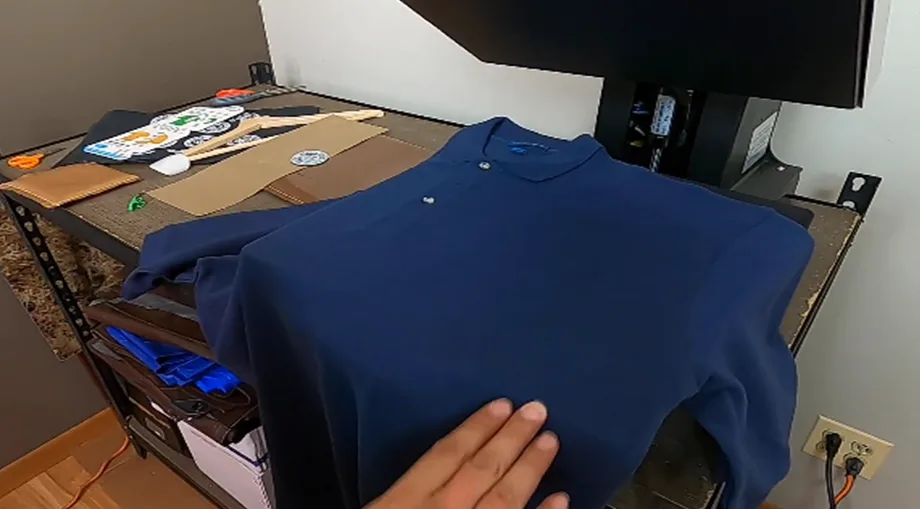
It’s time to add that patch to the targeted material.Here, I will choose a polo shirt. So, take a hot Knife that is available on Amazon as well and cut the leftover fabric around the edges without any fraying.
Step 08:
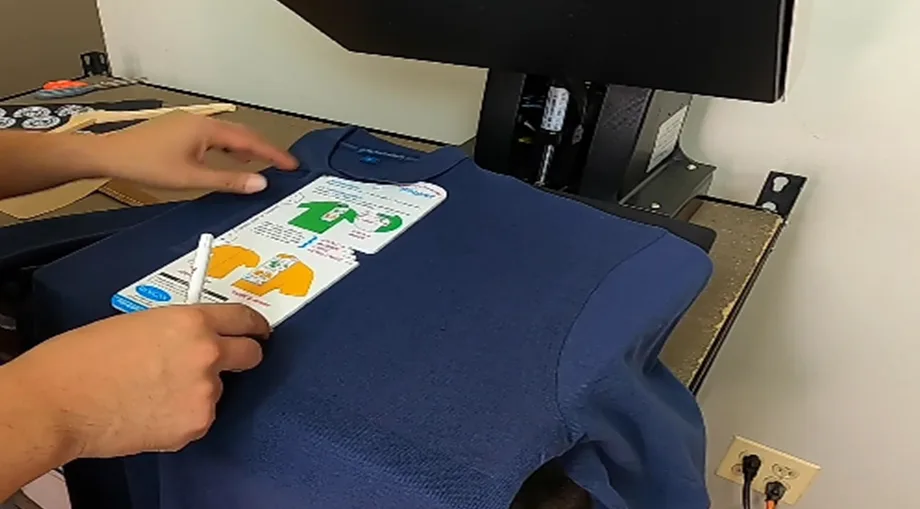
Warm up the shirt for a few seconds and place the patch in the center of the polo shirt. You can use any tool to make sure your patch is in the center.
You can use a soft pillow below the center point to add stability to the patch. Now add a Teflon sheet over them and push in the heat press. Your patch is locked under it.
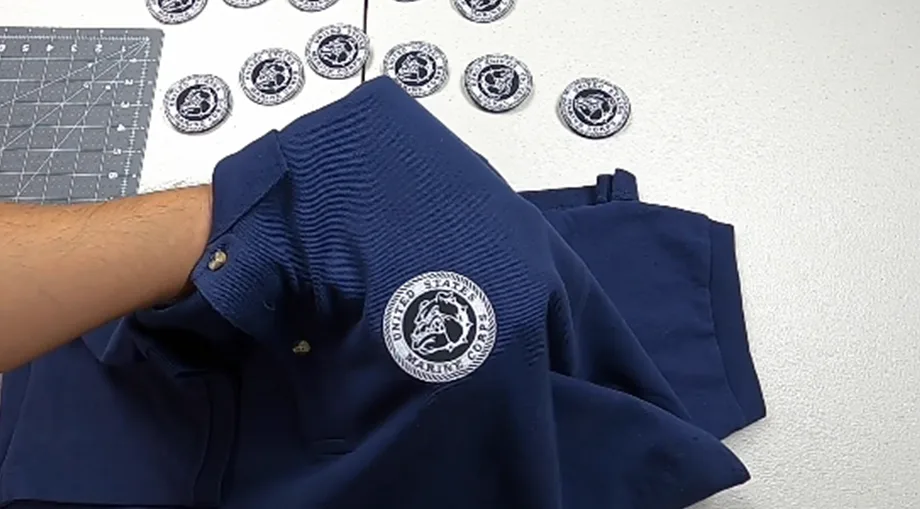
Now it completely adheres to the shirt. Remove it from the heat press and it cools down within a couple of hours. Take the shirt rest for at least 1 day for better results.
Check the shirt, it is ready to be used for all sports activities like football or soccer. This is how you can easily embroider and add patches to desired garments.
FAQs: Patch Digitizing Service
What is patch digitizing for embroidery?
What file types do you accept for patch digitizing?
What embroidery machine formats do you provide?
Can I convert my logo or photo into a patch design?
How long does it take to get my patch digitized?
What types of patches can you digitize?
Is patch digitizing different from regular embroidery digitizing?
Can I order patch digitizing from outside the U.S.?
Do you offer bulk patch digitizing services?
Ready to Get Started?
Ordering patch digitizing is simple and fast. Just contact us with your design and requirements, and we’ll handle the rest. With expert digitizing and quick turnaround, you can get custom patch embroidery files without delay. Let us help you bring your patch ideas to life – send us your artwork today!
If you have any questions, you can visit our social channels for regular updates. We provide embroidery digitising services. If you need digitising services, feel free to contact us or email us
I’ve always gotten great service, and speedy returns. And I always appreciate the extra effort the digitizers go to, to make sure we’re happy with the design. I’ve used them for years, and they remain my go-to vendor for Digitization 🙂
I have worked with this company and this will be the only company for life i will you the staff is extremely helpful and friendly im new to Patch embroidery and they answered all of my questions and i had alot of them this company treats you like family I highly recommend them
As a business owner, I prefer the quality of quantity, but sometimes I can’t keep up with the demand when I do everything myself. And finding a business I trust to manually digitize some orders for me was hard, but I found it with Zdigitizing. The prices are unbeatable for the quality you get. they even do any necessary edits till you are happy. 10/10 would recommend it. the reason for the 4 stars out of 5 is simply because super complex images are a lil harder to come out the way you want, but TTT is still not bad.
I needed a design digitized for a customer and stumbled onto EMdigitizer. I wasn’t sure what they were all about because I found them on the web, but man, was I pleased! They were quick to respond, and I had a digitized design back to me in less than 24 hours at a super reasonable price. I know where I’m going with future digitizing needs ????
I love how the embroidery looks!!! I can’t wait to put on my son’s race suit!!! It was quick and very effective especially the custom service. I highly recommend.