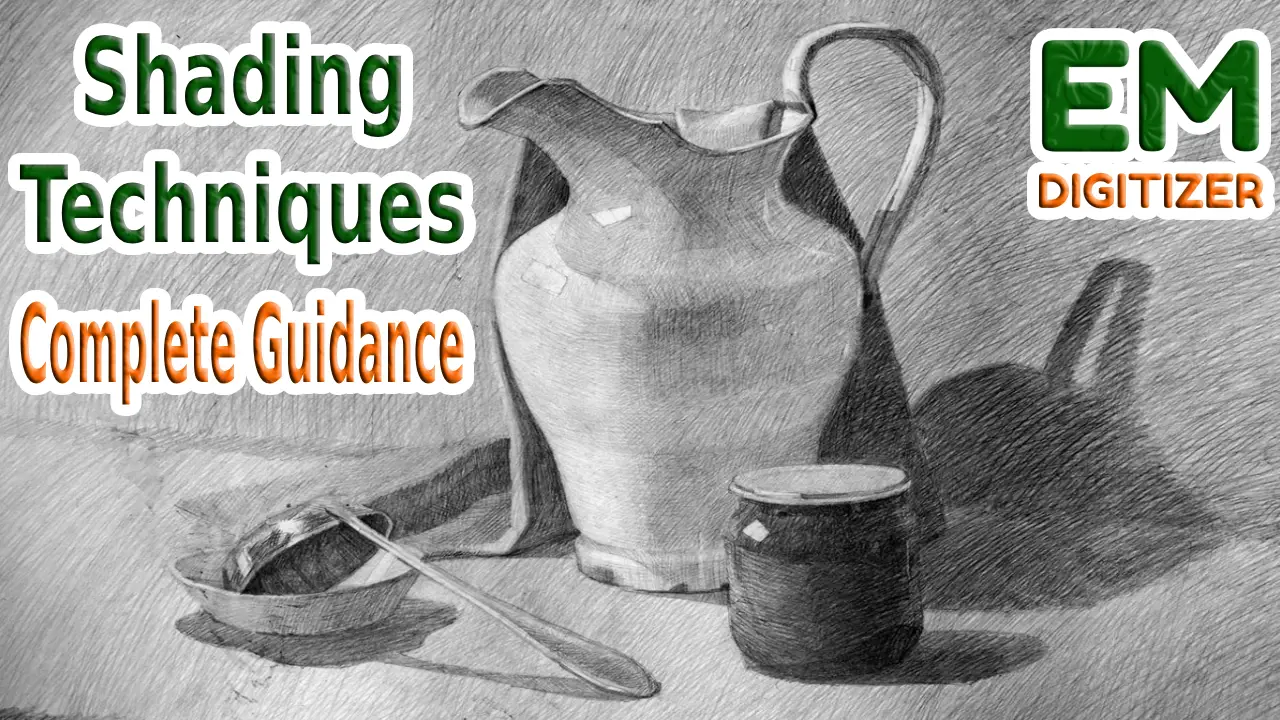
Are you an avid sketcher? Therefore, it’s crucial to learn shading techniques. Considering that it is the essential component that changes the visual appeal of your drawings.
Table of Contents
ToggleEverything you created with a pencil seems to be realistically depicted in the drawing. Finding the best shading techniques will help you produce better final results. I’ll give you a quick rundown of various shading techniques in this blog.
Embroidery Digitizing Services
If you are looking for embroidery digitizing services, EMDigitizer is one of the best embroidery digitizing companies. Providing all types of embroidery digitizing Services. I recommend you try digitizing services.
Order NowGet Free QuoteWhat Is Shading And Why Does It Matter In Drawing?
Shading is the magic that allows drawings to come to life. It entails comprehending the various ways that light and shadow interact with objects. Shading is a tool used by artists to give flat paper the appearance of depth and form. It highlights key lines, offers cool details, and highlights shapes.
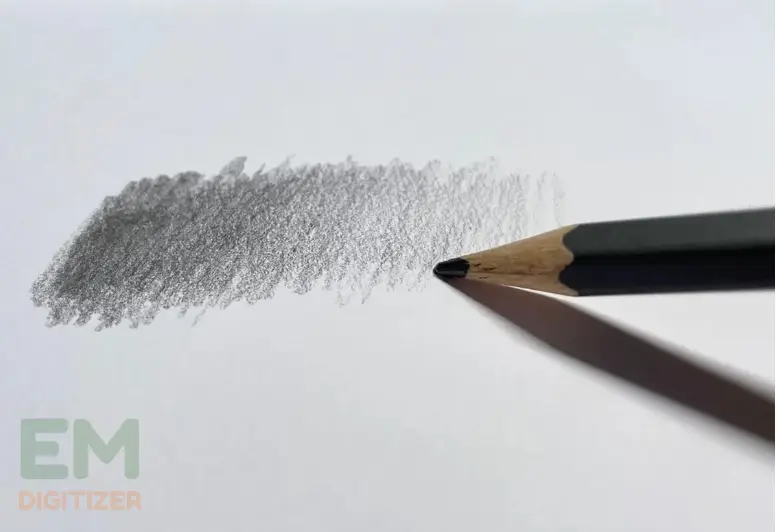
This gives drawings more life and strengthens the emotional bond between viewers. Additionally, shading helps draw attention to key areas and gives drawings a particular feeling. Hence, it improves the overall appearance of the drawing.
Which Pencil Should Be Used For Shading?
For achieving a variety of tones when shading, artists typically use pencils with a finer lead. For shading, B pencils (like 2B, 4B, and 6B) are the best choice because of their lighter composition.
One can find a perfect mix between getting deep shadows and still having control over the shading process by playing with various B grades.
For even easier transitions between light and dark areas, try using blending tools like trillions or mixing stumps.
A Guide To Shading Techniques:
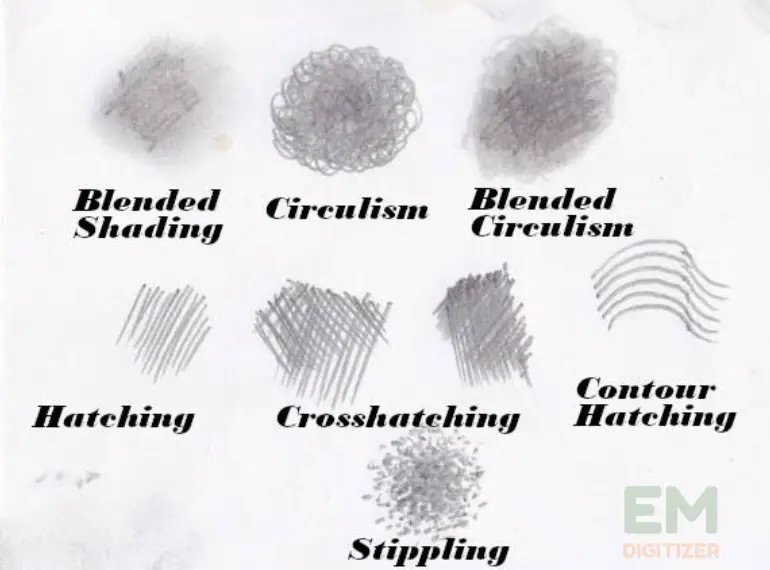
The technique of shading allows you to give your drawings more depth as well as an angle. When it comes to creating genuine and attractive paintings, these basic shading techniques will help you get started.
Hatching:
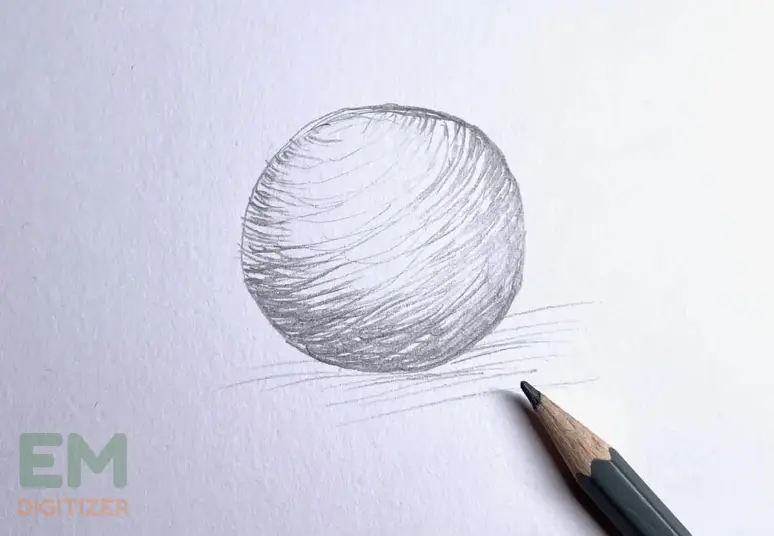
To make a hatch pattern, draw straight lines that are close to one another. Use this method to change the angle and distance of your strokes to depict light and shadow. To get different effects, you can change the thickness, length, and space of those lines.
Suitability:
- When drawing textures such as grass, cloth, or hardwood, hatching is a good technique to use because a straight line can accurately depict their detail.
- Hatching offers a neat and controlled way to shade that is perfect for defining forms and contours.
Cross-Hatching:
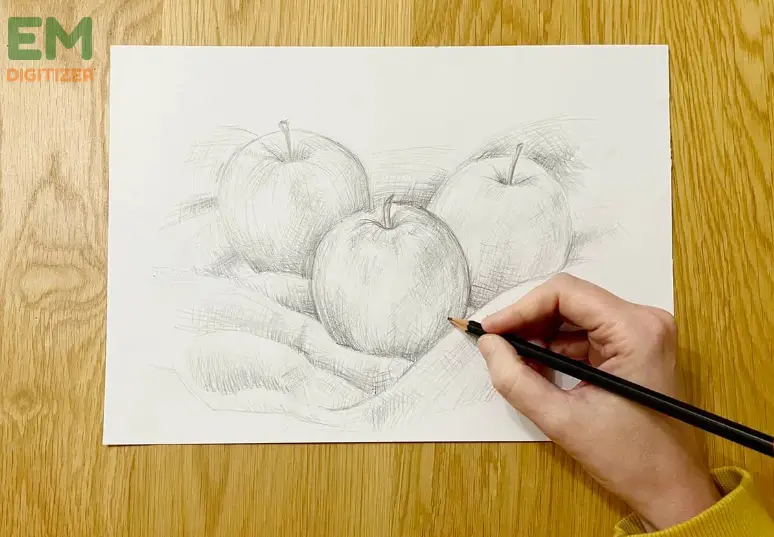
Cross-hatching builds upon the hatching technique by layering intersecting sets of lines. This method is used for dark shading.
It adds a sense of depth by varying the angles and density of the lines. Use finer pencils, such as an H pencil, and begin with gentle strokes when cross-hatching.
Next, gradually incorporate more cross-hatches onto the surface to highlight specific areas. Remember to maintain large spacing between lines in light areas. And less distance between them in the darkest sections.
Drawings that incorporate cross-hatching are more dynamic and flexible, which makes them ideal for expressing mood and vibrancy.
Suitability:
- For capturing the 3D look, this is the best-used approach.
- You can successfully depict shadows by adjusting the angle and thickness of the strokes.
- Well-suited for shading objects with textured materials.
Blending:
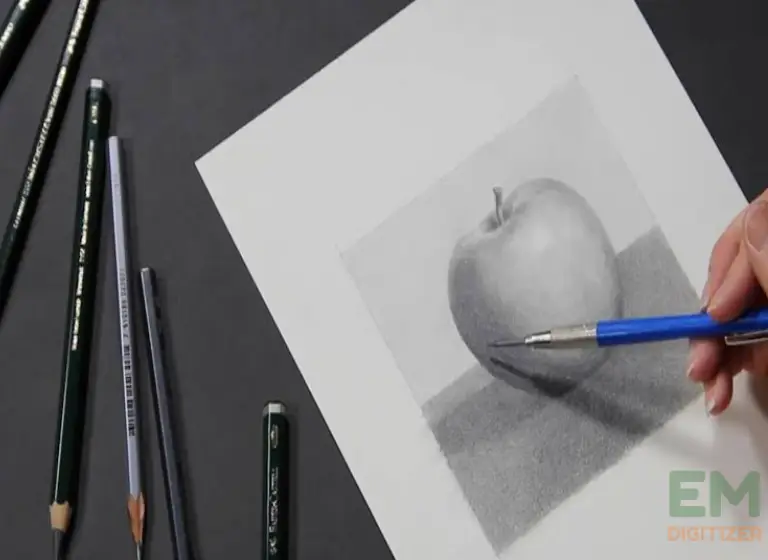
It involves smoothing out pencil strokes to create seamless transitions between shades. This method is ideal for achieving a soft and realistic look in your drawings.
Blending can be done using your fingertip, blending stumps, or even tissue paper. If you are skilled at shading, mastering the blend is probably the method you will use most often.
Drawings must be refined to have a flawless, professional appearance. Lines must be smoothed out to create soft gradients by blending.
For a smooth appearance when shading, lightly slide your pen around. Add additional crossings to shade the parts you want.
To achieve a similar shade, adjust the duration of your strokes to prevent them from being too uniform. As well as make sure they are all directed in the same way.
Make it basic for now, but feel free to experiment with alternate paths if you desire complexity.
Suitability:
- In drawings, blending is a great way to achieve a smooth, realistic skin tone.
- Additionally, blending can be used to create a soft, smooth effect when displaying delicate objects like clouds or distant mountains.
Stippling:
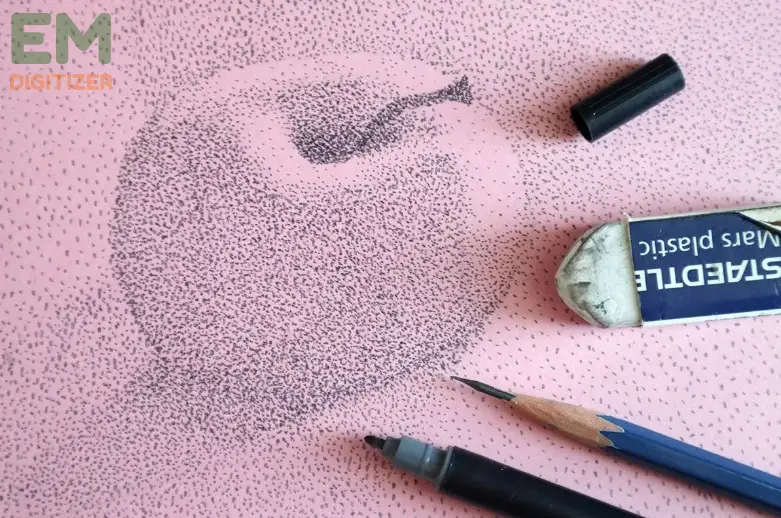
It is putting dots in the right places to create shading. Artists can create a variety of shapes and patterns by adjusting the quantity and placement of those dots. Stippling yields distinctive and detailed results, but it takes time.
begin by lightly sketching a contour on the paper before you begin stippling. If you are proficient, try creating the outline with tiny pencil dots so that it appears less prominent in the finished drawing.
Suitability:
- Excellent at capturing textured stuff, fur, and leaves.
- For small changes in light or to produce visually captivating effects, use dots.
Highlighting:
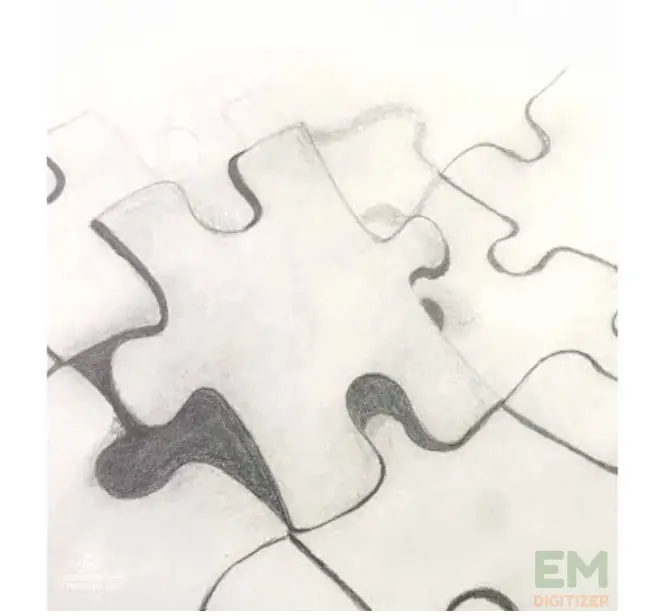
To point out an object’s bright areas, certain areas should be uncolored or only slightly shaded. It gives your drawings a more realistic feel by simulating the interaction of light with objects.
Highlighting works wonders for creating contrast. And it illustrates how light reflects off shiny objects.
Suitability:
- This method is effective for drawing shiny or highly textured objects.
- Since the nose and cheekbones are typically the areas that receive the most light. It helps to draw attention to those features in portraiture.
Scumbling:
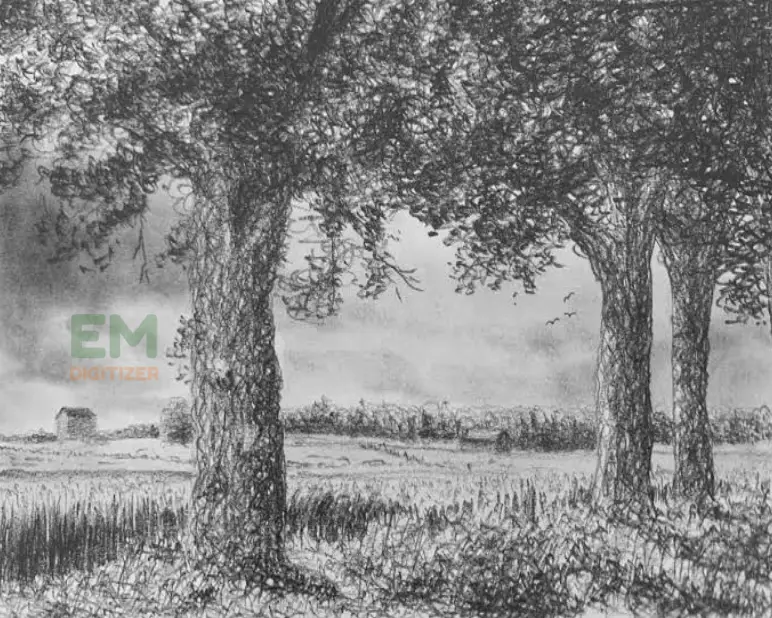
Scumbling is a shading technique that produces a smooth, ambient effect by applying a thin coating of misty or uneven pencil strokes.
For projects that want to create a dreamy or wispy atmosphere, this method is especially helpful.
Suitability:
- It can be used to create a fine backdrop in scenes or to depict clouds or mist. It gives an elegant texture.
Gradient Shading:
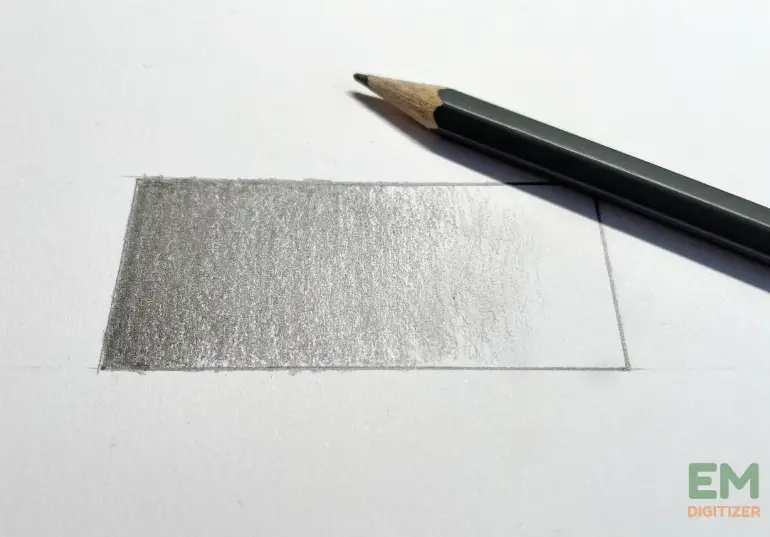
A continuous change in tone from light to deep or the other way around is called a gradient. This method works particularly well for capturing the tone that occurs in nature.
When a soft change in shade or tone is needed, gradients are frequently used in:
- Backgrounds
- clouds
- and large objects.
Suitability:
- Gradients are a good choice for subtle background and complexion variations.
Rendering Technique:
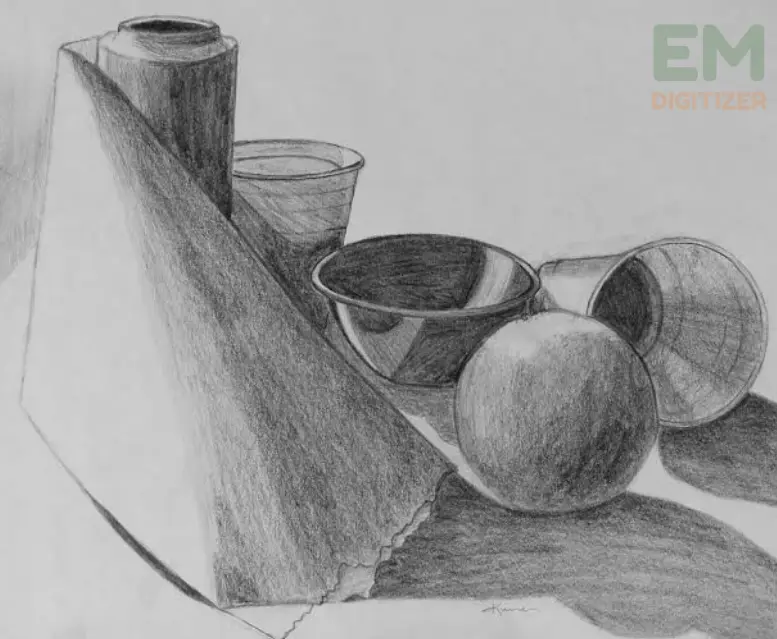
In drawing, it’s regarded as one of the best shading methods. A realistic portrayal is achieved by carefully mixing tones and textures.
For tasks requiring a high degree of accuracy and detail, this method works especially well. Set up a source of light and learn how it affects the items in the sketch to apply to render properly.
Next, to depict the minute details of light and shadow, progressively layer and mix various shades.
If you want to attain a glossy and smooth end, take note of the slight shifts in shade. And do experiments with different pencil presses and strokes.
Suitability:
- Rendering is frequently used for themes where particulars and an authentic look are important. Such as construction plans, lifelike scenes, and photography.
Smooth Shading:
By highlighting a smooth, even shift between dark and light, smooth shading expands on the idea of gradients.
This method works well for materials that need a high level of accuracy in texture. Smooth shading is frequently used on objects with uniform surfaces. Such as circles, spheres, and other shapes.
Suitability:
- Items with soft or reflective finishes, such as pottery or glassware appear more realistic when they have smooth shading applied.
Effective Tips For Shading:
1- Gently move from lighter to deeper shades as you set up the darkening layers.
2- Keep some elements more muted and choose which areas to highlight with fine detail.
3- Use a variety of shading techniques to accurately depict a range of textures.
4- According to the shape of the object you are drawing, focus on the angle of light and shade.
5- Think about the significance of the empty spaces in shading.
6- Try combining shading techniques with blending colors to create a more lively and dramatic piece of art.
7- To add even more depth to your shading, try using colored pencils and different materials.
8- Learn how to depict materials’ visibility and shadows on reflective surfaces.
9- Recognize the effects of light on transparent materials such as water and glass.
Conclusion
Mastering shading techniques makes your artwork look fantastic! The important thing is to understand how light and dark interact, regardless of whether you are using a pencil or other tools.
Keep in mind that every artist creates an individual style by self-expression and adaptability. So, take note of your settings, and don’t be scared to mix and match techniques to achieve the aesthetic you need.
Yes, you can use shading techniques with a variety of drawing media such as pastel colors, charcoal, dye, carbon pencils, and more. The concept of shading is the same for all media. But minor changes might be necessary.
To shade a subject realistically, one must comprehend its shape, texture, and light action. To get an authentic look, concentrate on studying actual objects, adjusting the pressure of the pencil, and exploring various shading methods.
Indeed, highlighting facial traits and contours is frequently a part of portrait shading. Portrait sketches can become closer to reality by utilizing methods such as gradient coloring, blending, and close examination of shadows and light on the skin.
Sure, one can use fingertips, tortillas, or stumps to mix light-to-shadow moves smoothly. Try out various tools to see which one suits your favorite drawing medium.
If you have any questions leave the comments or you can visit our social channels for more updates regularly. We provide embroidery digitizing services if you need digitizing services feel free to contact us or email us.

