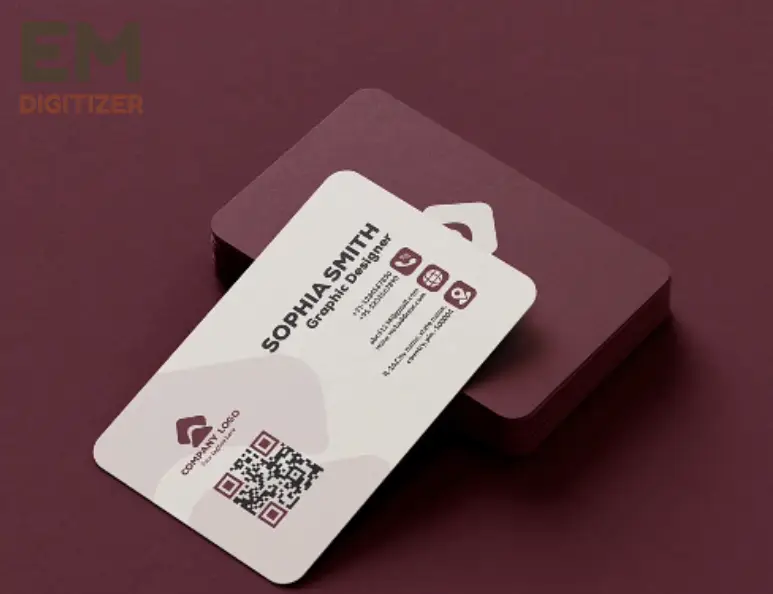
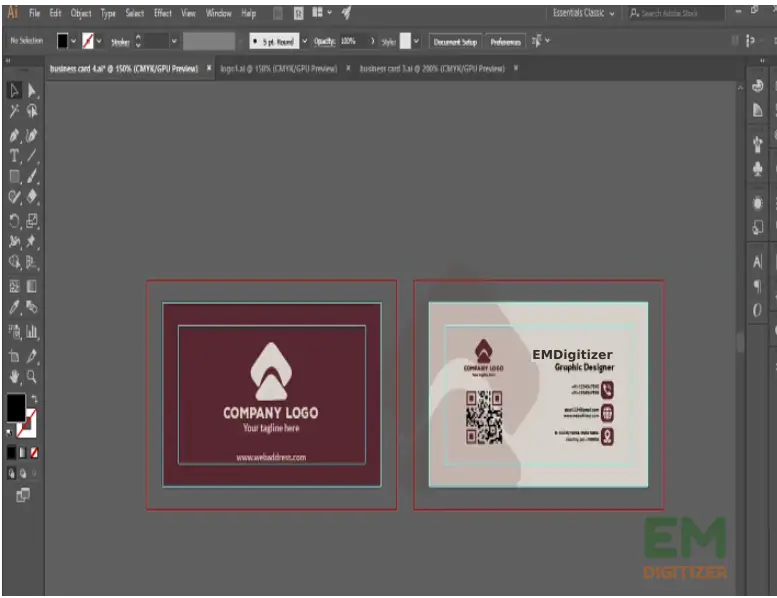
If you own the brand, having a small business card along with your journey is worth it. This is something you choose to show your clients, short yet important details of your brand for marketing exposure. It typically includes your name, brand name, postal address contact, website logo, etc. Whatever you choose to put on a card, its size and dimension matter.
Table of Contents
In this article, we will share the optimum business card sizes (inches or cm) and the guidelines on how to create a smart business card most easily.
Overview
A business card is a sheet of paper that reveals your personal and professional identity to tie short-time meeting strangers into long-term professional relationships. Hence, it is one of the catchy, smart, and useful promotional items to keep in your wallet.
When you start working on creating a good business card, think of the intended purpose and design parts such as logo, color scheme, card size, shape, and visual appeal. What makes a business card good or bad is the amount of information you put according to the card size and use. Whatever style of card you choose, vertical or horizontal, square or rectangle, you must learn the standard size range for each style that will allow you to use the card area appropriately.
Business card size and dimension
The acceptable size is 3.5 x 2 inches which works better for any category. Size is the measure of width and height taken in inches and dimension also has both factors but includes the length too. This size and dimension ranges vary based on shape and state-to-state. For example, 3.370 x 2.215 (standard European size) or 3.54 x 2.26 (Australian standard size).
The same difference is based on the card shape which varies from 2-2.5 (square to standard) inches or 3 inches and so on.
4 elements that are part of a good business card:
For making a meaningful and high-grade card, make use to focus on these 4 pillars of good business cars
1. Design
It reflects the way by which we enter primary and secondary information on a card. The information must be clear and arranged in order. The best-designed card is the one that has a definite logo and color scheme.
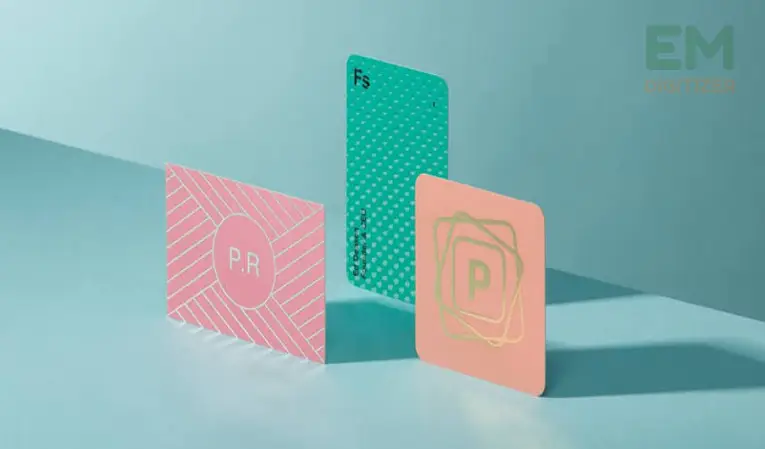
2. Shape
It typically comes in rectangle, mini, square, die-cut, or folded shapes. It depends on how many details you can add to a card.
3. Finishes
It includes how you add special effects or some texture to your card that looks professional and smart. It includes the overall visual appeal and card material quality factor.
4. Paper type
This paper is just like a hand sheet that needs to be ductile and of good quality to reveal a good brand impression. The best paper used for business cards is:
400gsm silk: It is the classic card paper that provides enough thickness to be used for quality cards.
Embossed/mat laminated: Somewhat makes your card more impressive.
Uncoated Paper: Great to make negative space featured cards for writing especially for appointment card
Recycled offset: Best for environment-conscious people.
Specialty paper: Metallic coated embossing or foil stamping.
Spot UV: Provide striking appeal and facilitate energetic client talks.
Some pro tips before designing a card
1. Designing tool
Choose carefully where you want to design your card such as Canva, InDesign, Photoshop, or Illustrator, etc.
2. Must add bleed, safe, and trim area
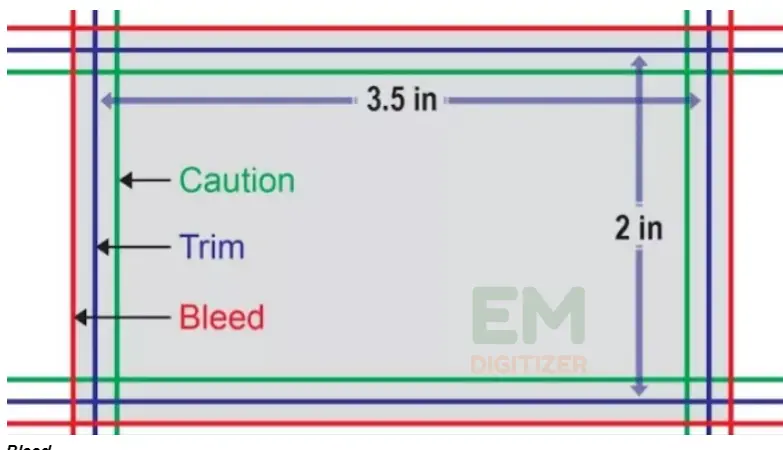
For printed cards, make sure you set the bleed on a document.
Bleed
It is referred to as the larger area around the original card size. It is usually represented by a red line. This is the area that will be trimmed off after you have finished printing. It gives a neat look to all the information and design elements.
Caution or safe line
It is another boundary within the trim area to protect cutting necessary detail of the card.
Trim area
It is the final card size received after cutting the safety line.
3. Choose fonts carefully
A business card font must be legible and clear. There is no limit to being creative with card shape and design but keep the font simple so that your clients won’t find it hard to read. It is a good practice to test printing to visualize how your text goes out with a card.
4. Leave some negative space
It is the small blank area on a card that the client uses to write a date or a contact detail while having a fruitful discussion with you. This feature also avoids cluttering and putting too much information on a card.
5. Beware of size and margin
As said earlier, the size varies according to the country. Other than standard(3.5 x 2 inches), go and scroll the size used in your area, and then be careful of bleed and add a margin a half inch away to keep content cutting from the printing edge.
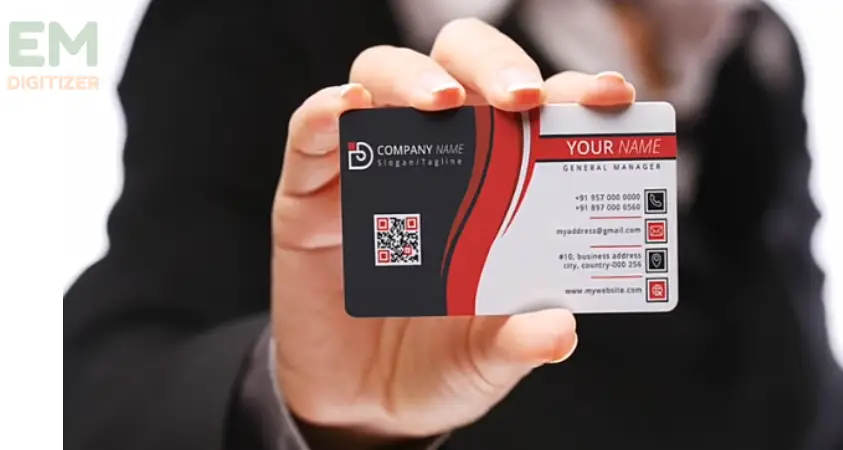
6. Add a QR code or web link for some action
We can call it an action button by adding a QR code or a link that makes your brand accessible on the spot. It makes the clients reach and contact you which causes leads for your company because the card itself is a marketing tool. You can also add a discount coupon or something mysterious that forces the clients to browse your brand.
How to start making a standard card?
This process has 9 basic steps. Let’s delve down deeply.
Step 01: Gather essential detail
Regardless of card type, Branding, or visiting card, recheck the following details sent by your client.
Personal and contact details:
Ask for personal details such as owner and brand name, contact and mailing details, or any digital handle.
Company detail:
It includes the name of the firm, logo, color pattern, text, or anything your client wants to add to a card.
Card shape:
Square, Round, rectangle, or die-cut.
Size:
Try to stick with a standard size that is 3.5 by 2 inches, it is easy to handle and works best with any of the business card categories.
The sequence of putting this detail on the card:
If you are designing a branding card, first add primary details such as a logo with the name, and then move on to contact details on one side.
Step 02: Document setup
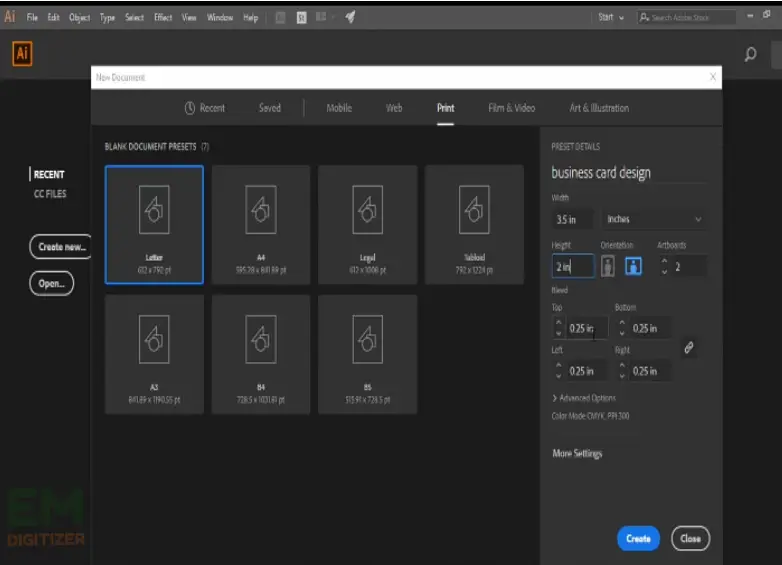
After you have all the client’s details, it is very important to set your document to give a perfect card shape. Open the illustrator. Click on the file and open a new document.
Preset detail
From the top right corner, move to preset detail. Enter the file name, let’s say “business card print template”.
Width and height
Select 3.5 and 2 respectively. Make sure to select the unit “inches” for both.
Orientation
Horizontal or vertical. But for a standard branding card, go with a horizontal position.
Artboard
Choose 2 for the front and back side of the card.
Bleed area
Set the bleed area by 0.125 inches for the 4 corners (top, bottom, left, right).
Resolution
300pi
Color mode
Choose CMYK for printing business cards. Now click on “create” and you will go to the new page.
Step 03: Artboard preparation
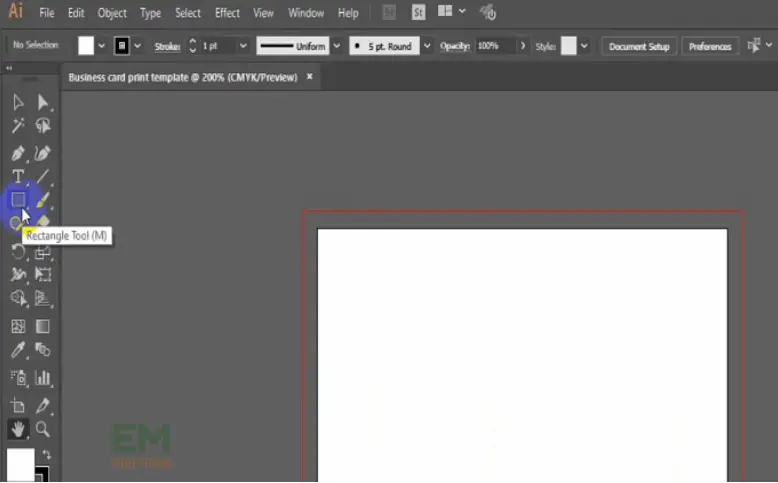
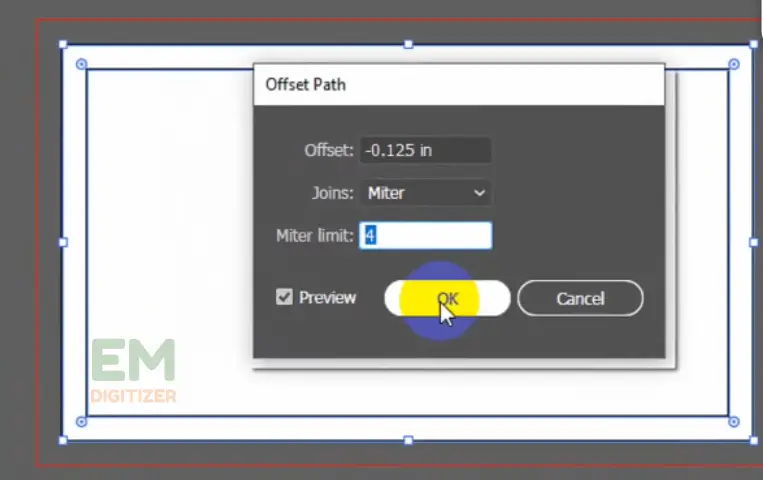
- Go to the rectangle tool to create a safe line with the same width(3.5 inches) and height (2 inches) of the bleed zone. Then align it to the first artboard.
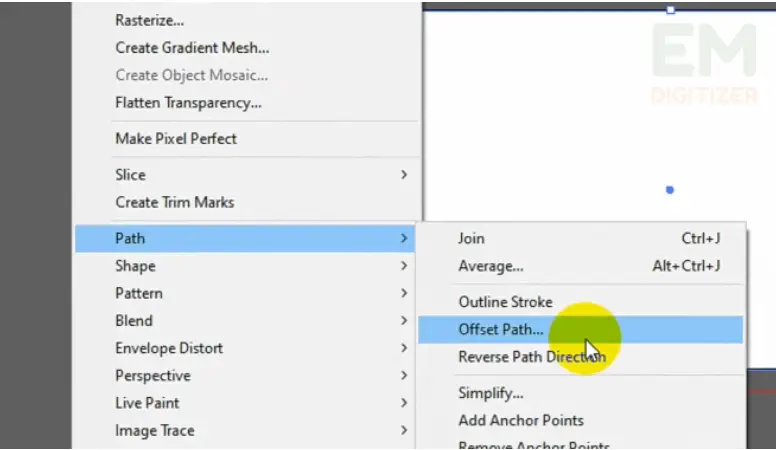
- Move to the object menu, and click on “Path”.
Then choose “Offset path” set its value to -0.125 inches, and click ok.
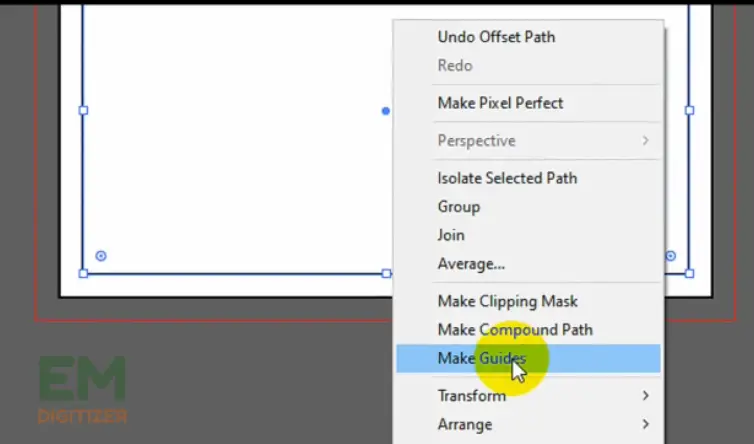
Make guide
Again click on the rectangle tool and repeat the same step to add a safer zone for the second artboard.
Step 4: Add background and color
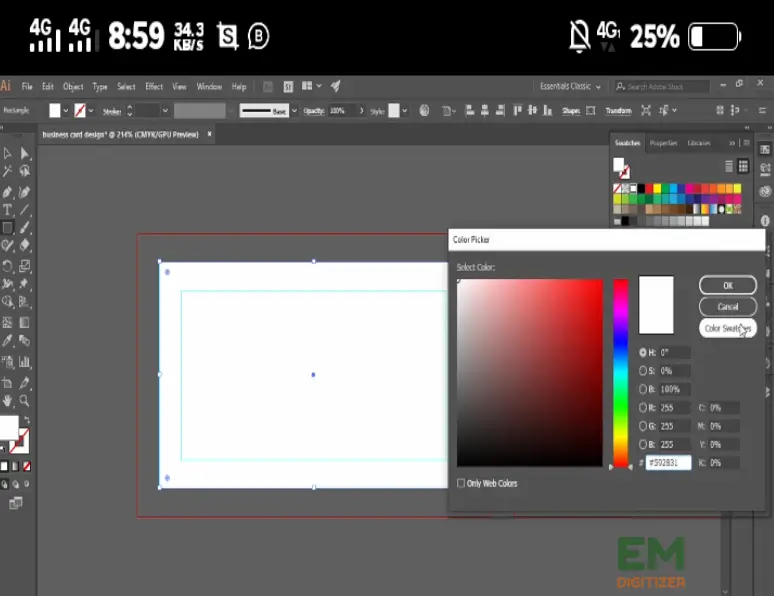
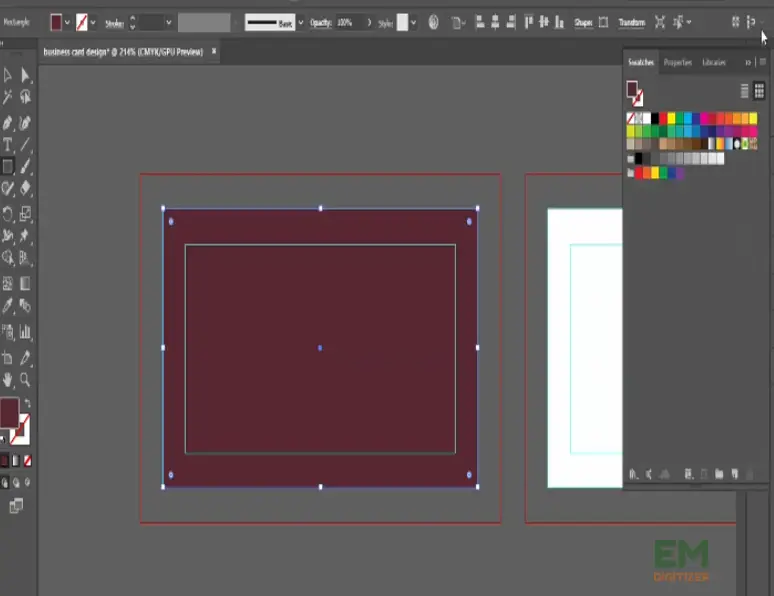
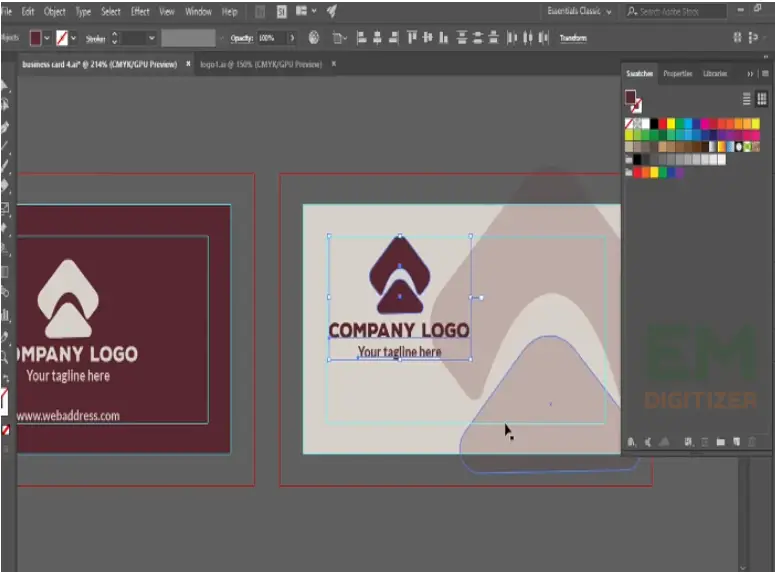
Choose a rectangle tool and put it on the 1st artboard. From the top left corner, choose the stroke tap none, and proceed to the color swatches.
Choose a color picker and add your color code to get the desired color.
Step 5: Place the logo
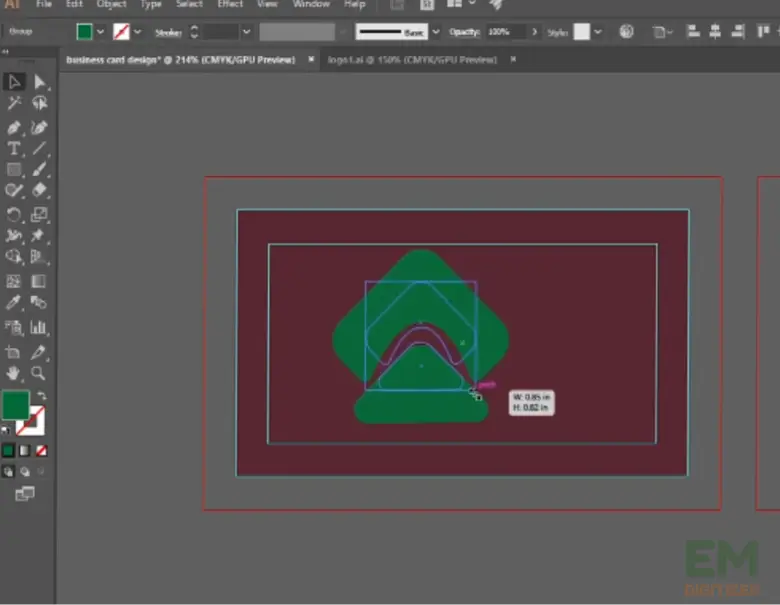
Copy the client logo which you saved in a Word file and paste it on the front card.
Adjust angle:
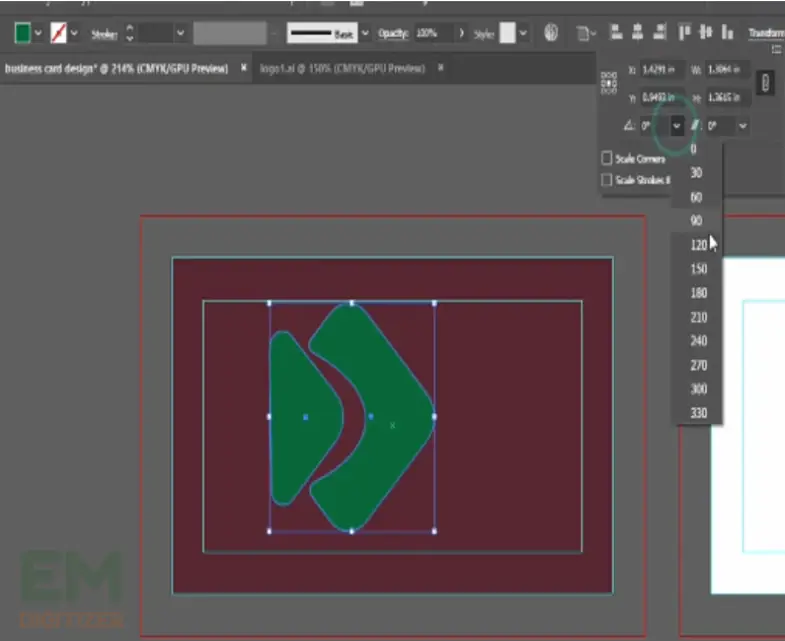
To adjust the angle, choose the transform tool and rotate it to 90°.
Adjust size:
Choose a selection tool for resizing the logo.
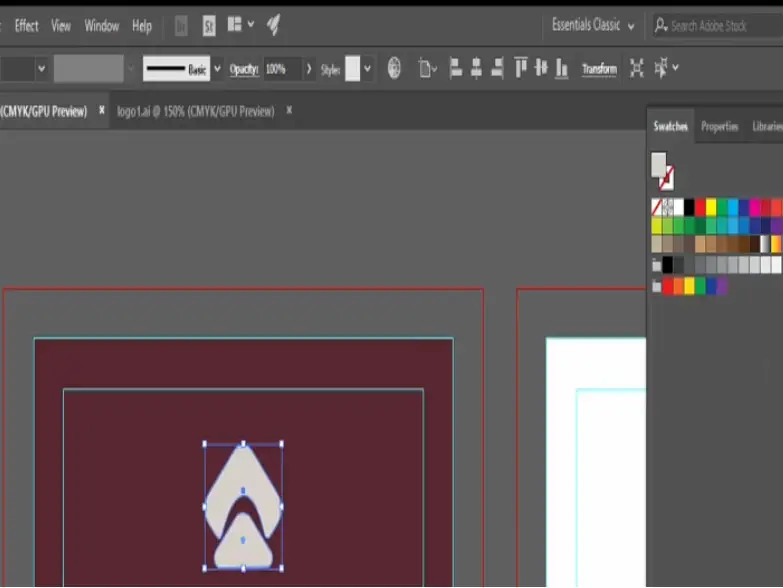
You can also move the mouse up and down to align it in the center or left-right and then choose a color for a logo similar to the background.
Step 6: Add text
Choose Type Tool or select T from the keyboard to enter the text beneath the logo.
Change the font to “Nexa black” size 14 enter your company name in a readable format and allot it the same color just like the logo.
In the same way, drag down the text box to copy and enter your slogan here. For the second heading, you can change the font size and color.
Step 7: Move to the second artboard
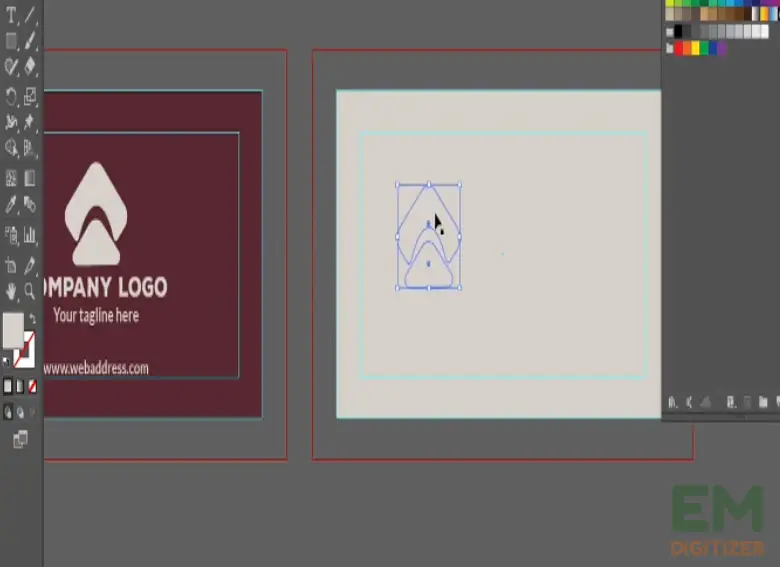
- Copy the logo, paste it on the back side, and select and align its position to the right or on the left side.
- Decrease the logo transparency and set the opacity to 16. Again select the logo and slogan to the 2nd artboard and adjust the size.
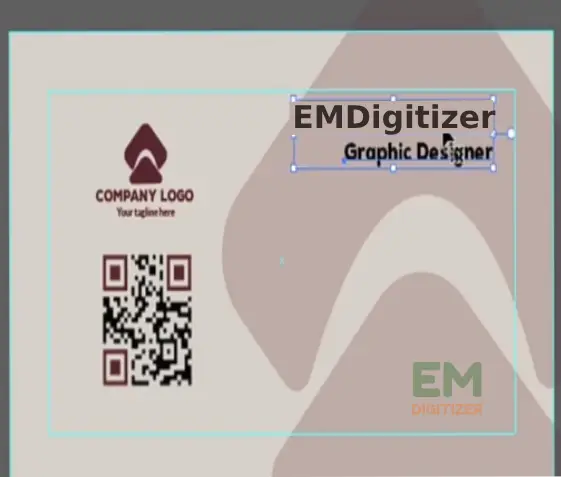
Step 8: Add QR code
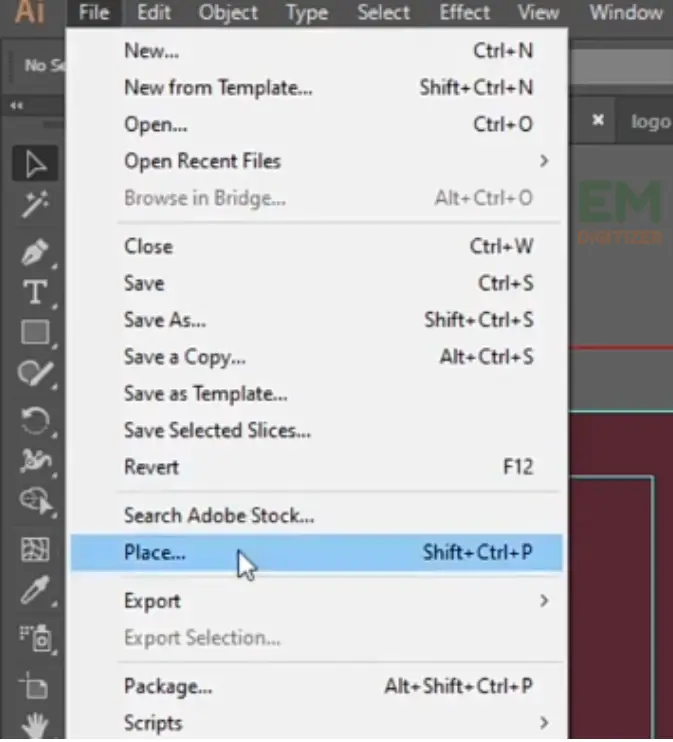
Move to the file menu, scroll down select place, and add QR code.
Adjust the properties to 0.616 inches. Click and drag the arrow keys to adjust its size.
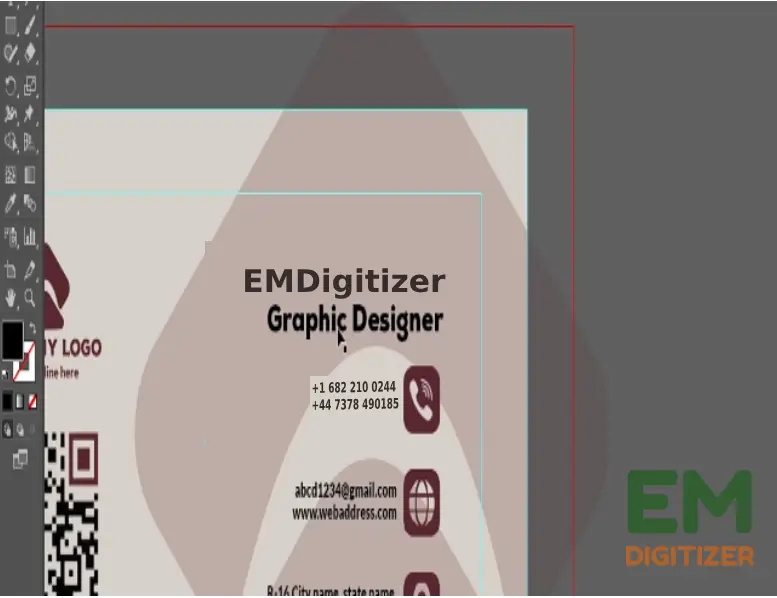
Step 9: Add personal detail
In the last step, add your client’s details just like I am doing. Again move to the place option to add phone, address, and web icon.
Adjust the width and height to 0.2 inches. Add drag the relevant detail in front of the icon and set the position.
Congratulations! Our professional business card is ready. In this way, you can create any type of business card with perfection.
Conclusion
Hopefully, you will get basic learning of card size, dimension, shape, finishes, and paper quality. If you are a card maker or a small business owner creating a card by yourself, make sure the size, text, and color scheme align with the purpose and convey your brand message properly. Keep the font simple, shape right, color cmyk, and beware of bleeds. Do the practical by yourself by keeping our guide in mind and soon you realize how easily you create your business card.
Size is the measure of width and height taken in inches and dimension also has both factors but includes the length too. This size and dimension ranges vary based on shape and state-to-state.
400gsm silk, Mat and glossy lamination, Uncoated Paper, Recycled offset, specialty, and Spot UV papers are highly recommended.
Some preferred designing tools are Adobe Illustrator, Photoshop, Indesign, Coreldrew, Canva, Or even MS Word. These are accessible to both graphic designers and small business owners.
If you have any questions leave the comments or you can visit our social channels for more updates regularly. We provide embroidery digitizing services if you need digitizing services feel free to contact us or email us.

