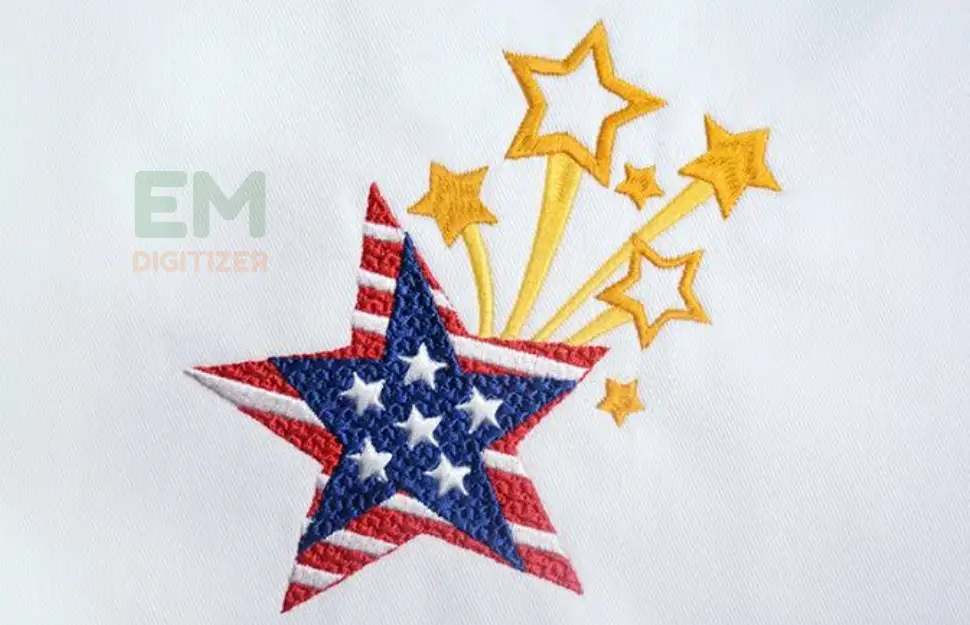
If you want to make fancy designs easily, making a star with a machine is a good project. You can do it with your sewing machine! We’ll show you how to embroider a star design step by step. It’s a fun way to be creative with embroidery!
Table of Contents
ToggleEmbroidery Digitizing Services
If you are looking for embroidery digitizing services, EMDigitizer is one of the best embroidery digitizing companies. Providing all types of embroidery digitizing Services. I recommend you try digitizing services.
Order NowGet Free QuoteOverview
Creating star designs with a machine is a fun and satisfying way to make your fabrics look fancy with celestial beauty. When I started learning about machine embroidery, I was amazed by how detailed and precise it could be.
Discovering how to embroider stars was like unlocking a new world of creativity because of the speed and accuracy it offers.
Unlike doing it by hand, which takes a long time, a machine can make perfect star patterns quickly. This saves a lot of time, especially if you have many projects.
You can put stars on clothes, decorate your home, or make special gifts with machine embroidery. Your ideas can be as creative as possible because machine embroidery is flexible.
Machine-embroidered stars are tough and last a long time. They handle rough use much better than stars stitched by hand.
So, whether it’s on your favorite denim jacket or a sturdy tote bag, these stars will look great for a long time.
Learning how to embroider a star with a machine opens doors to customization. You can add stars to clothing items, accessories, home textiles, etc. This craft lets you put your personality into every stitch, making beautiful and meaningful designs.
Check out this link to learn more about machine embroidery in detail.
How To Embroider A Star With Machine:
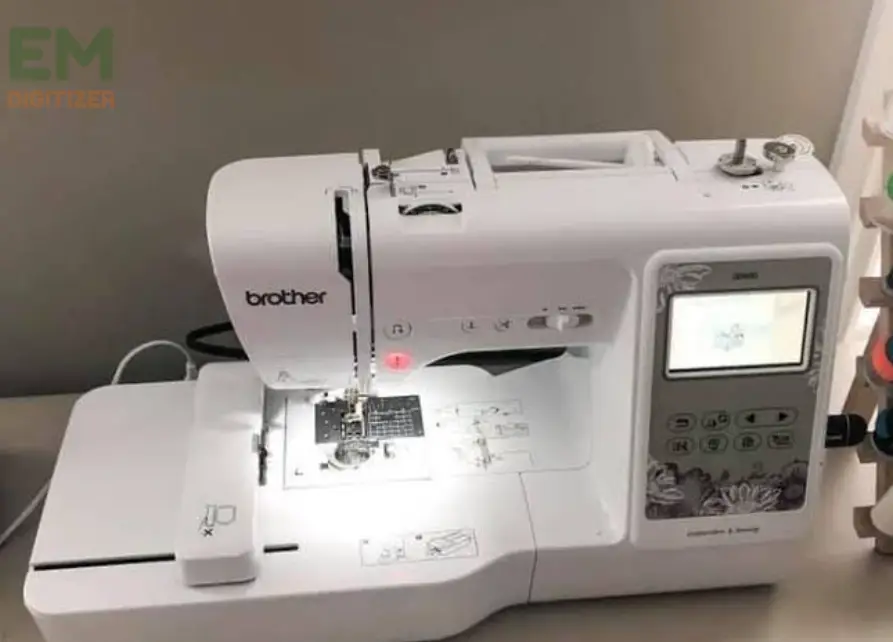
Let’s say you want to embroider a blue star onto a white cotton pillowcase using a Brother SE600 sewing and embroidery machine.
For more information about the pros and cons of using the Brother SE625 machine for embroidery, check out reviews.
Material You’ll Need:
To embroider a star design with a machine, you’ll need a few essential materials. Let’s break them down:
Sewing Machine:
A computerized sewing and embroidery machine like the Brother SE600, allows you to upload and embroider various designs, including stars.
Other popular brands of Brother’s best sewing machines include:
Embroidery Thread:
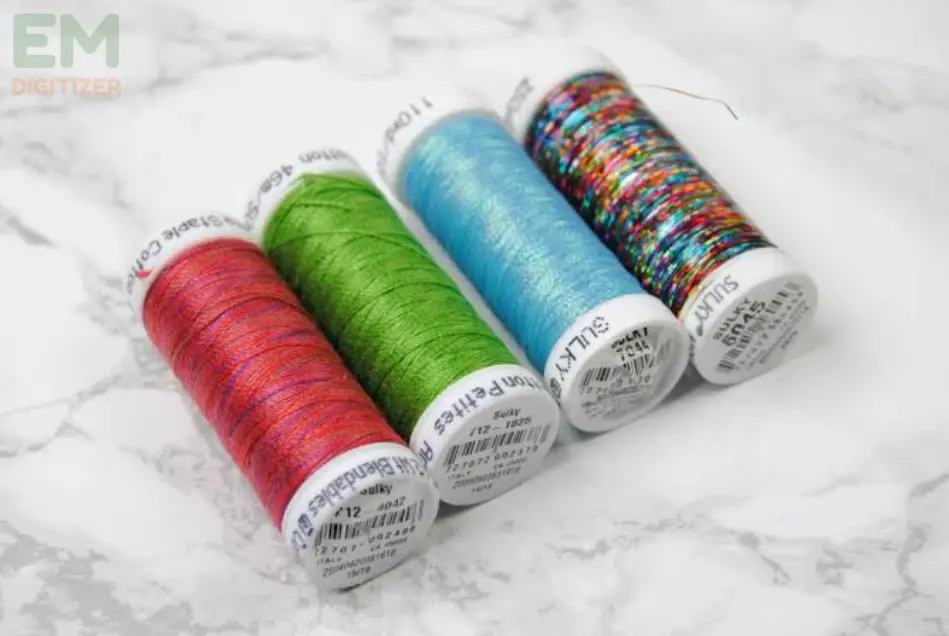
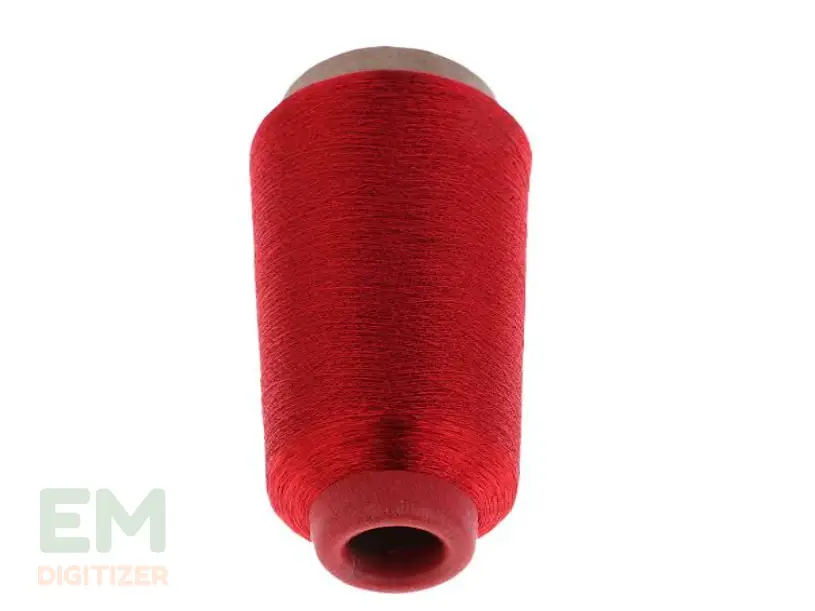
High-quality embroidery thread is essential. Brands like Madeira, Sulky, or Gutermann offer various colors. For instance, if you’re embroidering a golden star, you’ll need a shiny gold embroidery thread.
Everything to know about selecting the best machine embroidery thread for various projects has been provided in this blog.
Bobbin Thread:
Load your bobbin with the same thread as your top thread or one that matches your fabric. For instance, wind a red bobbin thread if your star is on red fabric.
Stabilizer:
if you’re embroidering a delicate star on a lightweight fabric, you might use a tear-away stabilizer to provide support without leaving residue.
This is a detailed beginner’s guide to the best machine embroidery stabilizers.
Needles:
If you are embroidering a star on denim, you’d use a size 90/14 embroidery needle.
Fabric:
Cotton fabric or a fabric piece like this white cotton for your embroidery project. Ensure it’s clean and ironed.
Selecting Star Design For Embroidery:
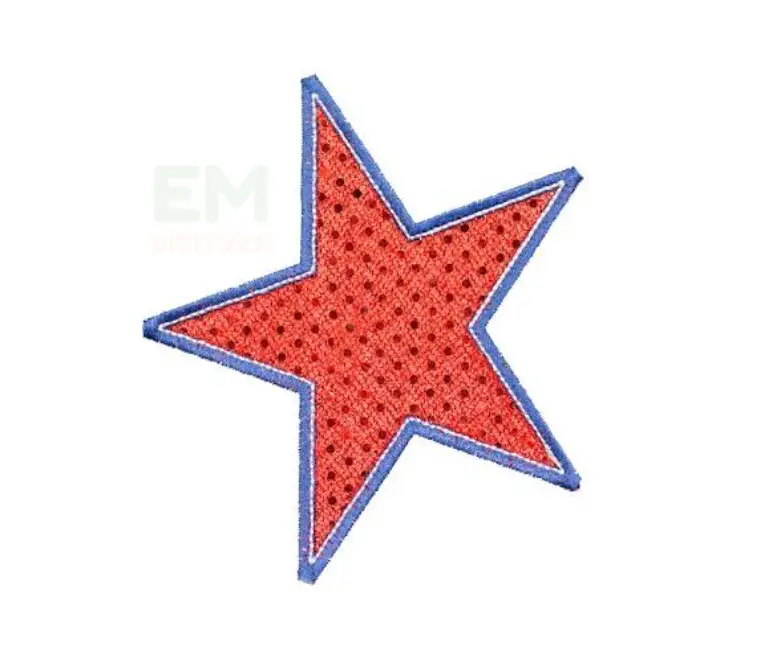
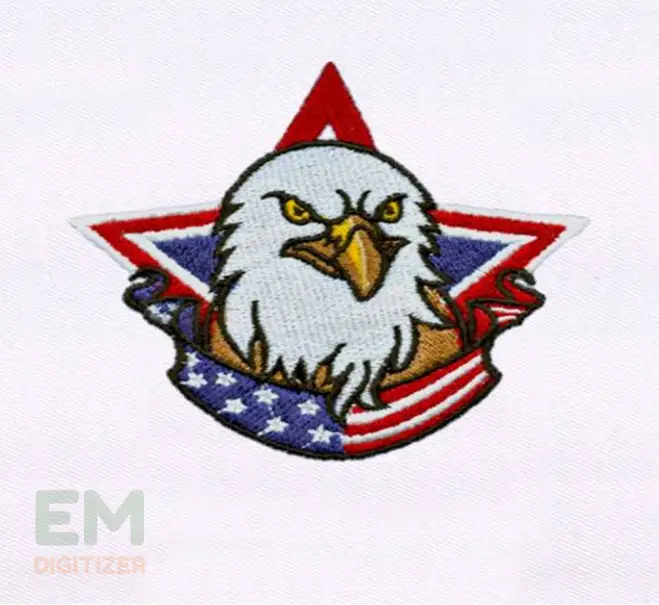
You can find star designs online through embroidery websites or purchase design files compatible with your machine, like this star embroidery design collection.
Selecting the perfect star design for machine embroidery is a crucial first step in making your project look great.
So the first step in learning how to embroider a star involves choosing your star design by considering factors such as size, complexity, and style.
If you’re just starting, it’s a good idea to choose a simple star with clear lines and not too many details. Also, think about the theme of your project and how the star fits in.
You can choose a regular five-pointed star, a playful shooting star, or even a starry constellation. make sure it matches what you want to create and how you want it to look.
A Step By Step Guide:
Here’s a simple step-by-step guide on how to embroider a star design easily using a machine, so you can make beautiful projects with confidence.
Step 01: Gather your materials, including your sewing machine, blue embroidery thread, tear-away stabilizer, white cotton pillowcase, and an embroidery hoop.
Step 02: Select a star design from your collection or download one online. Transfer it to your Brother SE600 using a USB drive or the machine’s built-in designs.
Step 03: Load the machine with the blue embroidery thread, both in the needle and the bobbin, following your machine’s instructions.
Step 04: Hoop the white cotton pillowcase with a piece of tear-away stabilizer to keep it taut and stable during embroidery.
Step 05: Attach the hoop to your sewing machine. Use the machine’s screen to position the star design where you want it on the pillowcase.
Start the embroidery process, and the machine will automatically stitch the star onto the fabric.
Step 06: After the embroidery is complete, remove the pillowcase from the hoop and tear away any excess stabilizer. Trim any loose threads for a neat finish.
That’s it! You’ve successfully learned how to embroider a star with your sewing machine. You can use this technique to create starry designs on various fabric items, from pillowcases to clothing and more.
Tips And Tricks:
Of course! Here are some easy-to-understand tips for making your machine-embroidered stars shine:
- Pick the Right Thread Colors
Choose thread colors that look awesome with your fabric and star design. For example, if your fabric is dark blue, use bright gold thread to make your star pop.
- Get the Thread Tension Right
Make sure your machine’s thread tension is just correct. If it’s too tight, your fabric might pucker up. If it’s too loose, your stitches might not hold well. Look at your machine’s manual for help with this.
For comprehensive details on how to change the thread tension during machine embroidery, visit this blog.
- Start Slow And Steady
If you’re new to this, begin with a slow stitch speed. As you get better, you can speed up. Slow and careful sewing usually gives better results, especially with tricky star details.
- Trim Excess Threads
Trim thread tails as you go to avoid tangles and messy embroidery. Leaving long tails can lead to loops or knots in your design.
- Check Your Bobbin Thread
Keep an eye on your bobbin thread. Running out of bobbin thread while embroidering can make your stitches uneven. Pause and reload the bobbin if needed.
For better outcomes, click here to read about bobbin thread basics.
- Experiment With Different Fabrics
Fabrics behave differently during embroidery. Try practicing on different fabric scraps to see how your machine likes them. For lighter fabrics, you might need a stabilizer to stop them from puckering.
- Use the Right Needle
Make sure you’re using the correct needle for your fabric. A regular needle is fine for most fabrics, but knits might need a ballpoint needle, and wovens might need a sharp one. Your machine’s manual can help you choose.
- Keep Your Machine Clean
Clean your machine regularly and change needles to keep your embroidery smooth. A dirty machine can cause thread breaks and skipped stitches.
- Take Your Time
When you’re embroidering tricky star designs, don’t rush. It’s okay to pause, check your work, and make changes if needed. Being precise often makes your embroidery look more professional.
- Have Fun Being Creative
Machine embroidery is like art and crafting combined. Don’t be afraid to experiment with different star designs, thread colors, and fabrics. It’s your chance to show your unique style.
By following these tips and practicing the art of machine embroidery, you’ll be well on your way to mastering how to embroider a star with machine embroidery.
Conclusion:
Learning to embroider stars with a machine is more than just a hobby; it’s a fun way to be creative and precise. Using a machine makes it fast, accurate, and long-lasting. Plus, you can earn stars in different styles and colors to personalize your projects. So, why not begin your exciting embroidery project with stars today?
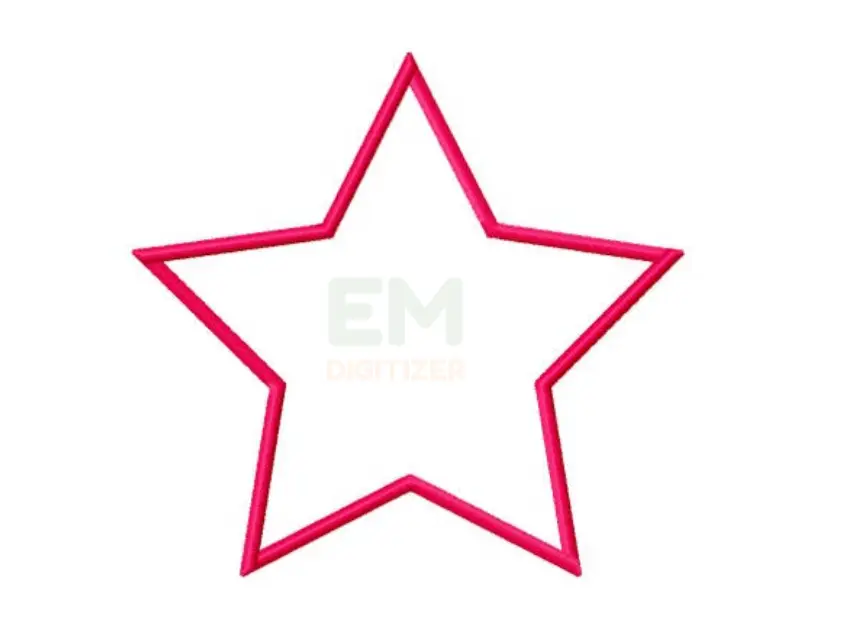
For star embroidery, you can use two main types of stitches: Satin stitches are great for outlining stars, making them look neat and shiny. Fill stitches work best for filling in the inside of the star, creating a solid and colorful shape.
Stars embroidered by a machine are strong and can last a long time. To take care of them, wash your items inside out on a gentle cycle, don’t use strong detergents, and it’s best to let them air dry. This will help keep the embroidery looking vibrant.
Begin with easy designs and practice on spare fabric. Take your time; embroidery needs patience. Try out various thread colors and types to see what works best for you.
If you have any questions leave the comments or you can visit our social channels for more updates regularly. We provide embroidery digitizing services if you need digitizing services feel free to contact us or email us.

