Whether you want to revamp an old denim jacket or embellish a bag, embroidery patches can instantly transform your items into one-of-a-kind pieces that stand out in a crowd.
Table of Contents
ToggleEven though hand stitching is a timeless skill, utilizing an embroidery machine may speed up the process and provide uniform, polished results.
We’ll walk you through the process to make embroidery patches in this embroidery tutorial encouraging you to use your creative skills to bring your thoughts to reality.
Embroidery Digitizing Services
If you are looking for embroidery digitizing services, EMDigitizer is one of the best embroidery digitizing companies. Providing all types of embroidery digitizing. I recommend you try digitizing services.
Order NowGet Free QuoteWhat Are Embroidery Patches?
Embroidery patches, a timeless art form that beautifully combines craftsmanship and creativity, have been cherished throughout history for their ability to transform garments and accessories into unique pieces of wearable art.
These patches, often made from high-quality threads and fabrics, are expertly stitched to create visually captivating motifs that reflect individuality and style.
From vibrant floral patterns to customized logos and emblems, these patches offer a versatile and creative way to showcase one’s interests, passions, and affiliations.
Whether adorning denim jackets, backpacks, or military uniforms, one can make embroidery patches to add a touch of personality and character, capturing attention and sparking conversations wherever they go.
Types Of Embroidery Patches
Embroidered patches are versatile and popular embellishments that can be applied to various fabric surfaces. They come in different types, each with its unique characteristics and uses.
Before learning how to make patches, let’s discuss the common types of embroidered patches such as:
Traditional Embroidered Patches:
These patches are made using traditional embroidery techniques with colorful threads stitched onto a fabric base. They often feature detailed designs, logos, or text and are widely used for branding, identification, or decorative purposes.
Iron-On Patches:
Iron-on patches have a heat-activated adhesive backing that allows them to be attached to fabric using an iron or heat press.
They are convenient and easy to apply, making them famous for personalizing clothing, bags, or accessories. Iron-on patches are available in various designs and sizes.
Embroidered Applique:
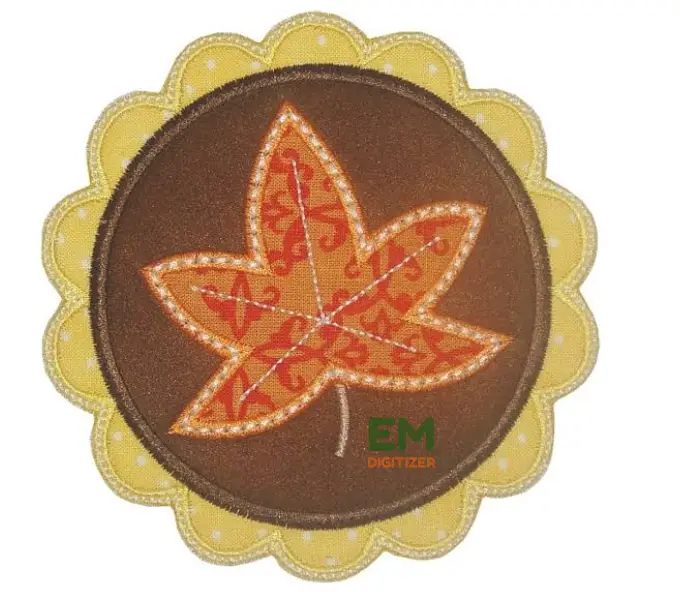
Appliques are embroidered patches with a heat-activated adhesive backing and they are designed to be ironed or sewn onto garments, accessories, or fabrics.
Appliques are versatile and can be used for decorative purposes or to cover up holes or damages on clothing.
Felt Patch:
Felt patches are made from a soft, non-woven fabric called felt. The design is embroidered onto the felt material, which is then cut to shape to make embroidery patches.
They are often used for vintage-style designs, decorative purposes, or as promotional items. Felt patches can be sewn or attached with adhesive backing.
Merrowed Edge Patch:
Such patches create a unique overlock stitch along the patch’s edges and create a border that wraps around the entire patch, giving it a neat and finished appearance.
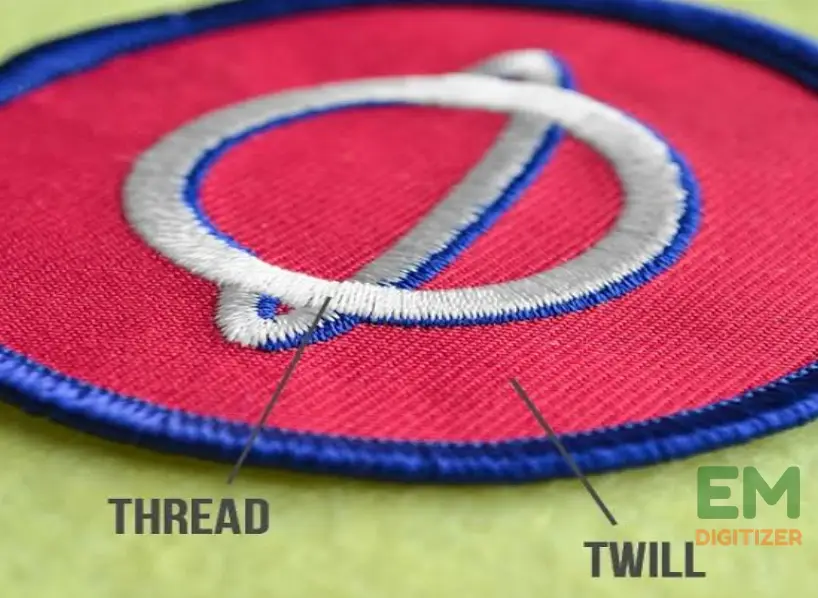
You can make embroidery patches with a twill base that are often used for sports teams, military units, and other organizations.
Thread-Only Patch:
These patches are also known as direct embroidery patches, and do not have a fabric base. Instead, the design is created entirely with embroidered threads.
These patches are highly detailed and have a textured surface. They are usually sewn directly onto garments, bags, or hats and provide a more subtle and sophisticated look.
Chenille Patches:
Chenille patches feature a unique, textured surface created by tufted chenille yarn. They are commonly used for letterman jackets, varsity sports patches, and collegiate or team-related designs.
A Step-By-Step Method To Make Embroidery Patches
This machine embroidery tutorial guides you on how to make patches by utilizing quality materials. So let’s get started.
Step 1: Gather All Materials
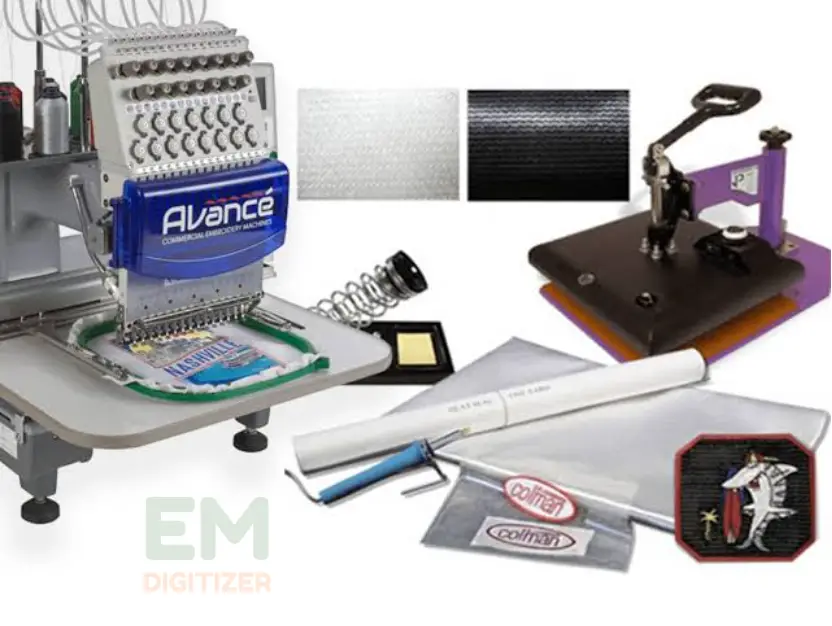
Before diving into the process to make embroidery patches, assemble the following items:
Embroidery Machine: Pick a machine based on your requirements and price range. Check to see whether it can produce patches.
Stabilizer: Different types of stabilizers are available, such as cut-away, tear-away, and water-soluble stabilizer. Select the appropriate stabilizer based on the fabric and design complexity.
Fabric: Choose a suitable fabric by considering its weight, color, and texture.
Embroidery Threads: Put your design into being by using superior embroidery threads in a variety of colors. (Here is a embroidery thread color conversion chart, visit our blog for complete detailed)
Embroidery Hoops: During the needlework process, hoops hold the cloth stiff and enable fine sewing.
Other Accessories:
- Scissors
- Iron
- Pins
- Adhesive backing
- Marking tools that are essential for cutting, securing fabric, and marking guidelines.
Step 2: Designing Your Patch
It’s crucial to develop or select a layout for your patch before beginning the stitching procedure. Tools for machines may be used to produce unique designs.
Alternatively, many pre-made designs are available online for purchase or free download. Ensure that your design is scalable and suitable for embroidery, with clear lines and distinct areas of color.
Step 3: Stabilize
The cloth must be stabilized for avoiding puckering and distortion throughout the procedure. Make sure the cloth is flat and taut by hooping it tightly.
Use a stabilizer depending on the cloth and pattern intricacy below the material to sustain the patch and keep it intact.
Cut the stabilizer to fit the hoop size, ensuring it covers the entire area to accurately make embroidery patches.
Step 5: Prepare the Machine
Carefully lower the hoop onto the machine’s embroidery arm and check the intended material is correctly positioned to make embroidery patches.
Double-check that the needle is aligned with your design and ensure the machine is threaded correctly with the desired thread color.
Step 6: Create a Placement Line
Form a placement line to make embroidery patches using the design tools from embroidered programs as the placement of core material will be aided by this pattern.
Step 7: Add Base Material
To make embroidery patches, measure a piece of background cloth bigger than the required pattern size and arrange it over the hooped stabilizer by simply placing it with the placement line.
Step 8: Apply The Tacking Stitch
The tacking stitch keeps the backing material attached to the stabilizer in position. So configure the device to make embroidery patches with this stitch.
Step 9: Sew It Inside
Put your preferred pattern on the sewing machine to make embroidery patches. Start the procedure, letting the gadget sew the pattern on the background cloth inside the indicated limits. You may also give depth and flair to the pattern by using various thread colors and stitches.
Finishing Touches
Take out the frame from the device when the machine has sewed the design, then unhoop the material.
Trim any extra stabilizer or thread with care, creating an outline along the embroidered pattern. Don’t cut into the sutures, please.
If you used a tear-away stabilizer to make embroidery patches, tear it away carefully, following the manufacturer’s instructions.
Add Backing
Consider applying backing material to make embroidery patches to ensure their longevity. Use iron-on adhesive backing or sew-on base fabric.
Simply cut it slightly smaller than the pattern, align it, and either iron it on or sew it onto the back of the patch.
Attaching the Patch
Decide on the placement of the patch, whether it’s a jacket, backpack, or any other fabric item, and ensure that the site is clean and free from the buzz.
Here’s how you can attach them using different techniques:
Iron On:
- Place the patch in the desired location on your material, with the adhesive side down.
- Set your iron to the appropriate temperature (follow the instructions provided with the patch)
- Cover the patch with a thin cloth or pressing paper to protect it.
- Hold the iron firmly on the pattern for the specified duration (usually around 20-30 seconds).
- Allow the patch to cool down before checking the adhesion.
By Sewing:
- A needle should be threaded with fabric or patch-coordinating thread.
- Pin the patch into place after positioning it on the fabric.
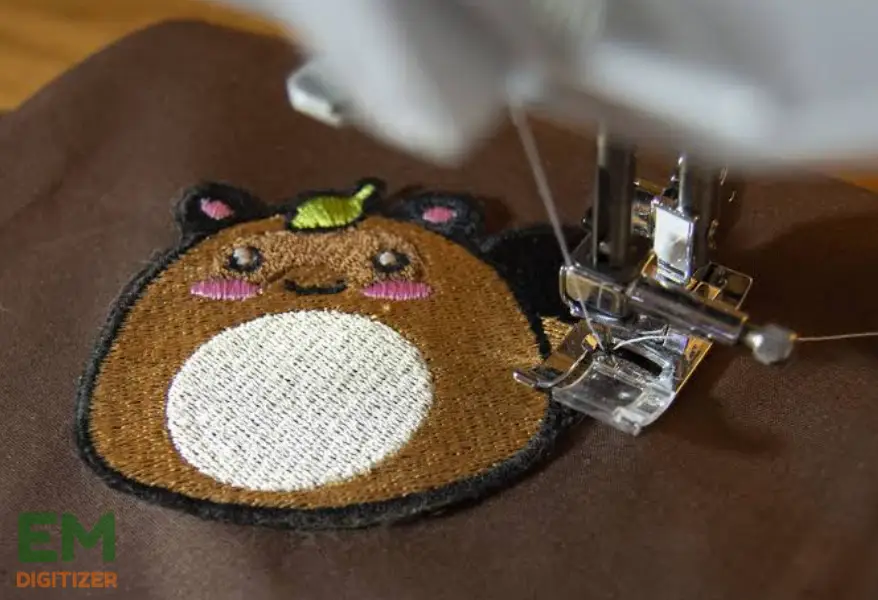
- Start by making little stitches with the needle across the fabric.
- Continue stitching a patch ensuring it is firmly attached.
- Knot the thread on the backside of the material and trim any excess thread.
By The Use Of Glue:
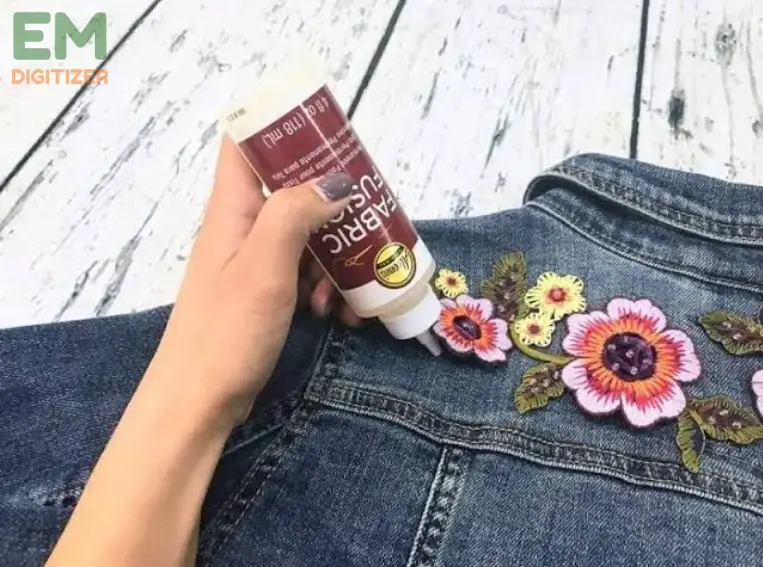
- Apply a small amount of fabric or craft glue to the back of the patch.
- Position the patch on the desired location and press it firmly against the material.
- Let the glue dry.
- Check the adhesion and make sure a patch is securely attached. Use a strong fabric glue suitable for the materials involved.
Using Sticky Adhesive:
Some patches come with adhesive backing. Peel off the protective paper from the adhesive.
- Position the patch on the desired location and press it firmly against the material.
- Apply pressure for a few seconds to ensure proper adhesion.
- Check the patch to make sure it is securely attached.
Use Hook Or Fastener:
- Sew a hook or fastener (such as Velcro) to the back of the patch.
- Sew the corresponding loop or fastener to the desired location on the material.
- Press the patch onto the material, aligning the hook and loop parts, and press firmly to attach them.
By Using Magnet:
If the patch does not have a magnetic backing, you can sew or glue a small magnet onto the back of the patch.
Position the patch in the desired location and the magnet will hold it in place when attached to a magnet-friendly material.
Conclusion
In short, that machine embroidery tutorial has provided a comprehensive guide on how to make embroidery patches beautifully by machine.
One can put their imaginative creations to reality by utilizing the required supplies and methods while carefully following the directions.
One can make embroidery patches by online digitizing applications that allow one to make or import designs, adjust size placement and modify designs according to the project needs.
The time required to embroider a patch depends on the complexity of the design and the size of the patch. Simple designs can be completed in a matter of minutes, while more intricate designs may take several hours.
Remove any extra cloth, leaving a thin patch border. You can then apply a fabric adhesive or use a sewing machine to satin stitch or zigzag stitch around the edges to prevent fraying.
If you have any questions leave the comments or you can visit our social channels for more updates regularly. We provide embroidery digitizing services if you need digitizing services feel free to contact us or email us.

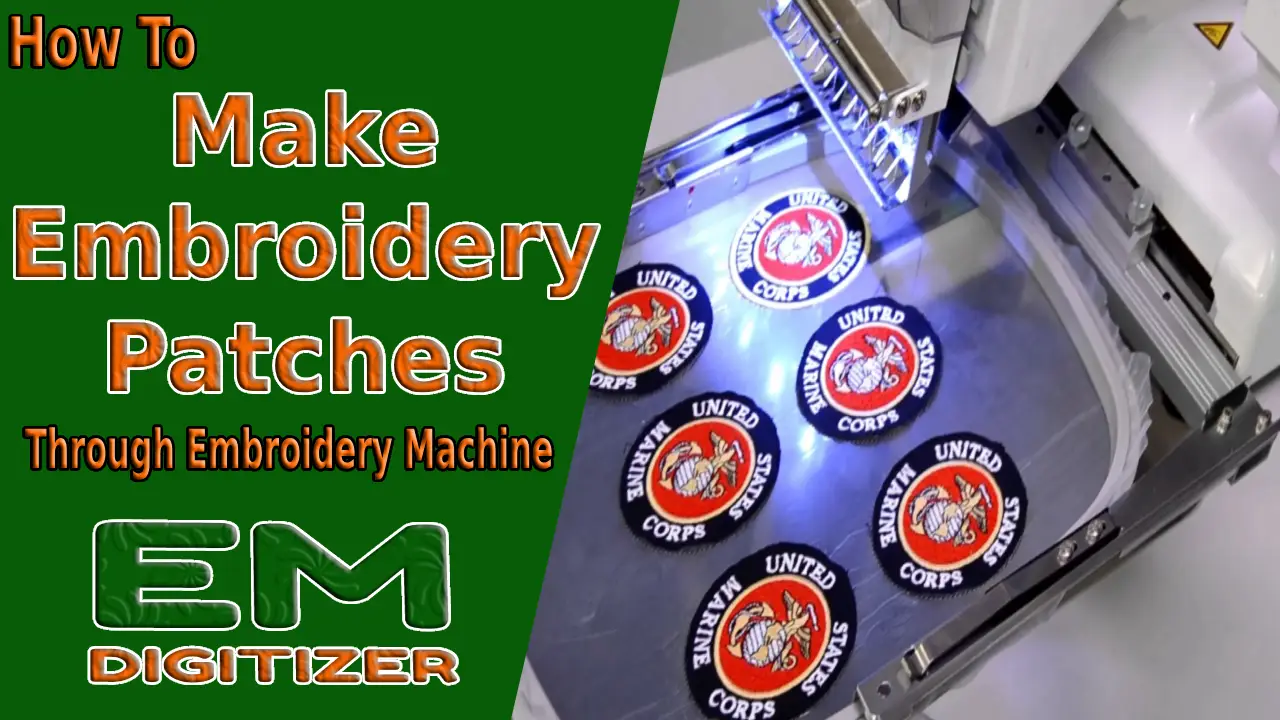
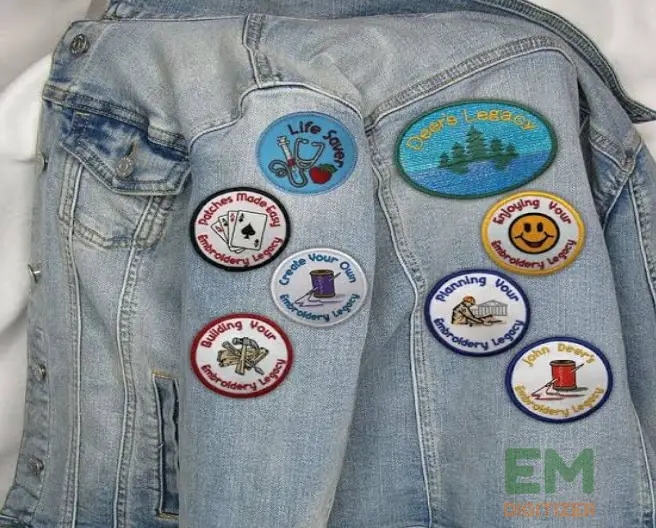

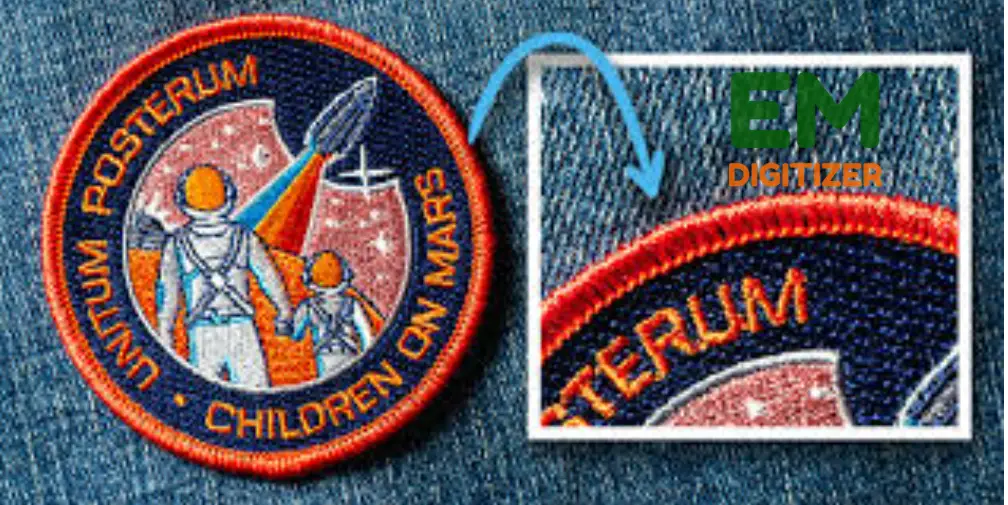
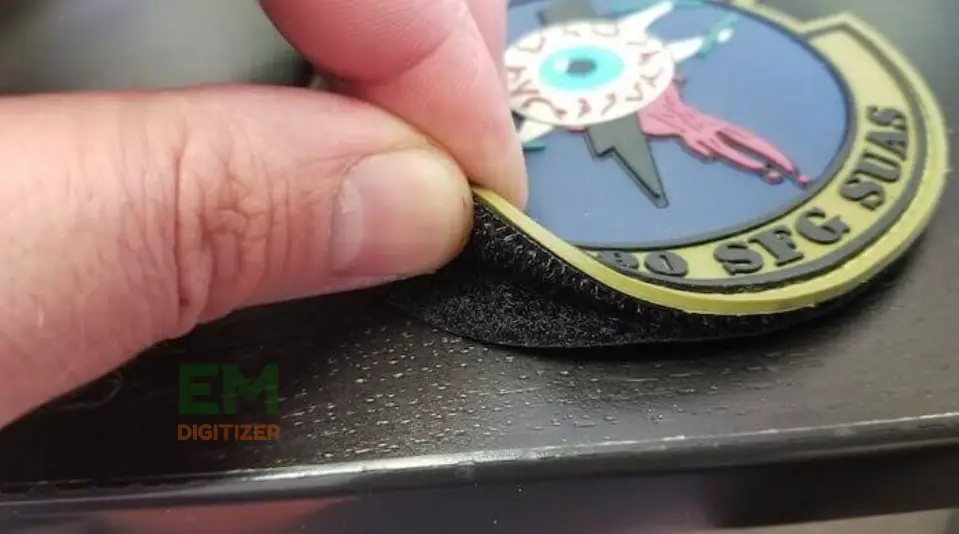


Patch perfection! This post guides you through making embroidery patches using an embroidery machine, allowing you to personalize and showcase your creativity with custom patches. Stitch your way to unique and stylish patches!