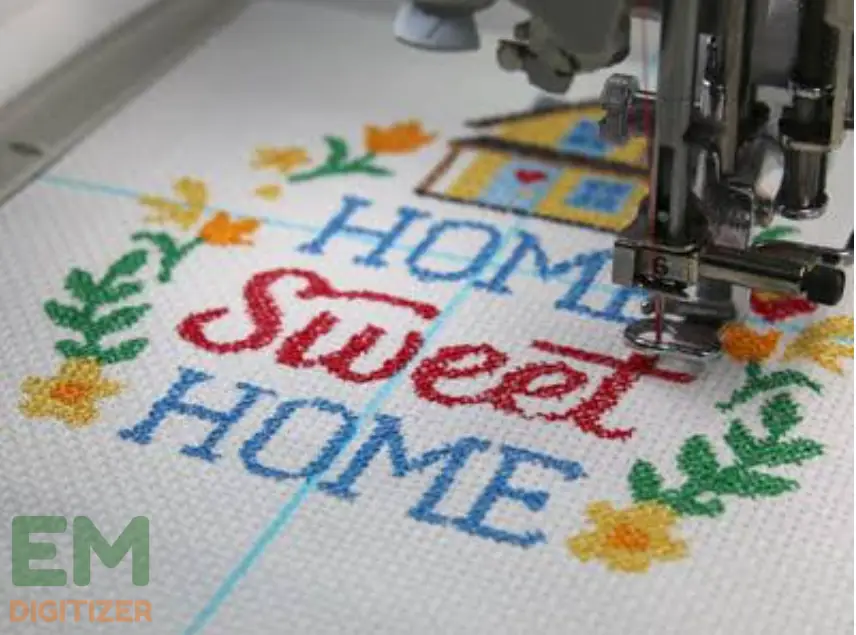
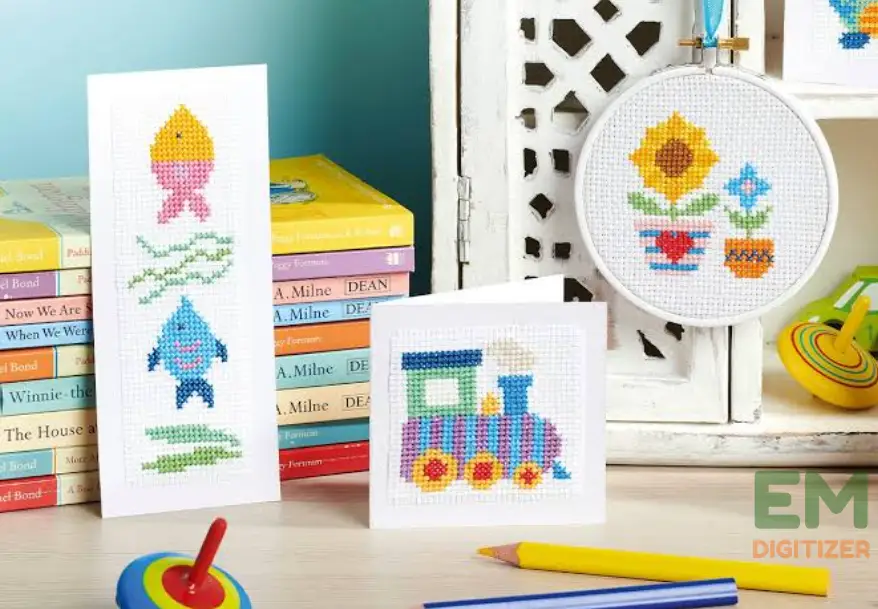
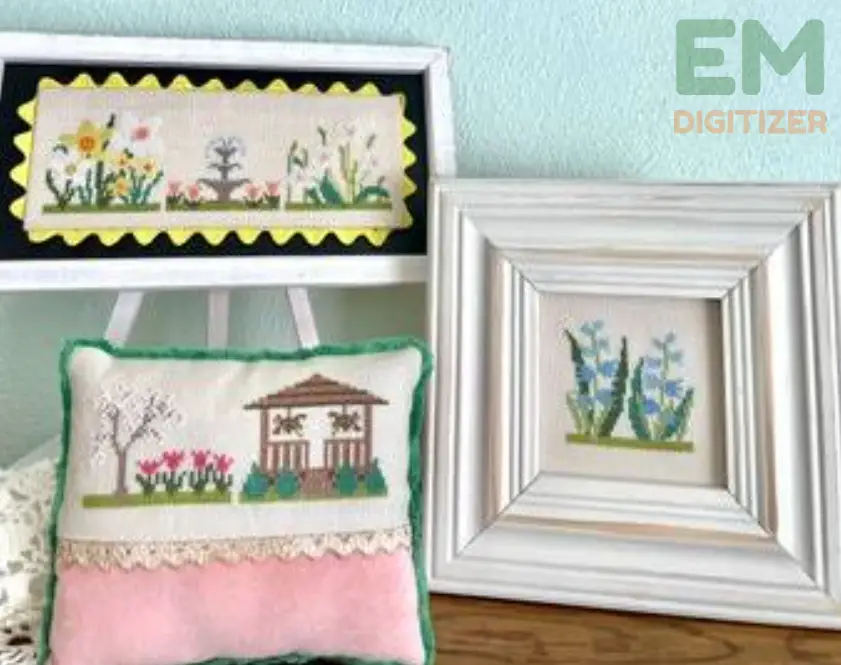
Cross stitch machine embroidery has expanded the art of cross stitch. This technique combines traditional cross-stitching with modern technology, allowing for both charm and efficiency.
Table of Contents
ToggleIn this blog, we’ll look into cross-stitch machine embroidery. We’ll cover its beginnings, methods, creative options, and more.
Are you an avid cross stitch lover or just starting out? Come and explore the seamless blend of tradition and innovation with us.
Embroidery Digitizing Services
If you are looking for embroidery digitizing services, EMDigitizer is one of the best embroidery digitizing companies. Providing all types of embroidery digitizing. I recommend you try digitizing services.
Order NowGet Free QuoteOverview
Cross-stitch machine embroidery combines traditional cross-stitching with modern machines for a more efficient technique.
Traditional hand embroidery is done by stitching by hand, but this technique uses automated sewing machines to recreate cross-stitch patterns.
To digitize designs, you input them into a machine that automates stitching.
Cross-stitch machine embroidery is more than just automation. It’s an art form that combines tradition and innovation.
To create this art, we choose detailed cross-stitch designs. Then, we turn them into formats that machines can read. Finally, we use specific software to perfect the details.
The choice of threads and fabrics is important. The mastery of machine settings is also important for perfect execution.
Find out more about the top machine embroidery thread and how it’s used.
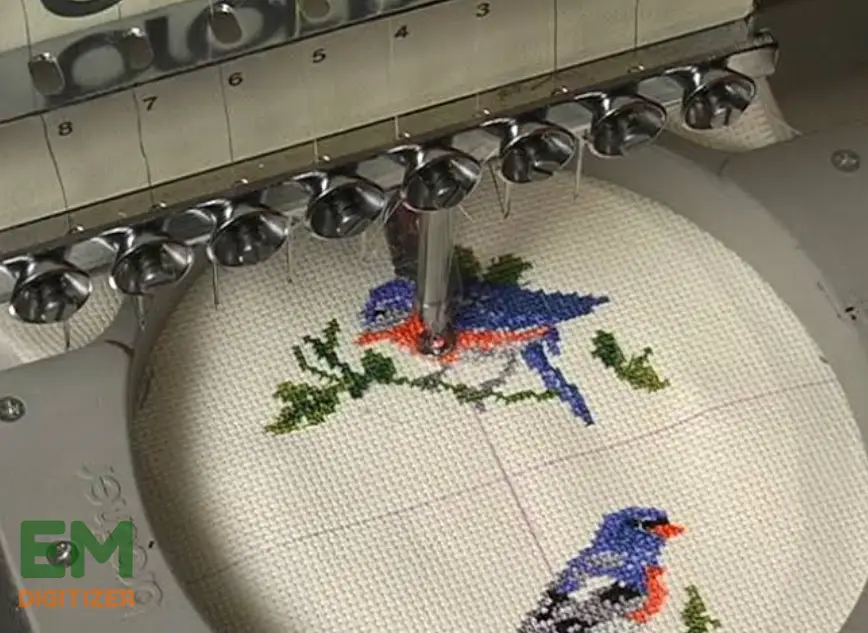
Witnessing the machine in action is truly magical. It brings the design to life with precision, stitching colors and textures together.
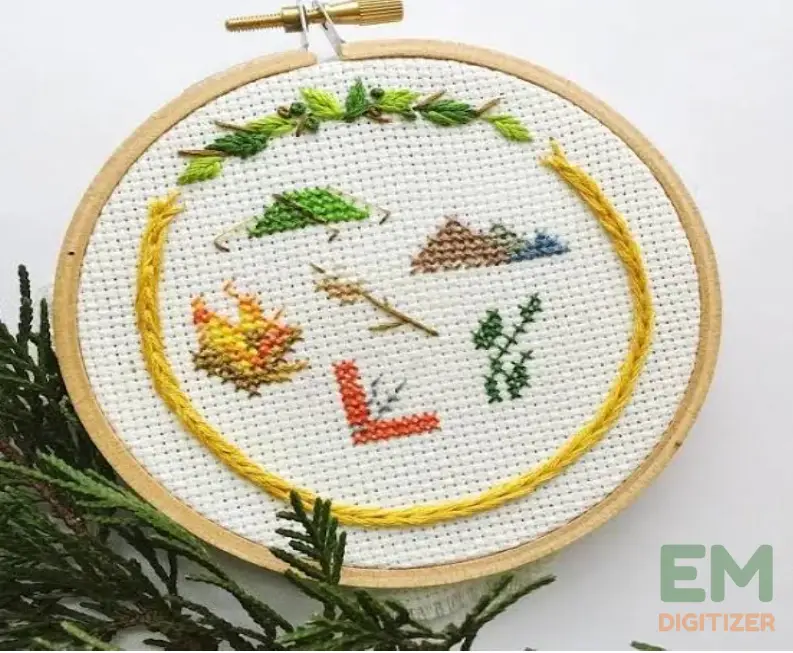
Creators of this art form have the freedom to play around with different stitches, thread types, and decorations. This adds to the visual and tactile appeal of the finished piece.
Cross Stitch Machine Embroidery vs. Hand Embroidery
Both offer distinctive creative options and benefits: .
Cross Stitch Machine Embroidery:
Machine embroidery can create intricate designs faster than manual stitching.
Technology makes it easier to create detailed patterns, blend colors, and make smooth transitions, which can be difficult to do manually.
Designs can be replicated accurately across multiple items.
The machine keeps the stitching, thread tension, and design placement consistent on many pieces.
Suited for a variety of fabrics, but may require stabilizers.
Ideal for producing multiple items quickly.
Hand Embroidery:
Hand stitching allows for personal touches, unique variations, and a distinct handmade feel.
Hand embroidery has various stitch techniques that can enhance designs with depth, texture, and dimension.
Great for small-scale projects and details.
Hand embroidery can be done anywhere, requiring only a needle, thread, and fabric. No need for machines or digitizing.
Both methods are used in embroidery. The choice depends on your project goals, preferences, and how involved you want to be.
If you’re new to hand embroidery, you can find a detailed guide on my blog.
Complete Tutorial Of Cross Stitch Machine Embroidery
To create cross-stitch machine embroidery, you need to turn a traditional cross-stitch pattern into a digital design that can be stitched using an embroidery machine.
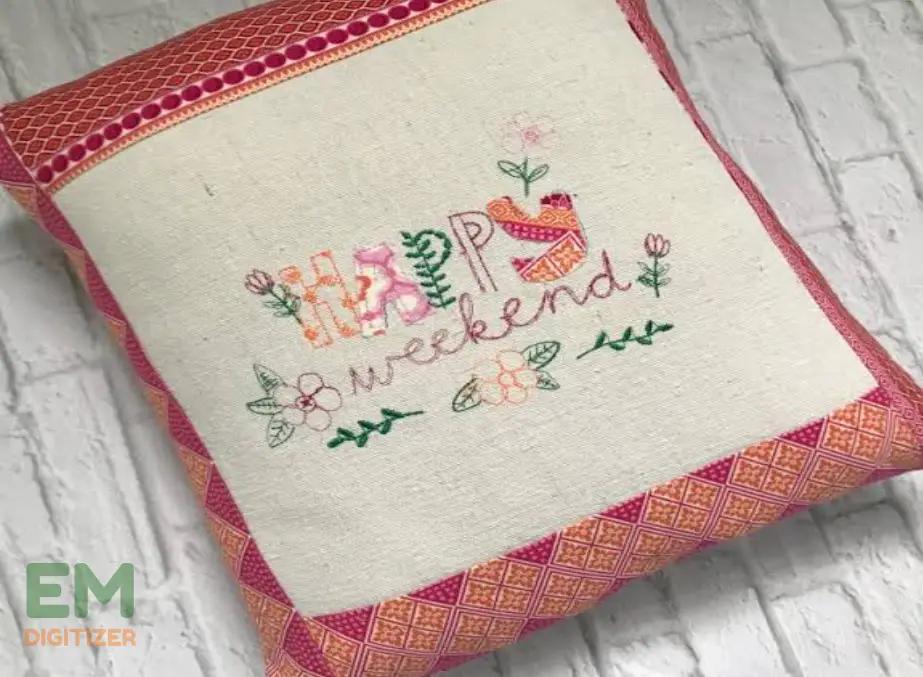
Here’s a step-by-step guide to making a Cross Stitch Machine Embroidered Pillow.
Materials Needed:
- Cross stitch pattern (e.g., a simple flower design) .
- Embroidery software (e.g., Embrilliance Essentials) .
- Embroidery machine .
- Fabric (for the pillow cover) .
- Embroidery thread in various colors .
- Stabilizer .
- Hoop .
Step 1:
Select a cross-stitch pattern you want to convert into machine embroidery. Keep in mind the size of your embroidery hoop and the complexity of the design. Simple, bold patterns work well for this process.
Visit the blog for the best embroidery hooping tips for beginners.
Step 2:
Open your chosen embroidery software. Import the cross-stitch pattern image into the software. Create a new canvas design and set the dimensions to match the size you want for your embroidery.
Here is a list of the best embroidery software options that can help you work faster.
Use the software’s tools to trace the cross-stitch pattern manually. Create each stitch individually and choose thread colors for them.
Step 3:
In the software, define stitch types for your design. Cross stitches can be changed to satin stitches or fill stitches. This depends on the size and complexity of the original pattern. Adjust stitch density to ensure the final design isn’t overly bulky.
Check out the blog for information on underlay stitches and the different types used in machine embroidery.
Step 4:
Select the thread colors for your design. You can pick the same colors or choose different ones for your cross-stitch based on what you like. Assign thread colors to the corresponding stitches in the software.
Step 5:
Use the software’s tools to add backstitching lines for extra detail to your cross-stitch pattern. This step can enhance the look of your embroidery.
Step 6:
Cut a piece of stabilizer to fit within your embroidery hoop. Hoop the stabilizer tightly, ensuring it’s smooth and taut. Cover the circle with your fabric and make sure it’s evenly stretched and securely in place.
Click here for an extensive machine embroidery stabilizer guide. .
Step 7:
Transfer the embroidery design from your computer to the embroidery machine using the right method, such as a USB drive or WiFi.
Step 8:
Attach the hoop to the embroidery machine. To make it easier to read, let’s break down the sentence and simplify the wording: 1. “Thread the machine”: Use the machine’s thread. 2. ” Choose the appropriate embroidery file on the machine.
Step 9:
Start the embroidery machine and monitor it as it stitches the design. Check the thread tension is right. Make sure there are no problems with thread breakage or fabric bunching.
In this post, you can learn all the basics of embroidery.
Step 10:
After the machine finishes the embroidery, carefully take off the hoop and remove the fabric. Trim any excess stabilizer from the back of the embroidery.
Assembly:
Use the embroidered fabric to create your pillow cover. Sew the front and back pieces of the pillow together, leaving an opening for stuffing. Stuff the pillow and sew the opening closed.
Congratulations! You’ve successfully created a cross stitch machine embroidered pillow. This process blends traditional cross stitches with modern embroidery technology, combining charm, speed, and precision.
The Art Of Color Selection In Cross-Stitch Machine Embroidery
The choice of colors is important for how cross-stitch machine embroidery looks. An embroiderer, like a painter, selects colors that work well together to create a beautiful design.
The choice of colors can create various feelings, bring attention to important parts, and turn a basic design into an amazing work.
When choosing colors for your cross-stitch machine embroidery project, consider these tips:
Choosing colors for machine embroidery is an art that makes designs come alive.
Choosing the right colors adds depth, contrast, and visual interest to make patterns more intricate.
Consider the fabric’s color, thread shades, and how they interact.
Try blending different colors to create shading effects. Let your creativity shine as you use vibrant threads to make beautiful compositions.
Here are some charts that show different thread colors. You can use them to pick the right shades for your project.
Cross Stitch Machine Embroidery Ideas
Cross stitch machine embroidery is a versatile craft that combines traditional charm with modern efficiency, offering endless project possibilities. Here are some exciting examples of how this technique can be used in various creations:
Home Decor
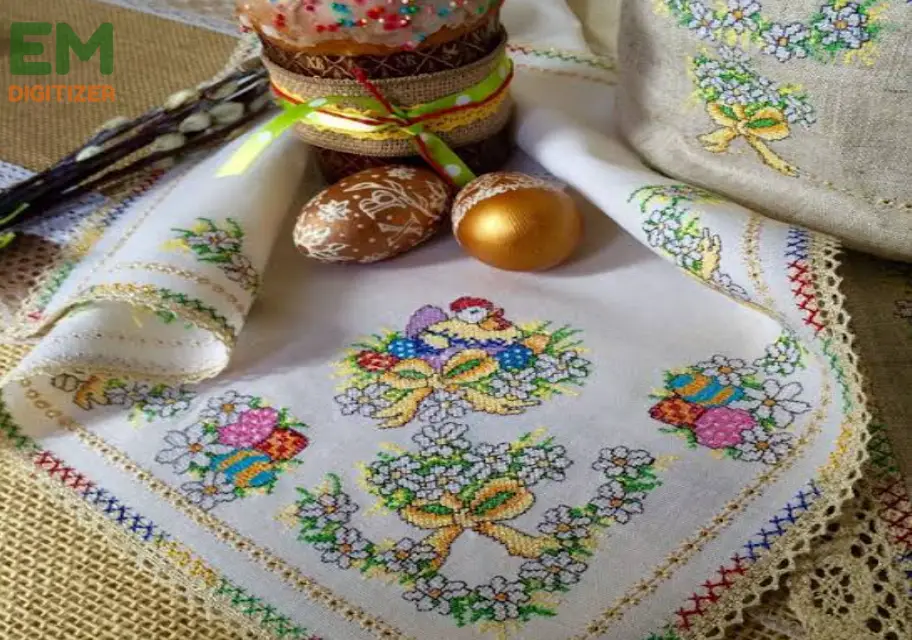
Enhance your living space with custom-made pillows, tablecloths, or wall decor featuring beautiful machine embroidery.
Imagine a throw pillow with a classic monogram or a wall art piece showing a beautiful landscape.
Fashion And Accessories
You can add delicate flowers to denim jackets, decorate handbags with detailed patterns, or put elegant cross-stitch designs on scarves.
Personalized Gifts
You can make a quilt with a baby’s birth details or personalize napkins with a couple’s initials. These thoughtful gifts are cherished by many.
This blog can inspire you to find great embroidery gifts for your loved ones.
Seasonal Decor
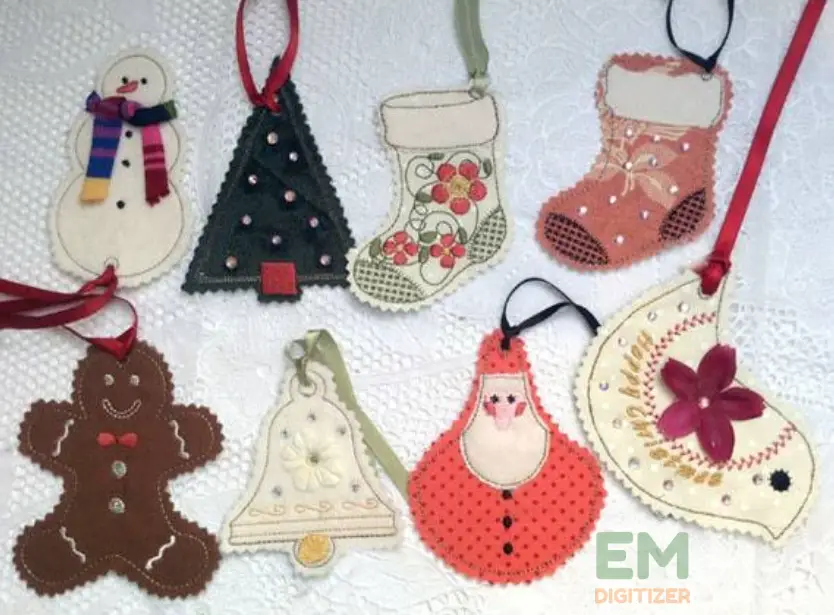
Add seasonal designs to stockings, treat bags, or table runners for a festive touch during different times of the year.
Special Events
You can add delicate lace patterns to wedding gowns, make custom ring bearer pillows, or sew monograms onto linens to add a refined touch.
Children’s Items
You can sew vibrant animals on baby bibs, put fun patterns on nursery curtains, or make storybook characters on plush toys.
Quilting And Patchwork
Integrate cross-stitch motifs into quilts and patchwork projects. This adds a distinct texture and visual interest to your fabric creations.
Cultural Artistic Fusion
Merge it with watercolor backgrounds. Combine the precision of embroidery with the free-flowing nature of paint. Create unique mixed-media artwork.
Troubleshooting Tips For Cross-Stitch Machine Embroidery
Troubleshooting is a crucial skill for achieving flawless results. Here are a few tips to tackle common issues:
Thread Breaks: Check for a tangled thread or improper tension. Ensure the thread path is clear and the bobbin is properly wound. Adjust tension settings if needed.
To prevent fabric bunching, use stabilizers and hooping techniques that are suitable for the fabric. Experiment with stabilizer types and tensions to find the right balance.
Here are the main causes of puckering when sewing and how to prevent it easily.
Misalignment: Ensure proper hooping and accurate design placement. Use alignment marks or basting stitches to guide positioning.
Thread Tangles: Check for thread loops around the spool or thread guides. Make sure the thread spool rotates freely and doesn’t catch on anything.
Check that the fabric is evenly secured in the hoop and make sure the machine settings are consistent. Uneven tension or fabric movement can cause irregular stitching.
Bobbin Issues: Make sure the bobbin is wound and inserted properly. Also, check that the bobbin tension is set correctly. Check the bobbin case for lint buildup.
Design Distortion: Check for design warping due to improper resizing or stretching. Use digitizing software to adjust design proportions before stitching.
To avoid thread fraying, use good quality embroidery thread. Make sure the needle size matches the thickness of the thread. Dull needles can cause thread fraying.
Make sure to use the right needle type and size for your fabric to avoid needle breakage. Bent or damaged needles can lead to breakage.
Excessive Trimming: Some machines trim threads too closely, causing them to unravel. Adjust the trimming settings or manually leave longer thread tails for secure knots.
Regular maintenance, proper setup, and attention to detail can help you tackle challenges and create beautiful cross-stitch machine embroidery projects.
Conclusion
Embracing innovation, the future of cross-stitch machine embroidery holds exciting possibilities. With the advancement of technology, we can expect more advanced digitizing tools. These tools will make it easier to create intricate designs.
You have many tools, techniques, and inspiration available to you. With them, you can combine your imagination and skill to create beautiful pieces that connect the past and the future.
Cross-stitch machine embroidery is more intricate than regular machine embroidery because it aims to replicate the unique cross-stitch appearance. To achieve the results you want, it’s important to have the right thread tension, stitch density, and fabric choice.
Fabrics such as cotton, linen, or specialty embroidery fabrics can be good for cross-stitch machine embroidery. To keep your stitching uniform, it’s important to pick a fabric with a strong weave.
You can use embroidery software to turn a cross-stitch pattern into a machine embroidery format. Examples of machine embroidery formats are PES or DST. Once converted, you can load the pattern onto your embroidery machine.
Sure thing! A lot of embroiderers mix cross-stitch machine embroidery with other techniques. They use appliqué, satin stitching, and more to make special and detailed designs.
If you have any questions leave the comments or you can visit our social channels for more updates regularly. We provide embroidery digitizing services if you need digitizing services feel free to contact us or email us.

