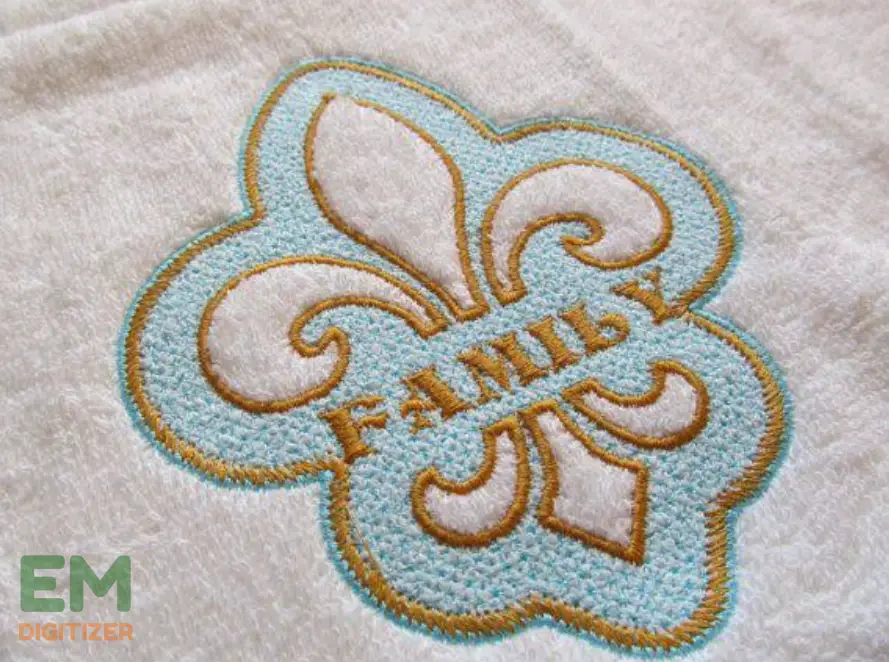
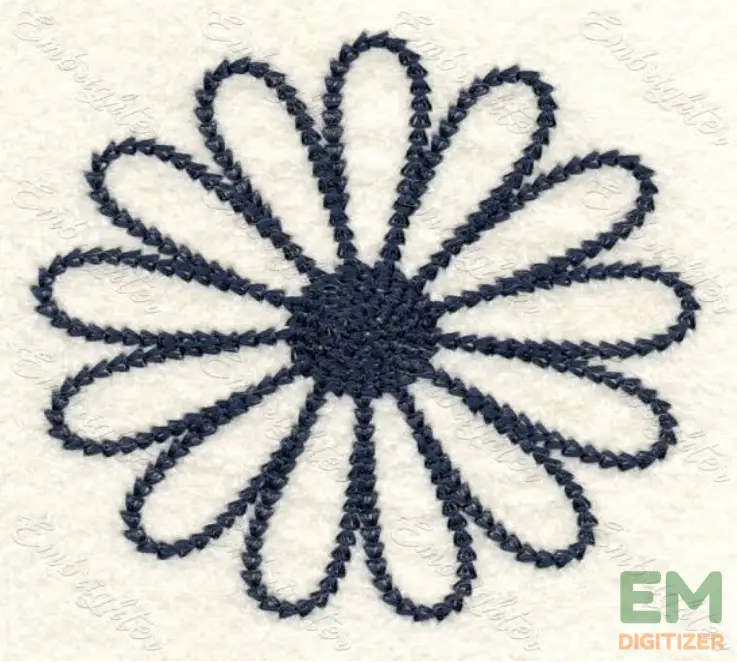
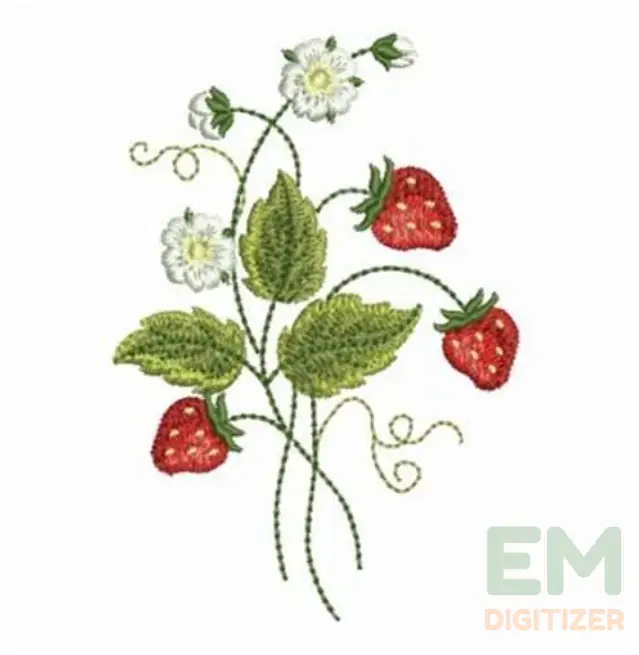
Using embroidery stitches to fill spaces helps you make your artistic ideas real. By practicing the correct stitches, you can turn simple fabric into beautiful artwork.
Table of Contents
ToggleHere, I’ll show you the types of embroidery stitches for filling large areas. And give you some examples of how you can use these stitches to make your projects more creative and special.
Embroidery Digitizing Services
If you are looking for embroidery digitizing services, EMDigitizer is one of the best embroidery digitizing companies. Providing all types of embroidery digitizing. I recommend you try digitizing services.
Order NowGet Free QuoteTypes Of Embroidery Stitches For Filling
When you want to cover spaces in embroidery, you have various stitches to pick from. These stitches create different textures and looks.
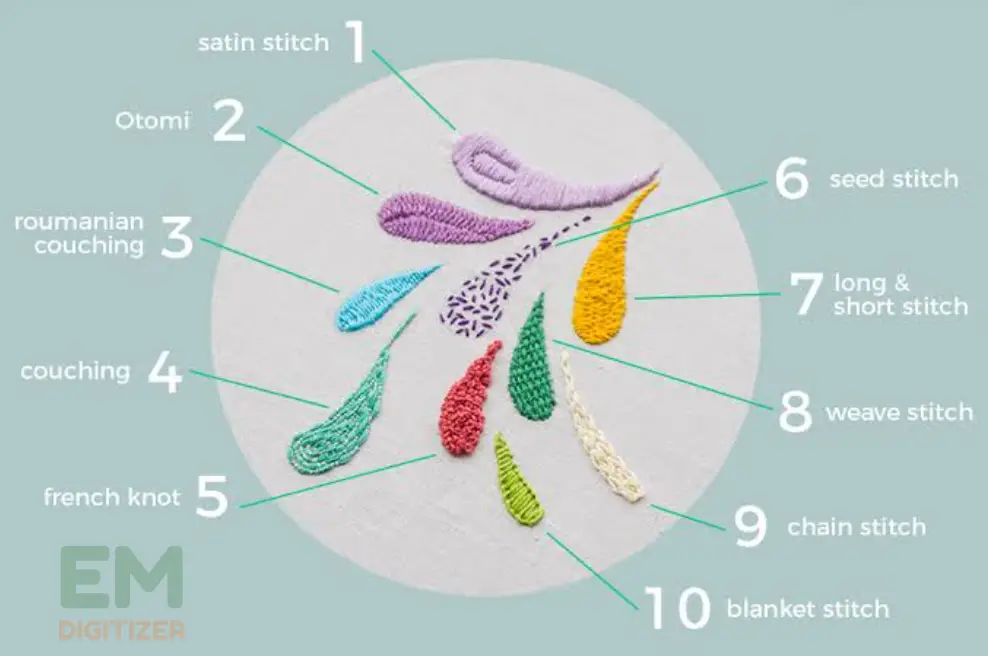
The most commonly used types of embroidery stitches for filling large areas are:
Satin Stitch: It involves closely spaced straight stitches that cover an area completely. It creates a smooth and glossy surface. It’s perfect for achieving solid blocks of color and a polished look.
Long and Short Stitch: Also known as the gradient stitch, this technique involves using stitches of varying lengths to create a smooth transition between colors. It’s great for shading and achieving realistic gradients.
Stem Stitch: It is often used to create lines, but when worked closely together, it can fill large areas with a textured appearance. It resembles a twisted rope and adds depth to your embroidery.
Fishbone Stitch: This stitch creates a V-shaped pattern that resembles the bones of a fish. When used to fill an area, it creates a unique texture that’s great for leaves, feathers, and other organic shapes.
Chain Stitch: While commonly used for outlining and creating lines, it can also be used to fill large areas. When worked closely together, it forms a textured and slightly raised surface.
Split Stitch: This involves stitching through the center of each previous stitch, creating a series of intertwined stitches. This stitch adds texture and is often used for detailed fills and contours.
Seed Stitch: This is created by making random, small stitches closely packed together. It gives a speckled and textured appearance to your embroidery. It is also suitable for rustic or natural designs.
French Knots: Though typically used for adding small, raised dots, French knots can also be used to fill larger areas. By clustering French knots together, you can create a unique textured fill.
Bullion Stitch: This stitch involves creating a coiled or twisted loop with the thread. It can be used to fill areas and add dimension to your embroidery.
Couching Stitch: Couching involves laying down a thicker thread and then securing it with smaller stitches. It can be used to fill areas with contrasting textures and colors.
Remember that the choice of embroidery stitches for filling will depend on the specific design and the effect you want to achieve.
Experimenting with different stitches and thread combinations can lead to exciting and unique results in your embroidery projects.
Click here to learn all about underlay stitches for embroidery and guidelines to apply them according to projects.
Best 5 Embroidery Stitches for Filling Large Areas
Out of multiple types of embroidery stitches used for filling areas, have a look at the top 5:
1. Satin Stitch
The satin stitch is a classic choice for filling large areas with smooth, even coverage. This stitch involves closely spaced straight stitches that create a dense, glossy surface.
Read the blog to learn about satin stitch embroidery and its use to make embroidery projects.
To master the satin stitch, keep your stitches parallel and of equal length. This stitch works exceptionally well for creating solid blocks of color and adding a sleek, polished look to your embroidery.
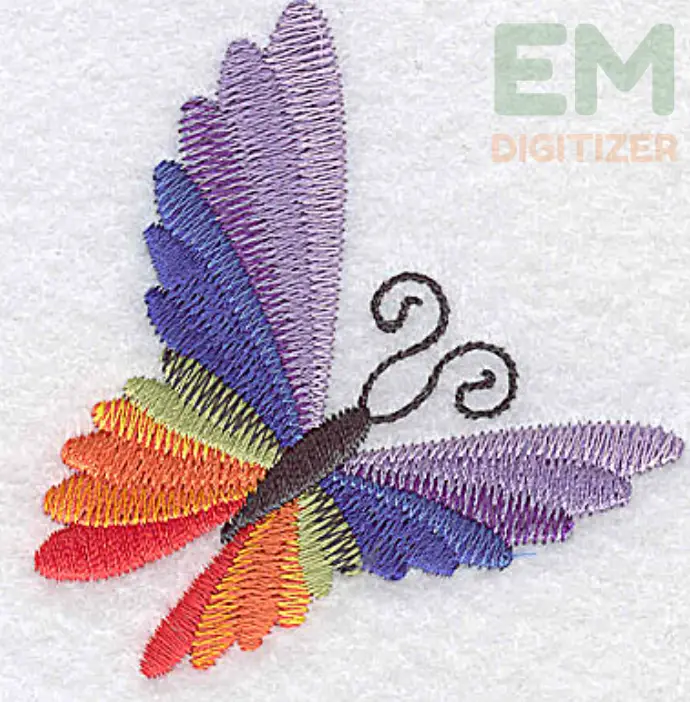
Let’s imagine you’re embroidering a vibrant butterfly on a pillow cover. To fill its wings, use the satin stitch by sewing closely spaced straight stitches side by side.
Here is a complete guide for embroidering a pillowcase with any of your preferred designs.
Choose a thread color that complements the fabric and gives your butterfly a polished and sleek appearance.
2. Long and Short Stitch (Gradient Stitch):
This versatile stitch is ideal for achieving gradient effects and shading within a large area. By varying the length of your stitches, you can create smooth transitions from one color to another.
Start with longer stitches on one end and gradually shorten them as you move towards the other side. This stitch requires patience and practice to achieve a seamless and realistic gradient.
This guide will show how you can be creative with machine embroidery by using different stitches in your projects.
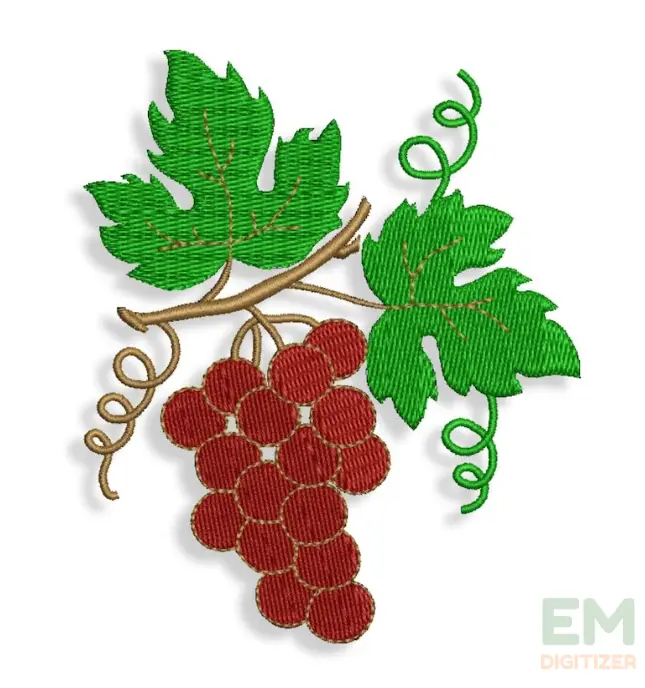
Let’s say you’re embroidering a bunch of grapes. Start with the lighter shade at the top and gradually switch to the darker shade at the bottom.
Vary the stitch lengths to create a seamless gradient that captures the depth and texture of the grapes.
3. Split Stitch
This is a really good choice for making designs with different textures and details. It’s about sewing through the middle of each stitch you’ve already made, making a connected line of small, twisted stitches.
This sewing technique is great for giving your designs a 3D look and adding fine touches. It’s also a good option for creating flower designs or intricate patterns.
Let’s say you’re embroidering a lush garden scene. You can use split embroidery stitches to fill large leafy areas with texture and depth.
Using this method will make your plant leaves look real, with thin lines that look like veins.
You will learn how to make and digitize flower embroidery designs with your machine to add a realistic touch.
4. Chain Stitch:
Chain stitch isn’t just for pretty lines – it’s also great for filling big spaces when you’re embroidering. If you make lots of chain stitches close to each other, they make the embroidery look interesting with a bumpy texture.
Here are some factors for why your embroidery looks bad and some tips on how to fix the problem.
Try changing how tight or loose you make your chain stitches while experimenting. If you’re embroidering a river or stream, the chain stitch can imitate the soft flow of water.
Work rows of closely spaced chain stitches in shades of blue to capture the fluidity of a water body. The texture created by the chain stitches adds a realistic touch to your aquatic scene.
5. Seed Stitch:
This stitch is also called the rice stitch or scattered stitch. It’s a good choice for adding a playful touch and it is one of the best used embroidery stitches for filling spaces in embroidery.
This stitch involves creating small, random stitches that are spread out across the fabric. When worked together, these individual stitches create a pebbled surface.
For the best types of embroidery fabric, read this blog.
Hence these embroidery stitches for filling give an organic and playful look.
Envision a woodland scene where you want to replicate the texture of fallen leaves and undergrowth. Using seed embroidery stitches for filling is your answer.
Scatter random, tiny stitches in various shades of green, brown, and gold to emulate the natural chaos of a forest floor. This stitch adds depth and realism to your nature-inspired embroidery.
Get all the guidance on how to choose the best machine embroidery needle according to fabric choice or design for embroidery purposes.
Conclusion
The embroidery stitches for filling large areas that are discussed provide smooth coverage and help create a cohesive and visually appealing surface.
Experiment with thread tension, spacing, and direction to achieve the desired texture and look for your embroidery project.
Highlight the section you need to fill, keep your stitches the same length, and gradually change thread colors for a smooth look.
Try changing how tight the thread is, which way the stitches go, and what kind of thread you use to make the fabric feel the way you want, and its coverage.
Make use of threads that match your desired effect – stranded cotton for smooth blends, thicker threads for bold coverage, and textured threads for added dimension.
Try using different stitches, playing with thread colors, and changing stitch lengths to make your work more interesting and textured.
If you have any questions leave the comments or you can visit our social channels for more updates regularly. We provide embroidery digitizing services if you need digitizing services feel free to contact us or email us.

