If you adore flowers, would you like to recreate your favorite flower embroidery designs on your clothing, just as you have in your backyard garden? With some practice, you will succeed in doing so.
Table of Contents
ToggleYou are all aware of the time required to produce a character, creative scene, or well-digitized image.
But what if putting effort into these tasks still doesn’t yield high-quality project results? This also applies to embroidering your preferred floral design on fabric for garments.
Embroidery Digitizing Services
If you are looking for embroidery digitizing services, EMDigitizer is one of the best embroidery digitizing companies. Providing all types of embroidery digitizing Services. I recommend you try digitizing services.
Order NowGet Free QuoteThere are still some things to think about even if machine embroidery gives you the advantage of adding a personal touch to any cloth with your favorite artwork.
I’ll go through many methods for creating and digitizing flower embroidery designs in this article so you can use them on things like costumes, cushions, shirts, denim, and more.
Instructions for Creating Flower Embroidery Designs
Let’s have a look at the essential points before moving on to the instructions for creating flower embroidery designs.
These procedures will undoubtedly assist you in creating amazing flower embroidery designs and other realistic designs to amaze others.
Add Variation
For projects like apparel or other explorations, there are countless design options available.
And among them, digitizing flower embroidery designs and using them on various projects, is one that most clients find appealing.
When it comes to applying natural flower embroidery designs on your garment, utilize odd integers that depict the variability.
When you want to incorporate flowers, stems, or leaves into your embroidery designs of flowers, this method works well.
Your embroidered creations become appealing and attention-grabbing even at first glance by using flower embroidery designs that are created in this manner.
Although it doesn’t have to be the same for every design, adding an odd is the greatest option when making flower embroidery designs. The designs become more eye-catching by adding diversity.
Droopy-Posed Embroidered Flowers
Making embroidery patterns of fading or dropping flowers for your clothing is acceptable. Not all instances of this wilting are connected to decaying plants.
This is because as the leaves and blossoms begin to grow tall, their heavy weight will lead them to bow.
The creation of flower embroidery designs with this symmetry gives them a distinctive appearance similar to wilted pastel pink flowers.
Making Something Faulty Is Perfect
Although producing something partial is okay, as I have described, precise symmetry is necessary to create flower embroidery designs that may be utilized with many projects.
You have many alternatives when making flower embroidery patterns, such as adding a bug to one of the petals, depicting a lost petal, or tearing leaves, among many other ideas.
How Can Flower Embroidery Designs Be Digitized?
You can locate many designs and eagerly anticipate transforming these naturalistic flower embroidery designs into your favorite fabric but run into problems due to poor digitized designs.
(Click here to learn about the best embroidery digitizing services provider companies.)
Together, let’s start to develop something about flower embroidery designs that is more intriguing than has ever been done.
Digitizing floral stems and leaves should come first.
Steps for Digitizing Stems
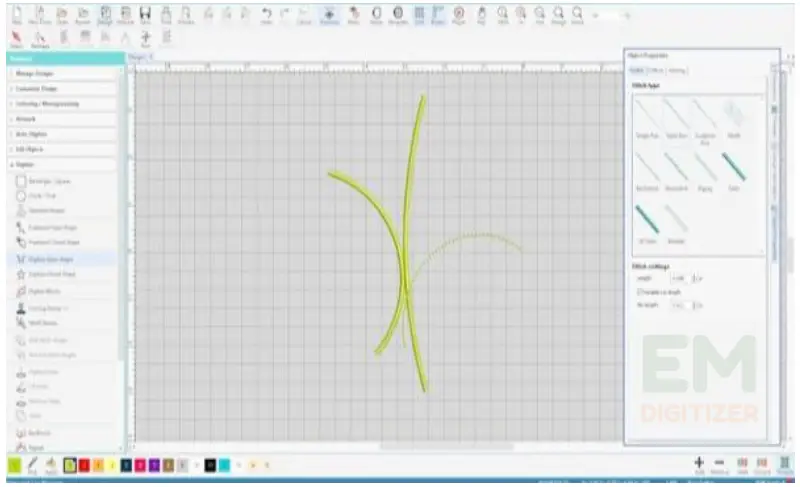
Digitize stems first let’s say three for the primary flower since, as I said earlier, it’s excellent to add the odd. Branching that follows the contrasting pattern can also be added.
Step 01
Begin by using satin stitch or backstitch to create the stems of embroidery designs for flowers.
Step 02
Step 2 begins by creating three curving stems. As you can see, not all flowers necessarily have stems.
Steps for Digitizing Flowers
The few steps are listed below.
Step 01
Start by choosing your preferred flower embroidery designs from the dependable social network website.
Step 02
Pick your preferred flower embroidery designs from the range of size and form options available, and you can easily adjust or spin it to use especially for your embroidered projects to expose a natural look.
Step 03
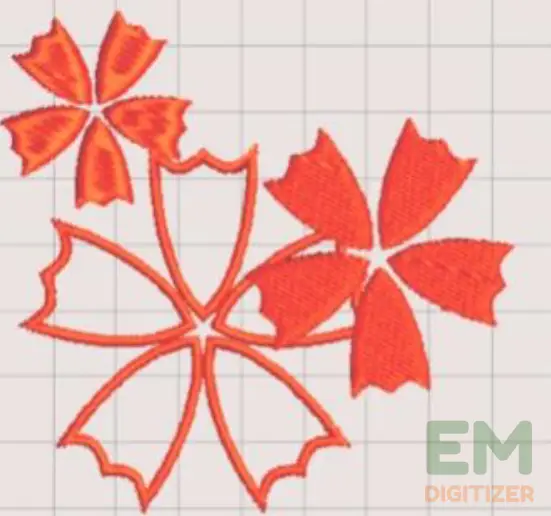
Here, I choose my favorite tri-petal flower embroidery designs and then start with resizing machine embroidery designs.
Then, I rotate it by 15 degrees to make it more unique. With just one click, you may activate the rotate tool. Also, keep in mind that flowers don’t always have to face up while creating embroidery. They may also be positioned apart from one another.
(For guidelines on resizing your embroidery patterns, go here.)
Steps for Digitizing Leaves
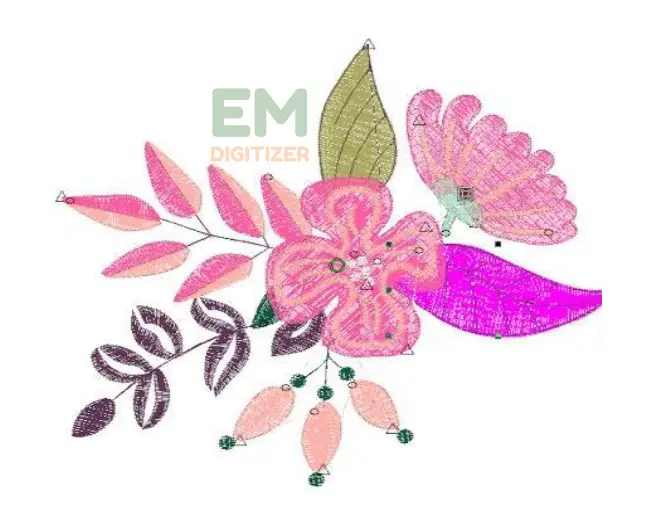
You may also add leaves to your flower embroidery patterns to further emphasize them after you’ve arranged the flowers in the proper shape.
Step 01
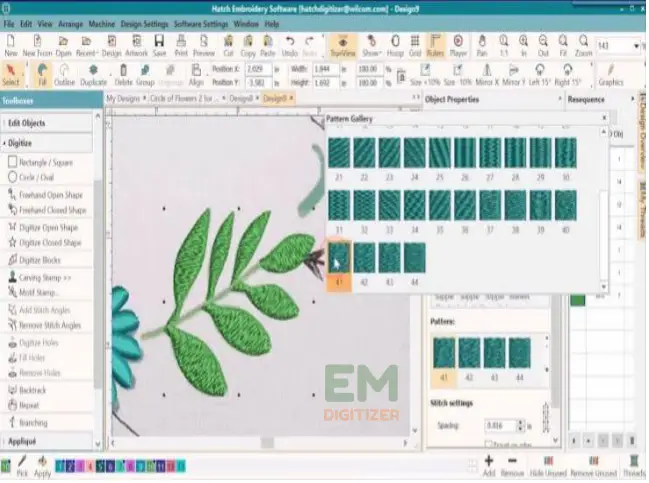
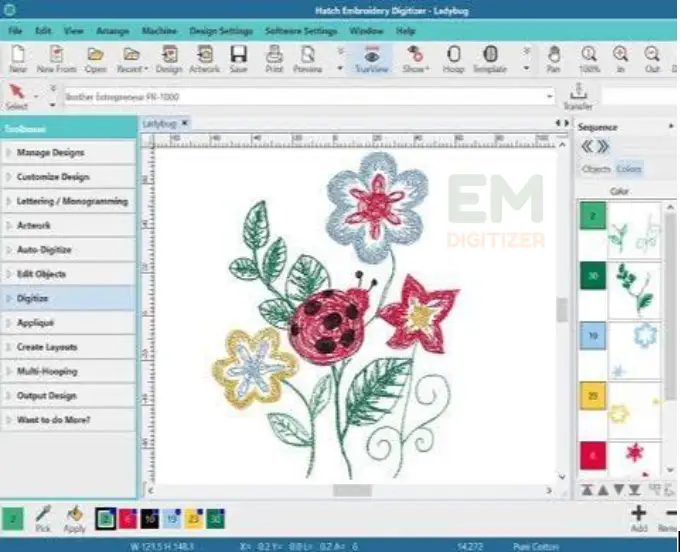
One can use hatch embroidery digitizing software to place these shapes, including leaves with flower embroidery designs.
Step 02
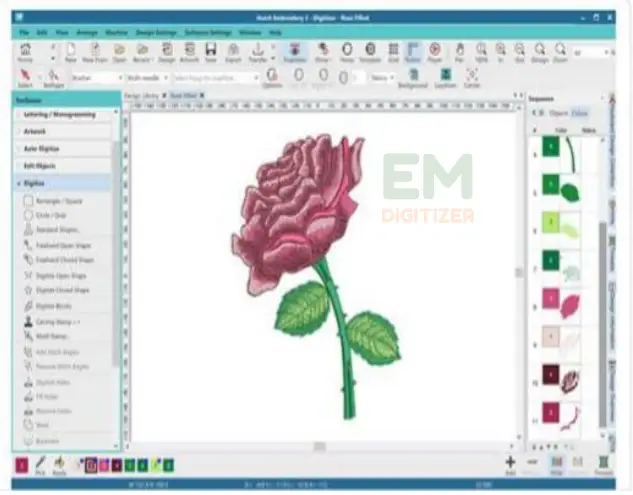
Adding leaves to the back of rose petals will also look nice if you follow the order.
Step 03
As an illustration, begin stitching the side you wish to see on the back first. The items you sewed at the bottom will be visible at the top.
(For a complete tutorial on how to make 3D embroidered leaves, visit our article.)
A Must-Have Toolkit for Flower Embroidery Designs
For creating attractive flower embroidery designs for various applications, one can use a variety of features in the Hatch embroidery digitizing program.
1) Circle Tool
You can use a circular tool in Wilcom hatch to create flower embroidery designs that will be embroidered on decorations and bouquets.
Make little bouquets of a few roses and some foliage first. After that, using a circle drawing tool, outline the object you’ve chosen.
Reminder!
Don’t forget to include varied symmetry in the form of an odd digit of petals or branches in your flower embroidery designs.
2) Copy /Paste Tool
By using this program, you may create your favorite flower embroidery designs more quickly and easily.
For instance, if you are digitizing a leaf form and want to divide it into smaller groups, all you have to do is select it and copy it into your material, and the fun would then begin.
You can now choose to twist or rotate the leaf pattern to include it beautifully in bouquets or other embroidery creations.
3) Use a variety of shapes
Try using other forms for the bloom and leaves, such as circles, triangular, or another shape, if you want to inject more originality into your flower embroidery patterns.
In Wilcom Hatch’s embroidery digitizing program, you can store a wide variety of shapes as themes and patterns for this reason.
(Visit the article if you’re interested in a detailed review of hatch embroidery digitizing software.)
4) Give the Flower Some Texture
It becomes more distinctive and imaginative when the texture is added to flower embroidery designs. Tassel, candle streaming, and velvety stains are all options.
To add texture to these flower embroidery designs, it is advised to embroider with lighter shades.
Create Original Flower Embroidery Designs
Take a look at the supplies you’ll need to create some more authentic flower embroidery designs.
Use of Stones and Other Materials
Any creative idea you have can be used to create your flower. Use metallic thread and polyester to add water droplets, for instance, to give your flower a more realistic appearance.
On the contrary hand, you may also use a running stitch and add stones or any other sort of material for dew droplets.
(If you are using metallic thread, review the blog to discover how to avoid breaking metallic thread.)
Embroider Insects on a Flower
By including insects that adhere to the blossom, you can add creativity and naturalness to your flower embroidery designs.
Any tiny insect, such as a hopper, ant, beetle, moth, bug, or anything else, could be the source. On the internet, there is a sizable collection of such insects to embroider.
Multicolour Thread
You can choose from several colors to create a theme and embroider the garden onto your fabric material. You can use colors apart from blue to create the sky, and any color besides just red can be used to add blossoms.
(Click here if you’re interested in finding out how to conveniently organize embroidery thread.)
3D In Hoop Flower Embroidery Designs
Beautiful 3D stitched flowers can be created using firing mechanisms for bouquets or other interior floral decors.
Conclusion
Your favorite flower embroidery designs, which you have downloaded from any reliable digitizing manufacturers, have a virtually limitless number of alternatives for digitizing when using machine embroidery.
The greatest option is to adapt your favorite pattern using digitizing software for hatch embroidery. To create a special embroidery, you can alter, tilt, or swap the design.
Verify that the flower embroidery designs you select are of the highest caliber, and practice digitizing them to produce novel results.
- The use of stones and beads to add dew drops to flowers.
- Thread with many colors for variety.
- On a flower, a bug can be embroidered.
- Using fringe, make flowers for 3D stitching.
Options include tassels, light streams, and velvety stains. It is suggested to stitch with lighter hues to give these floral embroidery designs a texture.
- Circle tool in digitizing software for hatch embroidery
- Tool for copy/paste
- ESA font styles and shapes
- Spinning tool
If you have any questions leave the comments or you can visit our social channels for more updates regularly. We provide embroidery digitizing services if you need digitizing services feel free to contact us or email us.



Beautiful tutorial! Your detailed guide on making and digitizing flower embroidery designs is a creative inspiration. Thanks for sharing your knowledge!
Blooming with creativity! Follow this complete tutorial on making and digitizing flower embroidery designs and add a touch of nature’s beauty to your stitching projects. Let your creativity blossom with every stitch!
Blooming with creativity! Follow this complete tutorial on making and digitizing flower embroidery designs and add a touch of nature’s beauty to your stitching projects. Let your creativity blossom with every stitch!
Thanks for sharing excellent informations. Your site is so cool.
I am impressed by the details that you’ve on this web site.
It reveals how nicely you perceive this subject. Bookmarked this website page,
will come back for more articles. You, my pal, ROCK! I
found simply the info I already searched all over the
place and simply couldn’t come across. What a perfect web site.