How To Get Rid Of Embroidery Hoop Marks?
You may turn plain textiles into beautiful works of art using the creative and extremely enjoyable activities of embroidery. But the dreadful hoop markings that might remain on your clothes after you finish sewing are among the most frustrating aspects of crafting.
These unsightly marks can be a real pain to remove, and if you’re not careful, they can even damage your fabric. But fear not! There are several tried and tested methods for getting rid of embroidery hoop marks, and we’re here to share them with you.
From how to get rid of embroidery hoop marks to taking preventive measures, every step of the procedure will be explained to you just to ensure that your fabric is left looking clean, smooth, and mark-free.
Whether you’re a seasoned embroiderer or just starting out, these tips will help you achieve that perfect finish every time. So let’s start to learn how to get rid of embroidery hoop marks and say goodbye to those pesky hoop marks for good!
Table of Contents
Embroidery Digitizing Services
If you are looking for embroidery digitizing services, EMDigitizer is one of the best embroidery digitizing companies. Providing all types of embroidery digitizing. I recommend you try digitizing services.
Order NowGet Free QuoteWhat Are Embroidery Hoop Marks?
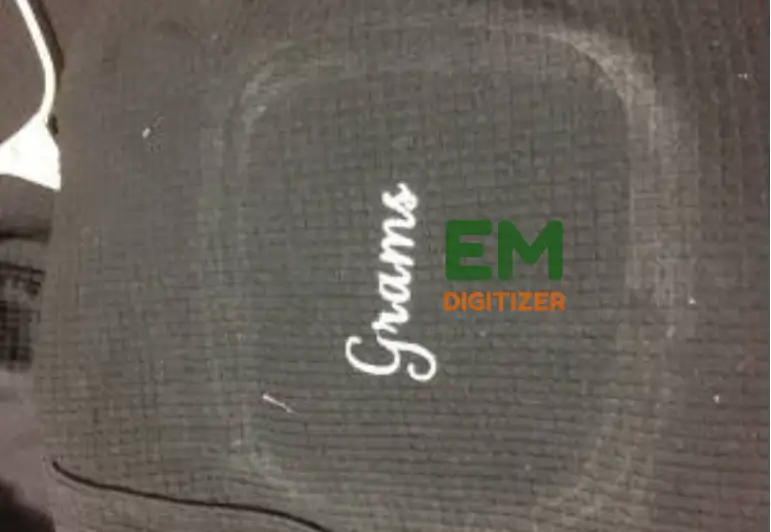
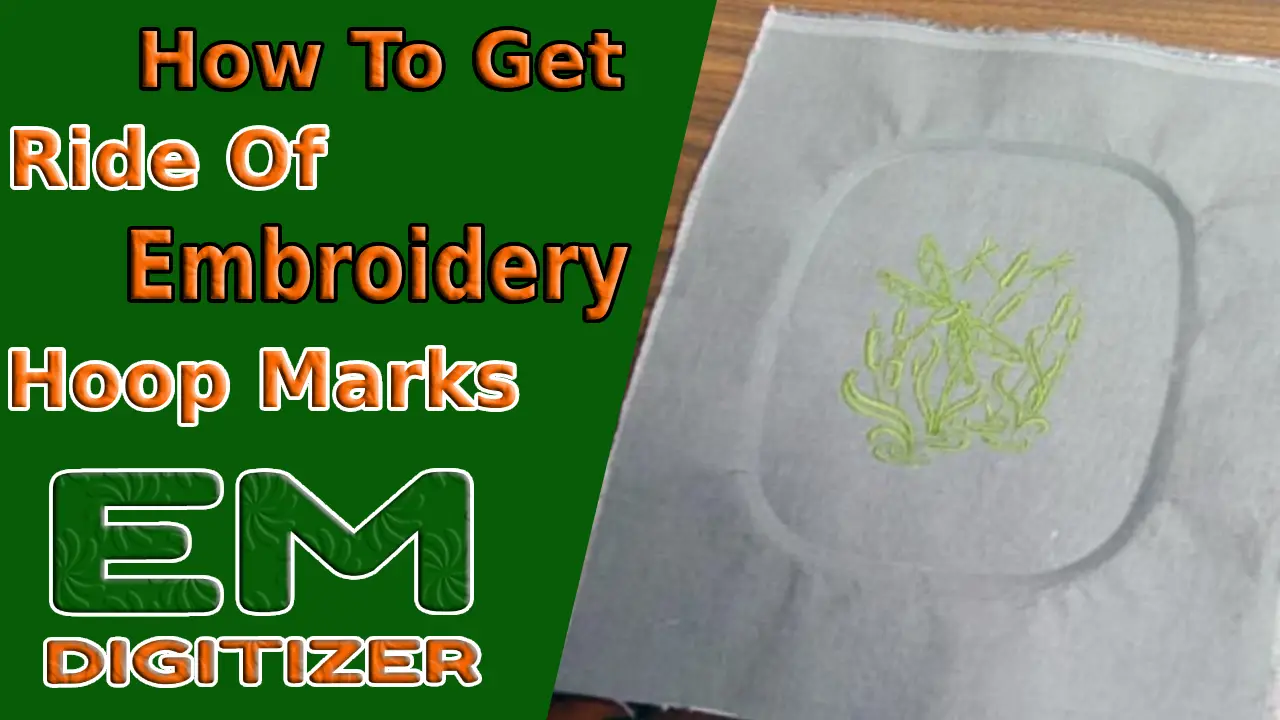
These are impressions left on fabric after it has been stretched taut in an embroidery hoop. These marks can appear around the perimeter of the hoop, or in the center where the bulk of the embroidery work was done.
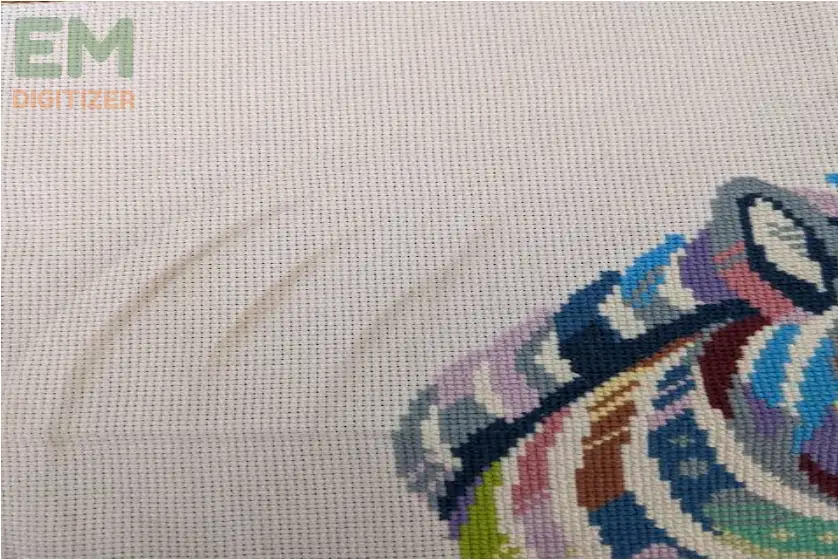
They’re usually visible after the hoop has been removed, and can be difficult to remove with traditional washing methods. Hoop marks are a common problem for embroiderers, but they can be prevented with proper technique and equipment.
Why Do Embroidery Hoop Marks Occur?
Many embroiderers confront the annoying and typical problem of embroidery hoop markings, also known as hoop burns, while working on their stitching projects.
These marks are essentially temporary indentations or imprints left on the fabric after it has been tightly secured in an embroidery hoop for an extended period. Several factors contribute to the formation of these marks.
1- Improper Tension Setting:
First and foremost, the tension applied to the fabric within the hoop is crucial for stitching. However, excessive tension can lead to hoop marks, especially if the fabric is left in the hoop for an extended duration.
The pressure exerted by the hoop’s inner ring can compress the fibers of the fabric, resulting in visible imprints that can be pretty stubborn to remove.
The fabric may be slightly damp from the hoop’s tension, which can also contribute to the marks. Hoop marks can be more prominent on lighter fabrics, such as cotton or linen, but they can still occur on heavier materials like denim or canvas.
Click here for additional information about machine embroidery thread tension.
2- Type Of Fabric:
Moreover, the type of fabric plays a significant role; delicate and loosely woven fabrics are more susceptible to hoop marks than sturdier counterparts.
This article offers guidance regarding the top embroidery fabrics to choose from and employ while making the best products.
3- Hoop Material And Size:
The choice of hoop material can impact the severity of the marks; metal hoops, for example, tend to leave more noticeable indentations than plastic ones.
Moreover, if the design requires stretching the fabric excessively to fit the hoop, it increases the likelihood of developing hoop marks.
4- Lack Of Backing Material:
Inadequate stabilizing techniques can contribute to the problem. Without proper backing or stabilizers, the fabric may shift and bunch up within the hoop, leaving uneven and lasting impressions.
5- Human Errors:
These errors and inexperience can also lead to hoop marks; beginners, in particular, may unintentionally over-tighten the hoop or fail to recognize the need for repositioning the fabric periodically.
Overall, understanding the various causes of embroidery hoop marks allows embroiderers to take preventive measures such as:
- Adjusting tension
- Using appropriate stabilizers,
- And opting for the right hoop size and material, to ensure their stitching projects remain free from these unwanted imprints.
Pre-embroidery Preparation To Prevent Hoop Marks
Getting your clothes ready for embroidery before you start is one of the greatest methods to avoid hoop marks. Observe the following tips:
Utilize A Good Embroidery Hoop:
Invest in a hoop that is made from sturdy materials and has a strong, tight grip. This will help keep your fabric taut without causing excessive compression.
Use The Right Stabilizer:
A stabilizer helps keep your fabric in place while you’re stitching to get rid of marks so choose a stabilizer that’s appropriate for your fabric and embroidery design.
Learn how to use the best embroidery stabilizers for your project’s needs by reading this blog.
Use A Pressing Cloth:
If you’re working with delicate or light-colored fabric, use a pressing cloth to protect it from the heat of your iron. This will help prevent discoloration and potential hoop marks.
Don’t Strain The Cloth Too Much:
While keeping your cloth firm within the hoop, be careful not to overstretch it. This may result in excessive strain and more prominent hoop markings.
How To Get Rid Of Embroidery Hoop Marks From Fabrics?
If you’ve already completed your embroidery project and don’t know how to get rid of embroidery hoop marks to contend with, don’t worry! There are several methods you can use to remove them.
There are some DIY remedies you need to know for how to get rid of embroidery hoop marks:
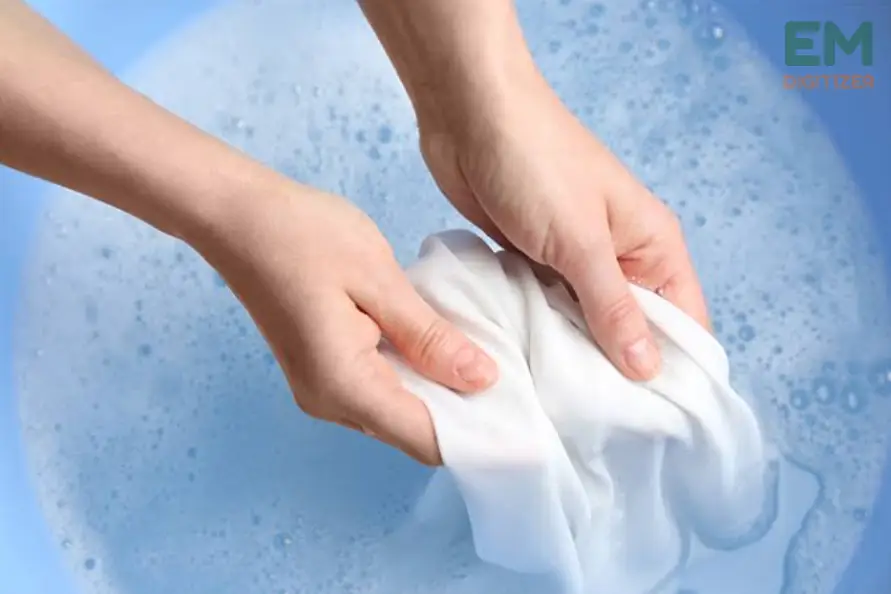
Rubbing Alcohol: Dampen a cotton ball or cloth with rubbing alcohol and gently rub the hoop marks in a circular motion. To be sure that it won’t harm your fabric, practice the method on a tiny, isolated section of material first.
Vinegar: Mix equal parts white vinegar and water in a spray bottle and spray the affected area. Allow the mixture to sit for a few minutes before gently rubbing the hoop marks with a cloth.
Baking Soda: Mix baking soda and water to create a paste, then apply the paste to the hoop marks and let it sit for 30 minutes. Rinse the fabric with cool water and gently rub the area to remove any remaining marks.
How To Get Rid Of Embroidery Hoop Marks By Natural Remedies?
Lemon Juice: Apply fresh lemon juice to the hoop marks and let it sit for 10-15 minutes then wash out the fabric with cool water and rub the area to remove any remaining marks.
Salt: Create a paste using salt and water, then apply the paste to the hoop marks and let it sit for 10-15 minutes. To get rid of any lingering stains, gently wipe the area with lukewarm water after rinsing the garment.
Sunlight: Place your fabric in direct sunlight for several hours. The sun’s natural bleaching properties can help fade the hoop marks over time.
How To Get Rid Of Embroidery Hoop Marks Using A Steam Iron?
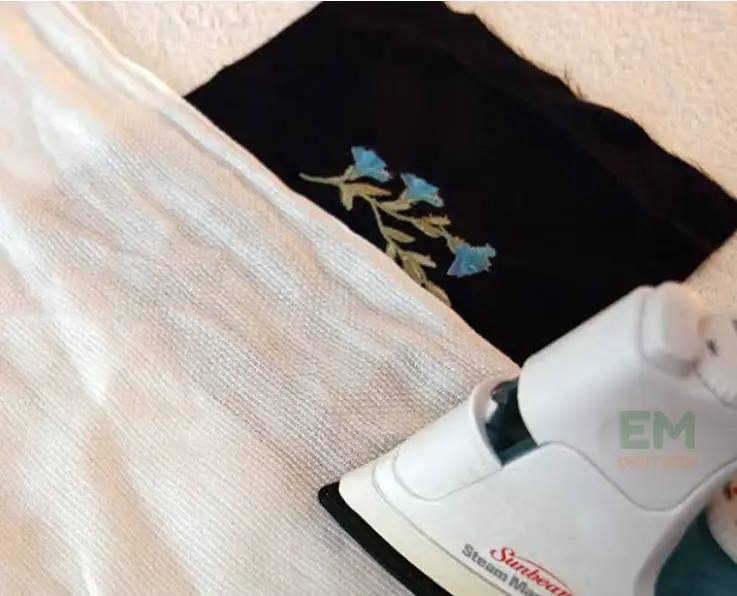
- Place a clean, damp cloth over the hoop marks.
- Set your iron to the appropriate temperature for your fabric.
- Avoid applying excessive pressure as you lightly tap an iron over the wet cloth.
- Lift the cloth and check the area. If the hoop marks are still visible, repeat the process.
How To Get Rid Of Embroidery Hoop Marks With Professional Cleaners?
If you’re hesitant to try any DIY remedies above, you can also take your fabric to a professional cleaner. They’ll have access to specialized equipment and cleaning solutions that can assist in eliminating these hoop markings without causing harm to your clothes.
How To Get Rid Of Embroidery Hoop Marks In Future- Helpful Tips
While it’s possible to remove hoop marks, it’s always best to prevent them from occurring in the first place. Here are some tips for how to get rid of embroidery hoop marks in the future:
Make Use Of A Wider Embroidery Hoop And Fasten Firmly:
If possible, choose a hoop that is larger than the design area. This way, the hoop’s pressure is spread over a larger surface, reducing the risk of pronounced hoop burns.
Carefully and evenly compress the hoop as you go. Try not to tug the cloth too tightly as this might cause more obvious markings.
This tutorial is for anybody interested in finding out how to utilize a magnetic embroidery hoop for crafts.
Prewash The Fabric:
Pre-washing your clothes is a good idea prior to starting any project. This assists in removing any potential sizing or starch, which might increase the likelihood of hoop markings on the cloth.
Use A Hoop Protector:
Some craft stores sell adhesive foam or fabric wraps designed to protect your fabric from hoop marks. You may also create your own by encircling the inner band of the hoop with some fluffy fabric or padding.
Alternate Hooping Methods:
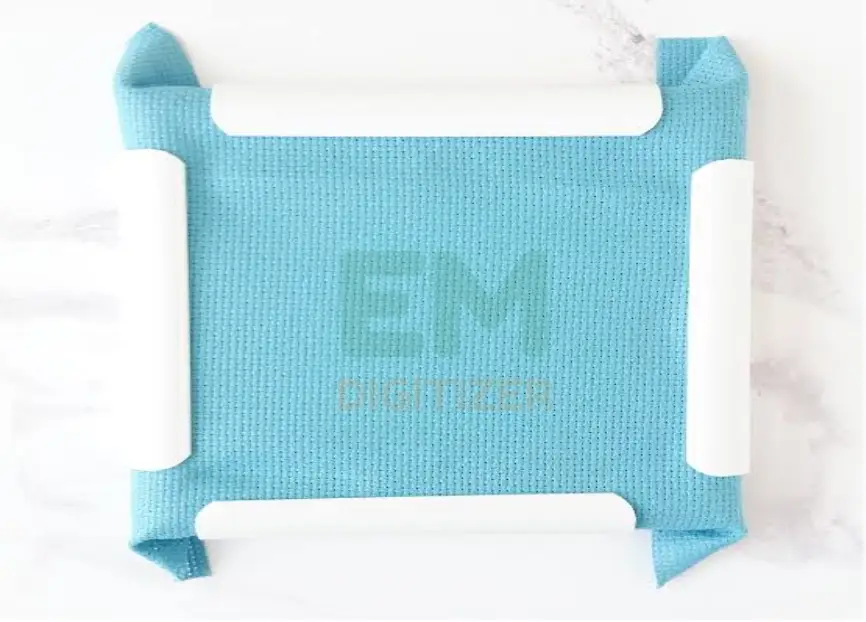
Consider using other embroidery techniques that don’t require traditional hoops. For example, Q-snap frames or scroll frames distribute tension more evenly and may cause fewer hoop marks.
Moreover, invest in an embroidery stand, which holds the fabric taut without the need for a hoop. This can be useful for larger or more complex projects.
If you’re fresh to embroidery and prefer to learn the latest embroidery hooping techniques for error-free results, go here.
Use Additional Padding:
To create a buffer between the fabric and the hoop, consider using additional padding. You can do this by putting a layer of cloth such as muslin or felt, between your main fabric and the hoop. The extra layer helps to distribute strain and reduce the likelihood of hoop marks.
Don’t Leave Cloth In The Hoop For Too Long:
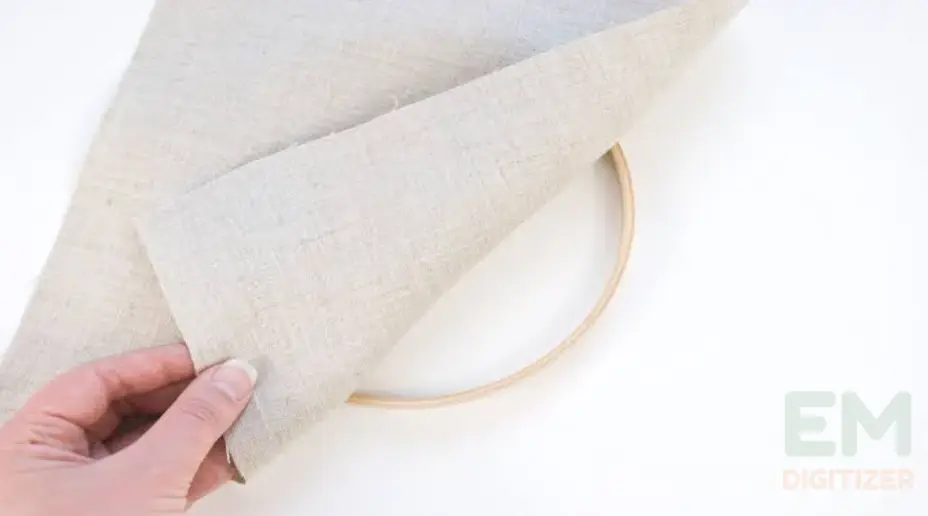
Take fabric away from the hoop after finishing a project or if you are taking a break. To prevent hoop markings, gently take off the cloth from the hoop once done with stitching and keep it erect or coiled in a material tube.
Conclusion
Embroidery hoop marks can be an irritating side effect of the beautiful craft, but they’re not impossible to remove. You can maintain the smooth, mark-free appearance of the cloth by using the correct tricks and procedures.
Remember to always use high-quality equipment, ensure the fabric is ready, and take precautions to prevent hoop markings from occurring.
Use a mild technique like rubbing alcohol or vinegar to remove hoop markings from fragile clothes. Always practice the technique on a discrete, tiny section of your cloth initially.
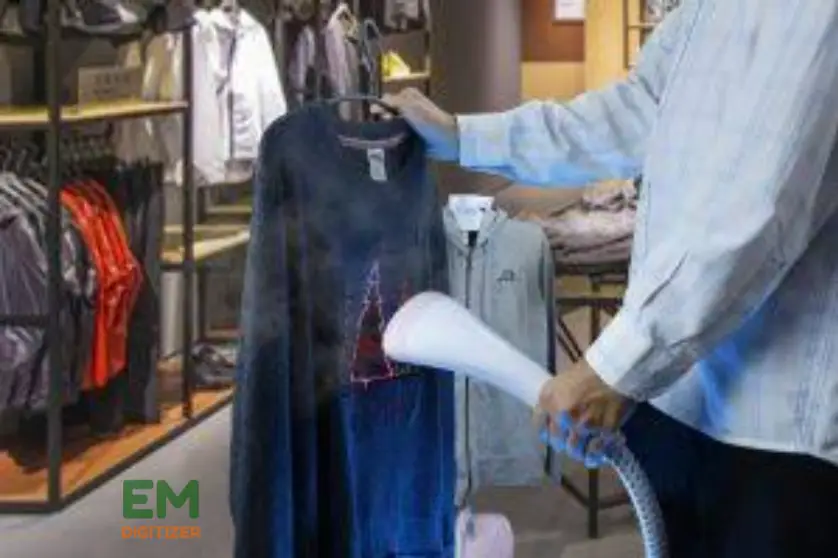
When pulling the cloth by hand, one can use a hairdryer or a steamer to warm up the hoop markings. Be careful not to burn the cloth or overheat it.
When you’re done stitching, try to take the cloth out of the embroidery hoop soon. Hoop markings are more likely to appear if you leave them in the hoop for a long time.
Hoop marks themselves won’t damage your fabric, but excessive compression can cause the material to weaken over time. It’s best to remove the hoop marks as soon as possible to avoid any long-term effects.
For old marks, try dampening the fabric and then placing it between two clean, absorbent cloths. Apply gentle pressure with a cool iron to see if the marks will lift.
If you have any questions leave the comments or you can visit our social channels for more updates regularly. We provide embroidery digitizing services if you need digitizing services feel free to contact us or email us.
