How To Embroider Socks On Machine – Complete Tutorial
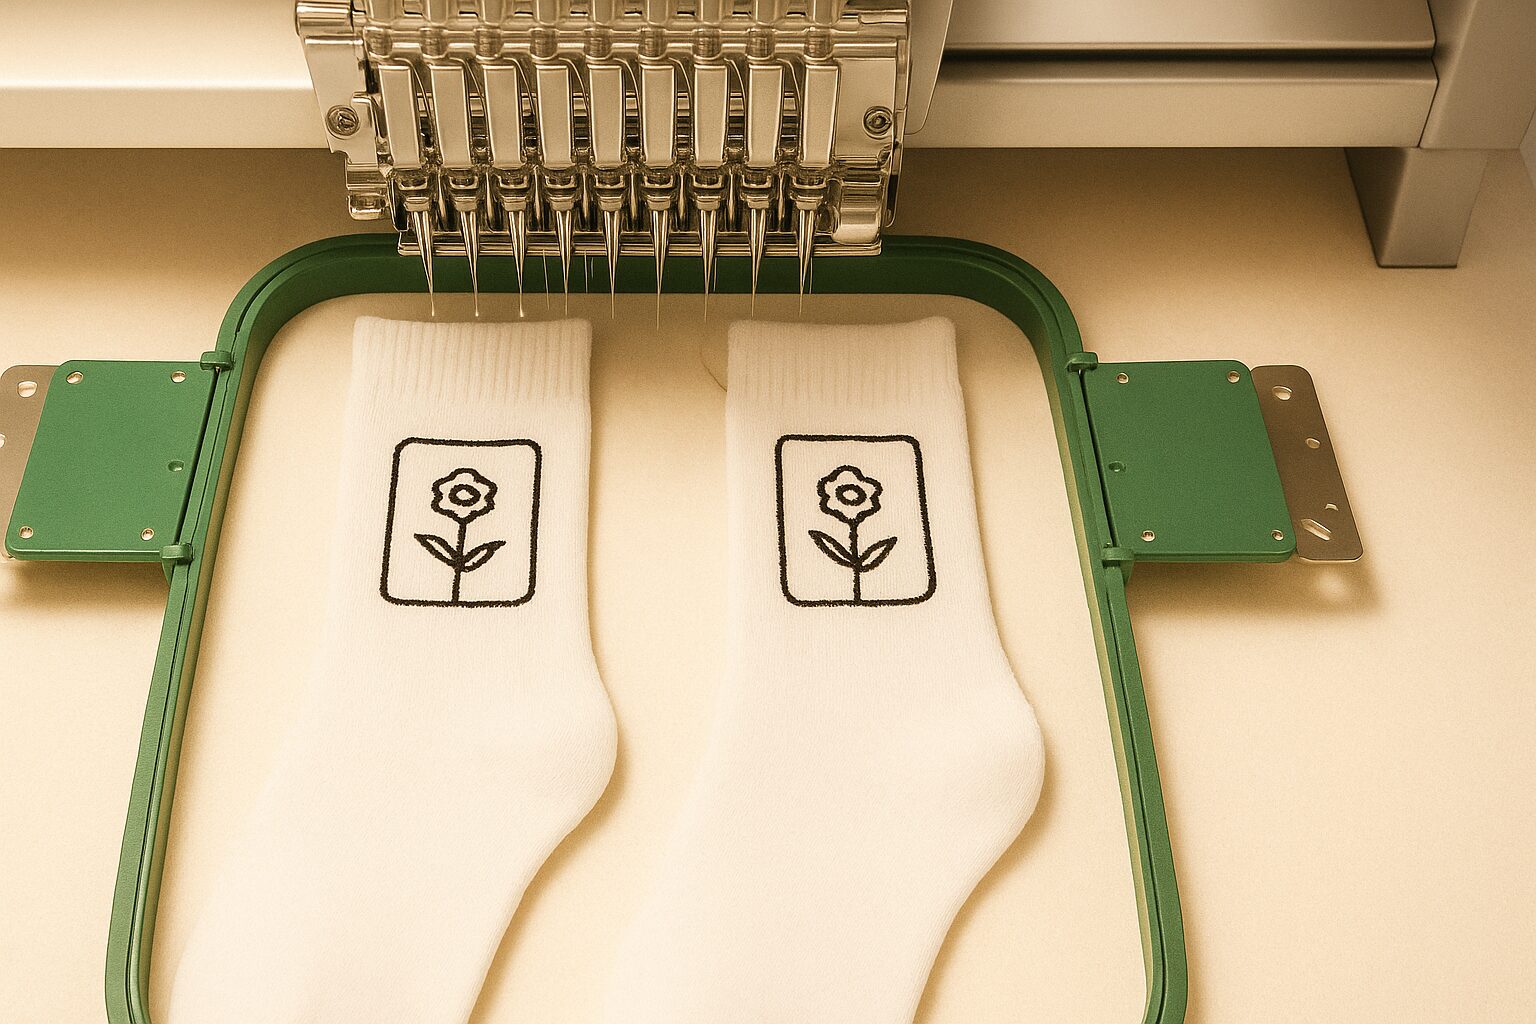
Now I have come up with a new post about how to embroider socks. If you have your embroidery machine with a free arm, you can embroider socks(cuffed or uncuffed) with cool ideas such as embroidered images, logos, letters and other creative designs with a little bit of practice. Do you get frustrated when embroidering socks because of the stretchy nature of socks? so stop worrying about this problem.
Here, I will provide you with the step to step tutorial guide on how to embroider socks that help you to stand out best with sock embroidery. Let’s start with a short description of socks embroidery.
If you are looking for embroidery digitizing services, EMDigitizer is one of the best embroidery digitizing companies. Providing all types of embroidery digitizing Services. I recommend you try digitizing services.
Order NowGet Free QuoteTable of Contents
Socks Embroidery
Embroider socks could be the statement piece of your wardrobe. You can embroider socks for babies to adults irrespective of gender. In this technological world, the invention of the embroidery machine makes a difference for most of the growing businesses around the world.
This invention lets you embroider any kind of creativity and art on endless material mediums. If you want to give a personal touch to the socks, here’s the best option for socks embroidery. Many companies embroider socks to rank up their brand often seen in the market as Gucci socks and many more. Put a glance at the following tips when embroider socks.
If you want to get knowledge about how to create an Embroidered Blouse, then you can visit: Embroidered Blouse
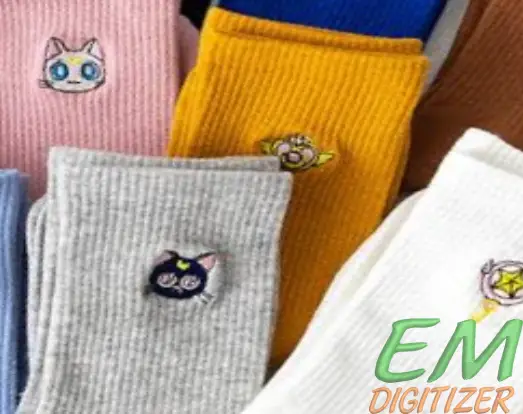
- Always consider the proper size of the embroidery design to embroider socks. Keep in mind that you are not going to embroider large garments. Measurement of size to embroider socks should be between half an inch to 2.5 inches.
- The use of thick lines to embroider socks is the best option to outline your artwork and make it more visible.
It can be a little tough to embroider socks in a single-needle embroidery machine. Because it is difficult to lay socks flat on this machine due to the small top opening and stretchy fabric for embroider socks.
What You Will Need To Embroider Socks
Embroidery is all about the use of supplies in a way to create a fun and unique design on the medium you have chosen to embroider. Like all other embroidery applications, here’s the list of supplies you will need to embroider socks.
Embroidery Machine-Along with a free arm and hoop that is available in the market. You can get it easily from any craft store.
Pair Of Socks- Either have a cuff or plain top opening to embroider socks.
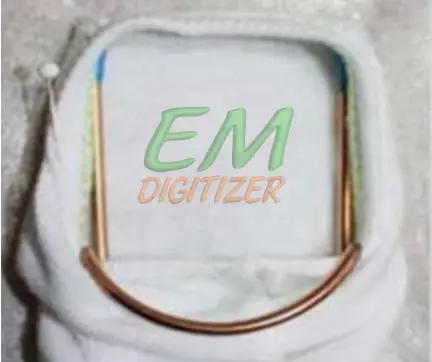
Socks Hoops- Hoops that fit with the entire sock.
Embroidery Thread-Use contrasting colour that looks best with your sock’s fabric colour. You can choose from 60/40 weight thread to embroider socks according to the type of design e.g, lettering.
A complete guide on 5 Best Embroidery Thread Brands
Embroidery Needle-As needles come in a variety of size ranges. You can test which one suits your project before going to embroider socks. (Universal needle size is75/11)
A complete guide on best machine embroidery needle
Embroidery Design-You knows very well it is difficult to work on delicate and thin fabric like socks, try to use simple designs with less detail for smooth stitching to embroider socks.
Embroidery Stabilizer–These stabilizers play a vital role to prevent the design from being distorted during stitching. You can use sticky self-adhesive stabilizers or tear away to embroider socks. For complex designs, you can also go up with cut-away or water-soluble stabilizers for a better result. Water soluble stabilizers can be dissolved easily and don’t leave residue after removal.
Marking Material-Use can use water soluble marking pens to mark the target area for design to embroider socks.
Embroidery scissors–Use to cut out excessive thread and stabilizers after you are done with embroidery.
Pins- Use to hold the socks in place.
Make sure to use high-quality supplies to embroider socks and learn to handle them properly to avoid any difficulty during embroidery. Simply check the instructions that came with the tools carefully.
Step-by-Step Guide To Embroider Socks
After you have all your supplies, get started embroidering socks by following these steps actively.
Step 01# Select Hoop And Stabilizer
One should be careful in the selection of hoops and stabilizers to embroider socks.
Choice Of Hoop
Section of hoops to embroider socks is not an easy task. Choose a hoop that is large enough to cover the entire sock. This will avoid the fabric to be pulled out during stitching(4×4 flat hoop).
Also, consider that the hoop you are using could be removed easily from the machine at the end without destroying the actual design.
Choice Of Stabilizers
If you are stitching the small design with less detail, you can use a tear-away stabilizer to embroider socks. But socks will adhere to the tear-away stabilizer and will not move during stitching and resulting in poor stitching. You can take the help of self-adhesive sticky stabilizers or water-soluble stabilizers. That will not leave any residue after removal. After a careful selection of hoops and stabilizers to embroider socks, move ahead.
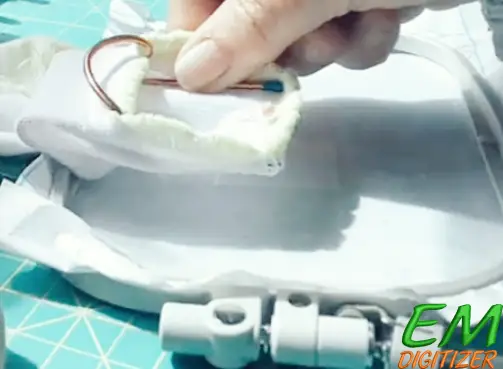
What to do: Place the sock flat on the hoop and gently pin up the edges of your sock if you are using cuffed socks to embroider. Catch socks and stabilizers with pins that allow them to be attached to the hoop and avoid moving socks around during stitching to embroider socks.
Step 02# Mark Your Socks Area To Embroider Socks
In this step, mark the centre area of the sock at which you want to have your embroidery design. You can use a water-soluble marking pen. And try to use a mini design to embroider socks that work well on the marked area.
Step 03# Use Sock Easy As Hooping Aid
The use of hooping aid to embroider socks helps to make sure socks are positioned properly and that your stitches are straight. To hoop the socks, simply place them in the hoop and then tighten the screws. Once the socks are in place, you can start embroidering.
Step 04# Placement Of Socks On The Sock Hoop
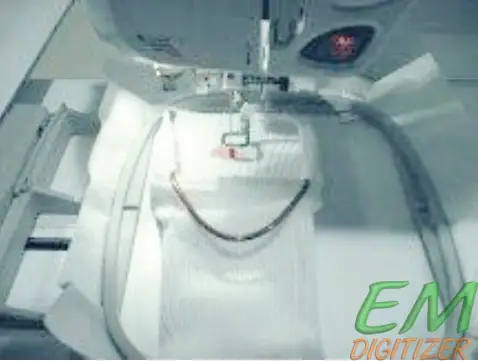
To embroider socks on the embroidery machine, make sure to place the sock hoop in a way that the marked area for design is in the centre of the hoop.
Note: When you are using cuffed socks, unfold the sock completely and keep the socks itself right side out. The marker will now be on the inside and then slide this onto the sock hoop. You will have to adjust the orientation of the sock hoop to embroider socks.
Step 05# Stretch The Socks
There is an important point to be noted about how much we need to stretch the socks to fit in the frame. Simply hold the sock at each end and stretch it until it’s about twice its original size. Once you have stretched out the socks, start attaching them to the machine. Make sure that you stretch the sock uniformly so that there are no wrinkles or folds in the fabric.
Step 06# Adhere Socks To Stabilizer
Once you’ve placed your sock on the hooping then adhere it to the stabilizer. Make sure the lines on your marked sock line up vertically and horizontally with your hoop to embroider socks properly.
Step 07# Get Started To Embroider Socks
I want to give you a quick overview on started embroidery socks in table form:
| Task | Details |
| Load Design | Place hoop in machine and load your embroidery design. |
| Secure Hoop | Make sure hoop is fixed properly. |
| Use Topping | Place water-soluble stabilizer on top before starting stitching. |
| Basting Stitch | If your machine has this, use it. Otherwise, float the piece until stitching starts. |
| Start Stitching | Begin with small designs for best result. |
Now place your hoop into the machine and load your design to embroider socks.
First, bring the hoop to your embroidery machine and secure it at the place. Usually, socks are thick and bulky but you can use a water-soluble stabilizer to embroider socks on top before embroidering. It will also help keep the stitches from sinking into the sock.
But If your machine has a built-in basting stitch, you can use this stitch to embroider socks. If not, you can simply float the piece on top of the sock area until it starts stitching. Once the design gets going, it will automatically hold it into place. Start stitching your design as small designs take less time to stitch out but reflect a good impression on the embroidered socks.
For example, if you are stitching a flower, stitch several small stitches on each petal (casting) but if you are stitching an outline, start with small stitches that outline the shape to embroider socks effectively.
Precautions
Task Description Clean machine Wipe down your machine with a damp cloth to remove any dirt or debris. Needle check Check alignment and replace if necessary. Threading Thread your machine with the correct thread for your fabric. Secure both ends in a knot before stitching. Decorative threads Optional, can be used for embellishment.
Final Step
Once you are done with embroidery, remove the hoop from the machine and place it on your work table.
Remove the pins and socks from the hoop. Make sure to remove the water-soluble topping. First, spray your socks with water and let them dry for a while. And that’s all about embroidered socks with a machine.
Conclusion
Here’s the complete tutorial guide about how you can embroider socks with a machine, by the use of safety pins and you can also use sock tools. Here we have explained about embroidering socks with a machine. Embroidery leaves a long-lasting impression on your projects and this is all possible with the supplies used to embroider socks and other projects but make sure your machine stitches on one side of the sock and it is only possible with the use of an embroidery machine having a free arm.
Actively choose hoops and stabilizers to embroider socks. And start embroidering socks with simple and mini designs. You can embroider both cuffed and uncuffed socks with a little bit of effort. When you apply these rules to your embroidery, you will be able to embroider socks, not for your use but you can expand your business by designing these socks and offering them to local companies who want to advertise their brand. Enjoy Embroidery!
How can you embroider onto socks?
One can embroider socks with the use of a machine, pins or using a sock tool. To embroider with the machine:
- Select hoop and stabilizers
- Mark the target area for the design
- Use socks easy as hooping aid
- Placement of socks on sock hoop
- Stretch the socks
- Adhere socks to the stabiliser
- Start stitching embroidery
- Remove excess marking toppings and stabilizers. And remove socks from the hoop.
What kind of stabilizers can be used to embroider socks?
Why is it important to use hooping aid to embroider socks?
The use of hooping aid to embroider socks helps to make sure socks are positioned properly and that your stitches are straight. To hoop the socks, simply place them in the hoop and then tighten the screws. Once the socks are in place, you can start embroidering.
Which kind of design is used to embroider socks?
Always use a simple design to embroider socks and also consider the proper size of the embroidery design to embroider socks. Keep in mind that you are not going to embroider large garments. Measurement of size to embroider socks should be between half an inch to 2.5 inches.
If you have any questions leave the comments or you can visit our social channels for more updates regularly. We provide embroidery digitizing services if you need digitizing services feel free to contact us or email us.
