How To Reset Tajima Embroidery Machine – Complete Guidelines
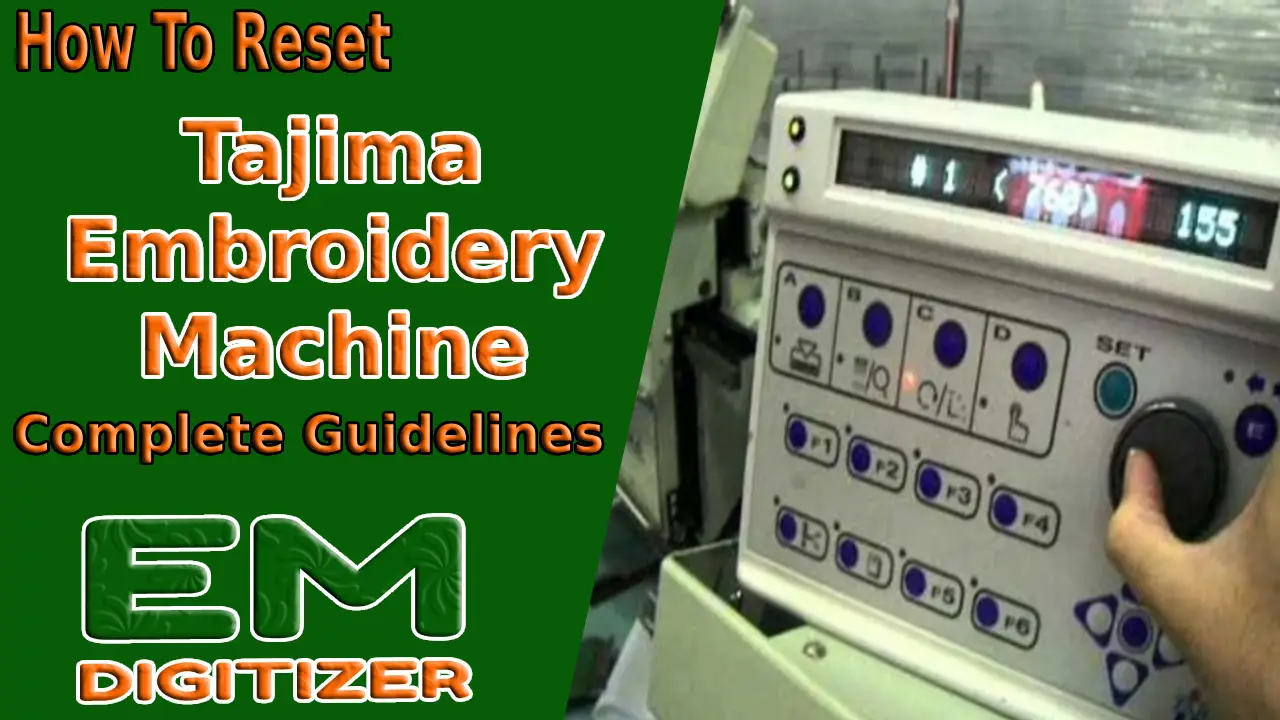
Your Tajima embroidery machine is more than just a piece of equipment; it’s a significant investment that fuels your passion for embroidery and helps bring your creative designs to life.
However, there might be times when technical hiccups or software glitches disrupt your smooth embroidery process.
When faced with such challenges, performing a complete reset of your Tajima embroidery machine can often get it back on track.
In this tutorial, we will take you through the step-by-step process of how to reset Tajima embroidery machines, and troubleshooting tips to help you navigate the process with confidence and precision.
Table of Contents
Embroidery Digitizing Services
If you are looking for embroidery digitizing services, EMDigitizer is one of the best embroidery digitizing companies. Providing all types of embroidery digitizing. I recommend you try digitizing services.
Order NowGet Free QuoteWhen And Why To Reset The Tajima Embroidery Machine?
There are several reasons why you should learn how to reset Tajima embroidery machines.

Technical Issues: Like any complex machinery, embroidery machines may encounter technical glitches or errors. Learning about how to Reset Tajima embroidery machines can help clear these issues and restore their functionality.
Performance Issues: Sometimes, the machine may encounter errors or malfunctions during operation, affecting its performance. A reset can help clear these issues and restore the device to its normal functioning.
Clearing Memory: Over time, the machine’s memory can become cluttered with old designs and data. If the machine’s memory is full or corrupted, a reset can clear it and free up space for new designs or settings.
Software Updates: When performing software updates or changes, a reset might be required to apply the changes and make sure the machine runs with the latest features and improvements.
User Error: In some cases, if the machine is not responding due to incorrect user inputs or settings, a reset can help to undo these changes and start again with the correct parameters.
Start From Scratch: If you want to start a new embroidery project without any previous settings, you should adhere to the guidelines on how to reset Tajima embroidery machine to achieve a clean slate.
Troubleshooting: In case of persistent issues that cannot be resolved through other means, a reset can be a troubleshooting step to rule out software-related problems.
Guidelines On How To Reset Tajima Embroidery Machine:
An essential skill that every embroiderer should possess is how to reset Tajima embroidery machines. If you are encountering technical issues or simply wish to start with a clean slate, knowing how to reset Tajima embroidery machines properly is crucial. Let’s get started!
Step 1: Power Of The Machine
Before proceeding with any reset procedure, make sure the Tajima embroidery machine is powered off. Locate the power switch and turn it off to ensure your safety during the reset process.
Step 2: Check The User Manual
Consult the user manual provided by the manufacturer for specific instructions on resetting your Tajima embroidery machine.
Different models may have slightly varying reset procedures, so it’s essential to follow the guidelines provided by the manufacturer.
Step 3: Disconnect Power Source And Cables
Once the machine is powered off, disconnect it from the power source and any connected cables or peripherals. This includes removing the USB cables, network cables, and any other external connections.
Step 4: Wait For A Few Minutes
Allow the machine to sit idle for a few minutes after disconnecting the power source. This step is crucial to ensure any residual electrical charge is fully dissipated before proceeding.
Step 5: Reconnect The Power Source And Cables
After waiting for a few minutes, reconnect the Tajima embroidery machine to the power source and any relevant cables. Double-check that all connections are secure.
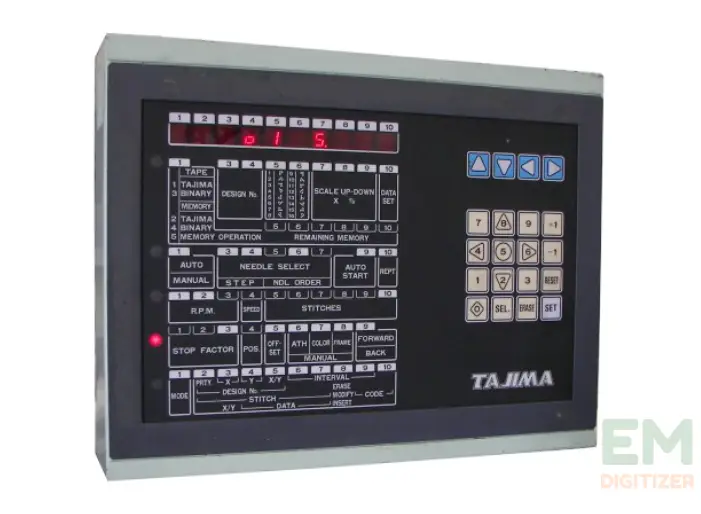
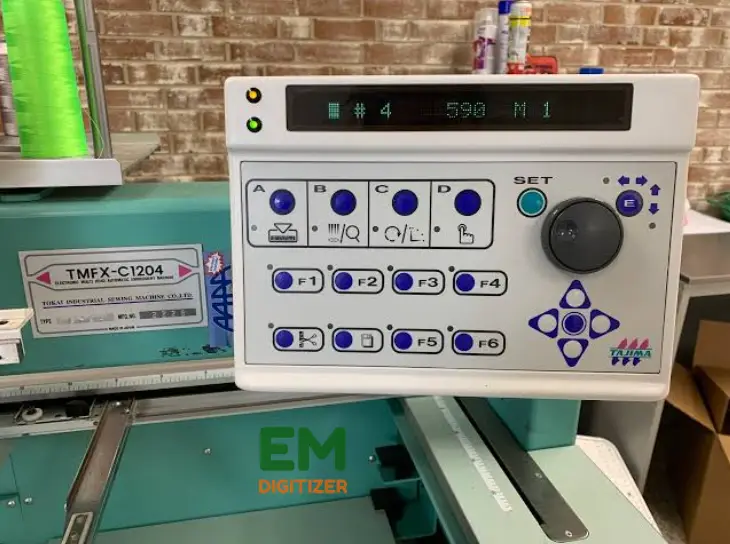
Step 6: Accessing The Control Panel
Locate the control panel of your Tajima embroidery machine. It can typically be found on the front or side of the machine. Power on the machine and wait for the control panel to initialize.
Step 7: Accessing The Reset Options
Once the control panel is ready, look for the “Menu” or “Settings” button. Press it to access the machine’s settings menu. From here, navigate to the “System” or “Maintenance” section, where the reset options are usually located.
Step 8: Selecting The Reset Option
In the “System” or “Maintenance” section, you should see options related to resetting the machine. The specific options may vary depending on your Tajima model, but common reset options include “Factory Reset” or “System Reset.”
Step 9: Confirming The Reset
Select the appropriate reset option, and the control panel will prompt you to confirm your choice. Carefully read the confirmation message, as resetting the machine will erase any customized settings and data.
Step 10: Initiating The Reset
Once you are sure about the reset, proceed to confirm your selection. The machine will begin the reset process, and you might see a progress bar or a confirmation message on the control panel.
Step 11: Completion And Calibration
After the reset process is complete, the machine will automatically restart. At this point, you may need to recalibrate certain settings, such as needle height, thread tension, and frame alignment, to ensure optimal performance.
Step 12: Test The Machine
Run a test embroidery design to ensure that the reset process was successful. Verify that the machine operates smoothly and produces high-quality embroidery.
Step 13: Regular Maintenance
To keep your Tajima embroidery machine in optimal condition, practice regular maintenance, such as cleaning, lubrication, timely servicing, and following guidelines on how to reset Tajima embroidery machines. This will prevent technical issues and enhance the machine’s longevity.
Understanding Factory Reset For Tajima Embroidery Machines
A factory reset for a Tajima embroidery machine refers to the process of restoring the machine’s settings and configurations to their original factory defaults.
When you perform a factory reset, all user-defined settings, designs, and data stored on the machine’s memory will be erased, and the machine will return to the state it was in when it was first manufactured.
This procedure is typically used to troubleshoot issues, clear any unintended customizations, or start fresh with the machine’s original settings.
However, it’s crucial to exercise caution when performing a factory reset, as all existing data will be lost. Therefore, it’s advisable to back up any important designs or settings before proceeding with the reset to avoid permanent data loss.
How To Reset Tajima Embroidery Machine: Troubleshooting Guide
If you want to know how to reset the Tajima embroidery machine for the reasons stated above, consider the following guidelines:
Gather Essential Information:
To ensure a smooth reset process, gather all necessary information, including your machine’s model number, user manual, and any error codes or messages displayed on the control panel. Having this information at hand will help you better understand the machine’s specific requirements.
Safety Precautions:
Always prioritize safety when working with any machinery. Ensure that the Tajima embroidery machine is turned off and disconnected from the power source before attempting any reset procedures. Wear appropriate safety gear and handle the machine with care.
Check For External Factors:
Sometimes, issues with the embroidery machine may arise due to external factors, such as tangled threads, a bent needle, or debris in the bobbin area. Inspect the machine thoroughly to rule out such possibilities before proceeding with the reset.
Power Cycle The Machine:
A simple power cycle can resolve many minor issues. Turn off the machine, unplug it from the power source, and wait for a few minutes before plugging it back in and powering it on.
Back-Up Your Precious Data:
Your embroidery designs and personalized settings are essential assets that should be safeguarded. Utilize the machine’s built-in backup option or transfer your files to an external storage device or computer. This precaution ensures that your hard work is protected and can be easily restored after the reset.
Soft Reset Process:
If you want to perform a soft reset, access the machine’s settings menu and look for the “Reset” or “Factory Defaults” option. Follow the on-screen prompts to initiate the soft reset. Remember to back up any important data or settings before proceeding.
Hard Reset Process:
To perform a hard reset, locate the designated reset button on your Tajima embroidery machine. It is often found near the power button or on the control panel. Press and hold the reset button for a few seconds until the machine powers off and then powers back on.
Calibration And Sensor Alignment:
After completing the reset, check your machine’s calibration and sensor alignment. Recalibrate the machine if necessary to ensure precise and accurate embroidery work.
Post-Reset Testing:
After completing the reset process, run a few test stitches on scrap fabric to ensure that the machine is functioning correctly. Check for smooth operation, even stitching, and proper tension.
Updating Firmware And Software:
Outdated firmware or software can cause technical issues. Check for the latest updates on how to reset Tajima embroidery machines on their website and follow their installation instructions to keep your machine up to date.
Conclusion
Resetting your Tajima embroidery machine doesn’t have to be intimidating. With the knowledge gained from this comprehensive guide, you can confidently tackle any reset task that comes your way. Remember to exercise caution, read all prompts carefully, and perform the calibration steps for the best results.
A reset may help in resolving minor software-related issues, but it won’t fix mechanical problems like needle misalignment or thread tension. For such matters, it’s best to refer to the machine’s user manual for how to reset the Tajima embroidery machine or seek professional assistance.
You can try a soft reset first. Turn off the machine, unplug it from the power source, wait for a few minutes, and then plug it back in. Turn the machine on again, and it should reset.
To perform a factory reset, navigate to the machine’s settings menu, select “System,” and then choose “Factory Reset” from the options provided. Confirm the action, and the device will reset to its original settings.
Yes, after a factory reset, it’s recommended to recalibrate the machine for optimal performance. Refer to the user manual for how to reset the Tajima embroidery machine and calibration instructions.
If you have any questions leave the comments or you can visit our social channels for more updates regularly. We provide embroidery digitizing services if you need digitizing services feel free to contact us or email us.
