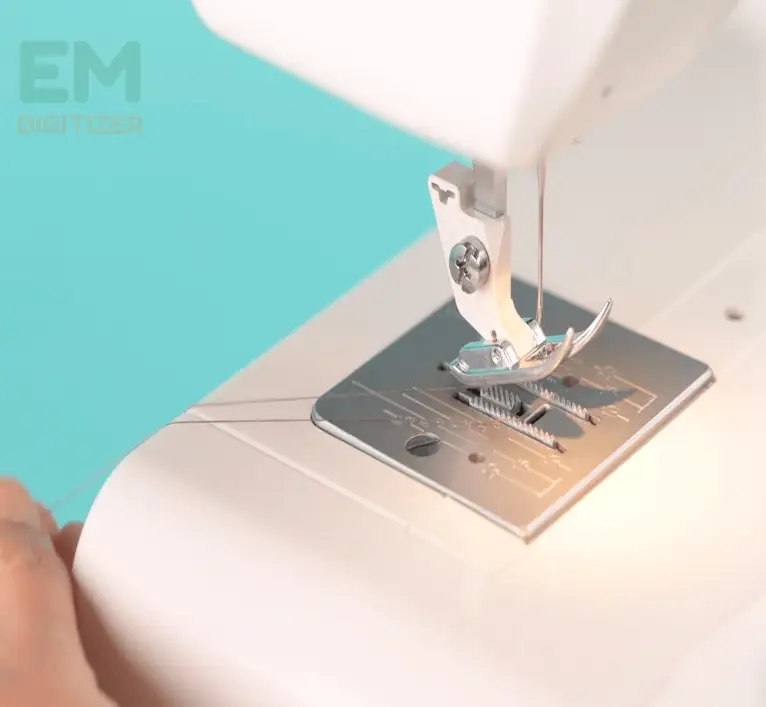
How To Thread A Bobbin Complete Guidance For Beginner
Many of you might be stuck on how to thread a bobbin as it appears like a challenging endeavor for beginners.
But hold on! We will simplify the procedure in this tutorial so you can become an expert at bobbin threading.
Following these straightforward directions for threading makes sewing easy and hassle-free.
Table of Contents
Embroidery Digitizing Services
If you are looking for embroidery digitizing services, EMDigitizer is one of the best embroidery digitizing companies. Providing all types of embroidery digitizing Services. I recommend you try digitizing services.
Order NowGet Free QuoteLearn How To Thread A Bobbin:
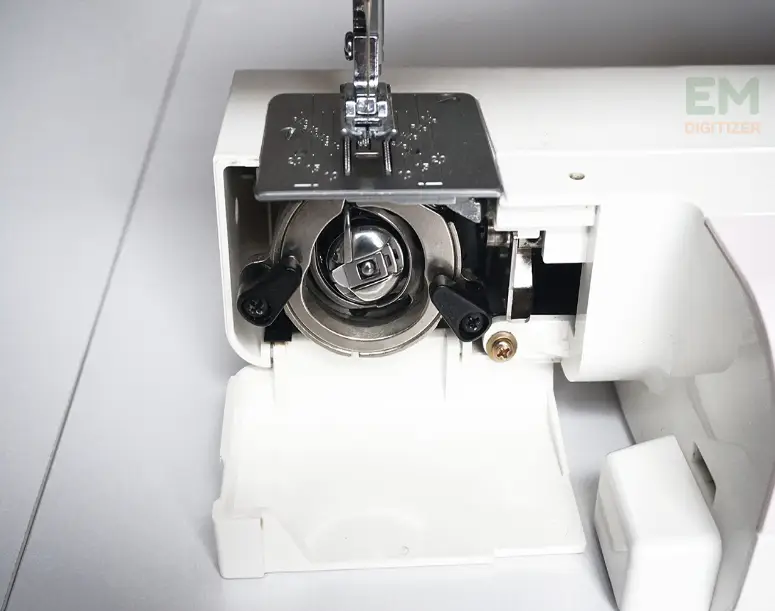
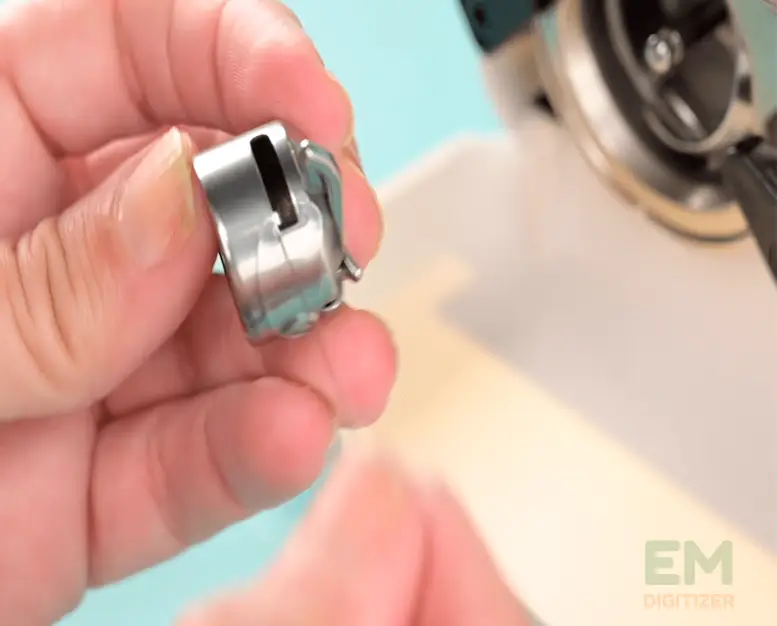
The procedure of how to thread a bobbin involves skillfully controlling the complex workings of the machine. Go to unlock the front-loaded bobbin case. Now elevate the needle to its maximum height.
You should know where to put a bobbin inside the case, how to thread it with tension dicks, and how to pull it from the spool holder.
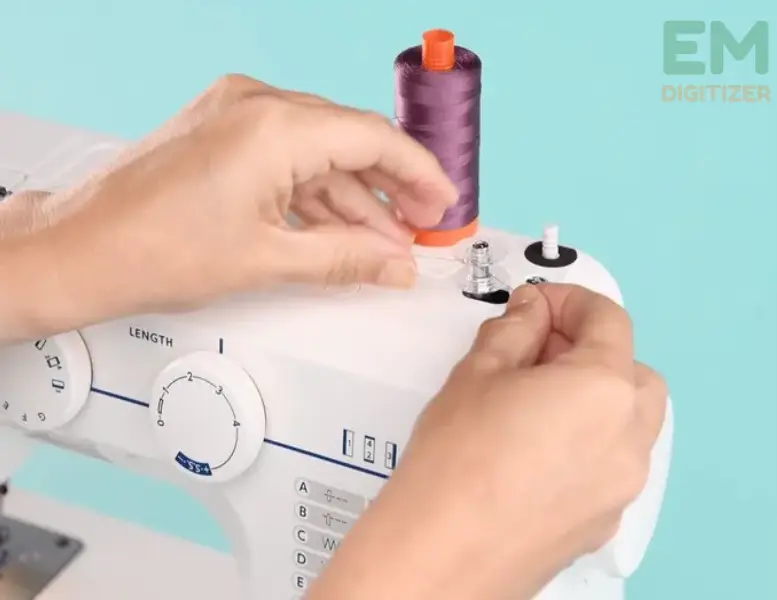
Next, close the case and raise the bobbin thread. Finish this procedure by tying it with the top thread.
Sewers should learn “how to thread a bobbin” as it guarantees a proper connection between upper and lower threads. It helps to ensure smooth sewing.
Knowing how to thread a bobbin gives you the ability to do a variety of sewing projects. They have been able to transform unfinished cloth into perfectly designed items.
About the bobbin:
The bobbin is a tiny but key element in the machine that is frequently overlooked but is very important for the sewing operation. I agree with the value of the bobbin in preserving uniform and fine stitches.
Its cylinder shape keeps the lower thread, which combines with the top thread to produce flawless seams.
The thread flows smoothly because of the bobbin’s accuracy. It helps me sew things more precisely and efficiently.
With every stitch, the bobbin silently contributes to the creation of beautiful garments. This is what makes it a vital element in the stitching industry.
Type of Bobbin System Used In Sewing Machine:
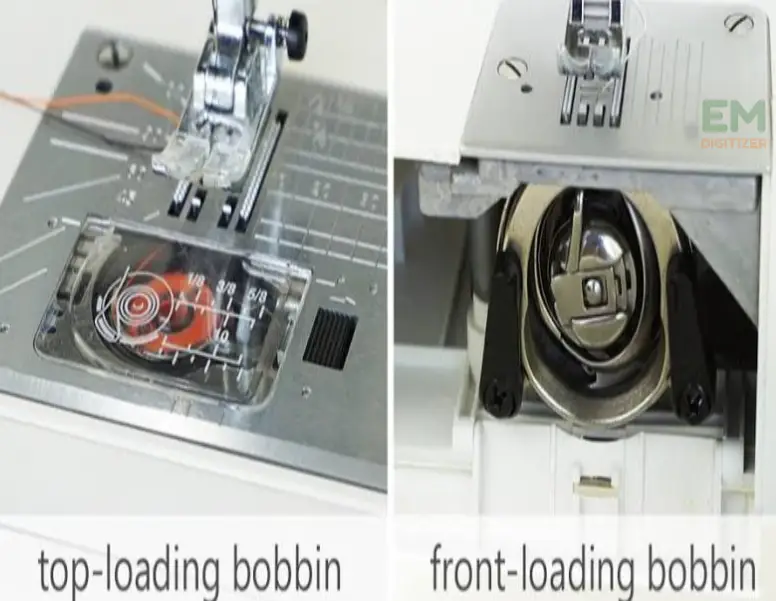
Standard sewing machines normally use one of these primary bobbin systems:
Front-Loading Bobbin System:
- Comes in a few modern sewing machines as well as older models.
- The bobbin is normally inserted into the front side of a sewing machine, slightly below its needle plate.
- Need a front cover or additional case to be removed to reach the bobbin.
Top-Loading Bobbin System:
- More common in today’s machines.
- A simple cover or a detachable accessory part is used to conceal a bobbin when inserted from the top.
- Simple to use which makes thread level control easy.
The type and brand of the sewing machine determines which bobbin type to use: front-loading or top-loading.
Steps To Wind A Bobbin:
Stitching is more uniform when the bobbin is well-wound. It helps to increase the general effectiveness of a project.
It gives the needle a consistent supply of thread, enabling easy and continuous sewing.
Step 1:
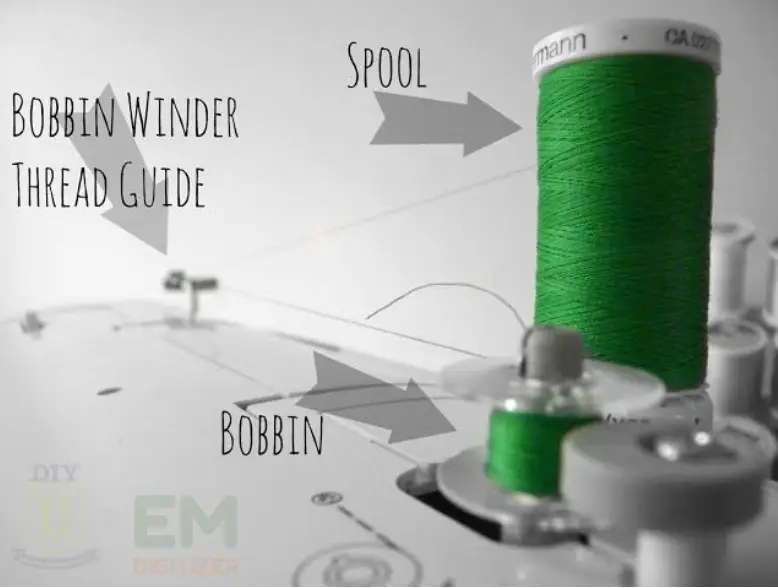
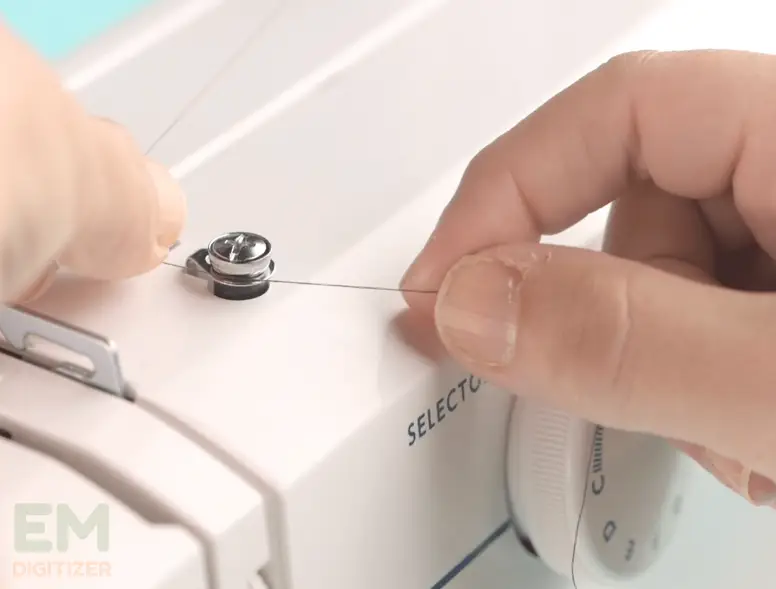
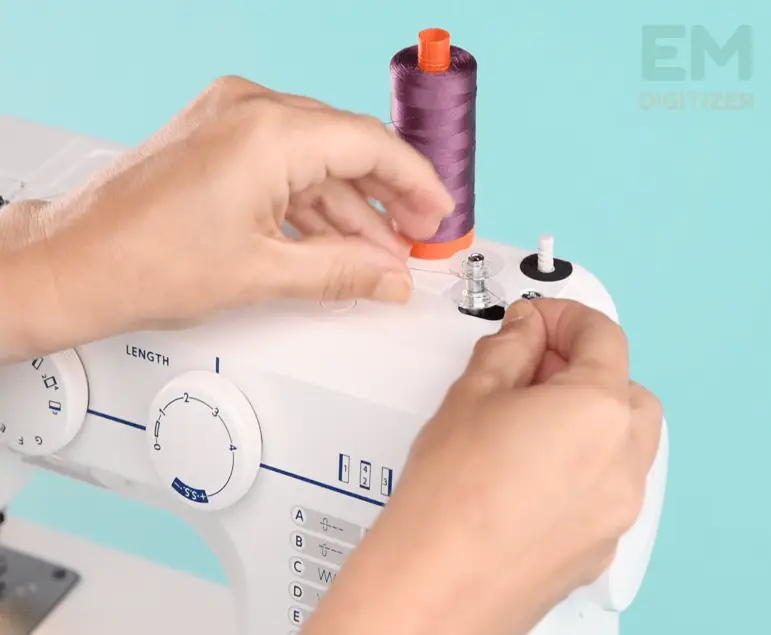
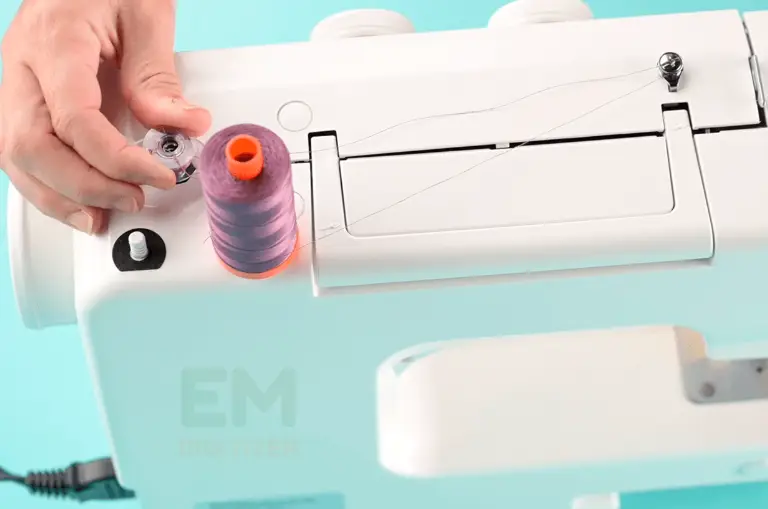
Check to see if the sewing machine is properly threaded. Select the thread you want to use, then wind it through the required tension disks.
Step 2:
Select a bobbin that fits your machine, adhering to the size and style suggested in the instruction manual.
Step 3:
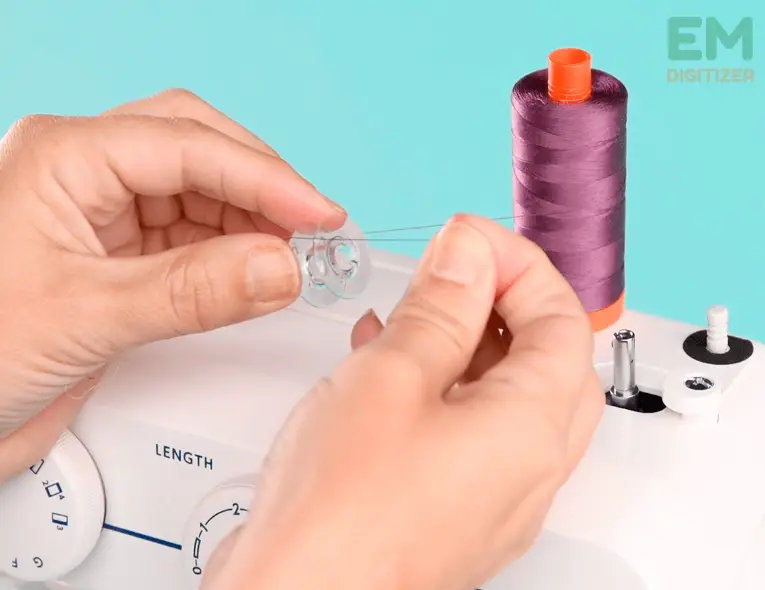
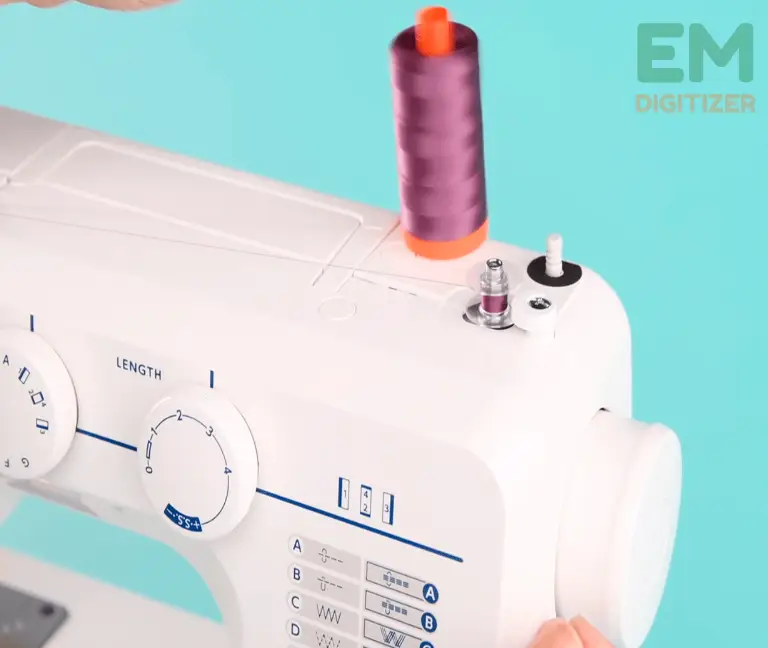
Make sure the bobbin is firmly attached by sliding it onto the assigned spindle.
Step 4:
Insert the free end of this thread inside the bobbin’s tiny hole. Push the bobbin slightly away To make sure it doesn’t slide while winding.
Step 5:
Find the stitching machine’s spool winding system. Press it to release the needle and activate the spindle winding feature.
Step 6:
Start using the sewing machine. The thread is going to wind itself onto the bobbin. Keep the free end in place to start the wrapping procedure.
Step 7:
Notice the filling of the bobbin. To ensure uniform winding, use your hand to guide the thread if necessary.
Step 8:
Pause the machine after the spindle has filled to the proper level. Remove the thread, leaving a tiny tail behind. Use an integrated spindle clip or tie the free end with the wounded thread to fix it.
Step 9:
Disable the bobbin’s winding feature and re-engage the needle to return the machine to the usual sewing option.
Step 10:
To ensure that tension is appropriate and that the bobbin is properly threaded, place it inside the bobbin’s case and make a few test stitches.
Steps To Thread A Drop In Bobbin:
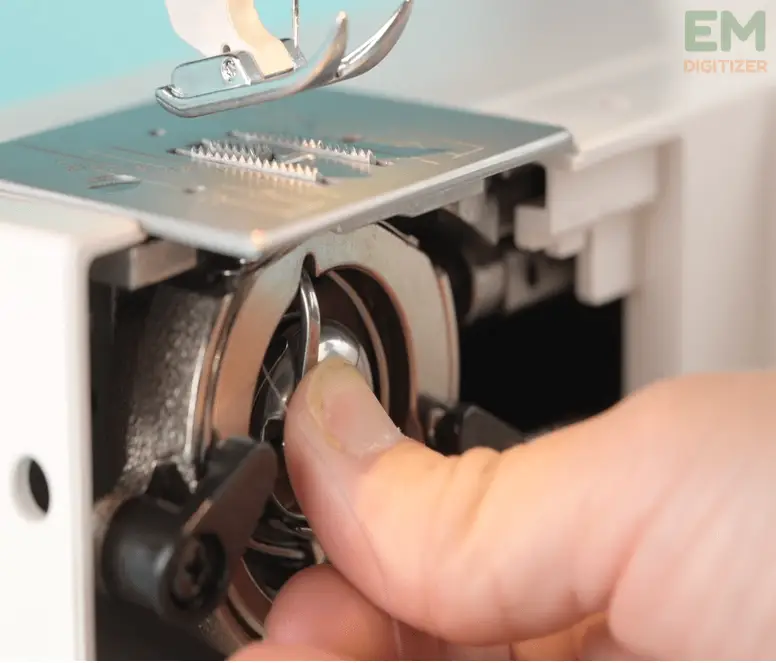
Step 01: Move the handwheel to yourself, and ensure that the machine’s needle is set to the vertical position. You can reach the bobbin area by finding the bobbin case cover or by sliding on the top of the machine.
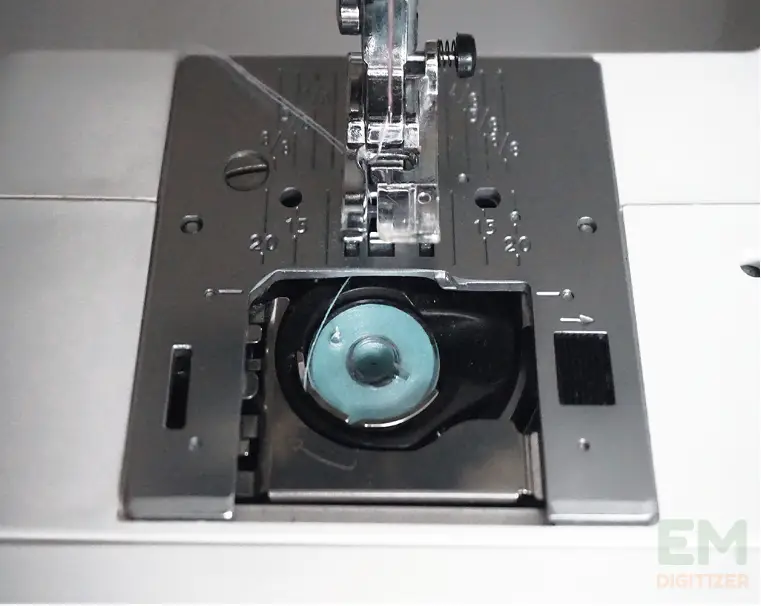
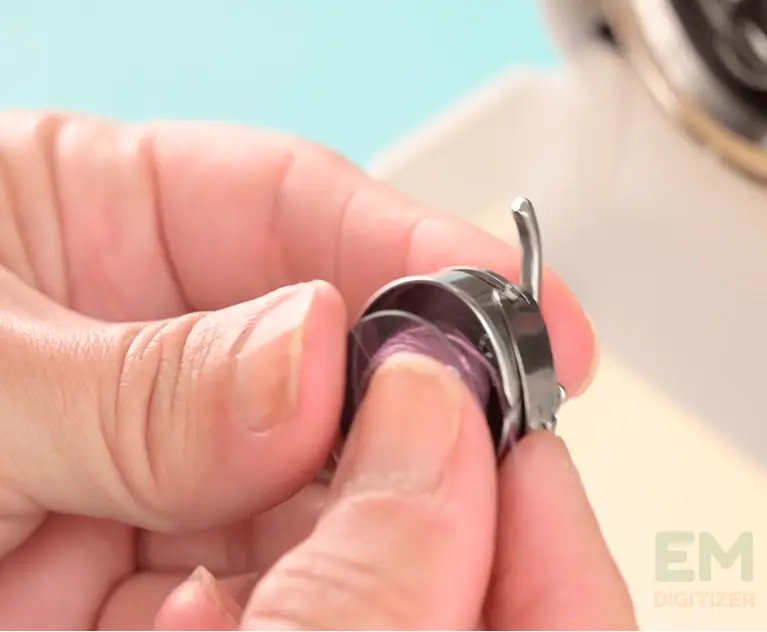
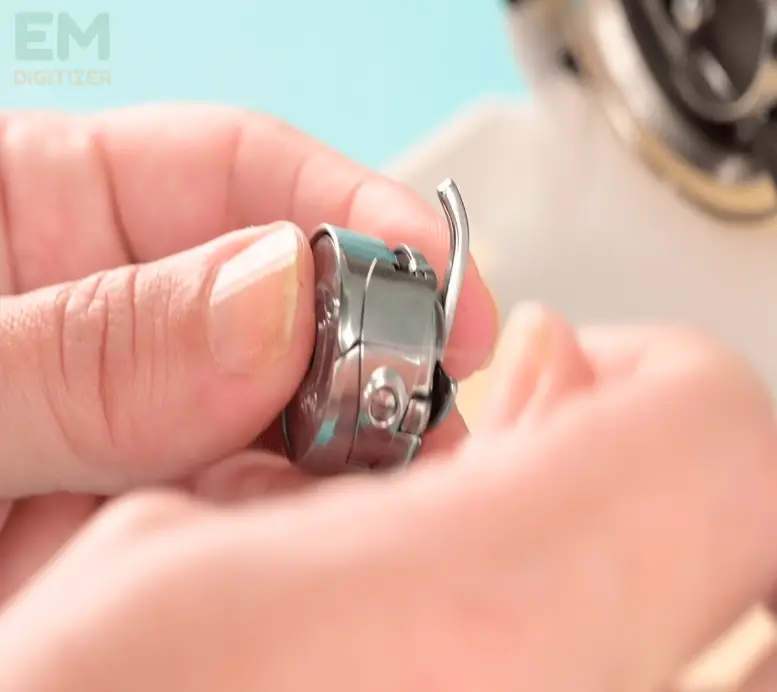
Step 02: Rewind a thread clockwise while holding the bobbin. Put it inside the bobbin’s case and make sure it goes in the right direction as shown by the manual.
Ensure that the free side of the thread locks into place by passing it across the thread guide or inside the bobbin case.
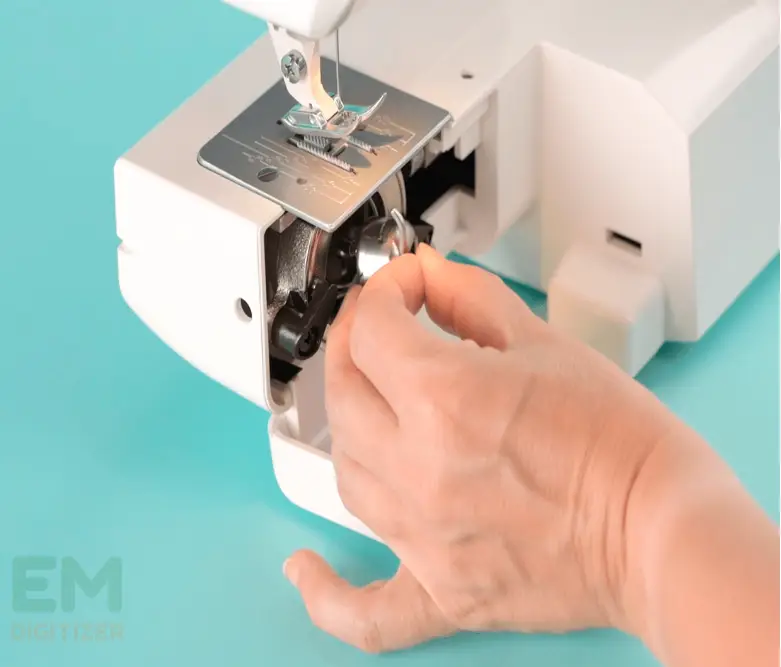
Step 03: Push the thread’s free tip outside near the bobbin case. Double-check that a bobbin case is firmly in place by replacing it with the frame.
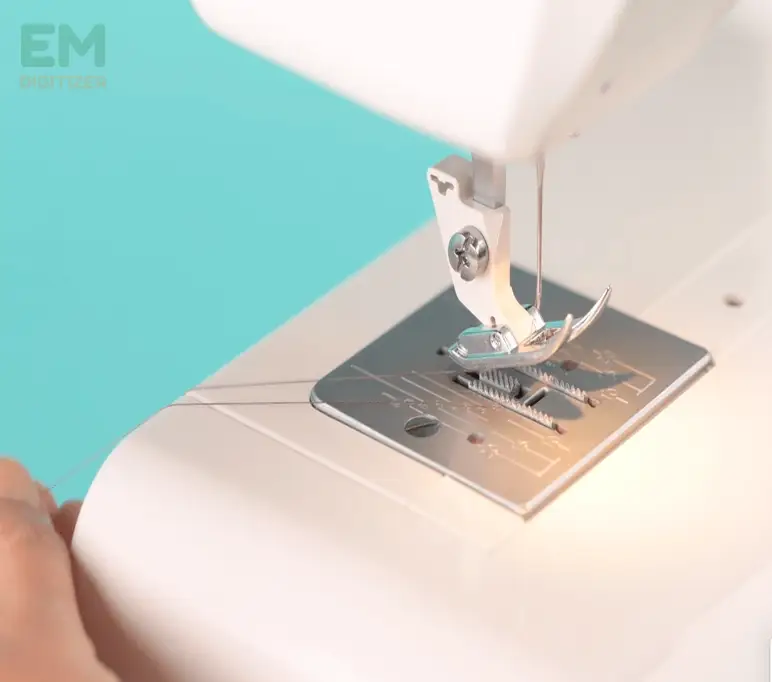
Step 04: Following the threading path, put the needle by feeding the thread across the thread manual. The needle can be raised or lowered by using the right hand to move a handwheel. And holding its top thread using your left. It helps bring up a thread.
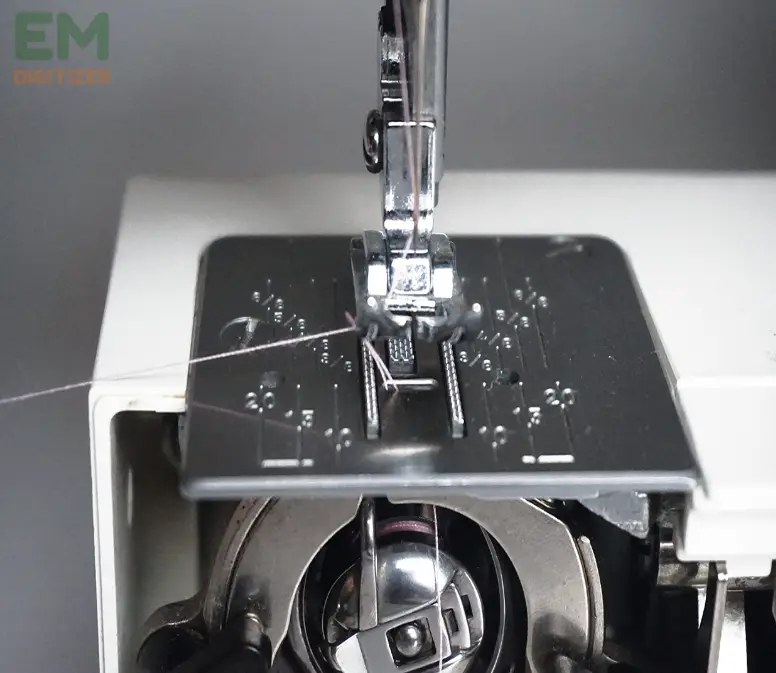
Step 05: Give a slight pull with the fingers or forceps to bring the elevated thread to full transparency.
Check out the position of the top and bobbin threads which must be under the pressing foot. Before sewing, the bobbin’s case lid must be sealed.
Threading Of A Top Loaded Bobbin:
We make the procedure of how to thread a bobbin easy in the following steps.
Step 01: For protection, confirm that the machine is turned off. Rotate the handwheel to bring the needle up to the maximum point.
Step 2: Find the area holding the bobbin case, present often under the needle plate. Take off any coverings or obstruction-causing objects.
Step 03: After opening the compartment, detach the case. Now take off a panel or release its latch. Rewind a thread in an anticlockwise direction and make sure to hold the bobbin in a specific place.
Step 04: After inserting the bobbin in the case, pass out the string on the tension slot. Adhere to the threading instructions given at the bobbin case.
This may include running the threads across particular tension discs or channels.
Step 05: Pull a piece of string out of the bobbin case’s hole, letting its tail hang out. Reinstall the bobbin case in the chamber. Check that it is fit and locked properly.
After the machine has figured out its path, lead your thread by specific threading pathways or guidelines carefully.
Step 06: All the covers and latches must be in their positions and shut off the bobbin case chamber tightly.
Step 7: Switch on the sewing machine. Then, check the attached bobbin by lightly depressing the foot lever to activate the bobbin winding system.
Step 08: Cut off any extra thread that hangs that extends from the bobbin. For model-specific guidelines, always refer to the guide that came with the machine you’re using. This is because various models could vary somewhat in this manner of operation.
Final Words:
Use an extra piece of fabric to test stitches before commencing the actual work. This enables you to confirm that the bobbin and needle threads are functioning properly and measure the tension.
Pro Tips for Efficient Bobbin Threading:
Firstly, for complete guidelines on how to thread a bobbin, check out the machine-specific guide.
Familiarise Yourself With Parts Of Machine:
You must be familiar with the brand you have. Also, consider the precise bobbin threading path and guidelines for all other parts.
Use Of Premium grade Thread:
You must always utilize the right thread to avoid breaks and clogs. The use of low-grade thread can be problematic and impact the bobbin’s functionality.
Type Of Bobbin:
Select one that fits the machine for its smooth functioning. As they all require multiple bobbin types according to the design.
Proper Tension Adjustment:
Double-check the bobbin’s tension and carry out any required changes. Uniform stitches are ensured by suitable tension. You can adjust it using the instructions in the manual or using the setting parameters on the machine.
Things To Keep In Mind About Cleaning:
Dust and lint-free the bobbin area on a routine basis. The likelihood of thread tangles and irregular stitching is decreased when the machine is clean.
Conclusion
For fast and seamless sewing, you must learn the skill of how to thread a bobbin. Pick a suitable type of bobbin and get familiar with the machine first.
Use quality thread to avoid problems and maintain the bobbin area to guarantee the best results. For perfectly smooth stitches, don’t ignore the value of making the appropriate tension updates.
Following these steps will leave no trouble in operating the machine with confidence to handle any unique task you receive. Have fun with your sewing!
Sure you can try any kind of spool that fits onto the pin. Keep in mind that it’s properly fastened to avoid snagging when threading.
Try to use superior thread to stop twisting and breaking when winding. For example, Coats & Clark Dual Duty XP All-Purpose Polyester Thread is a dependable choice for winding.
No, Certain kinds of bobbins are needed for various machines. Find the suitable bobbin by consulting the user manual that came with the machine.
If you have any questions leave the comments or you can visit our social channels for more updates regularly. We provide embroidery digitizing services if you need digitizing services feel free to contact us or email us.
