How To Use Embroidery Machine – Complete Tutorial
In our blog, we’re going to make learning how to use embroidery machines simple. Whether you’re a complete beginner or looking to refine your skills, we’ve got you covered.
Table of Contents
First, Grab The Necessary Materials:
Learning how to use embroidery machines might seem a bit scary but don’t worry, it gets fun with time. I began by collecting the accessories first. 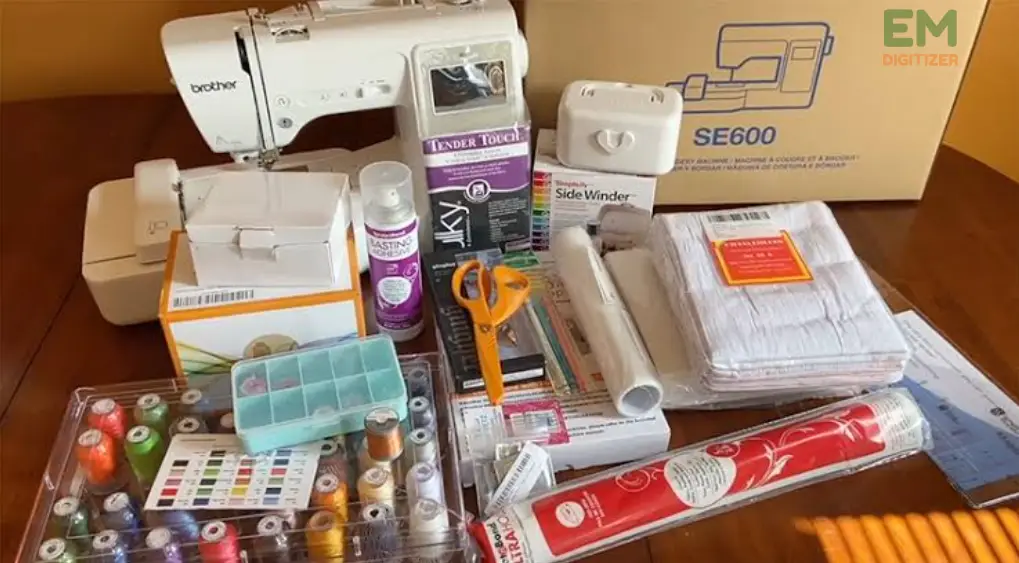
The user manual was helpful during this time, giving me clear directions and ways to fix any problems. So, if you’re just starting, take it step by step, and soon, you’ll be enjoying this.
Here is a complete guide on How Embroidery Machine Speed Affects Your Embroidery Results
The Best Machine To Use:
I had to pick a suitable machine before I could begin to stitch. I did a lot of research and consulted experts for advice. Ultimately, because it is adaptable and simple for novices like me to use, I choose to purchase a computerized machine. It was time to acquire supplies when I got a reliable machine. Have an eye on the best embroidery machine reviews.
Embroidery Thread:
Every creation depends on it. I’ve discovered that using top-notch thread tends to avoid breakage and offers an ideal stitch. When learning how to use an embroidery machine, it is vital to go with a suitable thread width and size to get the best outcome. For example, when creating a floral design on a light-colored fabric, I opted for vibrant thread colors that truly popped.
Stabilizer:
There are various stabilizers available, such as tear-away, cut-away, and water-soluble. They provide support to the fabric, preventing puckering and distortion during stitching. When I decided to personalize a delicate silk scarf with my initials, using a thin stabilizer made sure the cloth stayed smooth and undamaged throughout the stitching. Learning how to use embroidery machine stabilizers is key to accomplishing fine results especially when working with delicate fabrics. For more details on choosing the best stabilizer, visit this guide.
Needles:
To get the results you want, you must know how to use embroidery machine needles effectively. They come in various sizes and types, such as ballpoint needles for knits and sharp needles for woven fabrics. When I tackled a project involving thick, textured fabric like canvas tote bags, I opted for heavy-duty needles that effortlessly pierced through the layers, ensuring that every stitch was precise and clean. Browse our website for an extensive guide to finding an ideal machine embroidery needle.
Material Fabric:
A key phase in every sewing task is to identify a compatible fabric. The type of fabric you choose influences the final look of your design. Learning how to use embroidery machines involves knowing what materials work best for artwork and adjusting the settings accordingly. When I aimed to make detailed lace patterns on soft cotton shirts, I selected a breathable cloth that allowed the delicate details to shine through. Check out the top Embroidery blank suppliers’ reviews.
Hoops:
Embroidery hoops are essential for keeping your fabric taut and secure during the stitching process. Whether working on a small monogram for a handkerchief or a large design on a quilt, the hoops ensure that the fabric stays in place, resulting in precise and professional-looking embroidery. Follow the best embroidery hooping tips and tricks provided in this blog.
Bobbin Thread:
The bobbin thread is the counterpart to the upper thread and plays a crucial role in securing your embroidery. Having the best bobbin and learning about winding and inserting it correctly is essential to prevent tension issues. I discovered the use of a fine spool thread helps keep the soft look of the lace when making complex lace borders on handkerchiefs. The use of machine bobbins promotes equal tension and prevents thread snares. Continue learning about the bobbin thread here.
Design Software:
You can change and draft your designs using software. Learning how to use embroidery machine design software allows you to digitize patterns and monograms, giving your projects a unique and personal touch. I used software to personalize gifts, such as monogramming towels using creative letters. The ability to modify embroidery software’s designs changed everything.
Learn The Basics:
As I started this journey of learning how to use embroidery machines, I learned how crucial it is to practice and be patient. To successfully embroider, you must learn the basics like using the right supplies, different stitches, how to put the hoop in the right place, and the right way to change the thread tension. 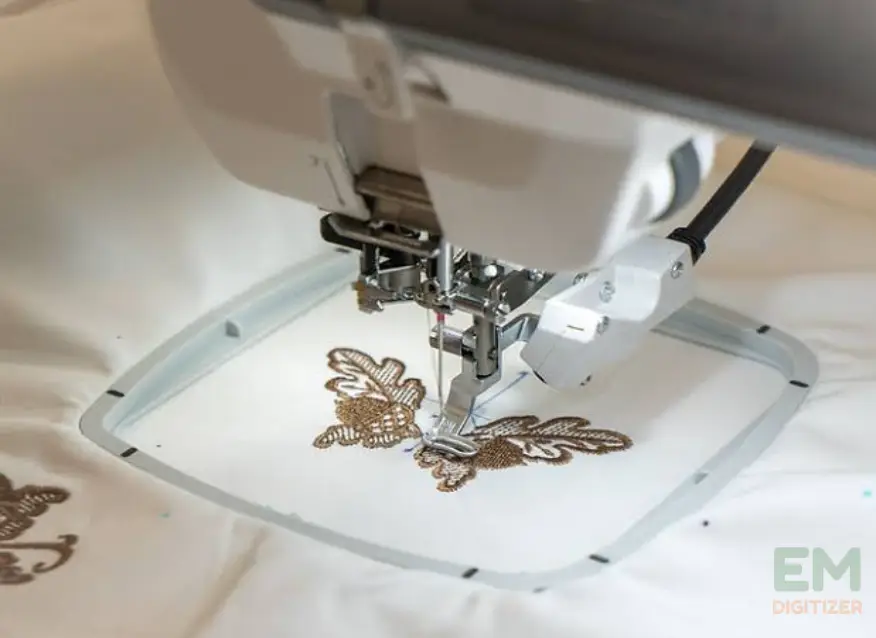
I learned a lot from watching videos and taking courses online. They assisted me during the learning phase. Once you are familiar with the tools needed to operate the machine, you can start working on the projects of your choice. Online assets and your machine’s handbook both include free embroidery designs. The manual is useful as it tells you what supplies you’ll need for specific projects, which frames or hoops work best, and which needles to use for the best results. Hence, it’s an effective tool to help you along the way when sewing. For more information about embroidery machine basics, visit this blog.
About Digitizing:
Digitizing is an essential part of learning to work with machines. It’s like turning the ideas into instructions the machine can follow. You can produce digital patterns through digitization that tell the machine where to stitch.
How To Setup Machine:
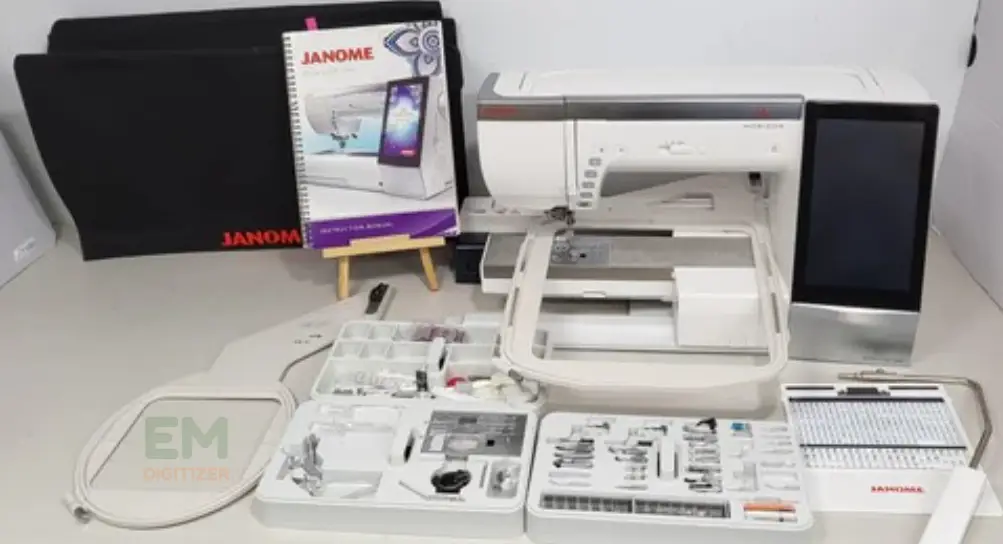
Now begin with configuring the machine:
- You might have to change the presser foot to a freehand.
- Connect your device next, and check that you’ve got the right needles.
- Some machines include supplies like stabilizers and needles when you buy them. If you’re not sure which needle to use, look on the company’s website. You may be allowed to get a digital handbook from them.
- Online tutorials are also available to learn about different needle and thread options.
How To Use Embroidery Machine:
I’m all set to show you how to use an embroidery machine carefully in this blog. I’m thrilled to make it super easy for beginners and anyone who loves embroidery to join in.
Start With Threading The Machine:
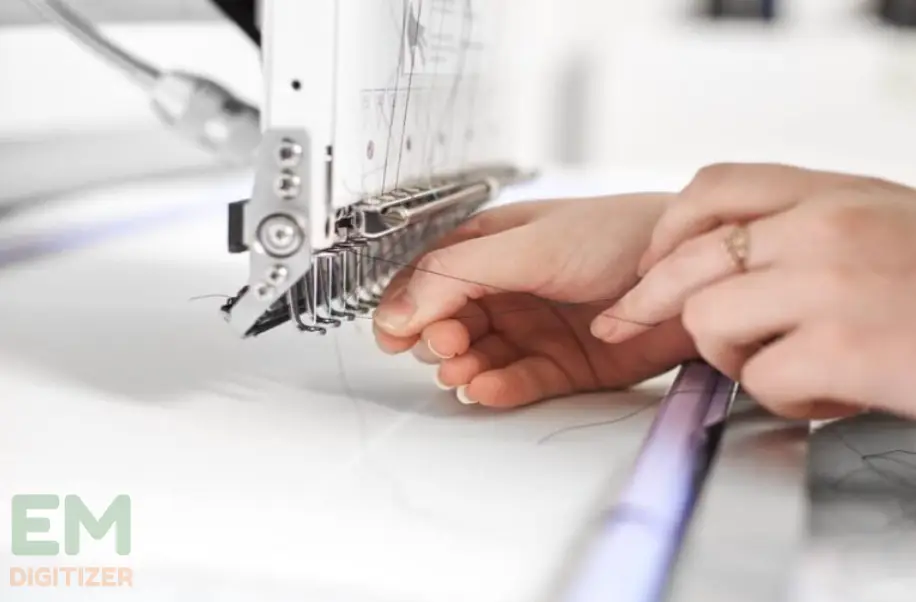
I’ve found that threading the machine and needle is an art in itself. First, consult your machine’s manual to understand its specific threading path. Begin by raising the presser foot to release the tension discs. Next, take your thread and guide it through the machine’s designated thread guides, making sure it follows the correct path. Then, thread the needle from front to back, using the automatic needle threader or a steady hand. This process may require some patience and practice, but it’s the foundation for successful embroidery.
Here is a complete guide on The Power Of Stitch Vision Quilting Laser
Best Way To Hoop The Fabric:
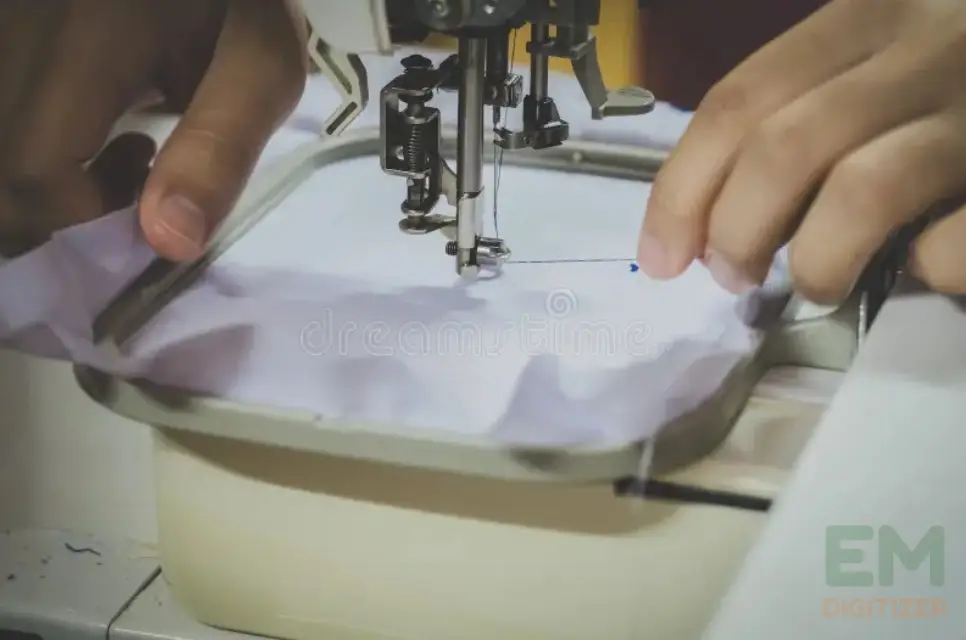
Hoop the fabric carefully to make your embroidery turn out great. First, pick a hoop size that suits your design and fabric. Put the flat hoop part on a table and lay your fabric on top, making sure it’s smooth and not wrinkled. Then, gently put the other hoop on top of the fabric, making sure the fabric is even and tight. Use the screw or latch to hold it all together tightly. Doing this right is super important because it keeps your fabric in place and prevents it from moving around during embroidery. It makes sure your design comes out just the way you want it.
Creating Design Easily:
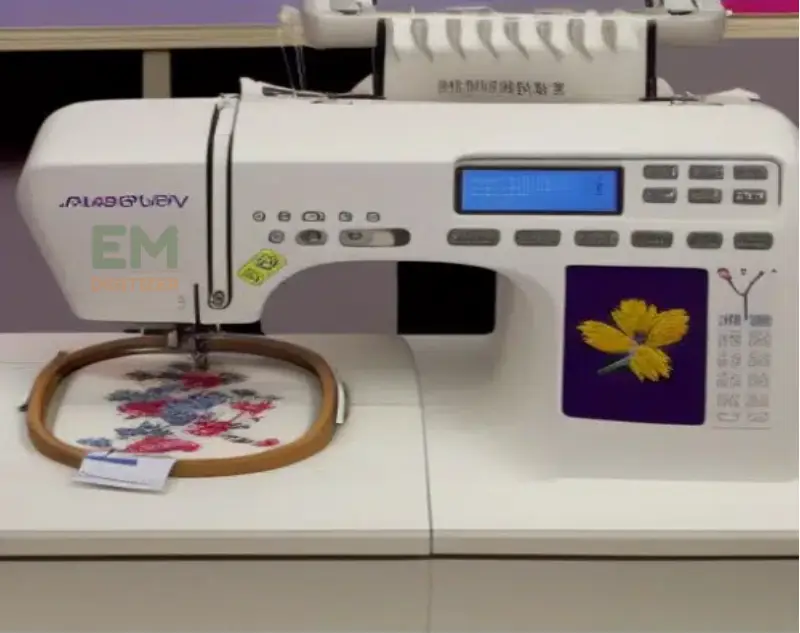
Creating a design with an embroidery machine has been a truly transformative experience for me. The process is surprisingly user-friendly. First, I select the design I want from the machine’s library or upload a custom one. Then, I have the freedom to adjust its size and position, ensuring it fits my project perfectly. The machine’s precision in replicating intricate details is remarkable. I appreciate how I can preview the design on the fabric before starting, allowing for any last-minute adjustments. This level of control has allowed me to bring my creative visions to life with ease and precision, making embroidery a joyous and rewarding craft.
Confirm All The Settings:
Starting with machine embroidery, I quickly realized that one of the most important things is to double-check all the machine settings. This means making sure the stitches are just right, the thread isn’t too tight or too loose, and the thread color matches your design. Trust me, this attention to detail ensures your embroidery turns out beautifully. It might sound like a lot, but it makes the whole embroidery process easier and more fun. So, don’t forget to take that extra moment to set things up perfectly; it’ll make your machine embroidery experience a real delight!
Changing The Thread:
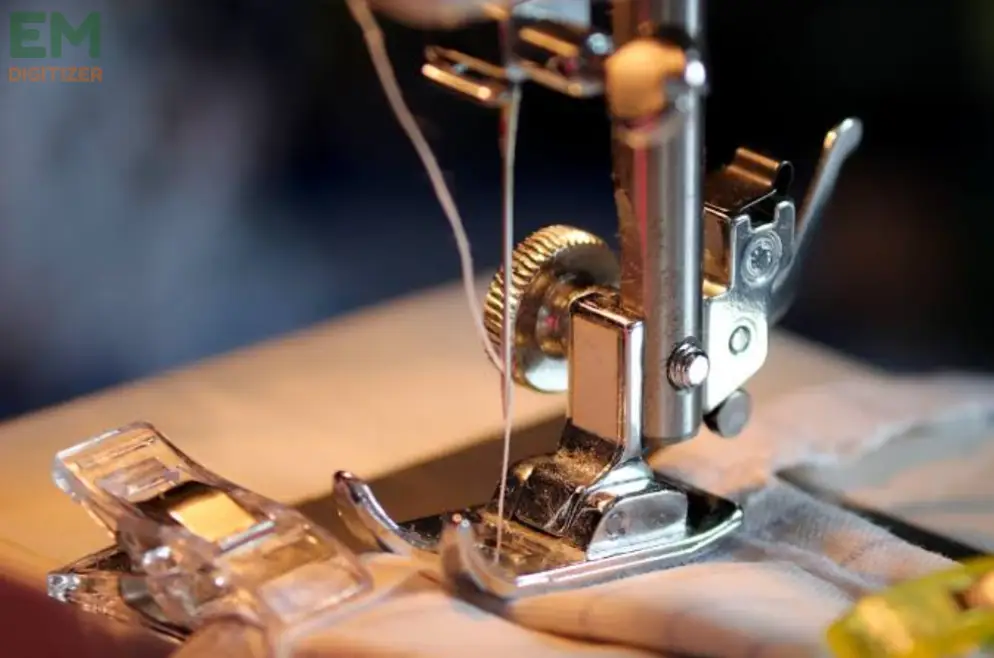
First, make sure you don’t run out of thread in the middle of your design by checking the thread spool regularly. It’s better to change it before it’s almost gone to avoid messing up your embroidery. Also, if your design has different colors, change the thread when you switch colors. So, my advice is to stay on top of thread changes, whether it’s running low or you’re switching colors. This way, your machine embroidery will turn out great!
Cleaning And Care:
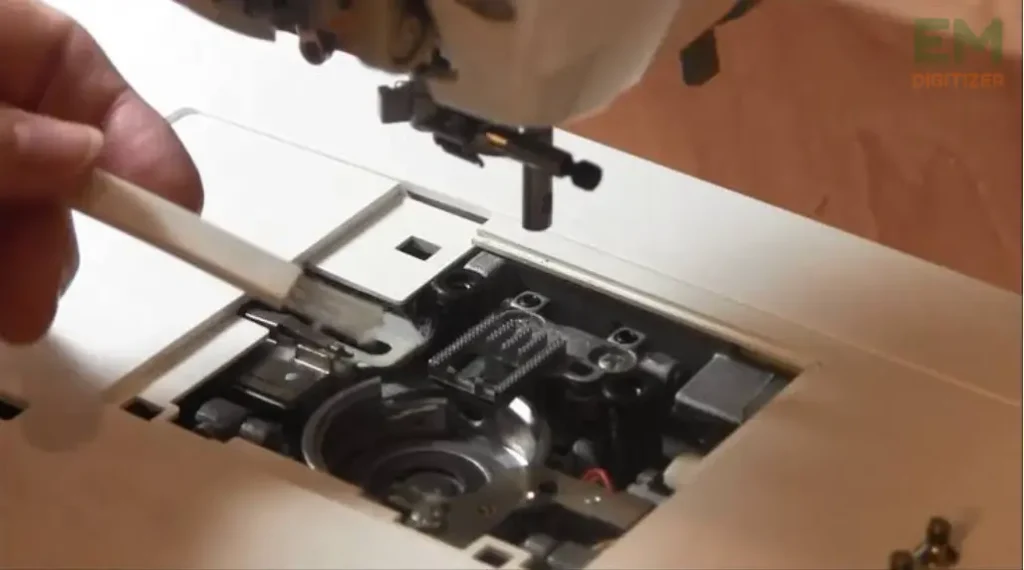
Cleaning your embroidery machine after you’re done with a project is important. It’s just like keeping your car clean to make it last longer. So, when you finish your embroidery, give your machine a little cleaning. Take out any extra threads, bits of stuff, and dust. Don’t forget to check the bobbin area and the tension parts. This easy step makes sure your embroidery machine works well, and your next projects turn out just as great as your first one. So, in our guide on how to use an embroidery machine, this final step emphasizes the importance of machine care for an all-around successful embroidery experience. Get more details on maintain embroidery machine.
Conclusion
It’s all about a tutorial on how to use an embroidery machine. Implementing these ideas was simple and enjoyable. This guide isn’t just a manual; It’s more of an outline for your journey to mastering embroidery. If you’re starting with an embroidery machine, get this guide—it’s your go-to buddy for a fantastic embroidery adventure.
You can hit the pause or stop button when you need to. But make sure that the needle is in the fabric when you stop so your design doesn’t go off track.
Watch the bobbin thread. If it’s getting short, simply stop the machine and swap it for a full bobbin. This way, your design won’t be interrupted.
To get started, begin with easy designs and work your way up to trickier ones. Practice regularly, watch video guides, and remember, it’s okay to mess up – that’s how you learn! Joining embroidery groups online is great for extra tips and advice from fellow embroiderers.
If you have any questions leave the comments or you can visit our social channels for more updates regularly. We provide embroidery digitizing services if you need digitizing services feel free to contact us or email us.