10 Easy Origami For Beginners – Projects
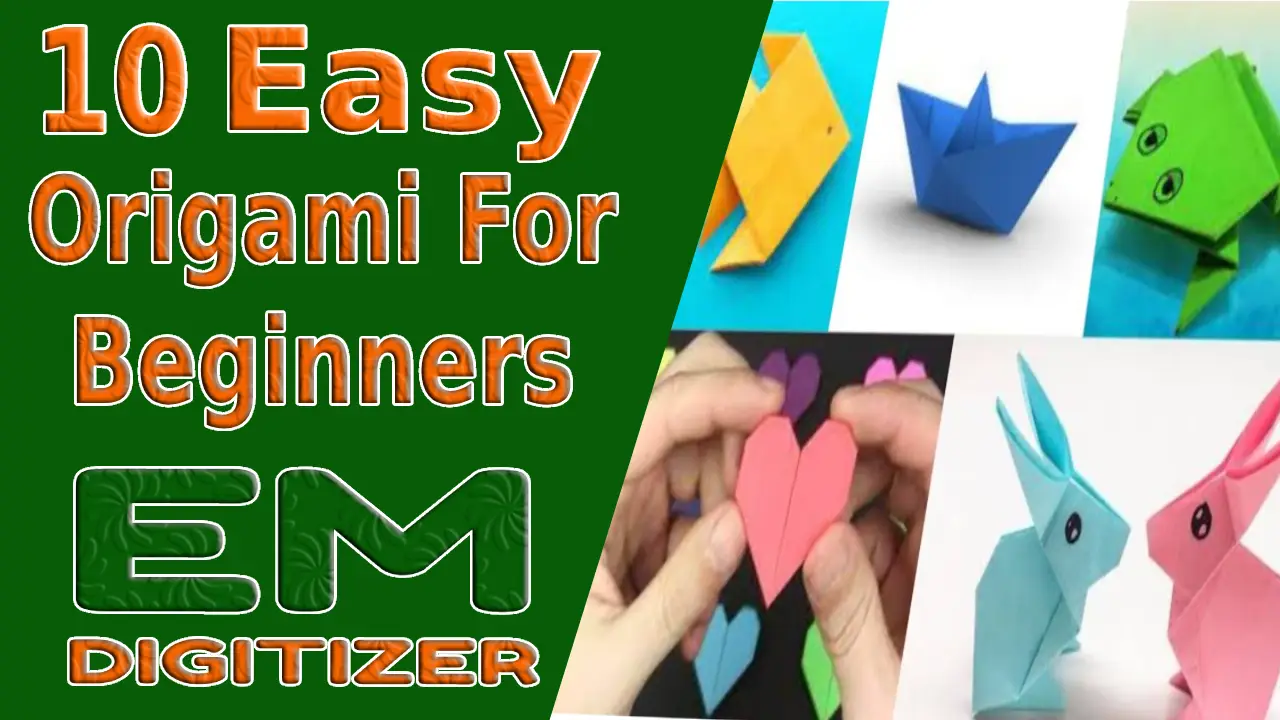
You will undoubtedly come across some inventive paper crafts. And wonder how they are made and what the secrets are to producing such wonderful works of art.
We’ve included instructions for making some easy origami for beginners in this blog post. Everyone can use this approach, regardless of age or level of experience.
Simply think about novel ideas and hold to the given tips. It will be a soothing activity that lets people see how strongly you express yourself artistically.
Table of Contents
Introduction
This method, which has its roots in Japan and has been used all across the world for centuries, has become broadened.
Using this method, fold a single sheet of paper into as many shapes as possible, then blend with glue or thread. You can make various animal objects like fish or frogs and simplistic designs for flowers.
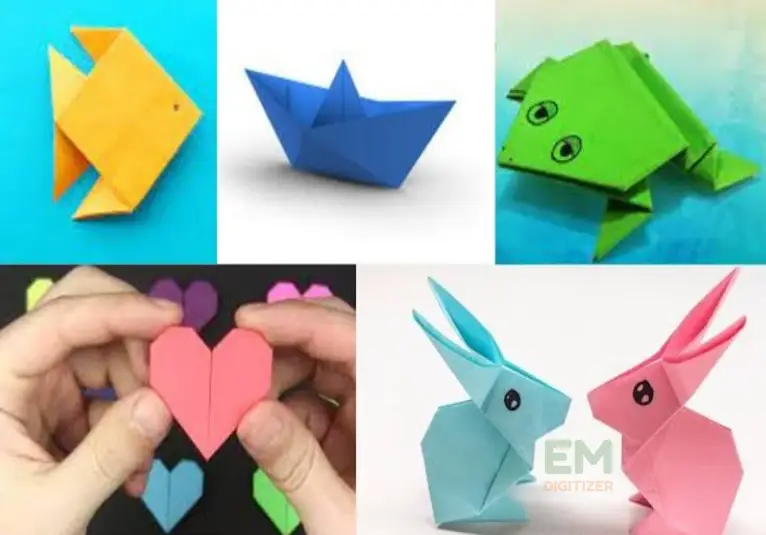
It could initially appear to be a difficult task, fit only for the skilled hands of expert crafters. But beginners are also welcome to discover this fascinating world.
It just takes a little bit of imagination, persistence, and accuracy.
We’ll figure out simple origami for beginners and how this age-old craft can infuse your life with inspiration and pleasure.
Some Common Origami Techniques Are:
Origami fans frequently begin with basic crafts and work their way up to more complex ones. Consider these simple folds to make easy origami for beginners:
Valley Fold:
It is forming a “V” with the paper rolled in your direction. Just fold the paper in part so that the folded edge forms an angle to create a valley fold.
Mountain Fold:
It makes a modified “A” shape by collapsing the paper away from you. The wrinkle frames a raised edge, looking like a mountain.
Squash Fold:
To perform a squash fold, open the flap and then press it down, creating a new crease.
Inside Reverse Fold:
It is achieved by first creating a valley fold, then opening a pocket within the model, and tucking the flap inside.
Outside Reverse Fold:
It includes collapsing a fold of paper outside the model and making a three-layered shape. This overlay is usually used to shape parts like wings or petals.
Pleat Fold:
Pleating is a technique where multiple parallel folds are made to create a zigzag pattern. It adds texture and depth to origami creations.
Sink Fold:
A sink fold is a technique where part of a sheet of paper is rolled into the inside of the sculpture to cover it.
Swivel Fold:
Spin folds are often used to build parts in origami models as they enable the material to turn around an angle. This method goes well if you wish to add motion to a certain area of your sculpture.
Base Folds:
Plenty of origami objects begin with a particular basis fold, including the square, bird, or frog bases. A variety of origami designs can be made using the bases as a framework.
Easy Origami For Beginners:
Give a try to these easy origami for beginners like I did with a few simple directions.
1- Simple Origami Crane:
A square sheet of paper was used to start that easy origami for beginners. I quickly came to realize that perseverance and accuracy would be my heading partners.
Steps:
- Start by folding a rectangle piece of colorful origami paper, right side up.
- Using the diagonal fold, create a triangle out of the sheet of paper.
- Tear the piece open, then bend it in half in the opposite way. At this point, the paper needs to have an “X” fold. To create a tiny oval, compress it.
- To make a rectangle, stretch the square in halves horizontally. Squeeze and bend the paper into a diamond-like form after gently opening it.
- To form the crane’s wings, stretch their flaps up or down.
- For the tail, curl the bottom tip upward. Carefully shape a crane’s neck and head parts.
You can now share the figurative beauty of your completed origami crane with others or add it to your collection.
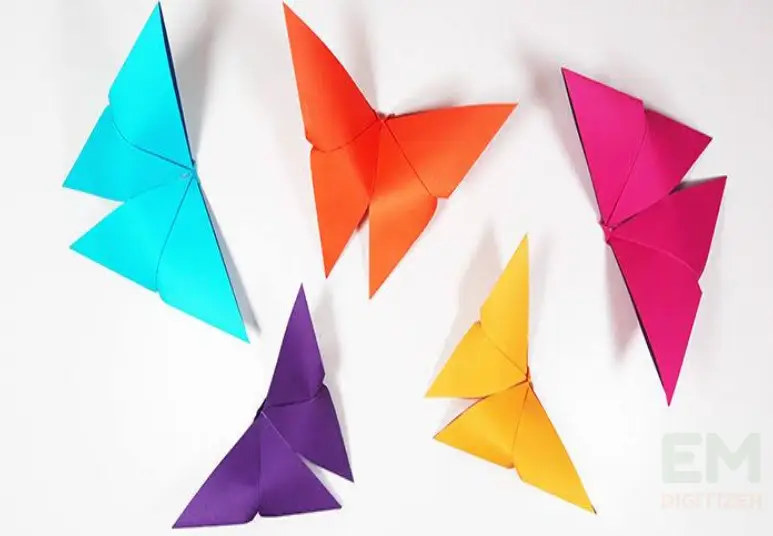
2- Butterfly:
The materials required for this project are refreshingly minimal: a square sheet of origami paper. No need for scissors or glue; just pure folding magic.
The butterfly’s creation began with the basic valley and mountain folds, which I quickly grasped thanks to the clarity of online tutorials and beginner-friendly guides.
The key to this origami butterfly’s simplicity lies in its clever design. The steps were uncomplicated, and with a bit of patience and precision, I watched as my butterfly took shape.
The fold sequences for the wings and body flowed smoothly. And the final touches transformed a lifeless sheet of paper into a charming fluttering creature.
The feeling of satisfaction I had after finishing the butterfly was among the most satisfying aspects of the entire process.
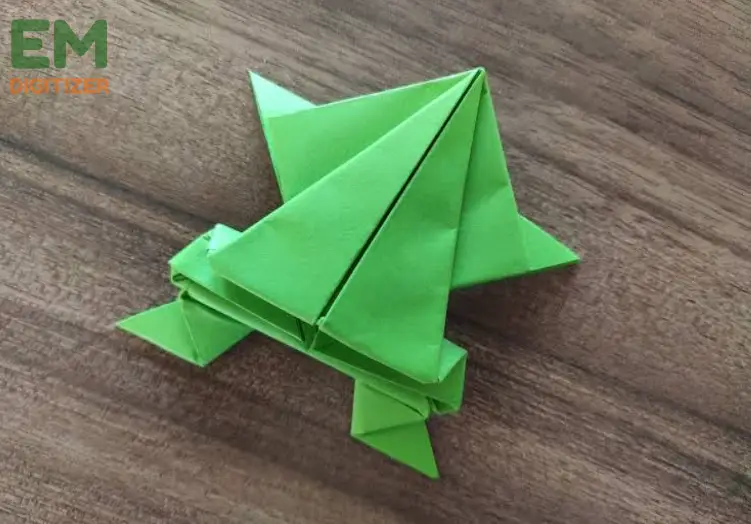
3- Origami Frog:
Today, I’m excited to walk you through a simple and delightful origami project – creating an easy origami for beginners.
Steps:
- Start with a square sheet of origami paper. If you don’t have origami paper, you can cut a square from regular paper.
- Fold the paper in half diagonally, creating a triangle with the colored side facing out. Make a strong crease.
- Unfold the paper, revealing the crease down the middle.
- Fold the paper in half diagonally in the opposite direction, creating another triangle. Again, make a strong crease.
- Unfold the paper once more, returning to the square shape with an X-shaped crease.
- Fold the top layer of the top flap down along the upper crease, forming a smaller triangle.
- Presently, overlap the base layer of the top and fold up along a similar wrinkle, making a jewel shape.
- Flip the paper over to the opposite side.
- Overlay the left and right corners of the jewel to meet at the top, framing a kite-like shape.
- Fold the top of the kite down, aligning with the bottom edge. This will form the frog’s head.
- Create the frog’s legs by folding the two side corners outward.
- To complete your origami frog, fold the entire figure in half, so the legs are on the outside. And there you have it – your very own origami frog!
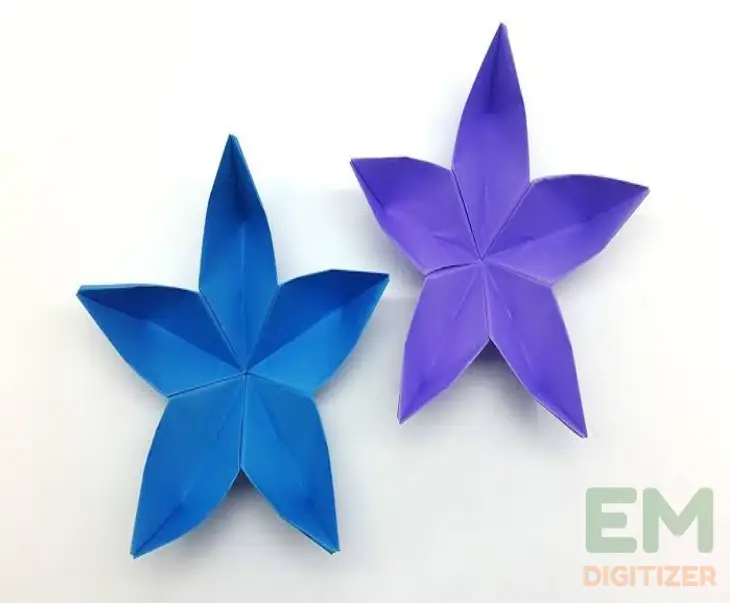
4- Origami Simple Flower:
With just a few simple folds and some patience, I transformed a flat sheet of paper into a beautiful, delicate blossom that seemed to defy its humble origins.
Steps:
- Begin with a square sheet of shaded paper. If it’s your most memorable time, pick a somewhat bigger size for ease.
- Overlay the paper in half corner to corner to make a triangle, then, at that point, unfold.
- 3. Overlay the paper in half slantingly the other way, shaping an “X,” and unfurl once more.
- Turn the paper over, then fold it in half lengthwise and widthwise, creasing in each direction.
- To construct a smaller round, pull the paper’s four ends to the core with the colored face up.
- To form four triangle petals, gently roll down the upper edge of each side.
- 7. Once the petals are gently opened and shaped, your origami flower is finished. To make the design appear natural-looking, modify its curves and edges.
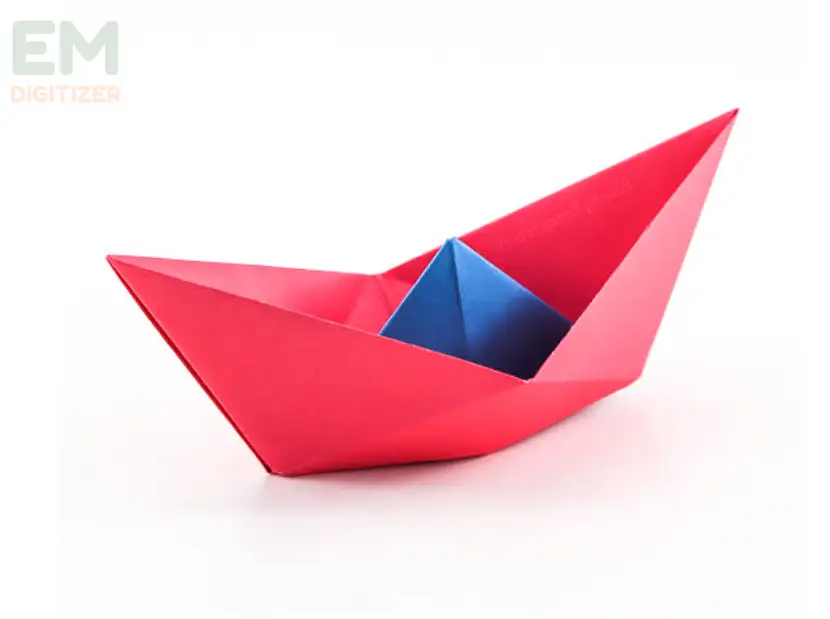
5- Origami Boat for Beginners:
Making an origami boat is an ideal passage point for newcomers to the art of paper folding. The ease of this attempt gave me a great deal of pleasure and satisfaction.
You can turn a piece of standard paper into a cute boat. That is now ready to glide on the water using just one piece of paper and some simple folds.
Steps:
- To start, create a triangle by folding it in half crosswise.
- After unwinding the paper, create a second, smaller triangle by bringing the two opposing sides to the middle.
- Now, fold the two bottom flaps upwards, and your boat’s hull is taking shape.
- Finally, open up the hull, and your boat is ready to set sail.
It’s an easy origami for beginners that can be enjoyed by kids also and the sense of accomplishment when your boat floats gracefully on water is truly rewarding.
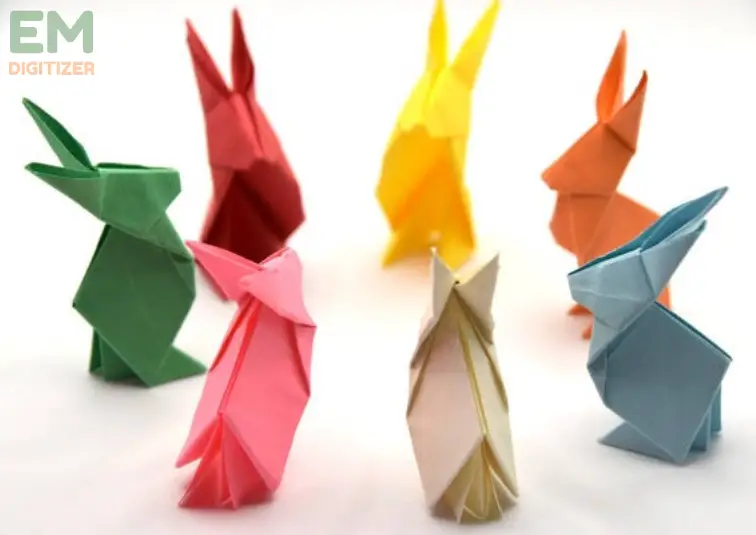
6- Cute Origami Bunny:
As a novice, I was at first attracted to this venture by its unquestionable charm. Furthermore, I was shocked to observe that it was cute as well as approachable for beginners.
Steps:
- Start with a square piece of paper, ideally in a pastel hue or white.
- To make a triangle, fold the paper in half diagonally, then unfold it.
- To create a kite shape, fold the two opposing corners to the triangle’s center.
- Turn the paper over and, leaving a tiny opening at the top, fold the bottom edge up.
- To make the bunny’s ears, fold down the top two corners.
- To create the bunny’s tail, bend the bottom part of the material up and place it within the top flap.
- Bend the ears and curve the body of the bunny gently. These basic directions will help you create a charming origami rabbit that is great for beginners.
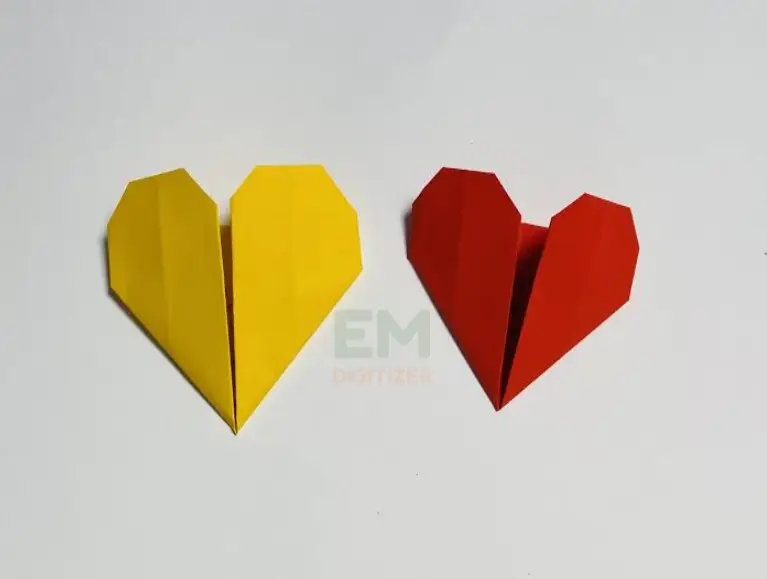
7- Origami Heart:
The goal of this easy origami for beginners is to express love and emotion on a single sheet of paper, not merely to learn the folds.
Steps:
- Start with a square piece of paper, shaded on one side if conceivable, to improve the heart’s appearance.
- Overlay the paper in half corner to corner, making a triangle.
- Unfurl the triangle and revise the past step for framing an “X” wrinkle on the paper.
- Turn the paper over and crease it in half on a level plane, making a square shape.
- Stretch the rectangle, then fold both sides in the direction of the middle seam to create the shape of a kite.
- Fold the kite’s top section down so that it lines up with the bottom border.
- At this point, fold the kite’s bottom part to meet the upper edge.
- You can see the heart shape when you fold the sheet of paper in half across the central crease.
- Tear the paper gently to expose your Origami Heart. You can personalize it by writing a note inside or however, you choose.
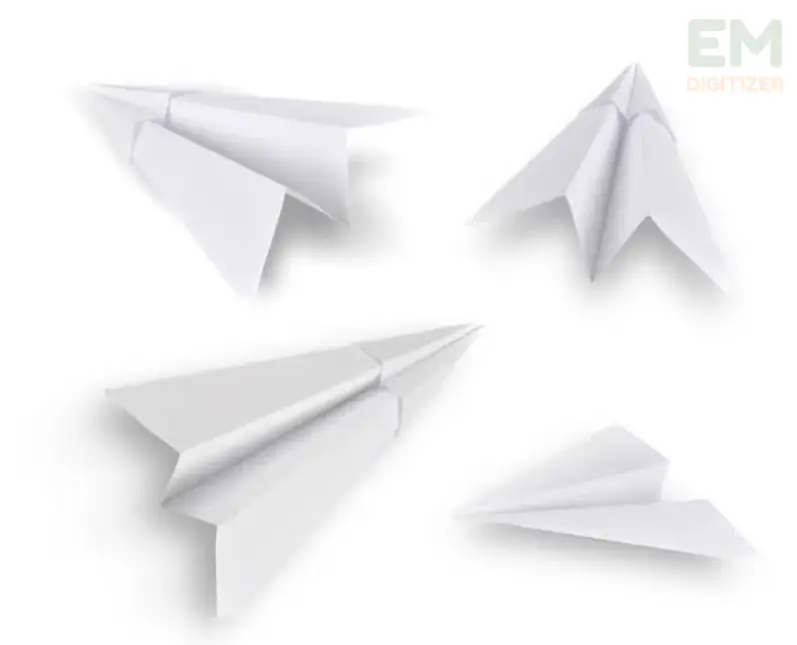
8- Origami Airplane:
For novices, making paper aircraft is a fun way to get started with origami. This easy-to-learn but unique craft provides fun and excitement.
Steps:
- Place a regular sheet of paper ideally 8.5 by 11 inches flat on a clean surface.
- 2. Bend the paper in halves lengthwise, making sure the edges are lined up exactly, then crease it firmly.
- After unfolding the paper, you can use the middle gap as an indicator.
- Create a triangle with a downward-pointing tip by folding the paper’s upper edges down to meet the central crease. The wings are created.
- Verify that the wings are symmetrical and that the edges line up. To create neat folds, exert pressure.
- Lastly, build the paper airplane’s body by folding the newly formed triangle in two at the central crease.
- 7. You now have a simple paper airplane that resembles a dart. To take in your first flight, grip it by the body and throw it gently.
10- Origami Fish:
Making this aquatic marvel was a pleasant experience for me as a novice in the field of origami.
Steps:
- To begin, take a circle of colored folding paper.
- Turn the paper in half diagonally to form a triangle.
- Stretch the triangle, now bend it in half again, cross-wise.
- Now, open up the triangle to see a smaller, wrinkled triangle.
- Fold the triangle’s right and left edges to meet at the top, creating a diamond shape.
- Turn the piece over and crease the diamond so that the bottom and top points touch.
- Fold the diamond’s left and right sides inward to form a thin kite shape.
- To create the main body of a fish, bend the sail shape in half.
- Carefully take apart the fin and tail of the fish. You are now prepared to “swim” into the ocean of fun with your finished origami fish.
Tips And Tricks:
These tips can support you on your path to simple origami for beginners and improve your chances of success and in paper-folding pursuits.
Start With Simple Projects:
Start with simple origami crafts. As you gain proficiency, you may focus on highly complex designs. This steady progress will boost your confidence level.
Use Quality Paper:
You can use standard paper, but origami sheets have been designed for this craft. Thinner paper tends to be simpler to manipulate, just check that it’s flat.
Precise Folding:
Keep a close eye on the precision and placement of your folding. A polished end product requires neat, accurate folds.
Work In A Clear And Organized Area:
Since origami demands concentration, make sure your workstation is free of obstacles and organized. Accidentally paper tearing can also be avoided with a neat workspace.
Use Tools When Needed:
Although folding is the only method used in origami, you can also employ adhesive to make your model remain together. You can also use instruments like tweezers for minute detailing.
Learn To Reverse Folds:
It can be difficult to master both inside and outside reverse folds. But once you can, your models will be able to have more complex elements and patterns.
Conclusion
An enjoyable dynamic universe of origami is just waiting to be revealed by novices. You can create amazing art out of basic paper by making simple folds and adding some flair.
It’s an enjoyable, soothing activity that anyone of any age can participate in. Now grab some origami paper and proceed on an amazing adventure into a realm of folded mysteries. Many happy folds!
While traditional origami doesn’t use glue, it’s fine to use adhesive if you want your model to stay permanently assembled.
Careful, precise folding and avoiding overworking the paper can help prevent tears and mistakes. If you make an error, don’t worry – it’s all part of the learning phase.
Not necessarily. All you need is paper and your hands. However, tools like tweezers can be helpful for complex folds.
If you have any questions leave the comments or you can visit our social channels for more updates regularly. We provide embroidery digitizing services if you need digitizing services feel free to contact us or email us.
