Imagine seamlessly transferring intricate graphics onto various surfaces with utmost clarity and sharpness. So vectorizing an image for screen printing is the key to achieving this magic.
Table of Contents
ToggleSo why settle for pixelated prints when you can unlock the full potential of your designs? Whether it’s for business endeavors, or simply to elevate your screen printing skills, this knowledge will open doors to endless possibilities.
Embroidery Digitizing Services
If you are looking for embroidery digitizing services, EMDigitizer is one of the best embroidery digitizing companies. Providing all types of embroidery digitizing Services. I recommend you try digitizing services.
Order NowGet Free QuoteIntroduction
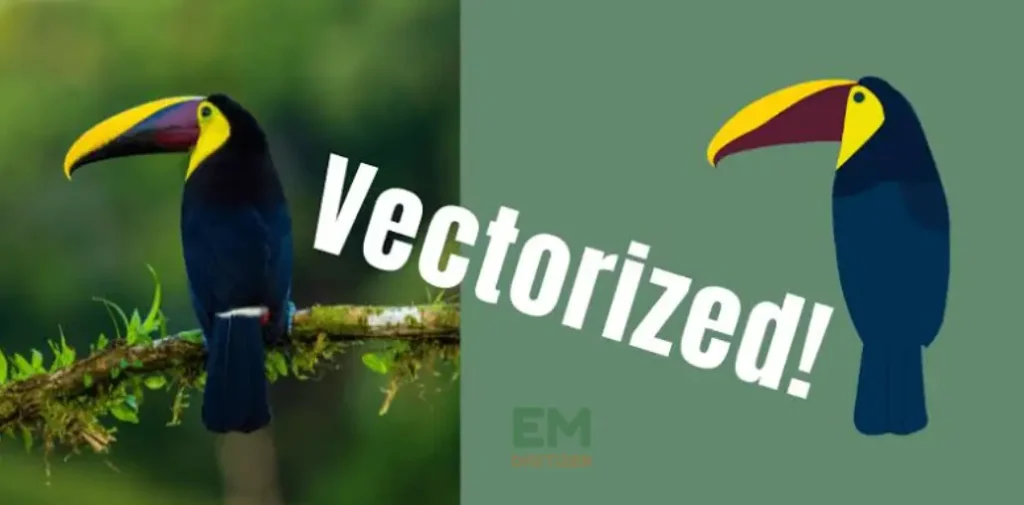
The process of converting a raster photograph into a vector format, which is made up of equations, is referred to as “vectorizing” an image for screen printing.
Screen printing ensures crisp and editable photographs and that’s why we need to vectorize an image for screen printing.
Here is complete guidance about Vector conversion service, visit our blog.
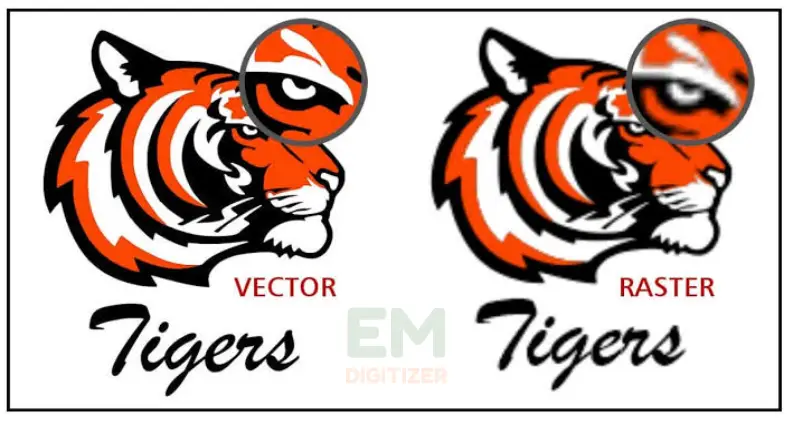
In contrast, raster images may appear blurry or distorted when resized but vector graphics can be modified without introducing pixelation.
Points To Consider To Vectorize An Image For Screen Printing:
Look at the elements to ensure pleasant viable final results to vectorize an image for screen printing. Right here are a few points:
- Resolution
- Color mode (CMYK or RGB). (If you want to get started in the creative world of printing, click this link to learn the basics of CMYK screen printing for beginners)
- file format (vector-based formats like AI, EPS, or SVG are preferred).
- File size
- The print size and placement on the garment.
- Number of colors in the design.
- Requirement and printing method
- Consideration of line thickness and detail.
- Artwork ownership and copyright permissions.
A Complete Guide To Vectorize An Image For Screen Printing:
Let me explain the primary steps to convert the image for screen printing for your ease.
Step 1: Download The Application
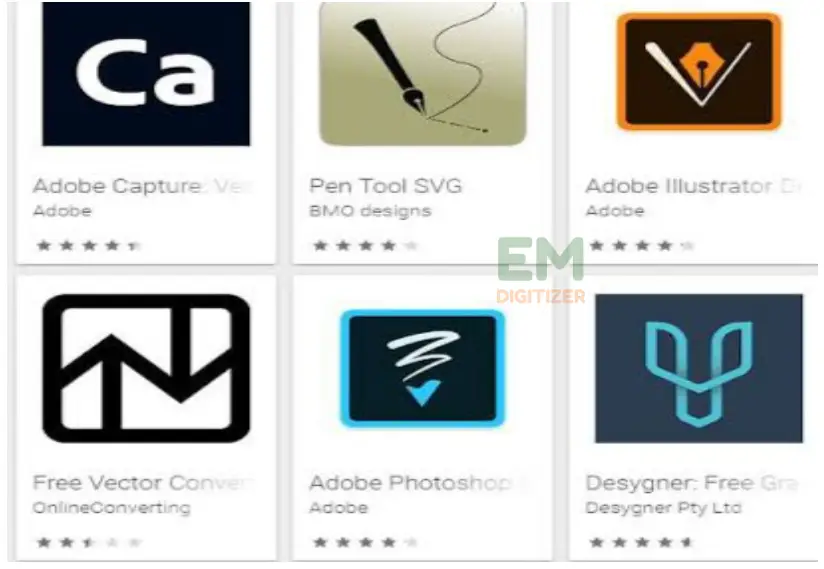
- Some applications like Adobe Illustrator, CorelDRAW, or Inkscape (free and open-source) are the choices for vectorizing an image for screen printing.
Step 2: Import The Image
- Run the application now, then load the picture you want to vectorize.
- Most tools allow the importation of various file formats, such as JPEG, PNG, or GIF.
- Locate the image file on your computer and import it into the software’s workspace.
You can use these free file format converters to get the best possible conversion for your needs.
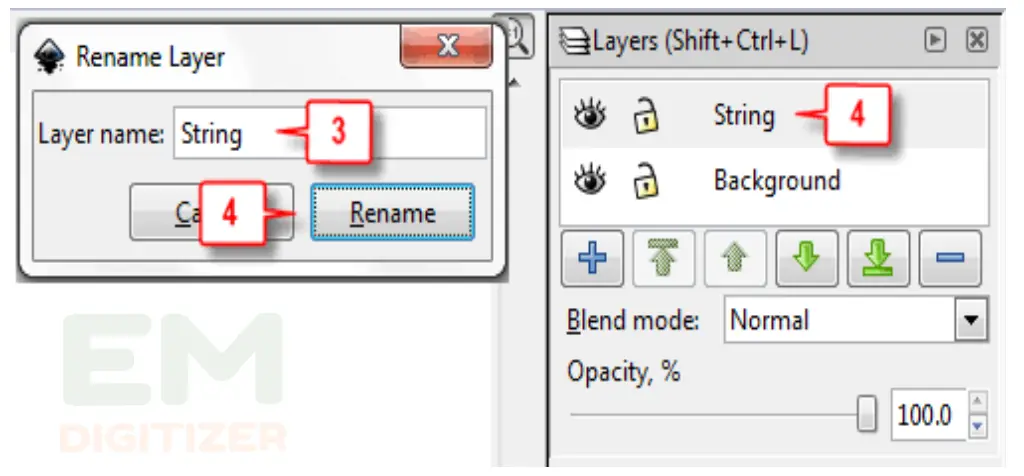
Step 3: Create A New Layer
- Create a new layer on top of the existing one after it has been imported.
- The vectorized photo will make use of this new layer.
- Adjusting the flexibility to edit and modify the design instead of affecting the images is made easier by separating the vectorized image from the real image.
Step 4: Begin Tracing
- In this method, a raster picture is modified into a vector by using a specific option from the tool.
- You will see it in the toolbar or under the “Object” or “Path” menu.
- Depending on your software, the tool may be named differently.
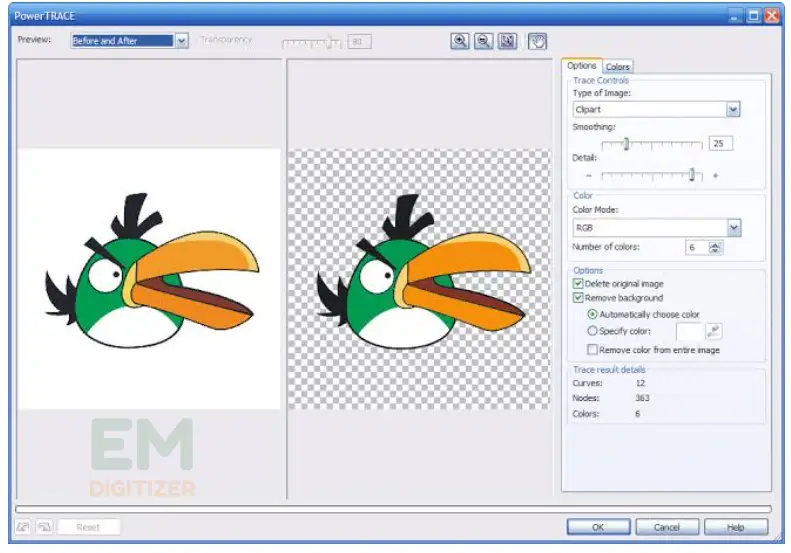
Step 5: Trace Settings
Modify the basic parameters to get precise and satisfactory results before starting the trace process to vectorize an image for screen printing.
- Contour, color, and path are standard settings that will change depending on the software.
- Test the settings to vectorize an image for screen printing until you’re satisfied with the result.
Step 6: Execute The Tracing Process
Go for basic adjustments for the tracer’s parameters before using the trace method to vectorize an image for screen printing.
- Based on the settings you specified, the application checks out the file and converts it into vector paths.
- This procedure may take anywhere from a few seconds to several minutes, depending on the complexity of the image and the performance of your computer.
Step 7: Refine The Vector Paths
After the tracing process is complete, check out the vector paths. You may notice imperfections, unnecessary details, or gaps in the paths.
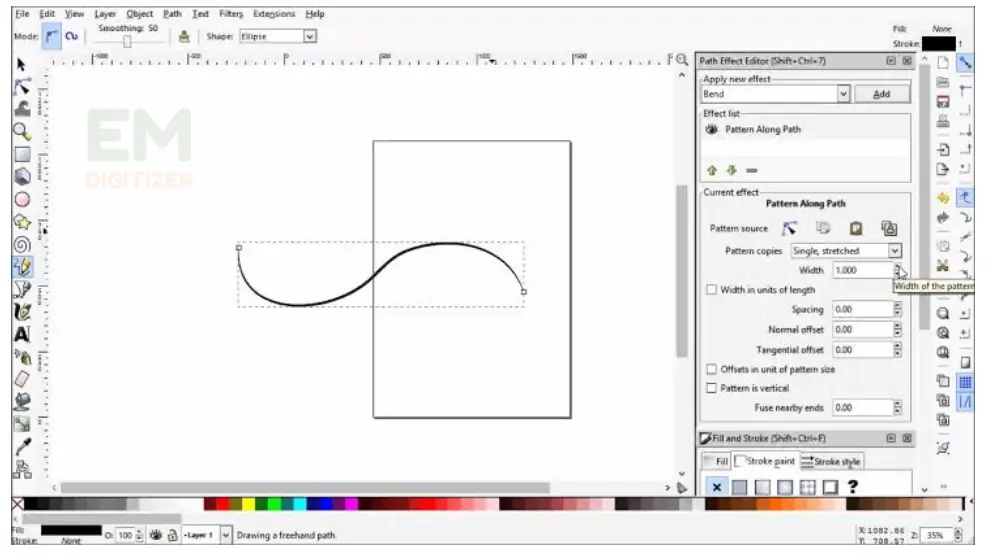
- Refine the vector paths with the editing options from the software.
- The pen tool, options for manipulating anchor points, and path smoothing are typical of these tools.
- To ensure a clear vector representation of your image, make precise adjustments.
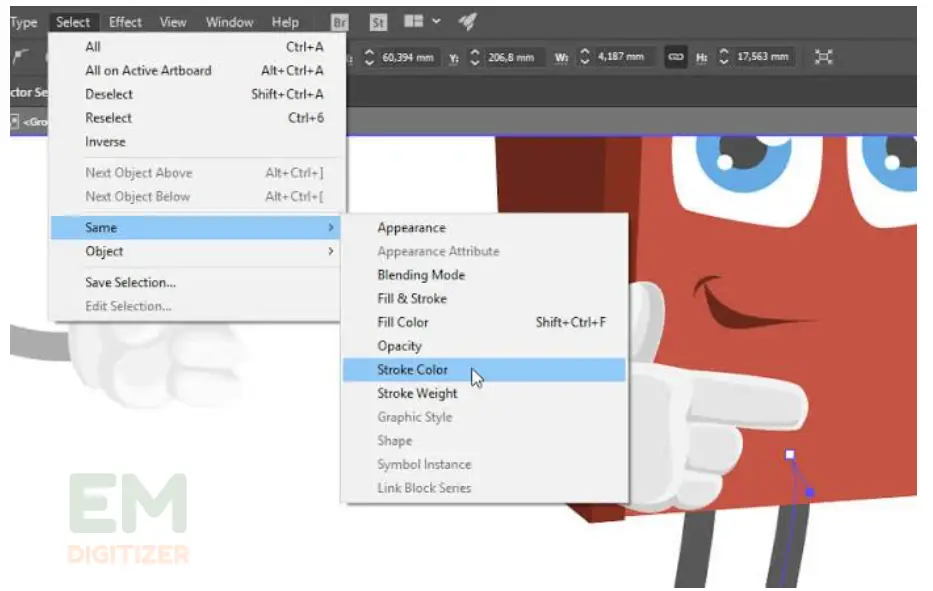
Step 8: Colorize The Vector Artwork
Your vectorized image can be colored after the vector pathways are processed. Select appropriate colors for different elements of your design.
- Using solid colors or creating gradients can enhance the visual appeal of the artwork.
- If you need to change the line thickness or assign colors, use the software’s fill and stroke options.
You can also use the list of color conversion charts if you need assistance meeting your projects’ coloring requirements.
Step 9: Save The File
After you’re ready to add colors and vectorize an image for screen printing, download the file in a compatible format, such as EPS or Al.
These formats preserve the vector information and allow for easy scaling and manipulation in the future.
Use Of Inkscape To Vectorize An Image For Screen Printing
Have a look at the important steps to learn how to convert images for screen printing:
Step 1: Install And Open Inkscape
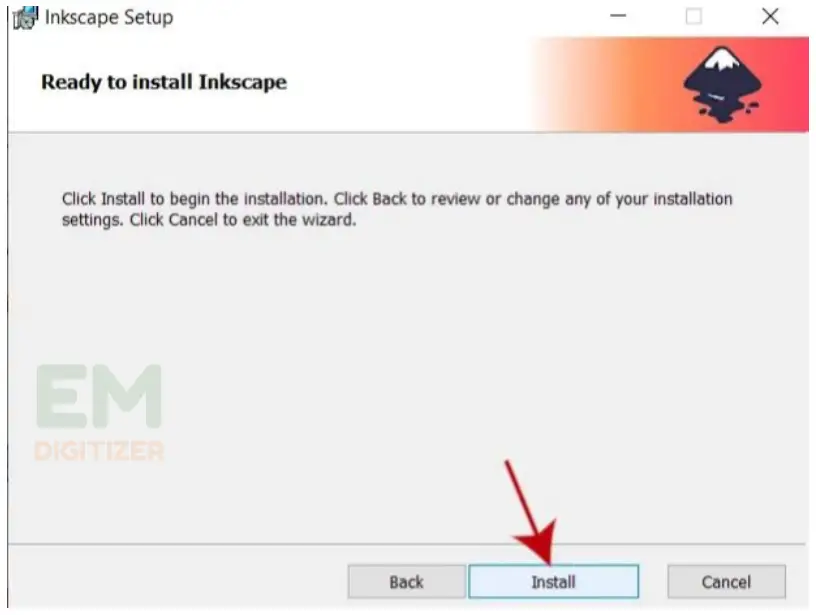
If you haven’t already, download and install Inkscape from the official website (https://inkscape.org/). Once installed, open the software to convert the image for screen printing.
Step 2: Import The Image
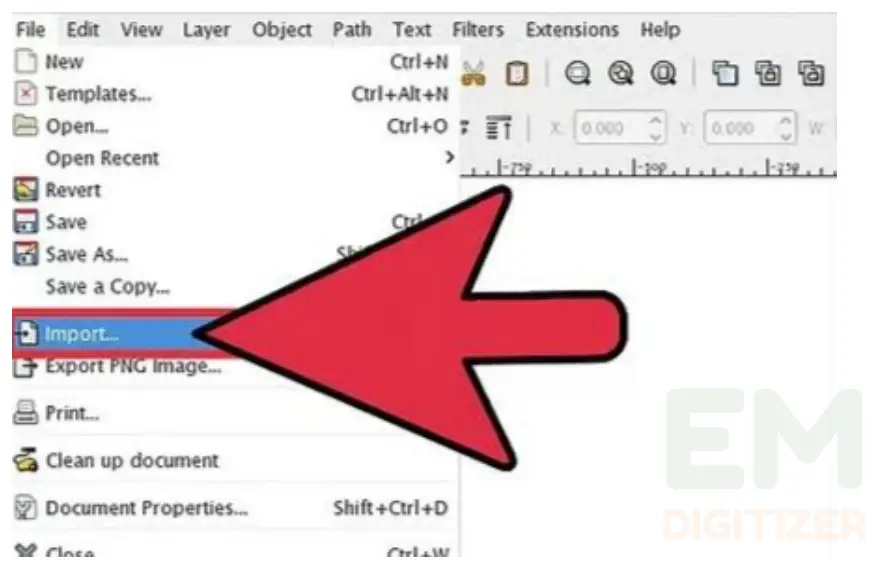
Go to “File” in the menu bar and choose “Import” or use the shortcut Ctrl+I. Browse for the image you want to vectorize and click “Open.” The image will now appear in the Inkscape workspace.
Step 3: Select And Trace Bitmap
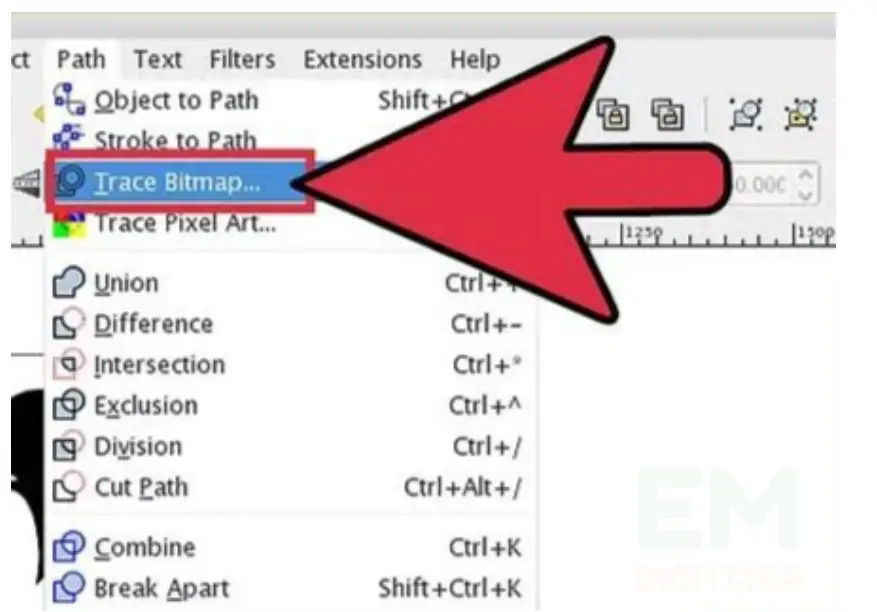
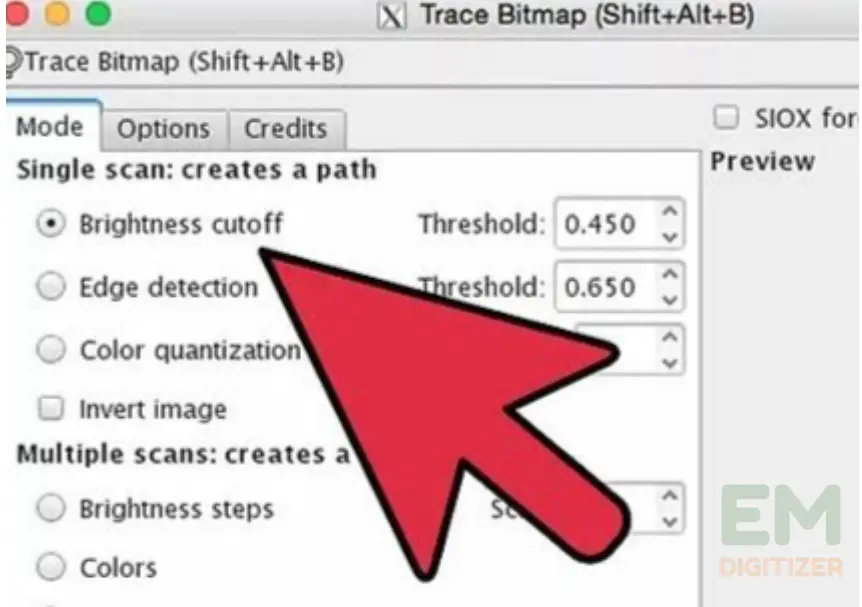
Go to the menu and choose “Trace Bitmap.”The bitmap tracing options will appear in a new window.
Step 4: Adjust Tracing Settings
In the “Trace Bitmap ” window, you can adjust the settings for the process to convert the image for screen printing. You can choose the mode (such as “Brightness Cutoff” or “Edge Detection”).
Adjust the threshold, and modify other parameters based on your image and desired output. Preview the changes in the window to see the effect on your image.
Step 5: Trace And Create a Vector
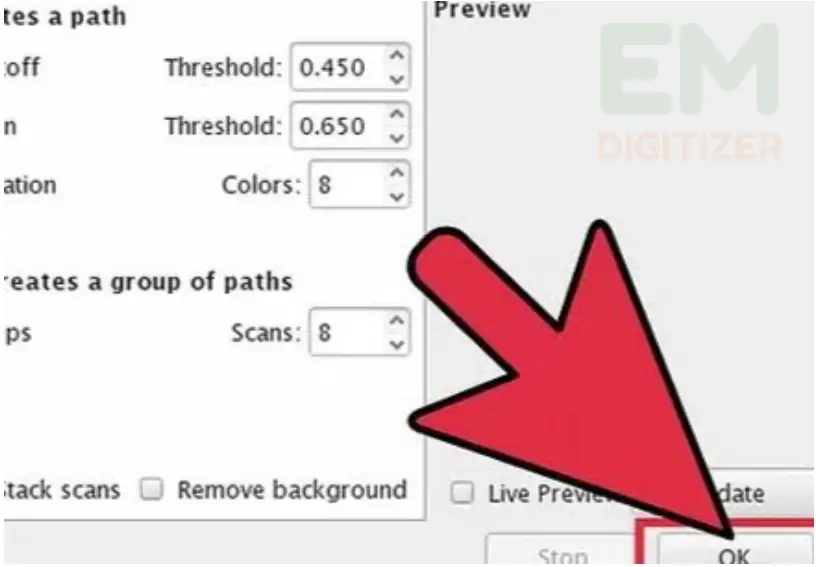
Once you’re satisfied with the parameters to convert the image for screen printing, click the “OK” button in the “Trace Bitmap ” window.
The software converts the image according to the selected settings instead of changing the real image but the newly created vector version will be on top.
Step 6: Refine And Edit
Depending on the complexity of the image you may need to edit the vector paths. You can use Inkscape’s editing tools to change the paths, get rid of things you don’t want, or add more details as needed.
Step 7: Save The Vector Graphic
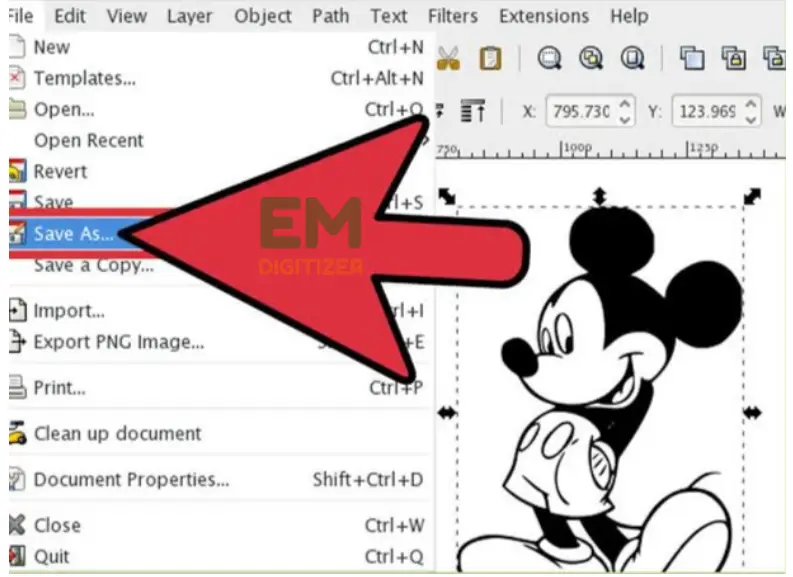
After making any necessary edits, go to “File” and choose “Save As” or use the shortcut Ctrl+Shift+S.
Select a location to save the vector file, choose a file format (such as SVG, EPS, or PDF) to support vector graphics, and click “Save.”
That’s it! You have completed the vectorization with Inkscape and now you can make use of it according to the need.
Advantages To Vectorize An Image For Screen Printing:
Check out the blog for additional information about the top profitable screen printing methods for 2023.
- Before being used, an image must be vectorized to ensure crisp, clear output, resolution, or clarity.
- These graphics are suitable for precise screen printing due to uniform lines.
- Such images have smaller file sizes compared to raster images, allowing for raiser handling.
- These files enable easy separation of colors and reduce the chance of errors.
- Vector files can be easily modified and prepared for printing, and production turnaround times can be sped up.
Limitations:
- Some highly detailed or intricate images may be challenging to convert into vector format accurately.
- Special effects like gradients, shadows, and textures may not be replicated accurately in the vectorized version, requiring additional adjustments or compromises.
- Vectorizing an image can take a long time, especially for intricate designs that call for skilled expertise.
Conclusion
The process to vectorize an image for screen printing is an initial step to ensure top-notch and scalable prints to ensure designs are clear, distinct, and prepared to print using screen printing by following the instructions provided in this blog.
With careful attention to depth and proper vectorization techniques, you’ll be well on your way to creating stunning screen-printed designs.
You may also be interested in home decoration is a very important place. It is crucial to bring an atmosphere of warmth and peace to this place. At the same time, you should think about its look. Nowadays, people have various tools to change the appearance and style of their houses. visit https://www.prints4sure.com to know about wallpics photo tiles & cheap canvas prints
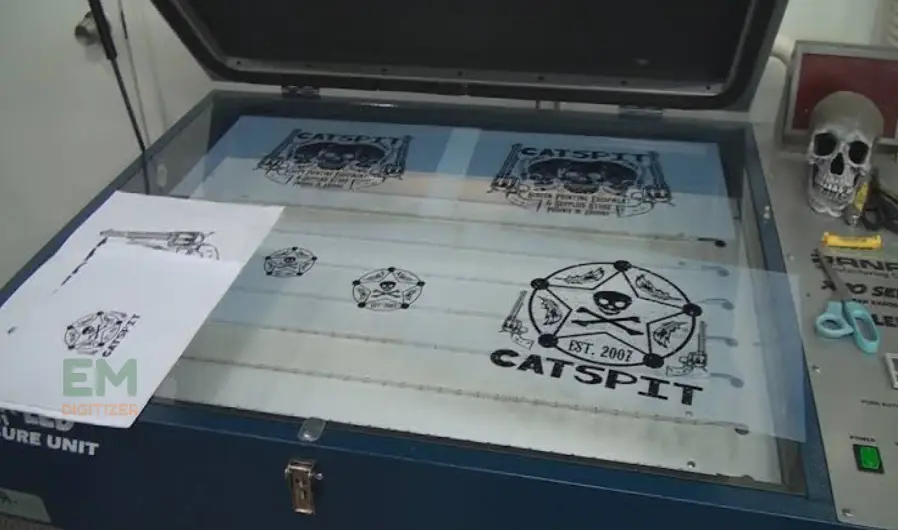
This conversion leads to sharp and clean results. Since screen printing involves transferring ink onto a surface through a stencil, vector images provide clear lines and shapes, reducing the risk of blurred or pixelated prints.
These formats preserve the information and can be edited in software and the common file formats for vectorized images in screen printing are EPS and AI.
Dispose of unnecessary subtle elements and decrease the number of colors to guarantee that lines and content within the vector picture are thick and sufficient to be evident after screen printing.
Define the colors in your design using specific Pantone or spot color codes to ensure accurate color separation. To prevent font compatibility, convert any text in the image to outlines or paths.
Yes, there are online applications like Vector Magic, OnlineConvert, and Convertio that are used to convert the image for screen printing. Such tools allow you to submit a raster photo and transform it into a vector format. Nevertheless, depending on how complicated the image is, the outcomes could differ.
With a complicated image that requires precise results, consulting a professional graphic designer or a printing service experienced in screen printing would be beneficial.
If you have any questions leave the comments or you can visit our social channels for more updates regularly. We provide embroidery digitizing services if you need digitizing services feel free to contact us or email us.



Vectorizing for screen printing made simple! This post guides you through the process of vectorizing an image for screen printing, ensuring sharp and high-quality prints. Transform your designs with precision and clarity!