Many bookworms have probably faced a similar problem when marking a page in a good novel… dog ears or bookmarks? Perhaps a piece of scrap paper or an old business card? Whether you’re an avid reader or you know someone who loves to read, a personal bookmark is more than a functional gadget, it’s a unique addition to one’s favorite book. Plus, there’s nothing better than cozying up with a good story and a bookmark that’s just for you.
Table of Contents
ToggleWhat is a Bookmark?
A bookmark is a thin marking tool, usually made of card, leather, or cloth, used to keep track of a reader’s progress in a book and allow the reader to easily return to it. Where the previous reading session ended. Alternative materials for bookmarks are paper, metals such as silver and brass, silk, wood, bone (stitched), and plastic. Some books may have one or more ribbon bookmarks built into the binding. Additionally, other bookmarks include a page flap that enables them to be clipped to the page.
Embroidery Digitizing Services
If you are looking for embroidery digitizing services, EMDigitizer is one of the best embroidery digitizing companies. Providing all types of embroidery digitizing Services. I recommend you try digitizing services.
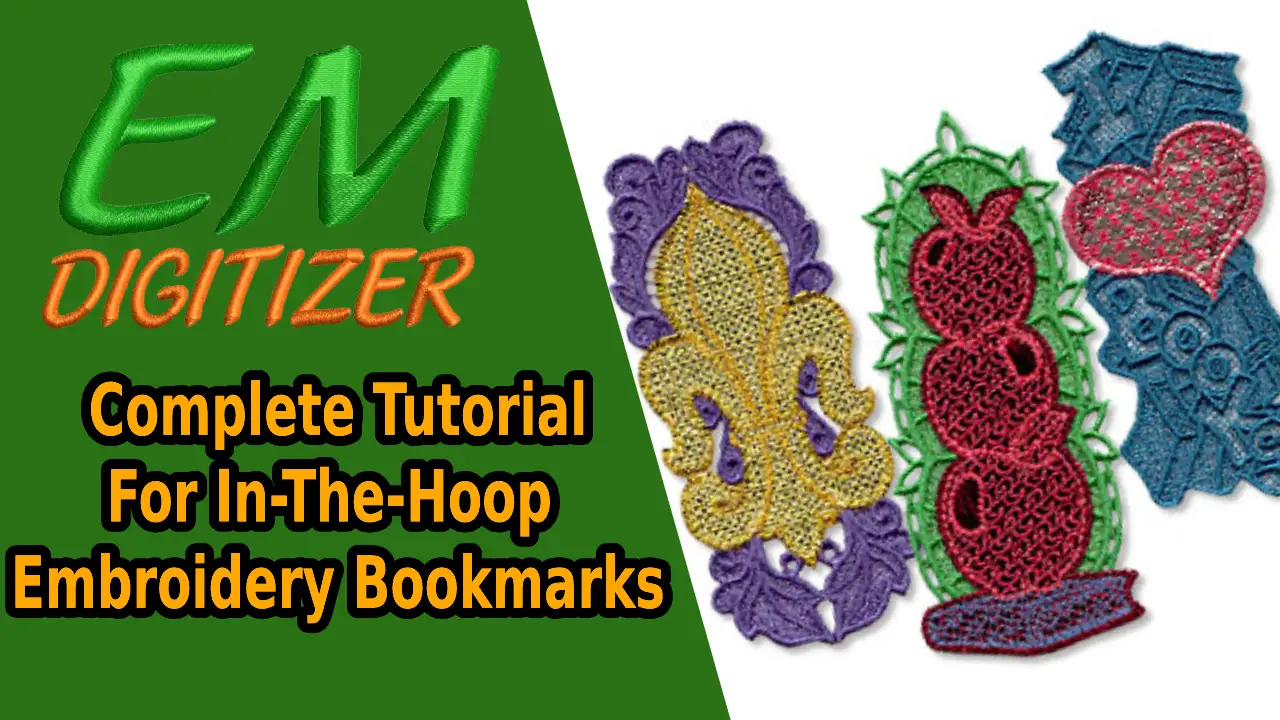
Order NowGet Free QuoteIn-The-Hoop-Embroidery Bookmarks Tutorial
Take the fabric you want to use for your bookmark and lay it out with the wrong side facing up. You may also want to iron the fabric first so that it lays perfectly flat on your surface.
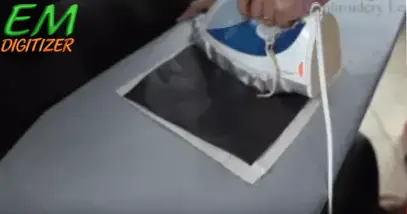
Place the fusible no-shoe mesh backing onto the fabric, fusible side down. Iron the two pieces together.
Step 1: Fuse the no-shoe mesh into your fabric
Take the fabric you want to use for your bookmark and lay it out with the wrong side facing up. You may also want to iron the fabric first so that it lays perfectly flat on your surface.
Place the fusible no-shoe mesh backing onto the fabric, fusible side down. Iron the two pieces together.
Step 2: Wrap your fabric
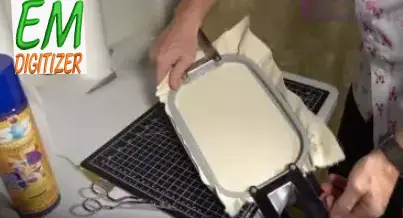
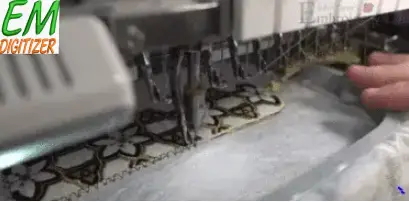
Flip the fabric so that the fabric is facing up. Hoop with a 5″x7″ hoop.
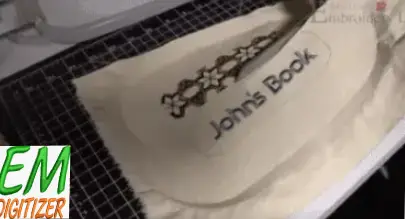
Step 3: Embroidering the first file of your bookmark
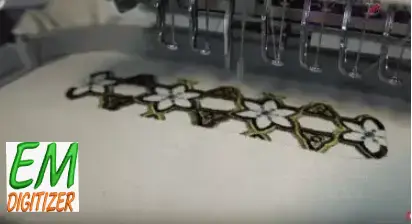
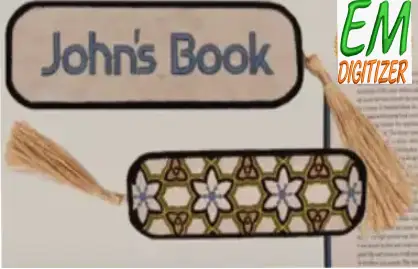
This will be the attractive front of your bookmark.
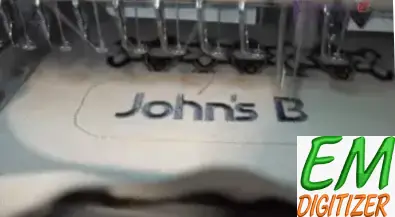
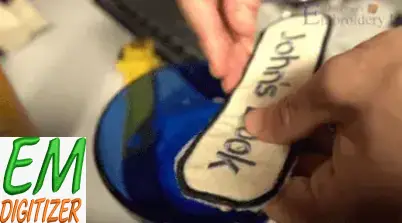
Step 4: Load the b file and sew the back of the bookmark
Here, you can add or customize characters.
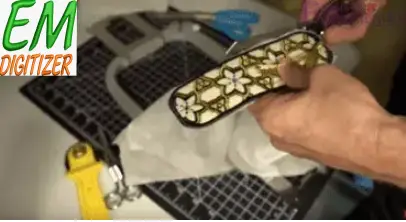
Step 5: Remove your hoop and carefully cut out the front and back of your bookmark
Cut as close to the outside edge as you can without cutting the stitches.
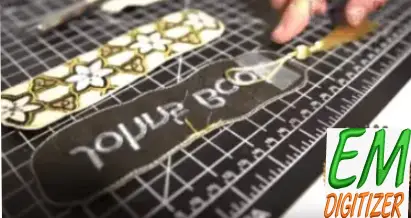
Step 6: Save your tassel to the bookmark
Take the back of your bookmark (perhaps with a name embroidered on it) and place the embroidered side on the table. Use a small piece of masking tape to secure your tassel to the center under the design. Make sure to leave some space between the tassel head and the embroidered border.
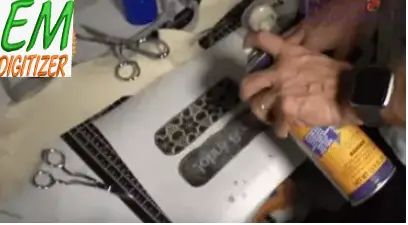
Step 7: Use spray adhesive to adhere your bookmark pieces together
Take an adhesive spray and spray the back of both pieces of your bookmark. Then, carefully line up the bookmark pieces and glue them together.
Step 8: To set a bookmark, start a line
Take a piece of water-soluble baking paper and roll it into a 5″x7″ hoop. You may also want to change the bobbin in your machine to a bobbin that matches the outer border color of your bookmark. Use the “C” file and start the placement line to set your bookmark.
Next, place your bookmark as close to the placement line as you can. Play the second color of the “C” file. This will secure the bookmark and embroider the border that will hold the bookmark together. If you find that your tassel is getting in the way, tap it down.
Step 9: Cut out some water-soluble marker from your marker
Separate your bookmark from the hoop and cut the water-soluble backing around the bookmark. Try to cut as close as you can without cutting the stitches. Make sure the tassel is out of the way when you cut the back.
Once you’ve finished cutting around the bookmark, flip it over and cut the backing inside the border of the bookmark. Cut as close to the inside of the border as you can without cutting the stitches.
Step 10: Dissolve the water-soluble baking powder from your embroidery bookmark.
Almost done! Take a bowl of warm water (as hot as possible, but not boiling). Add a drop of dish soap and dip your finger in the water. Run your finger around the edges of the bookmark to dissolve the water-soluble backing. You will need to repeat this step up.
Where To Sell Bookmarks
The most popular places to sell handmade items online are Amazon, eBay, and Etsy. But they are not the only ones. This Small Biz Trends list has 25 more places to sell handmade crafts online. So when you’re looking to sell bookmarks, check out the options so you can make an educated decision about which site is best for your particular product.
Conclusion
I am sure this article will help you understand how to embroider a bookmark in an easy way. I hope this helps you guys!
Finish the bookmark by covering the raw fabric shore. Cut a piece of ribbon the same length as the bookmark, leaving out the ends. Doctor the bookmark seam with glue and press the top ribbon of glue.
Cardstock is the most readily available and easiest material for making bookmarks. Paper can be easily printed on a home printer, cut with scissors, and embossed or laminated to create bookmarks of any size, shape, and design.
Cotton clothes
To make the bookmark, you cut a long rectangle of fabric. If you want different prints on both sides, cut two pieces of fabric. You can use any thin cotton fabric for this project. However, quilt-weight cotton is the best material to use.
6 different types of customizable bookmarks
- Ribbon work.
- The String
- Custom printed options.
- Pay attention.
- Make it metal.
- Embroidery and valuable.
Bookmarks help you keep track of where you are in a book.
Keeping track of your pages in a book is important, especially if you are a reader who tends to read more than one book at a time.
If you have any questions leave the comments or you can visit our social channels for more updates regularly. We provide embroidery digitizing services if you need digitizing services feel free to contact us or email us.



Love this tutorial! Bookmark embroidery is such a creative and practical craft. Thanks for the step-by-step guide!