What Are Jump Stitches and How To Remove Jump Stitches
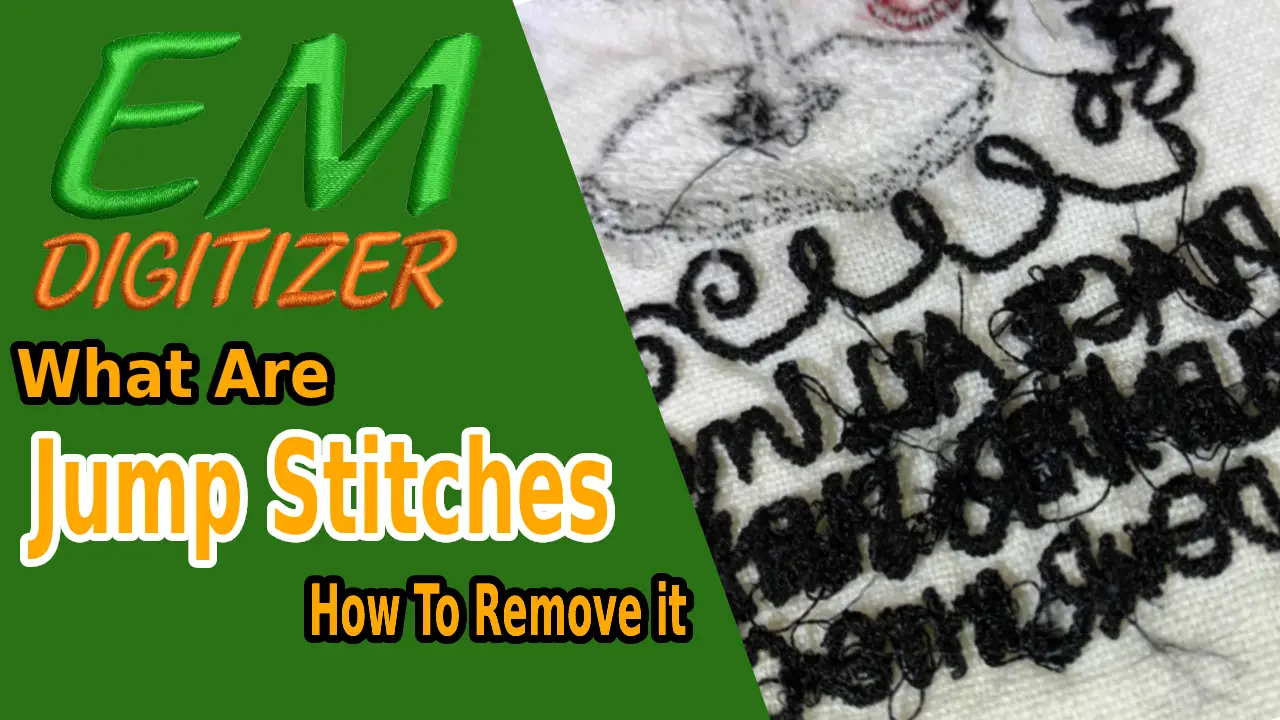
Jump stitches are very time-consuming in the embroidery business, if you have 1000 shirts to embroider and you receive a digitized design with jump stitches from your digitizer, you don’t have to trim these threads manually on each shirt. Can, and if you do, it’s going to cost time and money.
Jump stitches have been a problem with many embroidery digitizers – they can be a real pain and slow down your sewing process. As a professional digitizer, you should make a conscious effort to minimize the number of jump stitches in your workpiece. It may not be possible to completely remove trims and jump stitches but it is very possible to reduce their number.
If you want to get knowledge about How To Convert Emf To Eps, then you can visit: Emf To Eps
If you are looking for embroidery digitizing services, EMDigitizer is one of the best embroidery digitizing companies. Providing all types of embroidery digitizing Services. I recommend you try digitizing services.
Order NowGet Free QuoteTable of Contents
What are Jump Stitches?
Jump stitches are often a necessary evil. When two items in a design are not connected in any way, the embroidery machine will need to travel from one to the other. It’s amazing when these travel stitches can fade through another part of the design, but that’s not always possible. 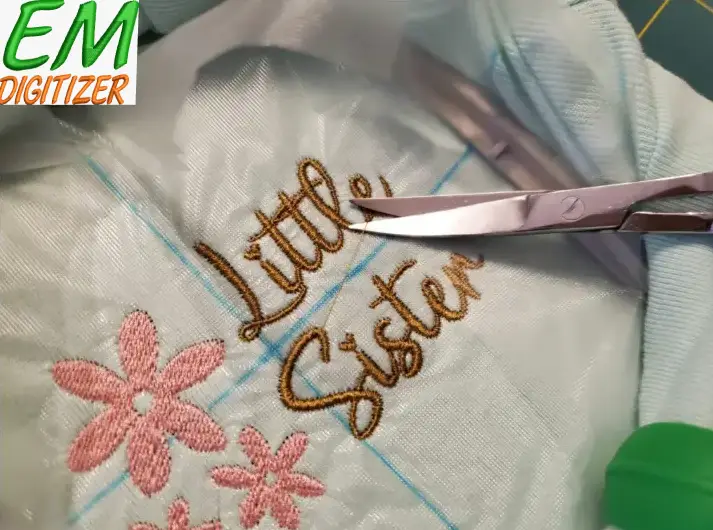 For example, consider an embroidered name. There will naturally be spaces between letters and often there is no other way to get from one to another without jumping.
When do you cut jump stitches?
High-end embroidery machines offer automatic jump thread trimming, but budget-friendly embroidery machines like mine do not! Thus, I have to manually cut the jump stitch threads. 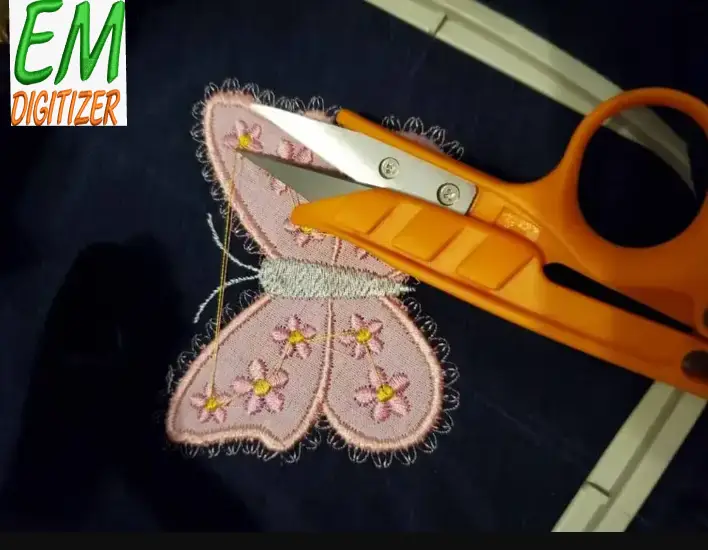
How To Remove Jump Stitches?
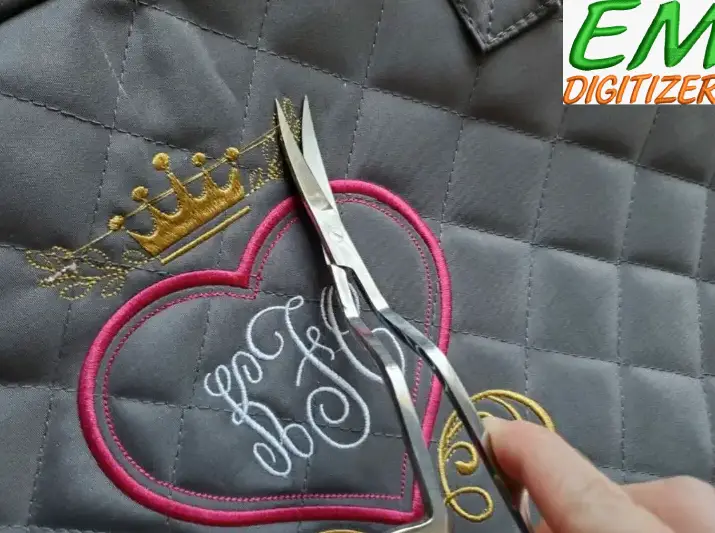
How To Reduce Jump Stitches?
Knowing how much of a problem digitizing jump stitch embroidery can be, having a solution to it will be a great relief to many. Below are some ways to decrease jump stitches.
- Design types: Avoid some designs that have an increased tendency to jump, bad art, or design problem but it has been observed that some designs have a high tendency to jump – this is normal for such designs. In which more stitches are run and the outline is included. The most annoying part about this kind of design is that it is really hard to hide the jump stitches. Digitized arts that include more colors also cause jumps.
- Use Reputable Digitizers: Only Use Digitized Designs from Reputable Sources There are tons of free and cheap digital files available online, however, many of them have poor designs that are problematic for us when digitizing. can cause We see that most of the free digitizations have a common problem of poor digitization and no proper technique is put in place to reduce the number of jump stitches. Always try to use digitized designs from reputable and reputable sources.
- Hide jumps effectively: You may ask if it is possible, well, the answer is yes! Move the travel stitch path when you see it jump and start sewing again and change it to multiple small threads that you can use later when you are using the main threads. can be covered.
- Know How You Can Edit Digital Designs Effectively: Editing digital designs are a great option if you are into digitizing embroidery. Get familiar with digitizing software and learn techniques on how you can edit, modify and improve digital designs to reduce jump stitches.
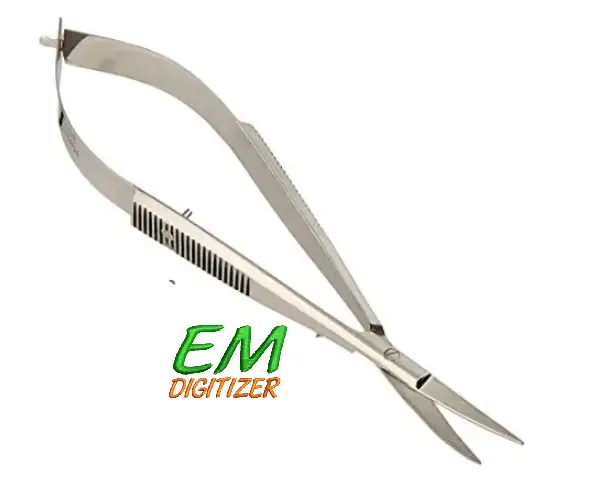
Embroidery Scissors that Trim Jump Stitches Well
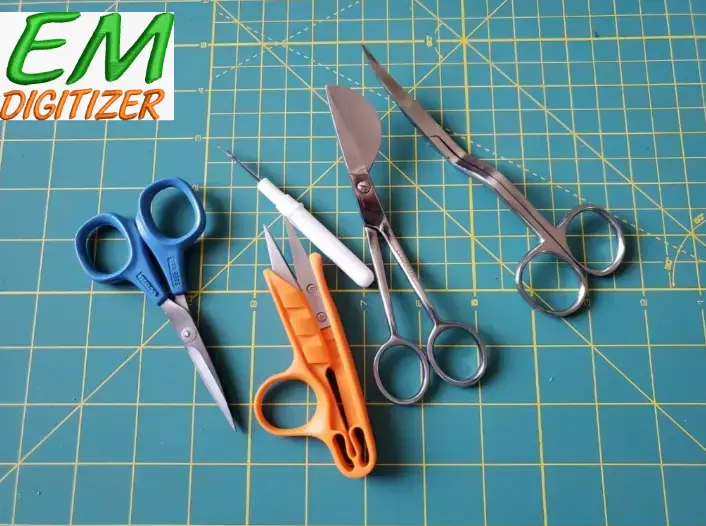
Curved Scissors
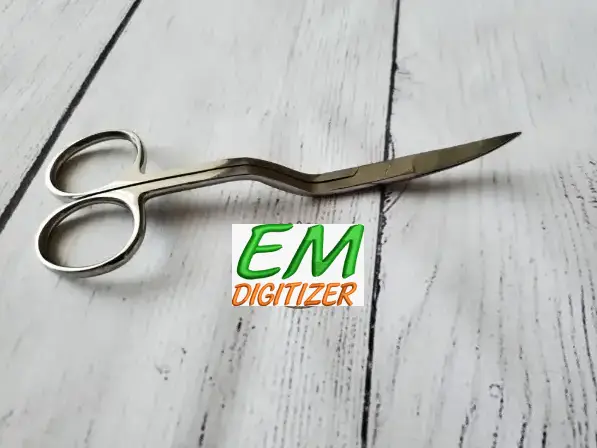
Duckbill Applique Scissors

Embroidery Scissors
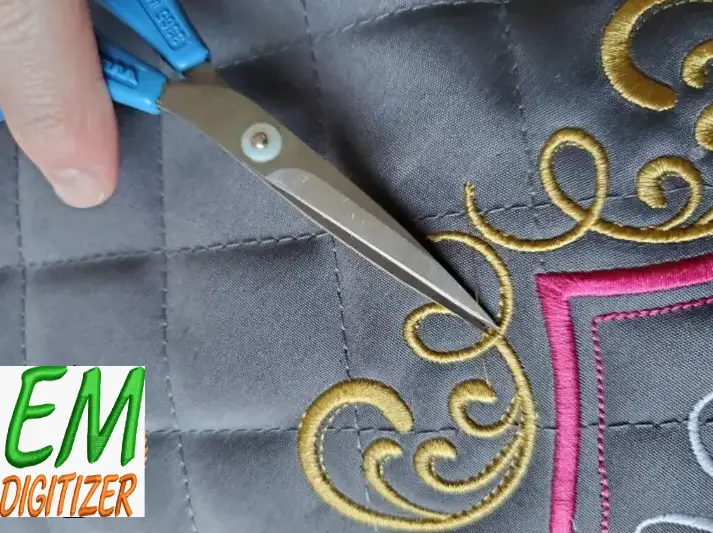
Thread Snips
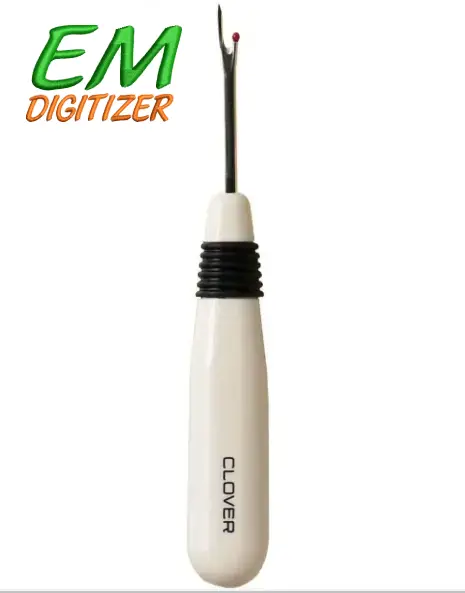
Seam Ripper
Conclusion
And that’s it. I hope this post has given you some tips for removing those jump stitches from your project!
The thread trimming function will automatically trim any excess thread inside the ring. This function is turned on by default. To turn this function off, press the key and then.
The easiest way to do this is to select the first object and click Always Tie Off and Trim on the context toolbar. Other times, you may want the software to turn off trims and tie-offs for selected items or the entire design.
Ambrilliance automatically removes overlapped stitches using our patented system. When you save your design, the stitches will be removed automatically. If you don’t want this to happen, uncheck the box and click Apply.
Unfortunately, the Brother SE1900 does not automatically cut jump threads when embroidering.
In Trim in Place Appliqueé, a piece of fabric is placed over the placement stitch. The next stitch is a cut line and taken down to sew and hold the fabric in place. The embroidery hoop is taken off the machine and the excess fabric is trimmed close to the stitch line.
If you have any questions leave the comments or you can visit our social channels for more updates regularly. We provide embroidery digitizing services if you need digitizing services feel free to contact us or email us.
