How to Convert image to DST file for embroidery machine
As the world shifts towards technology, you must change your embroidery business strategy. We have been noticing a surge of embroidery hobbyists and newbies trying to explore a solution to convert their favorite photos into needlework. So, it is important to learn what images can be processed for embroidery, what is dst file and how it makes embroidery accessible. Let’s break down the steps in converting an image to a DST file and how to start working on it.
If you want to get knowledge about How To Convert Emf To Eps, then you can visit: Emf To Eps
Table of Contents
Digital Imaging concept
When we talk about the image to DST file conversion, what does that image cover? This image might contain text, a logo, a drawing, or any type of artwork. Regardless of the category, what matters is the image quality and the right format. The more clear images are easy to digitize and result in fine embroidery. And it must be in the right format. But before discussing the format, learn what type of images we encounter:
Raster
These images contain a grid of pixels (shortly a bitmap) that holds information to make up an image. When you scale them up, they result in blurry appearance. Raster files best for keeping pictures that are not meant for resizing.
Vector
This type of graphic has some anchoring points, which means each design part has a definite path followed by a mathematical formula. It means the design won’t lose the quality and detail after scaling. These graphics are best for less detailed images such as logos, text, or illustrations and can be easily digitized for embroidery.
Here is a complete guide on What Is So Different About an Embroidery Vector File
What to choose:
Although both types of graphics can be converted, conversion of vector graphics to digitized files is easier for the software than the raster one. Because you need to retrace the path in a raster image individually with a tracing tool. But the results are different from the original raster image.
Convert Image To DST Design
If you are looking for digitizing services to create a dst design from image, EMDigitizer is one of the best embroidery digitizing companies. Provides all types of embroidery digitizing Services. I recommend you try digitizing services.
Convert Image To DST DesignGet Free QuoteWhat is the best image format for embroidery and digitizing?
You often hear of JPG, PNG, GIF, PSD, or Bitmap, these are called image format files and each of the files has different uses. However, the choice of the best format depends on what type of editing you want with your image. Out of these file format options, only JPG and PNG images are best for making dst files for embroidery. Let’s check what makes them best.
JPG
If you want to add or remove detail into your design, especially in the case of icon or logo-based graphics, go with JPG format. But it does not support transparency. It results in lossy compression which means some of the design detail might be lost when scaling.
PNG
When you want to edit the graphic in terms of size and detail (removing background), save it in PNG format. It ensures lossless compression and quality when scaling the design image while keeping file size smaller.
Image Formats for Embroidery Digitizing
| Format | Description | Best For | Pros | Cons |
| JPG | Compressed format, commonly used for photos and web images. | Logos, simple designs. | Small file size, widely compatible. | Lossy compression, loses detail when edited repeatedly. |
| PNG | Supports transparency, high quality. | Transparent backgrounds, detailed images. | Lossless compression, sharp detail. | Larger file size. |
| GIF | Animated or static image format. | Small graphics, animations. | Supports transparency. | Limited colors, not suitable for embroidery. |
| BMP | Uncompressed high-quality format. | High-detail images. | Preserves quality. | Large file size, not optimized for embroidery. |
| PSD | Photoshop format, supports layers. | Complex designs. | Editable layers. | Requires Photoshop, not directly usable in embroidery. |
Important note: image format depends on the software; maybe all formats are not supported in one software. However, you can convert these formats using Photoshop or online converting tools.
Let’s uncover the basics of the DST file
It is abbreviated as data stitch tajima. Tajima Company initially launched the DST file format. A DST file is a format of an embroidery machine that stores the embroidery commands of machine functions. All those commands are a set of instructions that are used by the embroidery machine. This DST file can be easily generated by embroidery digitizing software.
Complete Understanding DST Files in Embroidery
| Aspect | Details |
| Full Form | Data Stitch Tajima |
| Purpose | Stores embroidery machine commands and stitch details. |
| Created By | Tajima Company |
| File Extension | .dst |
| Compatible Machines | Brother, Janome, Tajima, Barudan, Singer, etc. |
| Contains | Stitch coordinates, thread color changes, start and stop points. |
| Common Use | Converting artwork into machine-readable embroidery files. |
| Software Required | Wilcom, Hatch, Embird, Ink/Stitch, Pulse, Bernina. |
Please visit if you want more detail on embroidery file format,
How to convert an image to a DST file for embroidery?
There is a misconception about the embroidery that we save the image file and then send it to the machine for stitching into the desired stuff. But forget digitizing, a core of embroidery artwork.
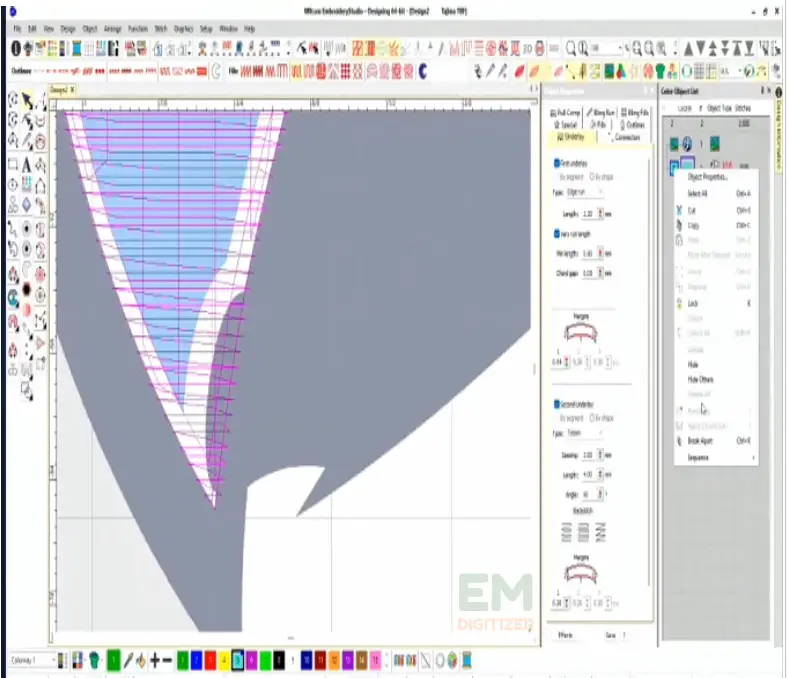
Digitizing is a technique used to translate the design part into stitches which tells the machine what to do exactly. This is a sequenced method that involves the setting of stitch types, placement, length, angle, color, and so on.
Before going into detail of the Steps to convert an Image to a DST File for Embroidery, I would like to discover all points in one view.
| Step | Action | Details | Key Considerations |
| 1 | Import Image | Upload JPG/PNG into digitizing software. | Ensure high resolution for best results. |
| 2 | Analyze Design | Zoom in to identify clear stitch paths. | Vector images are easier to digitize. |
| 3 | Break Into Layers | Separate design into different objects (e.g., text, logo, outline). | Helps in applying different stitch types. |
| 4 | Assign Stitch Colors | Choose thread colors for each section. | Match with actual thread codes. |
| 5 | Define Stitch Type | Choose between satin, fill, or running stitches. | Based on fabric type and design details. |
| 6 | Adjust Underlay | Add base stitches to stabilize embroidery. | Prevents distortion on fabric. |
| 7 | Optimize Path | Minimize jump stitches and optimize sequencing. | Reduces machine run-time and thread breaks. |
| 8 | Export as DST | Save file in DST format. | Test before full production. |
Now we will go through every step in detail.
Step 01: Import the image into digitizing software
The right software is the crucial factor to keep in account for getting your image to be digitized properly. There are a lot of embroidery digitizer software available that have the same working principle but here my go-to choice is Wilcom.
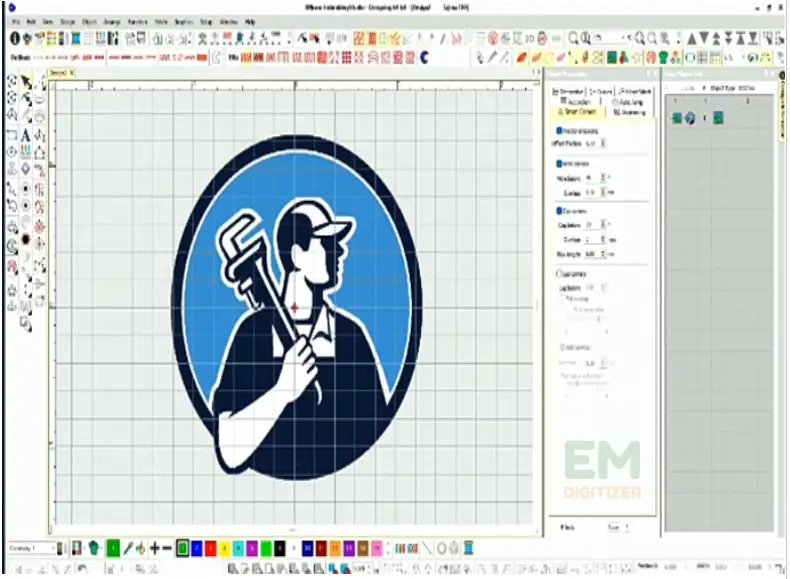
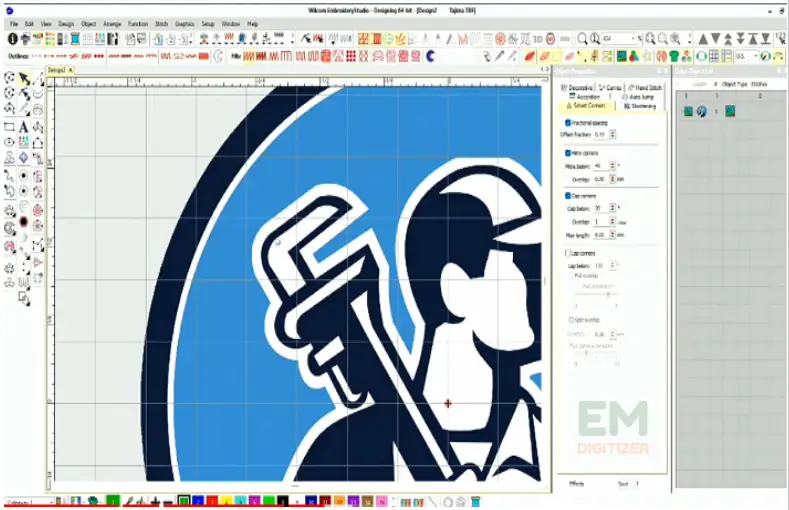
Open the welcome, from the drop-down menu, go to” File> Import ” and “Image”.
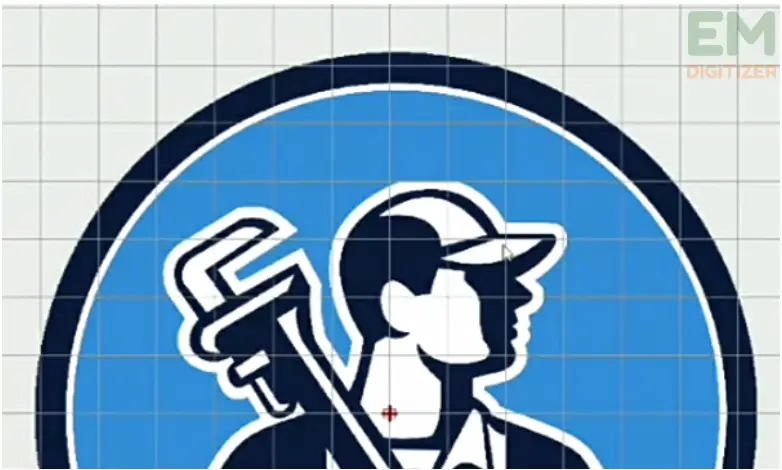
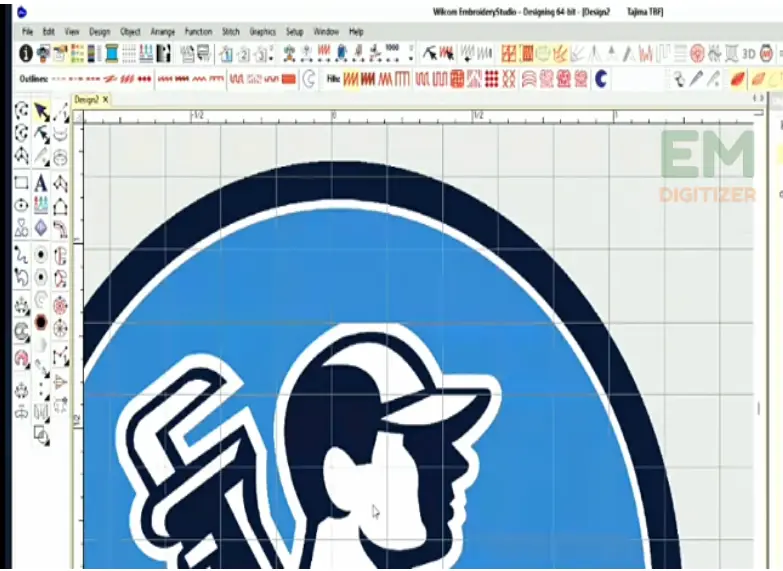
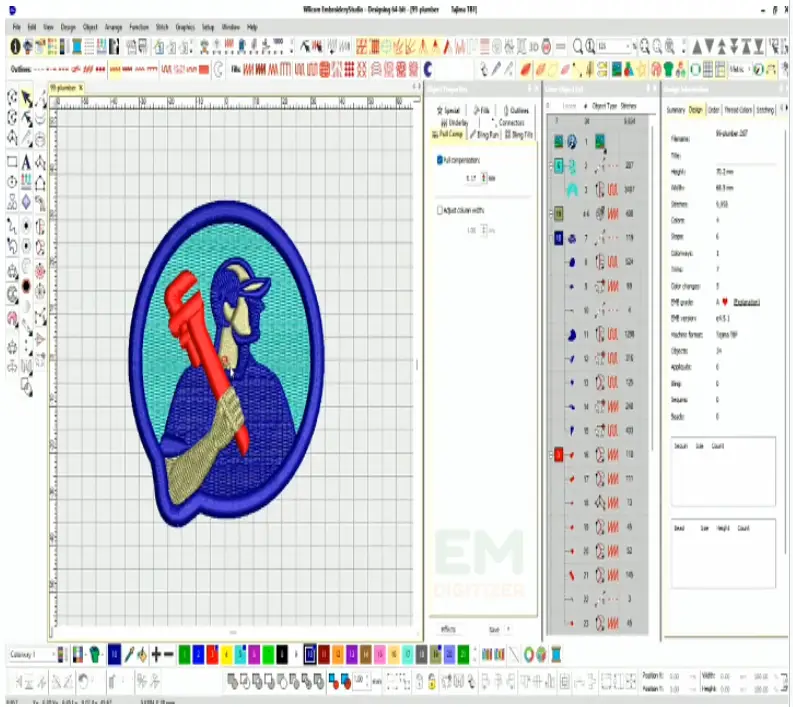
Now we have our logo (a man holding a wrench in hand) imported to the welcome, let’s begin the digitizing process!
Looking for some free online embroidery format converters, review this post.
Step 02: Start working on design
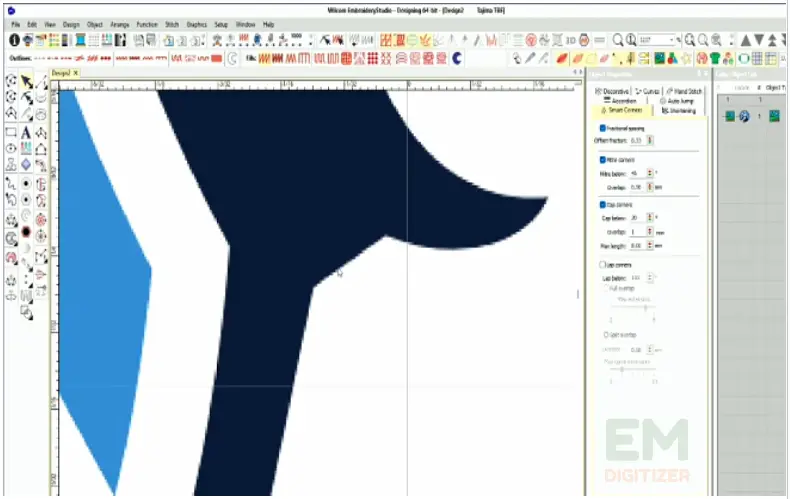
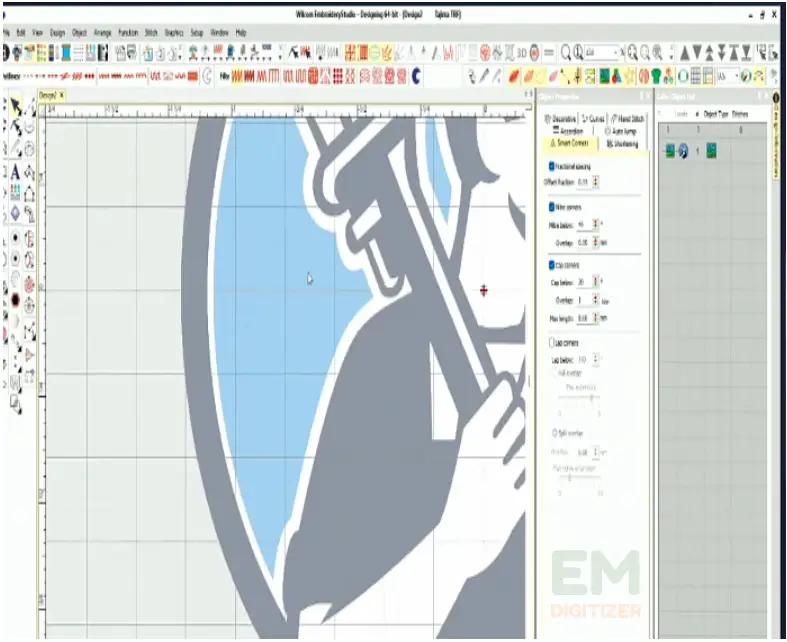
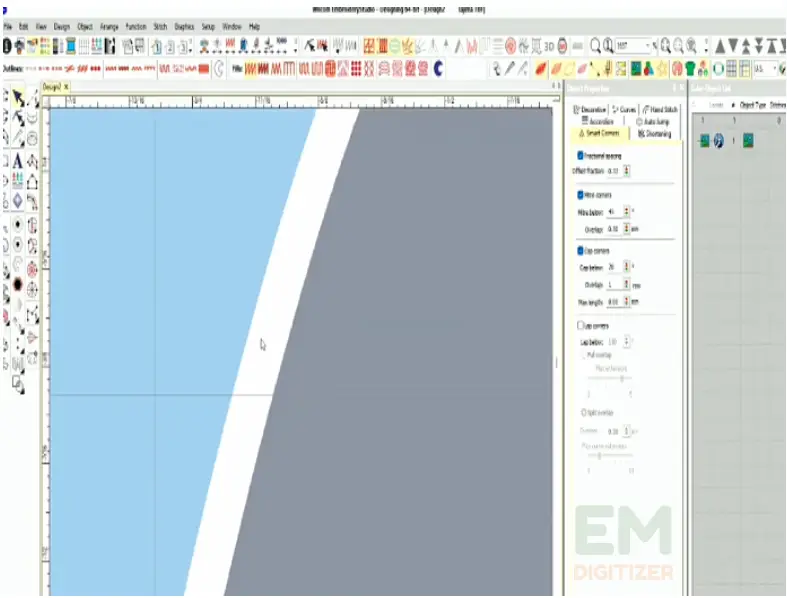
First of all, zoom in the image to about 3 thousand percent, here you can exactly see the lines in my logo that are easy to digitize. Now we begin the actual process and follow each step carefully.
Tip: As explained above, vector images either in JPG or PNG, are well designed and clear. Make sure to choose a clear image as clarity results in more sharp edges.
Add layers
This is the pre-digitizing step that decides how to travel with the design or which part of the design we want to see on top.
In that image, I know the exact position of the wrench must be kept forward of the body. Whether a graphic designer or a small-scaled embroiderer, you must know to keep the design sequencing right, what design part to be in the background or on the front.
Here the wrench is in front of the body and the guy in the blue tee is in the back. Sometimes it is very easy to check the design position but in most cases, you require patience for a while to set it right.
Break the artwork into small objects
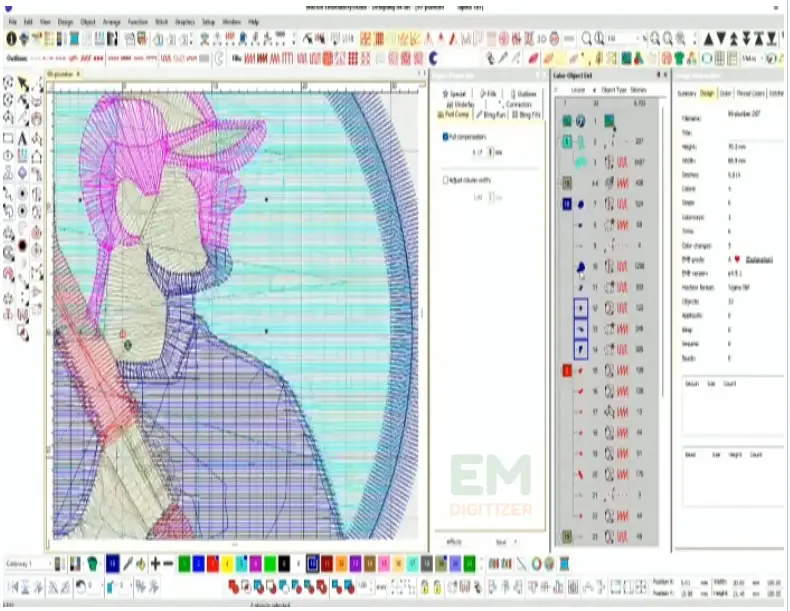
In this step, turn your logo into small shapes or objects just like face, wrench, or arm objects.
The purpose of separating artwork into objects makes digitizing easy. This is to make sure which part is going to be stitched first.
Add stitch color
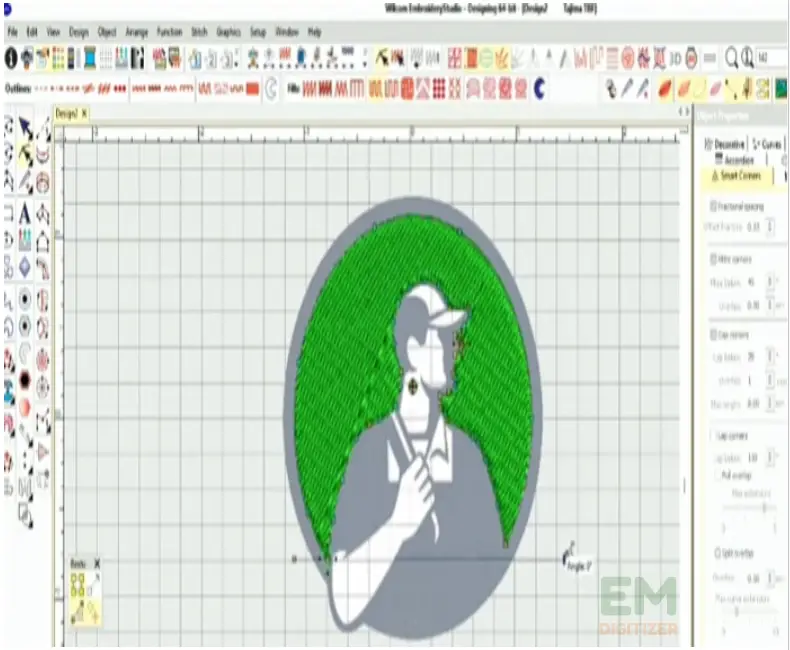
I am going to digitize the man’s body first. Now decrease the logo transparency and choose the fill.
Well, it’s up to the client’s preference for which color they want. Here, I am choosing a solid color stitch to fill the background.
Omit unnecessary detail
You always have a choice of which design part you find unnecessary because it is a matter of the actual file size you want to go with.
Keep the logo circumference to 2.75. Here, I don’t want to keep the white background at all.
Create an outline and fill
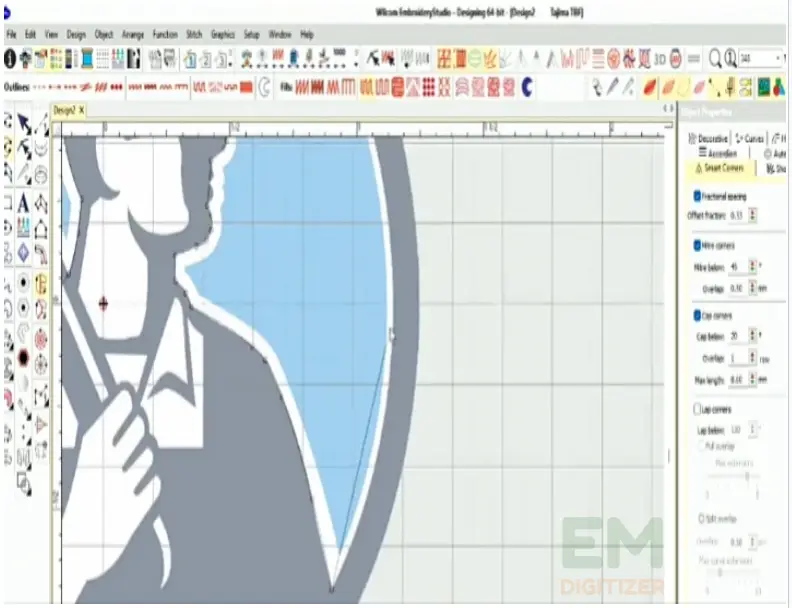
Start creating an outline around the blue guy.
Pick up the fill stitch of any color and there is no rule where to start or stop filing the design.
Add underlay in the same way in each part. If you want to learn how the underlay works, keep browsing the article.
Complete the rest of the detail
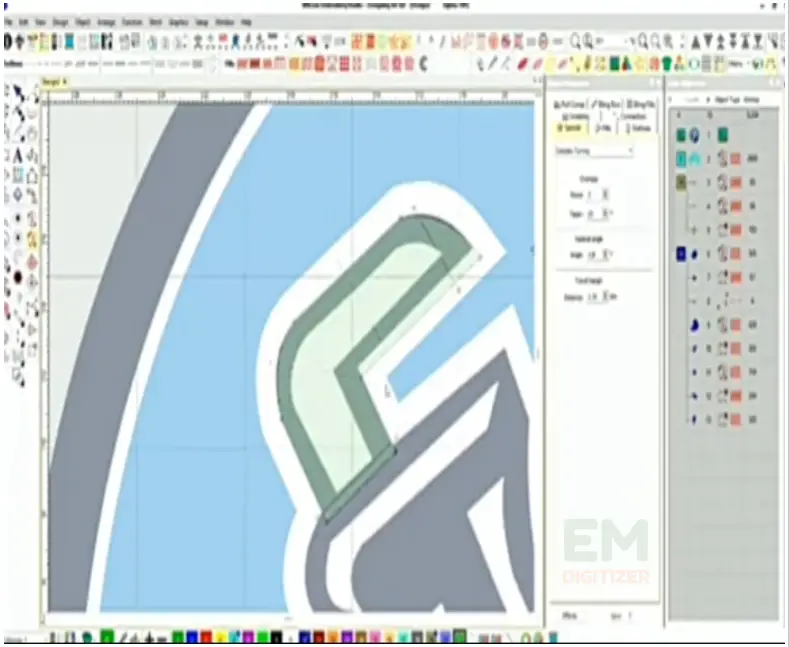
It includes breaking the wrench, a central part, into objects and adding colors to them.
I will use stand stitch to highlight it, so adding one solid color.
Double-check the underlay setting to make sure to save time while embroidering into a garment.
Step 03: Export or Save the final design into the DST file
After you are done with digitizing, it’s time to save in the dst file.
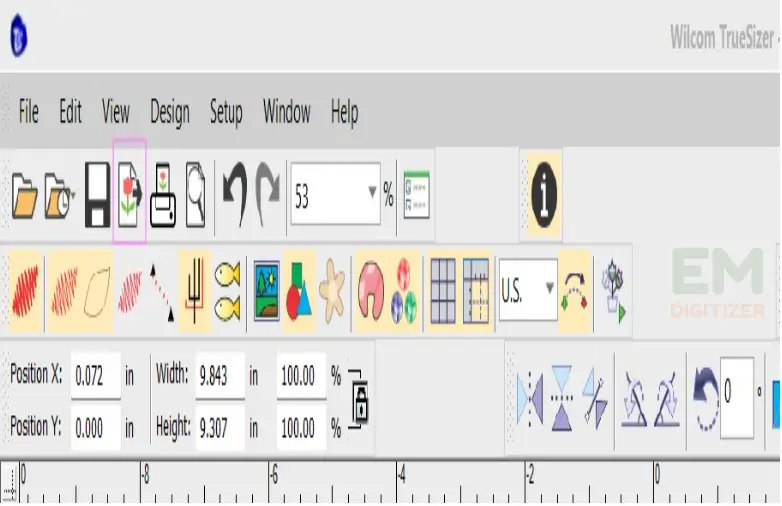
On the top left corner, Click on the “Export icon” as shown in the image.
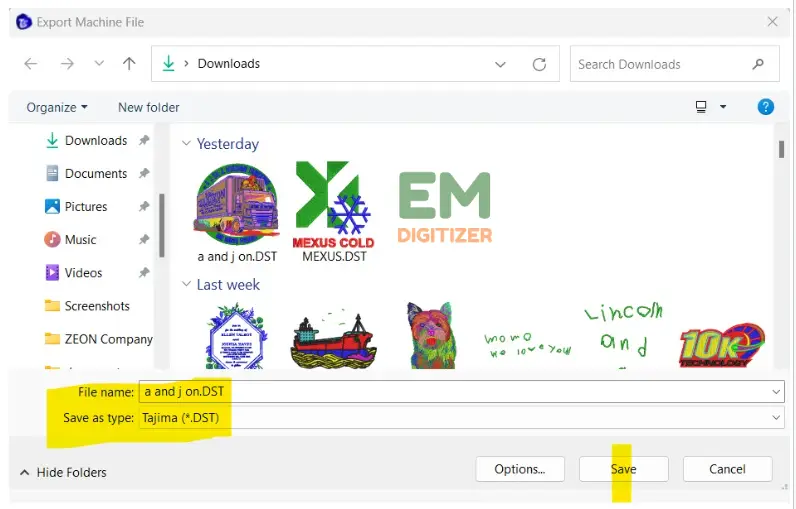
Now enter the file name and Click “Save As”, from the drop-down menu choose DST and click on Save. You can also save the file by pressing the Shift+E key from your keyboard.
This is how you can save your digitized file in a dst file which is ready to be loaded in a machine for embroidery.
Final words:
In the last stage, stitch out the sample to check how your final settings turn out with the machine.
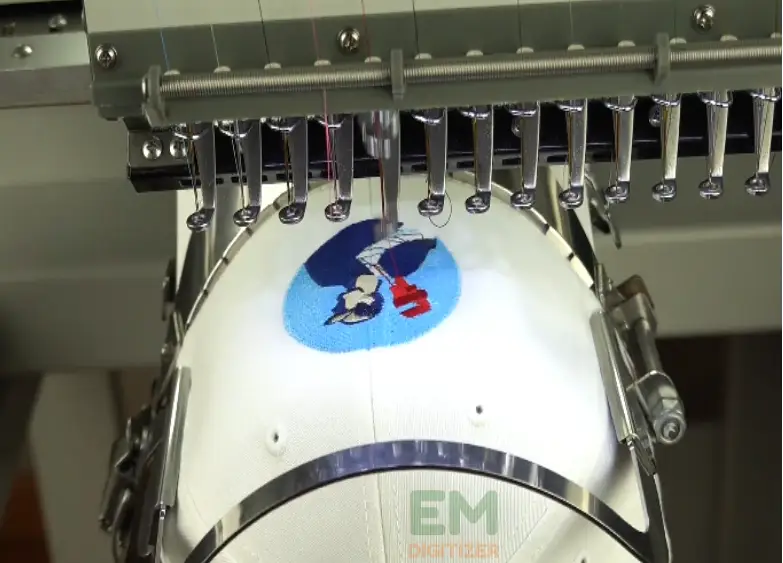
Once satisfied, go embroider your design on the intended garment just like I am embroidering it on a hat.
And that’s all about how you can turn your image into a format readable by your embroidery machine. Here is a list of common digitizing errors you must avoid to make sure your final draft looks flawless.
Can we auto-digitize the image into an embroidery file?
The answer is simply yes. But this is not something AI could do. It also requires digitizing skills. Hatch by Wilcox is somehow an affordable and best software equipped with auto digitizing features. If you have digitized your images manually, you can take advantage of auto-features to add effects to your image. However, the auto-digitizing tool is difficult to handle. You have to check each design element individually.
Here is a complete guide on How To Make A Digital File For Embroidery
Manual vs. Auto-Digitizing
Method | Process | Pros | Cons | Best For |
Manual Digitizing | Designing stitch paths manually in software. | Precise, customizable. | Time-consuming, requires skill. | Professional embroidery businesses. |
Auto-Digitizing | Software converts images into embroidery format automatically. | Quick, easier for beginners. | Lacks detail, needs manual adjustments. | Basic embroidery, hobbyists. |
So, if you are converting images into an embroidery file for your clients, learn the actual digitizing because there is no one-click method for digitizing.
Willing to do digitizing by yourself, read the best digitizer skills from this tutorial.
Hire digitizer:
If you are still struggling with a poor-quality design or want to edit an old design file, you can hire a professional digitizer who knows how to keep the sequence in your design.
Emdigitizer is one of those reputable digitizing companies, renowned for their expertise in digitizing any type of artwork with excellence. The maximum taken-up time for converting an image to a digitized file is 24 to 48 hours and the minimum is 6 hours. Get the quote for cost estimation for free.
Conclusion
I hope this tutorial has explained the conversion process most easily. Turning images to DST files means delving into the world of custom embroidery which is the demand of today’s clients and business owners alike. Major key points from today’s blog are image quality, format, and basics of digitizing. Now, forget the boring and old artwork and welcome this novel sort of embroidery that leads to a proficient business too.
Bonus: Recommended Software for Embroidery Digitizing
| Software | Features | Best For | Price Range |
| Wilcom EmbroideryStudio | Professional-grade, precise stitch control. | Advanced users, commercial embroidery. | High |
| Hatch by Wilcom | Auto-digitizing, manual tools. | Beginners and professionals. | Medium |
| Embird | Affordable, supports multiple formats. | Small businesses, hobbyists. | Medium |
| Ink/Stitch | Free, open-source. | Beginners, basic projects. | Free |
| Pulse DG16 | Advanced 3D stitching, complex effects. | Industrial embroidery. | High |
To create or edit DST files for embroidery, you would typically use specialized embroidery software for example Wilcom, Pulse, Sierra Embroidery Office Suite and Embrilliance embroidery software.
Although both types of graphics can be converted, conversion of vector graphics to digitized files is easier for the software than the raster. With a raster image, you need to retrace the path individually by a tracing tool that gives different results than original one.
If you have any questions leave the comments or you can visit our social channels for more updates regularly. We provide embroidery digitizing services if you need digitizing services feel free to contact us or email us.
