How To Make A Digital File For Embroidery – Complete Tutorial
Are you interested in becoming an expert at creating digital embroidery files? The development of modern technology has made the creation of digital files for embroidery simpler than ever.
This complete overview will provide all the details required to make a digital file for embroidery that will open up a world of endless possibilities for you to adorn clothing, accessories, and more with professional-grade art.
Table of Contents
Embroidery Digitizing Services
If you are looking for embroidery digitizing services, EMDigitizer is one of the best embroidery digitizing companies. Providing all types of embroidery digitizing. I recommend you try digitizing services.
Order NowGet Free QuoteOverview
A digitally produced file called a digital file for embroidery gives instructions to sew your favorite patterns the way you want. The commonly used formats of digital files for embroidery are.DST, PES, or.EXP.
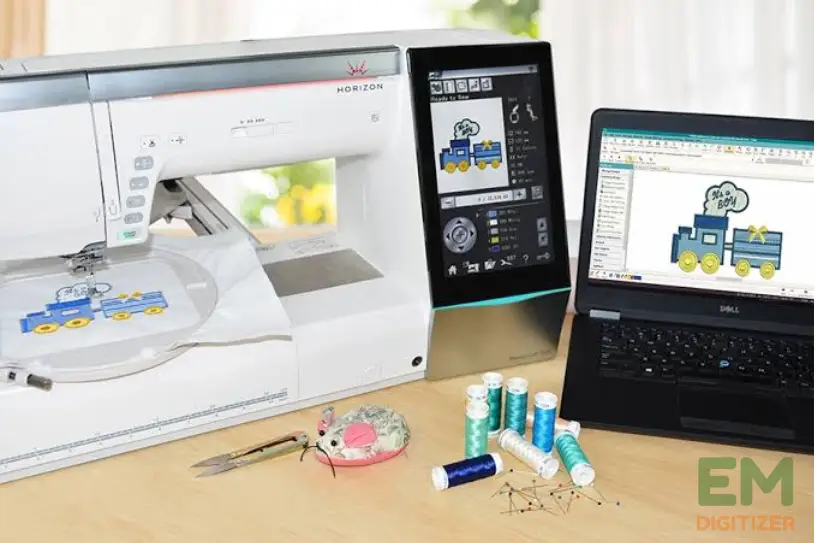
Moreover, digital files allow you to control design placement, floss colors, and stitches. The stitching process is made easier by creating a digital file for embroidery, allowing any pattern, no matter how simple or complex to be embroidered exactly.
Here is a list of various machine embroidery file formats that you should be familiar with to easily stitch out patterns.
Why Is It Necessary To Make A Digital File For Embroidery?
1- First of all, it guarantees reliable and precise remaking of complex patterns that are of high quality and will give outstanding results when stitched out.
2- Digital files allow for easy customization that enables quick adjustments and resizing of the designs per specific requirements.
3- Digital files facilitate efficient storage and enable the re-use of designs by eliminating the need for manual pattern transfer, saving time, and reducing errors.
4- Moreover digital files for embroidery promote innovation and enable designers to share their creations digitally, fostering a vibrant embroidery community.
Make Digital File For Embroidery- Complete Tutorial
To guarantee that the outcomes are of a professional caliber, let’s begin the procedure to make a digital file for embroidery.
Step 1: Pick the Best Software
Initially what you need to create a digital file for embroidery is to have a suitable application that allows embroidery file types like DST, PES, EXP, etc.
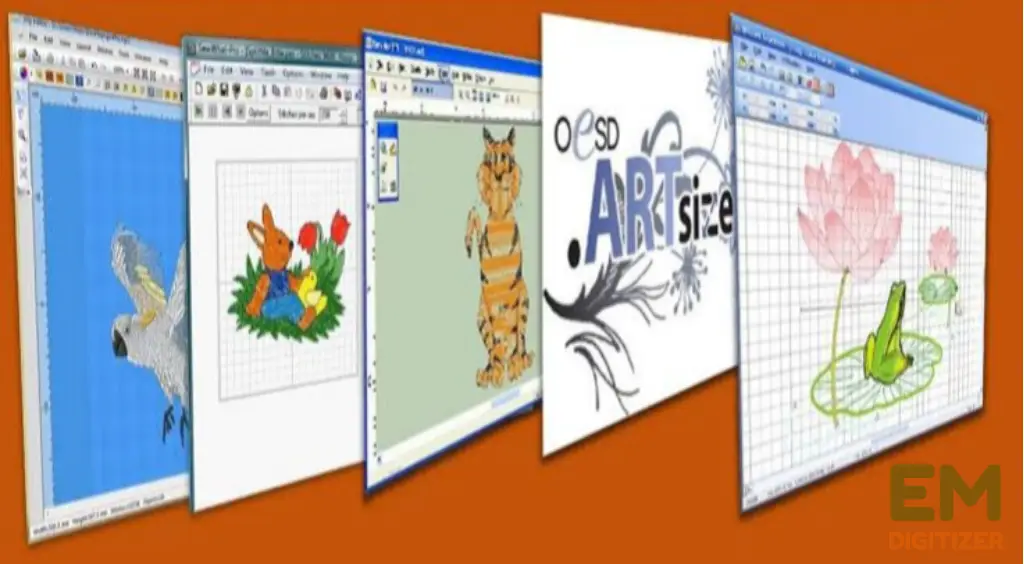
You will see a lot of choices for software but you must consider the budget and your skill before choosing the right one. So, check out the reviews of the best options that are:
Step 2: Create Or Upload The Design
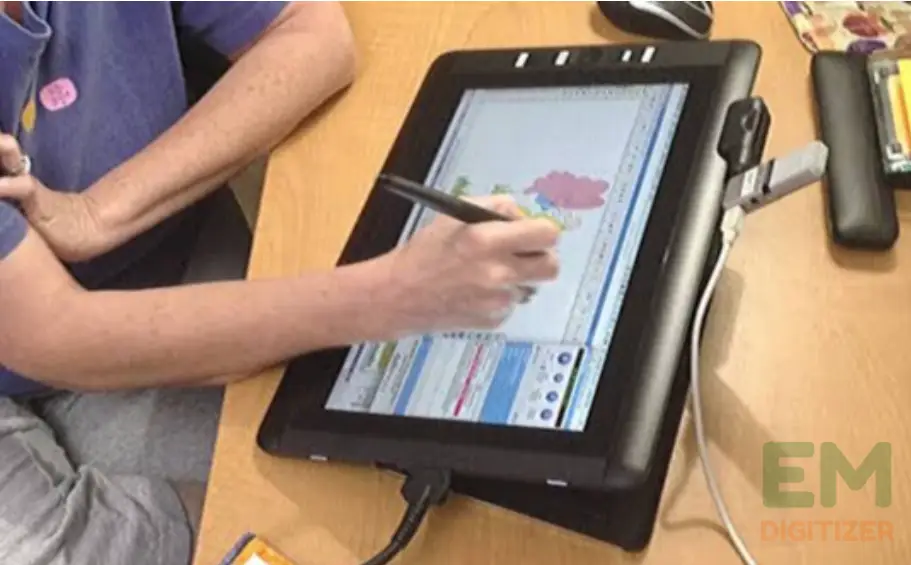
After choosing the right software, your next step is to load a previously designed file or start from scratch to create a fresh digital file for embroidery.
For creating designs, you can utilize editing tools to make the patterns, add text, and may use other automated functions.
Step 3: Digitize The Design
After uploading or creating files, the next step is to digitize the design, especially with non-embroidery files.
The majority of digitizing tools enable you to retrace the pattern. You can specify the stitch varieties, and modify other factors. (E.g, type of stitches, density, and underlay)
Check this article to find out more about how underlay stitches are used in embroidery digitizing.
Step 4: Choose Colors And Types Of Stitches
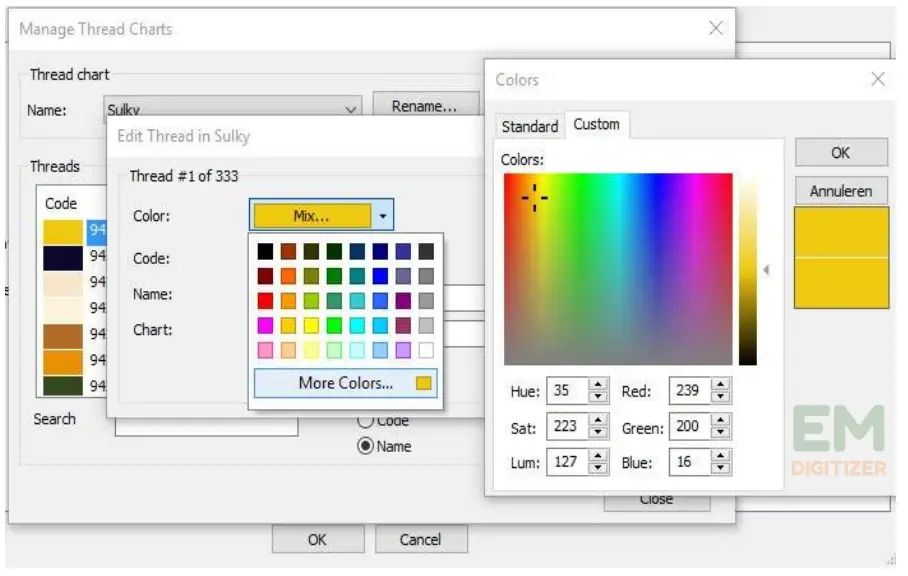
Proceeding next, choose the colors based on projects and the type of stitches you want to apply. The software often offers a color palette that goes best with your design.
Likewise, you may pick up the best thread for various portions of your layout, like running string at edges, filling for higher regions, and satin stitch for detailed parts of the design.
Step 5: Modify Sewing Features
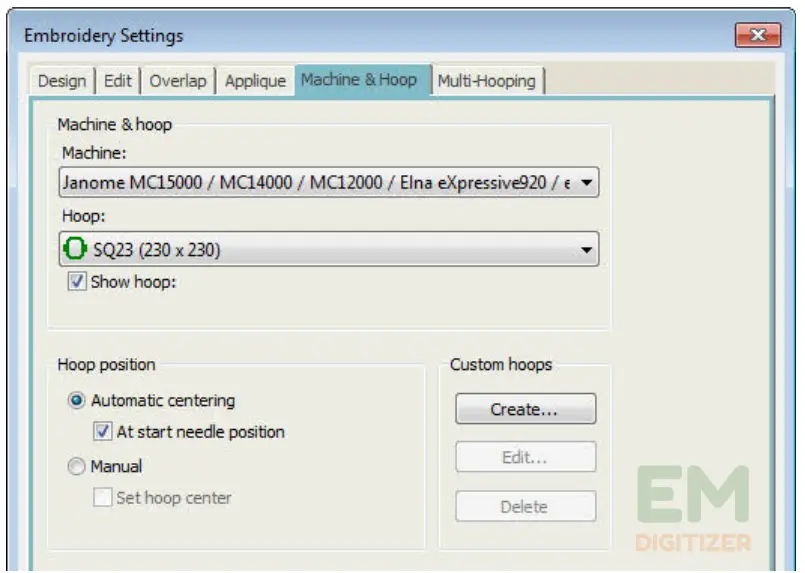
Consider crucial factors like the size of your design, its placement on the cloth, and the length of the hoop that allow the digital file for embroidery to sew your pattern.
Keep a careful eye on the shapes and pattern to ensure it matches the boundaries of the hoop size you have selected.
To reduce thread jumps and increase effectiveness, you may optionally specify the starting and ending points of the stitching.
To achieve outstanding results, read this blog to discover the causes of jump stitches and how to get rid of them.
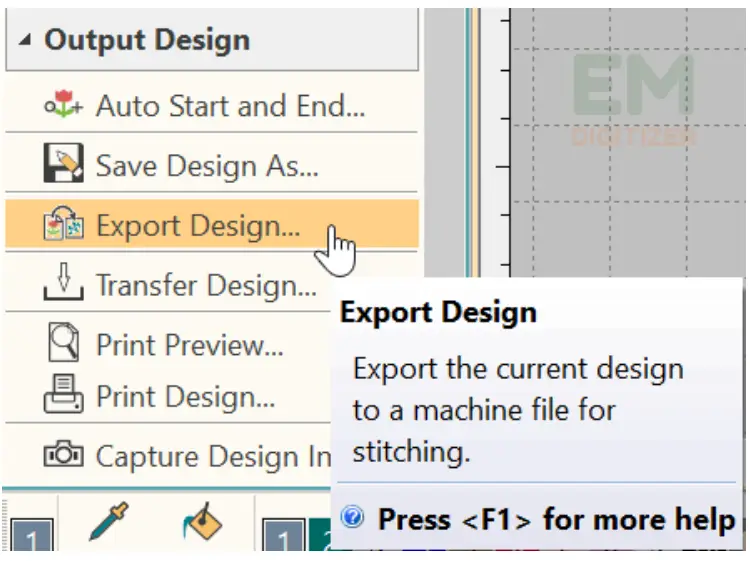
Step 6: Preview And Export
Preview the design to check whether the design needs necessary editing and how the pattern looks on the cloth after being embroidered.
Be sure the layout stands up to your expectations, and make any required revisions. Once you’re happy using it, save it as an embroidery file in the format.
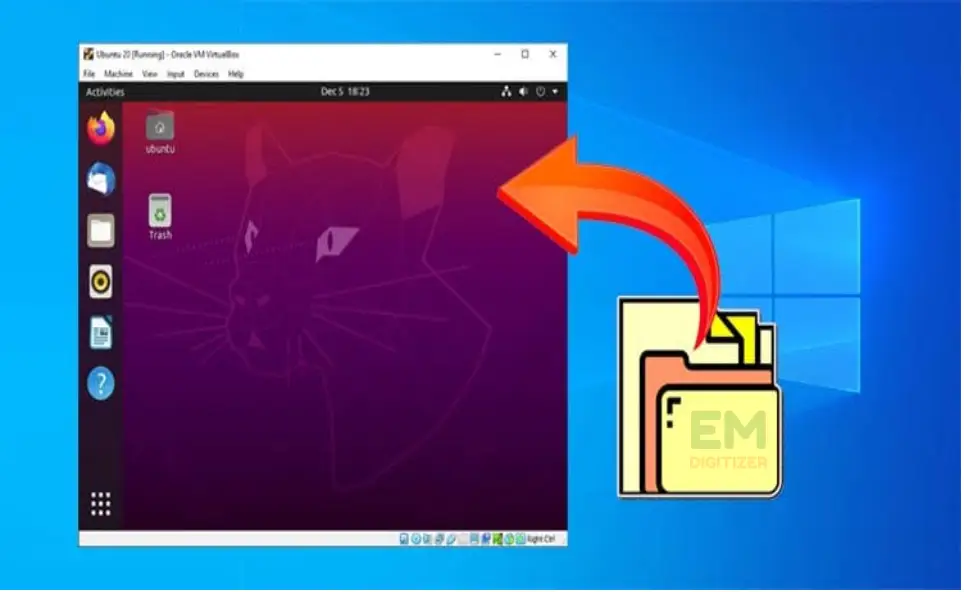
Step 7: Move The File To the Embroidery Machine
Now it’s the end phase of making a digital file for embroidery. Go and move the pattern to your machine either using a USB drive, a direct computer connection, or wirelessly.
You may find comprehensive directions for how to set up and sew patterns in the user guide that comes with your machine.
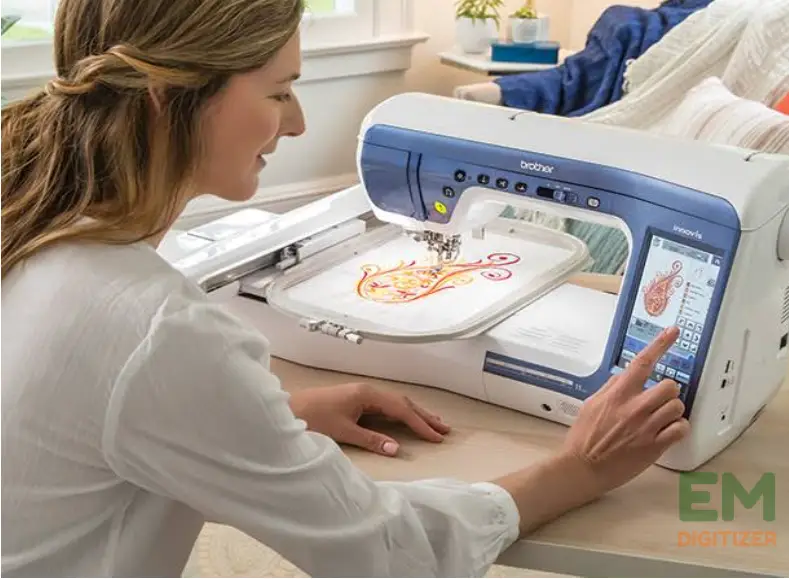
Step 8: Uploading And Using Digital Embroidery Files With Embroidery Machines
Begin stitching your designs by setting up your cloth and hoop following the guidelines. Place the cloth in the hoop after loading the file on the machine by choosing the best thread colors.
As you begin stitching, see how your pattern emerges alive onto the cloth, and keep an eye on the machine while it works to make sure everything is going as you planned.
Troubleshoot Common Issues In Digital File For Embroidery
Wait a while to learn the common problems you may encounter with digital embroidery files and the troubleshooting tips:
Thread Breaks Or Snags:
If you’re experiencing thread breaks or snags while stitching, check the tension and adjust it if necessary. Also, examine the design file for any sharp corners or overlapping stitches that might cause the thread to catch.
Skipped Stitches:
If the machine is skipping stitches, make sure the design file doesn’t have gaps or missing elements. Check the needle and ensure it’s properly inserted. Also, verify that the fabric is hooped and the tension is appropriate.
Browse this link for the reasons and solutions for skipping stitches if you wish to stop them.
Misaligned Designs:
Verify that the hooping is secure and the cloth is correctly centered if the pattern is not aligning properly. Also, ensure that alignment points present in the design file are in the proper positions.
Thread Tangles or bird Nesting:
Bird nesting occurs during the tangling of the upper thread. Ensure the bobbin is wounded and inserted, and that the upper thread tension is set correctly.
This blog will provide the reasons for birds nesting in embroidery machines so you may avert them.
Design Distortion:
If the embroidered design appears distorted or out of proportion, double-check the design file’s dimensions and resize it accordingly.
Additionally, make sure the design is compatible with the machine’s maximum stitch count and hoop size.
Techniques Of Making High-Quality Digital File For Embroidery:
Must consider the below-mentioned tips and practice them to create a professional quality digital file for embroidery:
Use Good Quality Images
It is because the details are crisp and allow for better scalability. Avoid low-resolution images as they may result in blurry or pixelated images.
Ensure Stitch Density:
Adjust the stitch density based on the fabric and design complexity. Dense stitches on lightweight fabrics can cause puckering, while sparse stitches on dense fabrics may not create adequate coverage.
Carefully Choose Stitch Types:
Different stitch types (e.g., satin stitches, fill stitches, running stitches) may be used in an embroidery design so choose carefully that fits your project.
For example, satin stitches may work better for text, while fill stitches can be ideal for larger areas. Incorrect stitch types may result in a design that doesn’t look as intended.
Optimize Color Palettes:
Select a color palette that works well for embroidery. Consider the availability of thread colors in your embroidery machine or consult color charts provided by thread manufacturers for reference.
Check For Errors:
Check the pattern carefully for any flaws and errors before sewing it out and make sure that every component is digitized perfectly and complies suitably. Additionally, make sure there aren’t any loose threads, missing stitches, or unneeded color changes.
Test On Scrap Fabric:
Perform an initial test on a scrap piece before stitching the actual design to spot any problems and make any modifications to the design.
Maintain And organized Files:
Keep your digital embroidery files organized and properly labeled. This makes it easier to locate and make edits in the future. Regularly save backup copies of your design files to prevent any potential loss.
This guide will demonstrate how to organize embroidery design files so that they are later accessible from your PC.
Conclusion
By following the steps and tips provided in this blog, you can create your digital file for embroidery that yields high-quality results. Make a habit of experimenting, and always strive to improve designs continuously.
These factors to consider include:
- The design dimensions
- Stitch count
- Thread colors
- Stitch types
- Special instructions or requirements.
The file types.DST, EMB, PES, EXP, and . XXX are the most often used for needlework. It’s important to verify compliance with the device or program because different machines support different file types.
You may either use automated converting features to transform the pictures or use digitizing programs that enable you to manually reproduce the pattern using stitches.
A digital embroidery file can be modified. The stitch kinds, densities, colors, and other design components may all be changed using the software. However, depending on the program and how intricate the design is, modifying capabilities may differ.
If you have any questions leave the comments or you can visit our social channels for more updates regularly. We provide embroidery digitizing services if you need digitizing services feel free to contact us or email us.
