Easily Make A Tie Dye Patterns Heart – Complete Tutorial
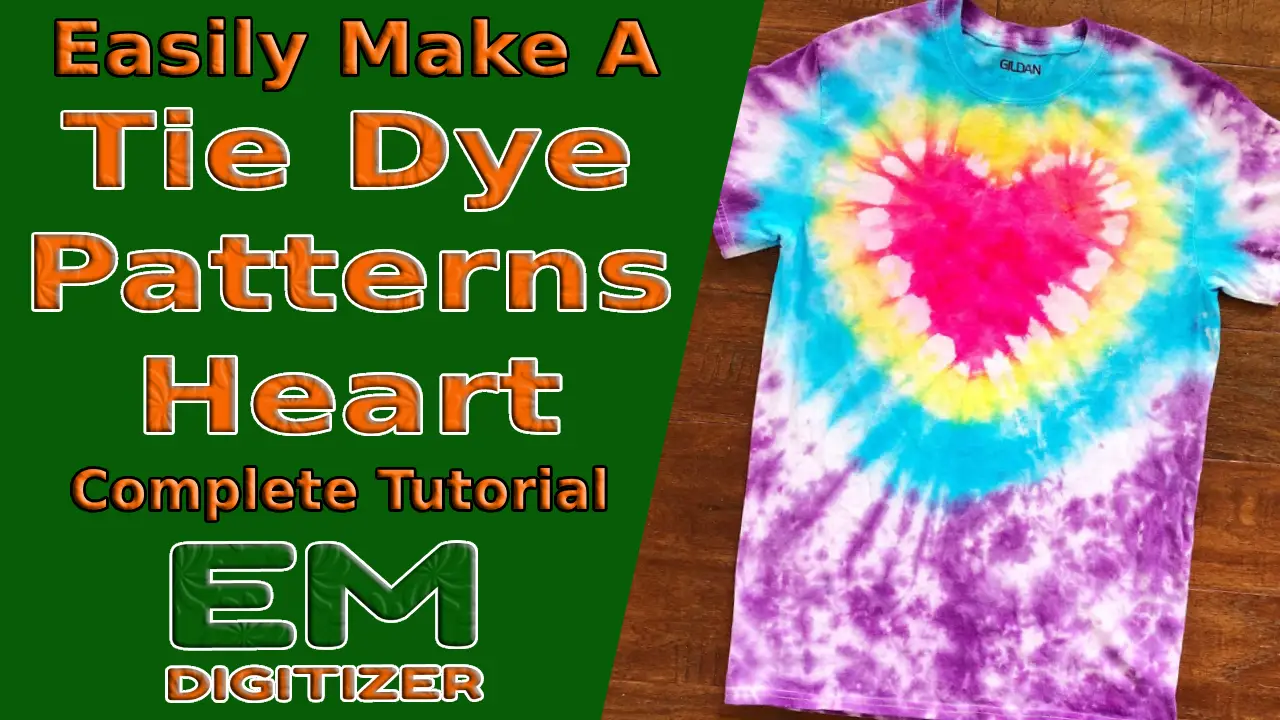
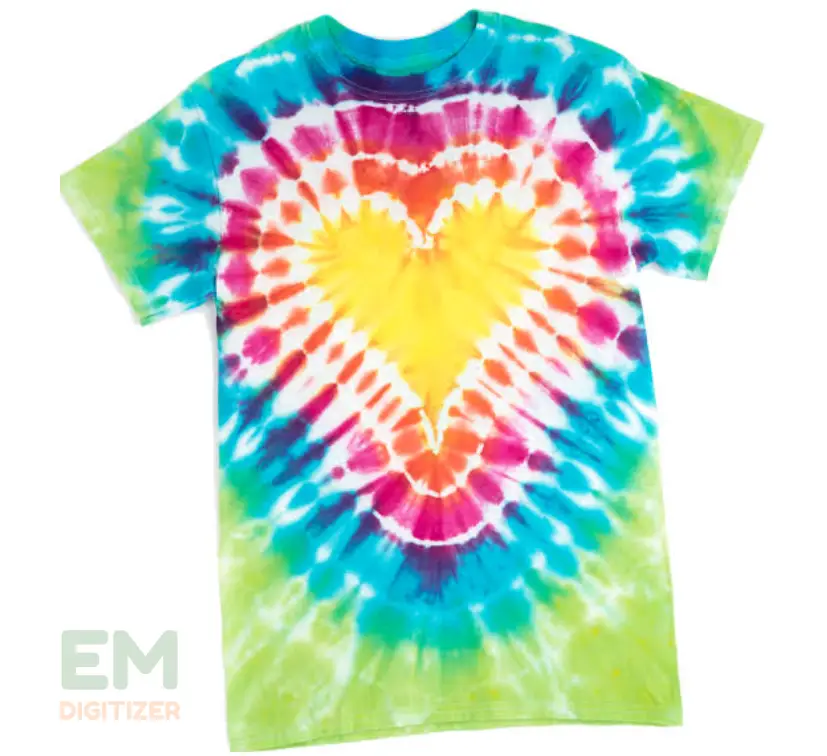
For many years, tie-dying has been a popular craft method. Creating colorful tie-dye heart patterns is a great way to showcase your creative side.
This guide will lead you through the easy steps of making unique and attractive tie dye patterns heart on outfits. It can be used for colorful apparel or as a centerpiece for interior design.
Table of Contents
Embroidery Digitizing Services
If you are looking for embroidery digitizing services, EMDigitizer is one of the best embroidery digitizing companies. Providing all types of embroidery digitizing Services. I recommend you try digitizing services.
Order NowGet Free QuoteIntroduction
A tie dye patterns heart design is made by first forming a balanced heart form onto a scrap material with a variety of folds and binding methods.
Make use of different dye colors on fabric to create a striking and distinctive design.
For producing an attractive result, this specific design is important because it gives the tie-dying method an intimate, human feel.
The heart stands for creativity, affection, and unique expression. People can add some sort of purpose and special relation to their clothes by creating tie dye patterns heart designs over them.
Every creation becomes a wearable piece that conveys the artist’s skills and feelings. It is like turning a plain cloth into a blank canvas for expressing oneself.
It is not about just making a tie dye patterns heart; it’s an on-trend work of art with a story to tell. This makes the creation process more pleasurable and mentally satisfying for people.
A Step By Step Procedure To Make Tie Dye Patterns Heart:
With this easy-to-follow tutorial, you can generate specific and captivating tie dye heart patterns regardless of your experience level with crafts.
Keep in mind that every step must be done with accuracy to create lively colorful tie dye heart patterns.
Materials Needed:
- White cotton material or t-shirt
- Clothing dye in the shades you’ve selected
- The rubber bands
- Gloves
- Plastic Bottles
- Tablecloths or trash bags
- Vinyl wrapper bags
Step 1: First, Set Up Your Work Area
For creating tie dye patterns heart on a shirt, protect the working surface first with trash bags or an opaque table covering to prevent dye splashes.
Now, get all of the materials and wear protective gloves to keep the hands neat all over the process.
Step 2: Get The Clothes Ready
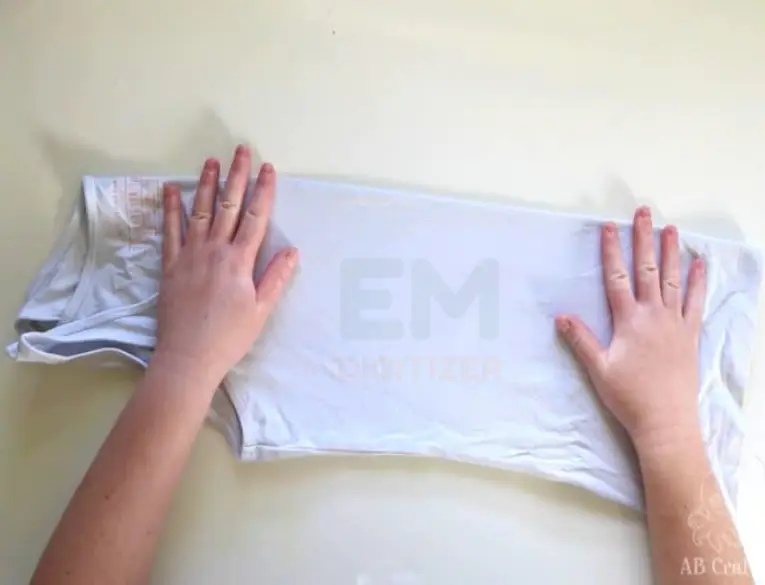
To ensure that this dye absorbs fully, clean the fabric to get rid of any solvents. Put it straight on the table when it’s dry out.
Step 3: Draw A heart Shape
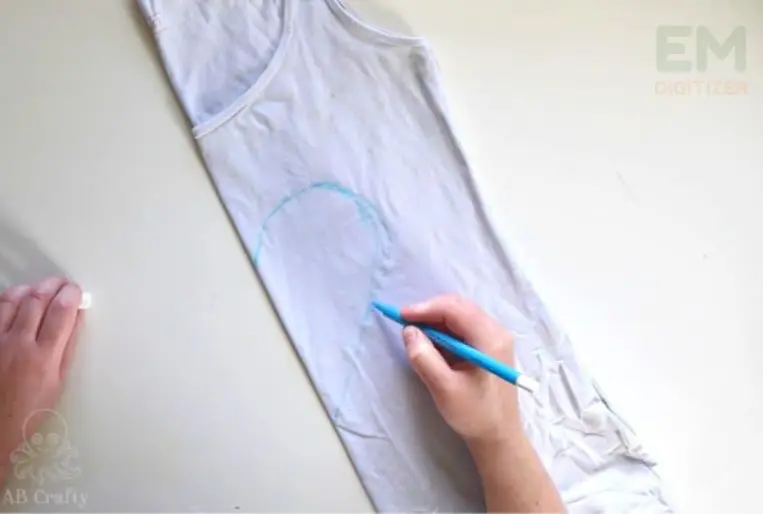
Once the cloth is folded in half upward, find its middle by folding it in half downwards. Make the bottom portion of a heart across its curled sides with a removable marker.
Once the cloth is unwrinkled, you will get a perfect heart figure. Trim across the outline.
Step 4: Attach The Rubber Bands
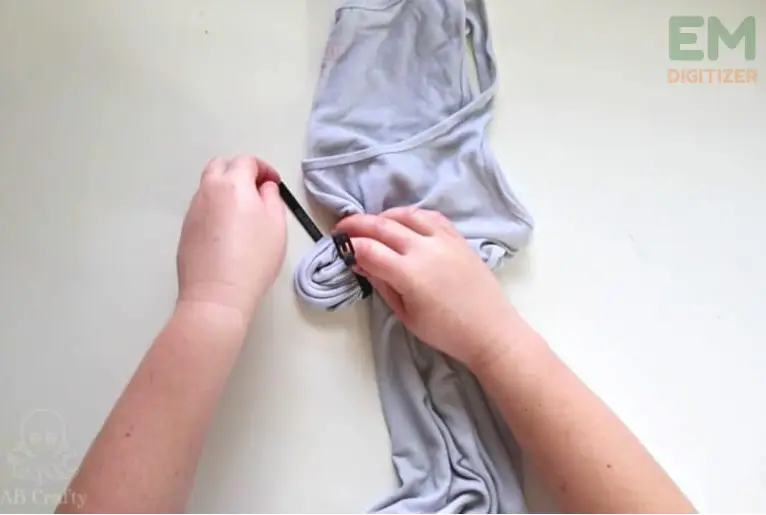
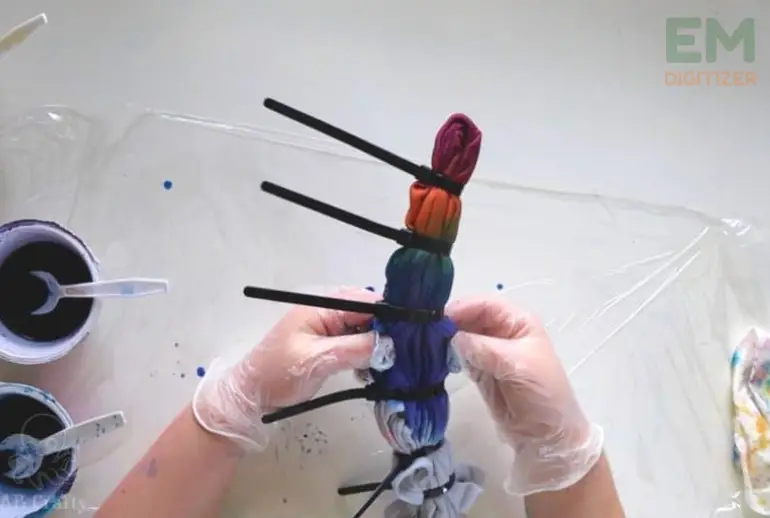
To create parts in the heart’s shape, wrap the cloth with elastic bands. Go ahead to have fun with the number of rings and their placement, as this will decide the ultimate pattern.
Step 5: Blend Shades Of Dye
As directed by the supplier’s rules, set up the fabric for dye. Select complimentary hues to create a striking and captivating effect.
Step 6: Use The Dye
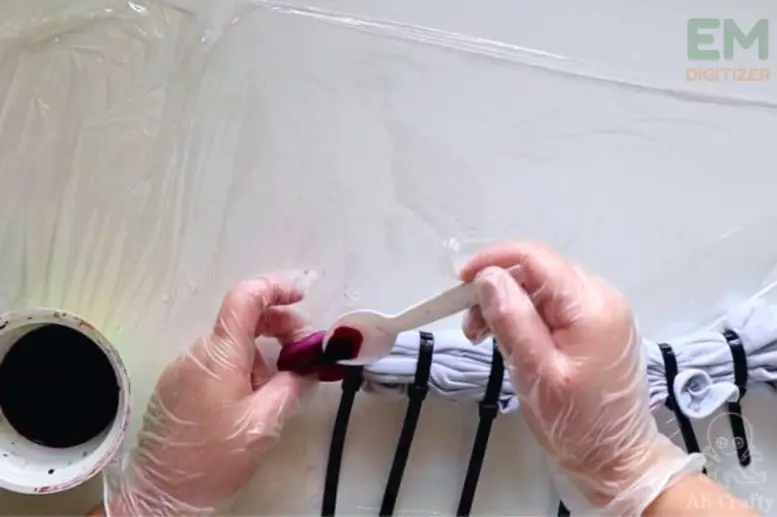
Squeezed the selected shades onto every part of the heart, being careful to fully cover the fabric. To create an exceptional and lively effect, use your creativity when placing colors.
Step 7: Put Plastic Wrap On
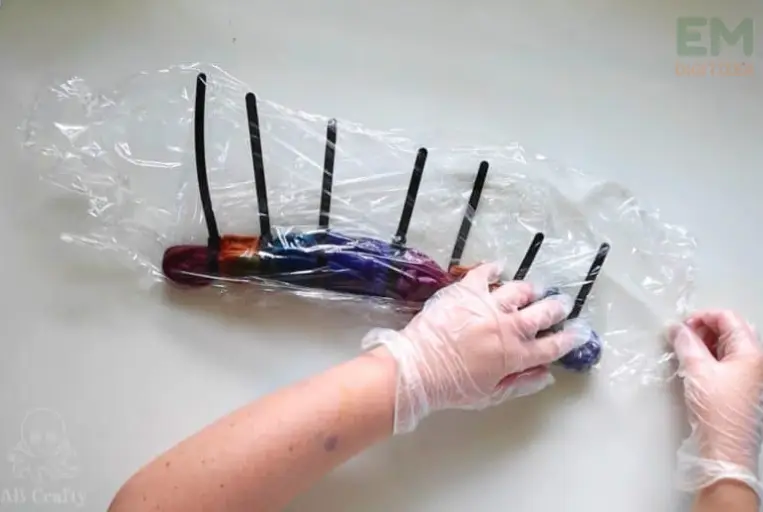
After the fabric has been dyed, gently wrap it in sealed bags to avoid the colors from leaking through. Let it sit for the amount of time that is suggested on the dye package.
Step 8: Drain And Peel
Carefully remove the fabric’s wrapping after the allotted period ends and then rinse it using water to remove any remaining dye. Rinse again and again until the water is clear.
Step 9: Cleanup And Dry
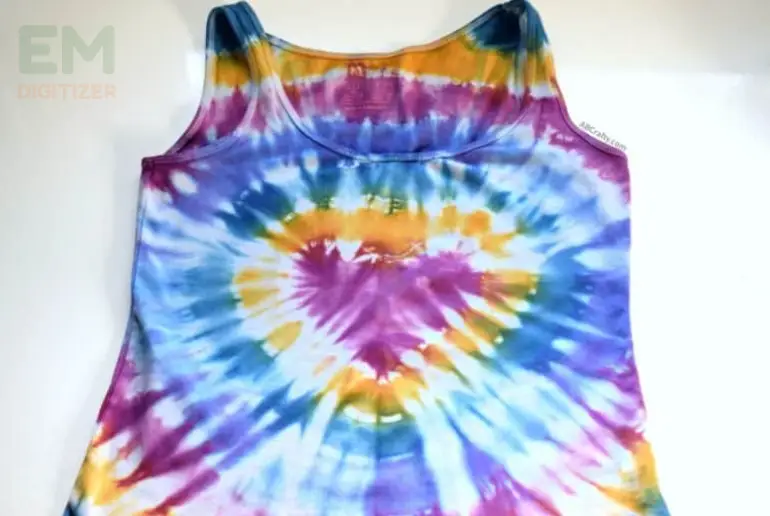
Lastly, give your tie-dye garment another wash with cold water using a light cleanser. After drying and washing, your tie dye heart pattern will show off all of its vibrant beauty!
With these wonderful tie dye heart patterns, you can now show off your ability to create art. Before following this guide, tie-dying a heart pattern looked difficult.
The outcomes were beyond what I had hoped for, and the clear instructions fostered confidence in me to try out more complex patterns.
Tips For Making Tie Dye Patterns Heart:
- To achieve the best dye penetration, start with high-end, cotton garments.
- Try a variety of color combos to produce visually spectacular outcomes. Think about using distinct or contrasting hues to create an alive impression.
- To achieve organized sections, firmly fasten rubber bands; however, avoid overbinding as this may hinder the passage of dye.
- Use your imagination when implementing dye applications.
- To get a variety of effects inside the heart shape, experiment with various approaches like dripping, spilling, or brushing.
- Overlay colors and allow each layer to dry completely before adding the next can help create depth. A deeper and more complex tie-dye heart may arise from doing this.
- To guarantee consistency in the heart shape, fold slowly. The asymmetrical and visually pleasing pattern is improved by perfect folding.
Troubleshooting Tie Dye Heart Patterns:
You can improve the effectiveness and originality of your tie-dye heart patterns. Try heading these suggestions to prevent any potential flaws.
Unequal Dye Intake: Verify that the dye has been absorbed into the material equally. Look for any wrinkles or folds that could prevent the color from penetrating.
Color bleeds: Take care to prevent any possible flow when using several colors. When applying new colors, give them time to set and think about dividing the colors with a rigid barrier in its place.
Rubber bands that are too tight: They shouldn’t be tightly wound so that the fabric bunches severely. It could result in an unequal dye dispersion.
Using excessive dye: It can cause colors to mix into one another. Use the dye carefully, keeping in mind that you can always add extra if necessary.
Washing Problems: To get rid of extra dye, carefully and thoroughly wash the colored cloth. The colors can leak or disappear rapidly if they are not cleaned properly.
Conclusion
Well done! You’ve made a gorgeous tie dye heart pattern. It is an excellent way to bring some color into your daily routine. This DIY project can be worn or used as an ornament.
To bring out your creative tie-dye potential, make an effort with various colors and types of clothing. Enjoy yourself and your unique tie-dye creation!
Your closet receives a unique touch from the tie dye heart pattern, which is an emblem of affection and innovation.
Tie-dyed items should be washed with cold water using a light detergent. Avoid spending too much time in the sun as it can gradually reduce colors. Maintaining the vibrant color of the tie-dye heart patterns can be achieved by sticking to care guidelines.
For tie dye patterns heart technique, think about using a clear barrier among the color layers and give each one time to settle until adding the next. It helps prevent accidental bleeding as a result.
Six to eight hours is usually the ideal setting duration. You can make adjustments, according to the dye’s guidelines and the level of color you need.
Ensure the cloth has absorbed the dye uniformly, and look for any wrinkles or folds that could prevent the color from penetrating. Take your time when folding to achieve harmony.
Without a doubt! Fold in an inventive manner. For a unique flavor, try your hand at spiral motifs, origami folds, or even irregular designs.
If you have any questions leave the comments or you can visit our social channels for more updates regularly. We provide embroidery digitizing services if you need digitizing services feel free to contact us or email us.
