How To Remove Screen Printing From Fabric
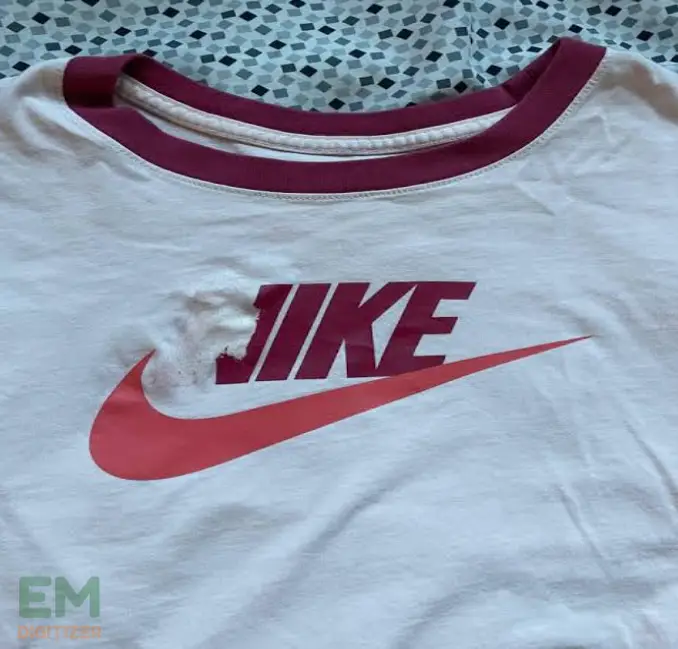
Printing is a good way to make designs that are striking and durable. Anyway, trends evolve, and you might occasionally want to take that screen print off of your favorite clothing.
Don’t worry. You can always start over with a new fabric design and say goodbye to the old one. We’ll bring you to efficient techniques for removing screen printing from fabric in the following post.
If you are looking for embroidery digitizing services, EMDigitizer is one of the best embroidery digitizing companies. Providing all types of embroidery digitizing Services. I recommend you try digitizing services.
Order NowGet Free QuoteTable of Contents
Overview
Until I came across the cleanup techniques, I had no idea how to remove screen printing on a certain cloth. So, heat turned into my go-to secret tool; it removed prints I no longer needed on my stuff.
Screen prints could discolor, rupture, or just go out of fashion gradually, which makes people want new canvases.
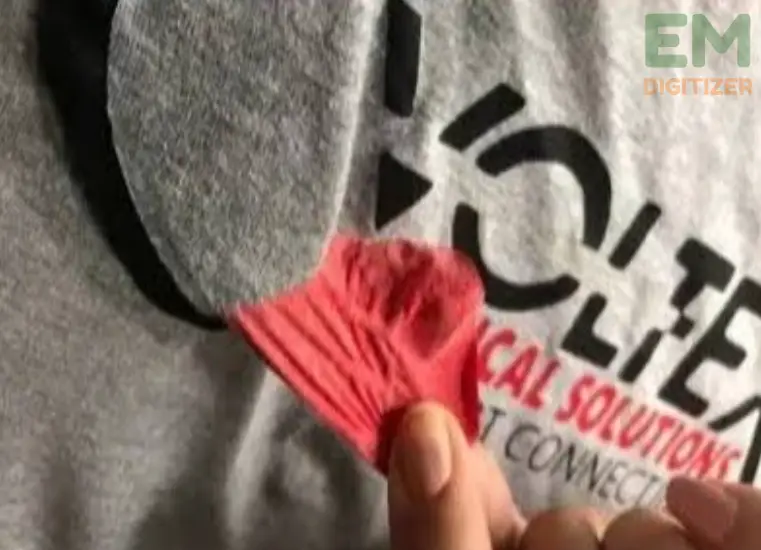
People may revive their clothes and retain their imaginations by learning how to remove screen printing. It’s an important skill that keeps fabrics from going out of form and fosters ongoing creativity.
Despite the initial doubts I had, I tried quite effective techniques for removal. So, I’ll go into more detail about a few satisfying remedies.
If you want to get knowledge about Embroidery Vs Screen Printing, then you can visit: Embroidery Vs Screen Printing
A Tutorial On How To Remove Screen Printing:
To begin the process of removal, you have to gather the necessary supplies and tools. Here’s the full checklist to make sure we’re ready:
- Heat Gun or iron
- Chemical Solutions (Acetone, rubbing alcohol, and store-bought printing removing agents)
- Soft Clothes or Sponges
- Protective gloves
- Protective Eyewear
- Old Newspapers or Cardboard
- Masking Tape
- Fabrics for Testing
- Mild Detergent
- Soft Bristle Brush
- Lemon or Baking Soda (for DIY Methods)
- Plastic Wrap
How To Remove Screen Printing Using Heat For Printing Removal:
- Check you’ve got everything you need to get rid of unneeded printed content.
- Use cardboard to cover the printed surface from heat and possible ink stains.
- Try it first on a small, separate area of the cloth to make sure that this technique works well.
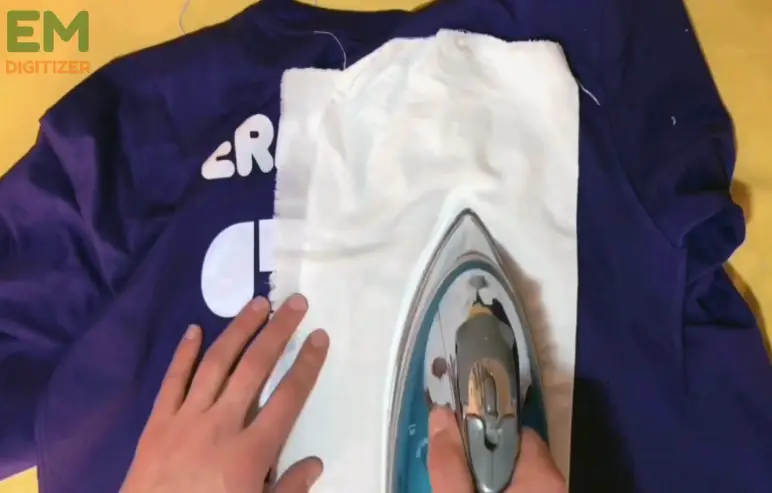
- If you plan to use an iron, make sure its temperature is right for your garment. Set the heat gun at a low to moderate temperature.
- Put a lightweight fabric onto the undesirable prints as a barrier between the heating medium and the cloth.
- Rotate the heat gun in a clockwise direction over the chosen material. Take care not to burn or scorch the cloth.
- Bring up the cloth to see if the ink has gotten softer, which will make it easier to get out prints.
- After finishing, gently remove the screen printing with a damp towel. Continue doing this till the print is eliminated.
- If there’s still ink on the material, wash it with water or a mild cleanser. When cleaning, make sure that it is completely dry.
Here is a complete guide on How To Select The Best Fabric For Embroidery Digitizing
Safety Precautions And Tips:
- Carry out the heat procedure in a location with good ventilation to dissipate fumes.
- Put on safety gloves and eyewear to guard yourself from heat spills.
- To prevent fabric abrasion, do not apply too much heat to one area.
- Be careful when applying heat on polyester garments as it can cause them to collapse or warp.
Use Specialized Solvents For Screen Print Removal On Fabrics:
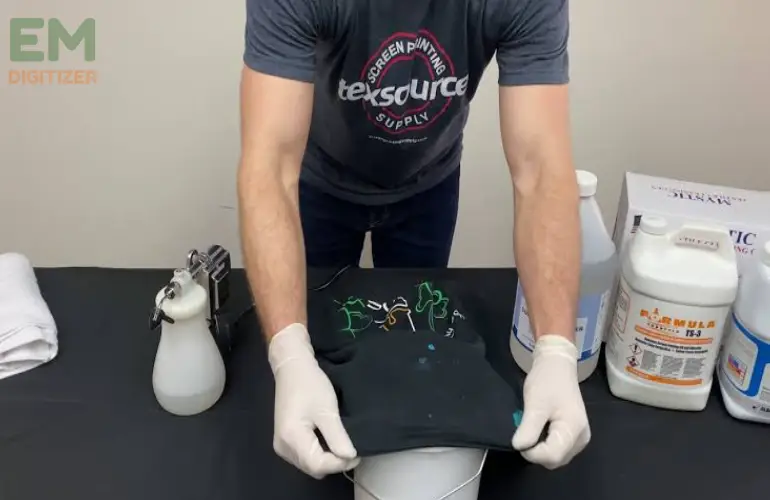
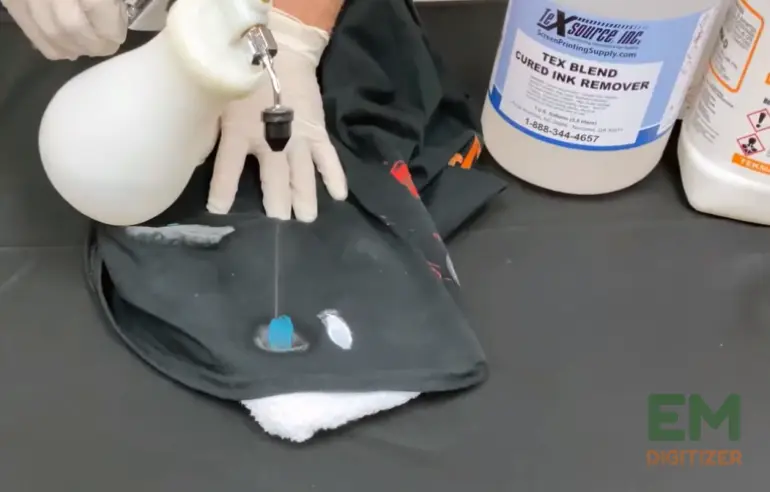
To facilitate the removal of printing from the cloth fibers, these chemicals are made to dissolve the ink bonds. The following products are suggested:
1. Acetone:
It is well-known for its efficiency and can melt a wide variety of inks. But be careful especially when handling delicate materials.
2. Rubbing Alcohol (Isopropyl):
A gentle choice, right for clothes that might be vulnerable to more potent chemicals. It’s widely accessible and often operates well.
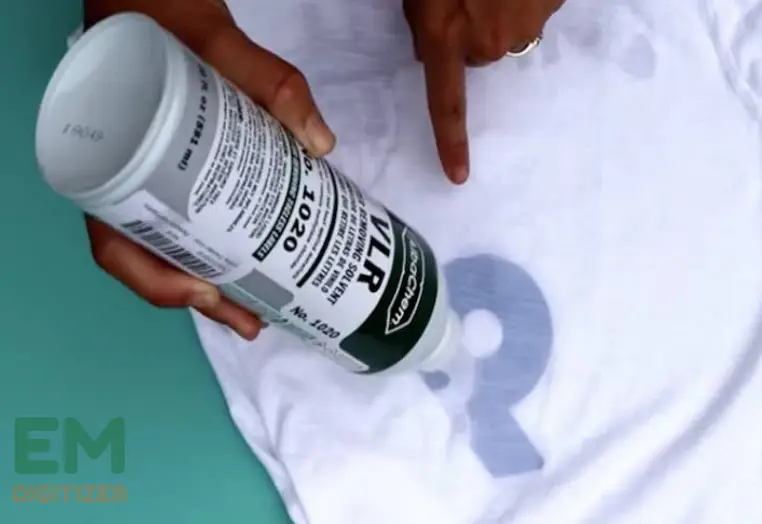
3. Commercial Screen Print Remover:
Select a product designed especially to remove screen prints. For the greatest impact, adhere to the manufacturer’s guidelines.
Let’s begin to explore how to remove screen printing using the above chemicals:
Step 1. Dampen a soft cloth or sponge with the chosen solvent.
Step 2. Wet a piece of cloth with the solvent first.
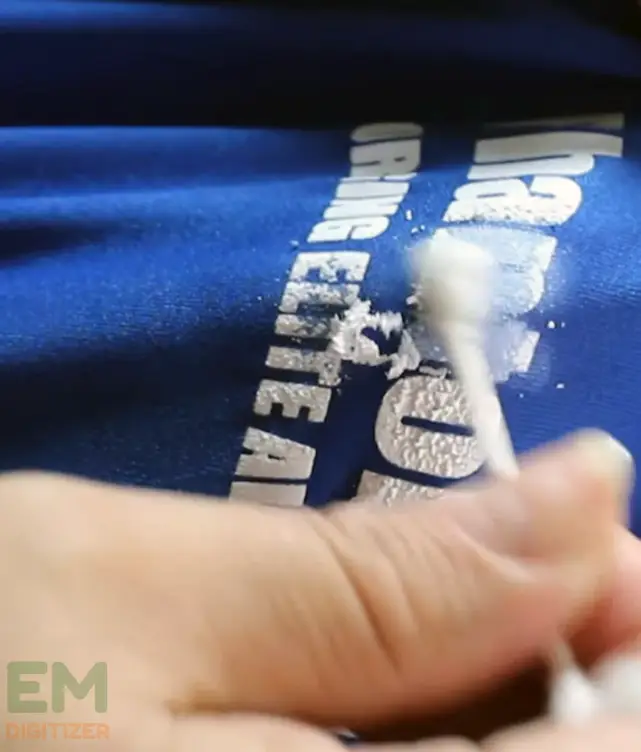
Step 3: Now gently scrub the printed area with a sponge dipped in alcohol. Try not to press it too much to avoid fabric damage.
Step 4: Give the solution some time until it fully dissolves the ink. It will degrade the bound volumes.
Step 4. Use a clean cloth to wipe away the dissolved ink. Repeat the process until the print is fully removed.
Step 5. Use water and a delicate detergent to wash the fabric if there is any stain left. Make sure the material is totally dry before handling or cleaning.
This method makes it easy to remove screen printing, as long as you follow the instructions and heed the warnings.
If you want to get knowledge about DTG Vs Screen Printing, then you can visit: DTG Vs Screen Printing
How To Remove Screen Printing Using Natural And Household Items:
Can you believe how simple it is to use common items from the store to get rid of printing? This approach is both affordable and exciting. Strive to use everyday products:
Lemon
Slice a lemon, then gently massage the screen-printed region with it. Lemon acid content aids in the ink’s dissolution.
Baking Soda
Stir the baking soda and water together to form a paste. Using a gentle brush, put the mixture on the mark and wipe softly.
Vinegar
Gently massage the screen print with a cloth dipped in white vinegar. Ink dissolves more easily due to the vinegar’s properties.
Other Easily Available Products Include:
Conditioner
Directly mist printing with conditioner, and then allow it to set for some time. Now remove the ink using a clean piece of cloth.
Acetone-based nail polish remover
Use a little bit of acetone on a piece of cloth to scrub the print. Be careful particularly when handling fragile stuff.
Instructions To Be Followed:
Step 1. Depending on what is available and how sensitive the fabric is, choose an organic or manmade material. A patch test should be conducted initially on a scrap.
Step 2. Secondly, make sure the cloth is cleaned and dry before commencing the cleaning procedure.
Step 3. According to the kind of clothes you have, there are a lot of possibilities. Try using a baking soda solution or cloth dipped in acetic acid.
Other choices include applying lemon directly to the colored area or utilizing nail paint remover.
Step 4. The printed area can be gently scrubbed or wiped with a damp towel or brush. Take care not to rip the cloth during this procedure.
Step 5: Allow the home or organic solution to get inside and dissipate the ink by letting it stay on the surface for a few minutes.
Step 6. Remove the ink by wiping it with a fresh cloth. Till the print is completely gone, keep going through this manner.
Some of the possible restrictions are:
Fabric Awareness
Certain organic remedies might not work with every type of fabric. For less abrasion, try on a tiny part first.
Quality Variation
The kind of ink utilized with the screen print can affect how efficient the above everyday products are.
Repeated Exposure
To fully erase the persistent designs, this process might need multiple steps.
Further guidelines for Successfully Removing Screen Prints:
Learning how to remove screen printing requires not only sticking to the primary techniques but also implementing a few extra suggestions.
This is how to improve the screen print-removing process:
It Takes Time
Give the removal method enough time to finish its part. Partial ink removal could result from speeding the process.
Pre-emptive Action Stains
Before setting up the elimination procedure, treat beforehand the stained part of the screen print that has led to discoloration.
Apply a Gentle Hand
To keep the fibers from being harmed, use light pressure when cleaning.
Multiple Prints
If the fabric has several layers of printing, work on a single level at once. It helps prevent ambiguity and ensures the print has been cleaned entirely.
Use lukewarm water
Wash the cloth with faucet water to remove any leftover traces. It must be done when applying household supplies or cleaners.
Resist from Sunlight
While removing and drying the cloth, keep it out of exposure to sunlight. The ink can get set by being exposed to sunlight, making elimination harder.
Brand’s Directions
Check the manufacturer’s directions for the material and all commercial solutions you use. It helps you to ensure their fitness.
Common Mistakes To Avoid:
- Accidental fabric loss may result from failing to conduct the test on a tiny, discrete area.
- You can minimize burning by keeping your heat object circulating. Because using the iron excessively in one area causes damage.
- Fabrics respond to cleanup techniques in different ways. Think about the kind of fiber and modify your strategy correspondingly
- Irritating or acidic substances should not be used as they can harm the weave. Use towels or soft clothing instead.
- The look of the cloth may be impacted by traces left over if the printing isn’t entirely removed from the material.
Conclusion
The ultimate process of how to remove screen printing from fabrics requires care to maintain reliability and excellence. It’s more than just removing unwanted designs.
So, we can protect the true essence of our materials by selecting suitable techniques and following safety protocols.
Heat and strong chemicals can cause delicate fibers to become sensitive. Be careful when removing, use alcohol or other less harsh solvents, and modify the heating conditions accordingly.
The type of garment, ink, as well as removal technique, can all affect how many times an item is repeated. Till the printing is eliminated, be calm and go over the procedure as necessary.
It is a typical and secure practice to use heat. Simply monitor the setting, move the heat source, and shield the material from direct rays by using an extra layer of cloth. Experiment before on a small region to avoid damage.
If you have any questions leave the comments or you can visit our social channels for more updates regularly. We provide embroidery digitizing services if you need digitizing services feel free to contact us or email us.
