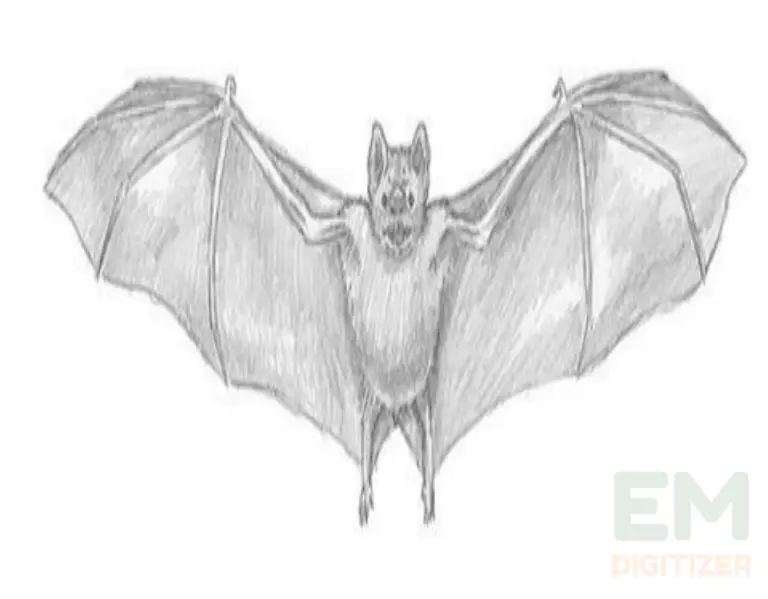
How To Draw A Bat For Halloween – Complete Tutorial
Hello everyone! Are you prepared to set out on a terrifying creative journey? Just in time for Halloween, we are about to explore the elusive art of bat sketching.
Come with me as we review the elaborate steps for how to draw a bat. It enables us to accurately capture these amazing animals on paper.
If you want to get knowledge about Top 50 Halloween Embroidery Ideas, then you can visit: Top 50 Halloween Embroidery Ideas
If you are looking for embroidery digitizing services, EMDigitizer is one of the best embroidery digitizing companies. Providing all types of embroidery digitizing Services. I recommend you try digitizing services.
Order NowGet Free QuoteTable of Contents
Why Drawing Bat:
Bats are now commonly used as renowned characters in Halloween artwork for a variety of reasons. They fit into the eerie festive mood due to their dark and secretive lifestyle.
It’s very simple to pick up how to draw a bat, which has greatly added to its success and is accessible online. Everyone from experienced to novice children can participate in the sketching.
Every year, while the craze gains momentum, this ageless craft receives novel forms, trends, and modifications.
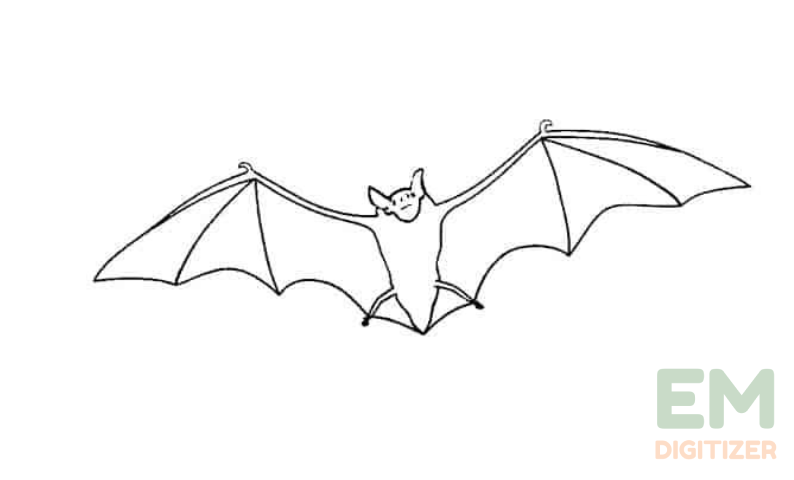
In addition, their connection to tradition and nocturnal habits make them a go-to animal for Halloween-related illustrations.
See our most recent post for additional Halloween drawing ideas.
What You’ll Need:
Let’s collect the supplies before we expand our artistic wings to learn how to draw a bat. All you require is:
- Sketchbook
- Few pencils
- Erasers
- Ink pens
- A few standard tools found in every artist’s toolbox
Looking for some adventure? Give the masterpiece you created a colorful turn by using colored pencils.
Step-by-Step On How To Draw A Bat:
By following the steps we provide for how to draw a bat, you can make an adorable bat that’s ideal for the festivities.
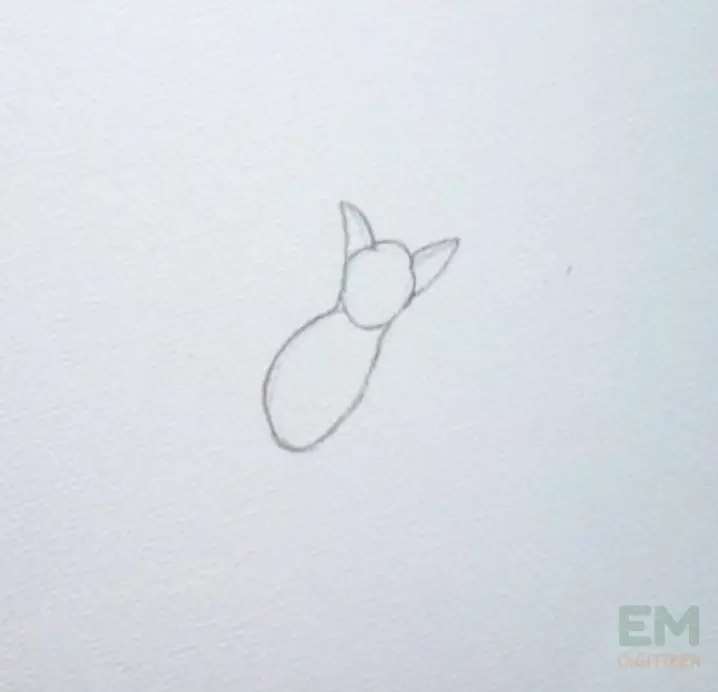
Outline The Haunting Wings And Scary Body:
Let’s get started to the point now. Start making a simple layout with an HB pen. First, make a model of the bat’s primary structures.
Keep an eye on their wings and the more pointed one gives attractiveness! It’s okay to not worry about being perfect; similar to one’s imagination, bats exist in every possible form.
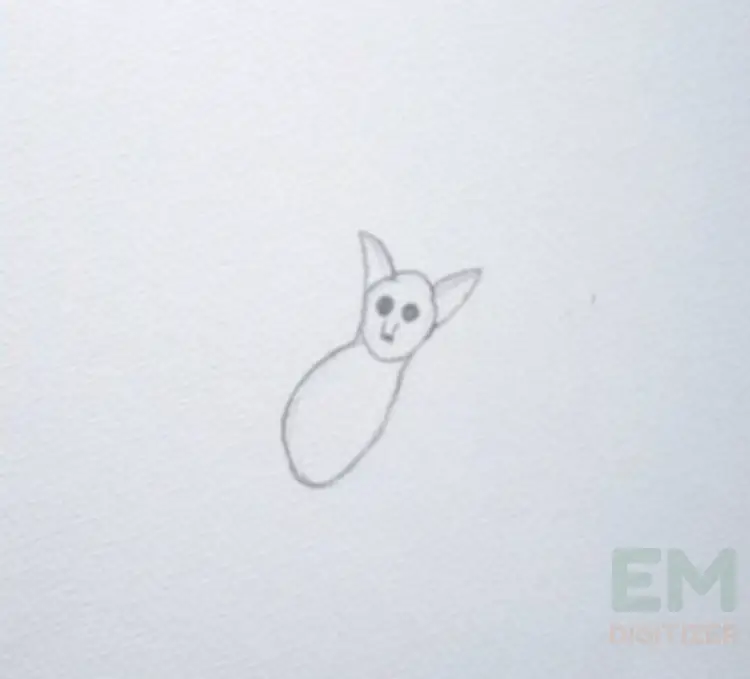
Illustrate Features:
Draw the bat’s mouth, ears, and eyes using a 2B pencil. By illustrating the facial structure, you can express the bat’s uniqueness.
Eyes:
- In the upper middle of the page, start by drawing two tiny eyes with almond shapes.
- To illustrate pupils, place one tiny circle in both eyes.
- Think of making a furious look for the bat by modifying the eye’s structure.
Ears:
- Sketch two sizable, curved ears for each side above the eyes. These ears must have an extended triangle-like shape that is characteristic of bats.
- Shades or faint lines can be added to give the ears a bit of texture.
Nose:
- Draw a tiny, triangle-shaped nose beneath the eyes. Since bats typically have small, pointed noses, keep them likewise.
- Establish a seamless transition by joining the nose and the eyes.
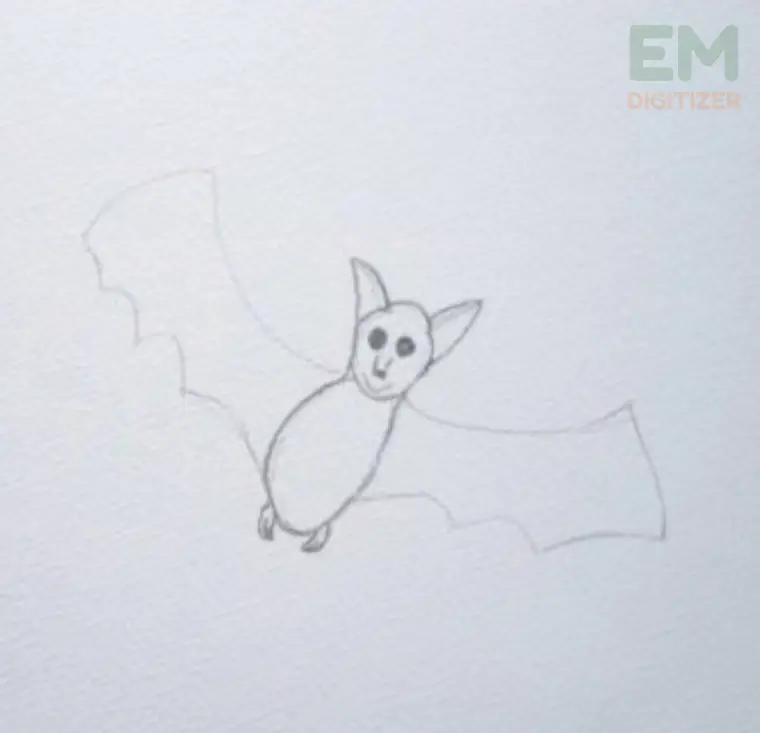
Wings:
- To indicate the location of a bat’s wing, create two broad, curved shapes that protrude from each side of the main body.
- These may resemble elongated ovals or a bit asymmetrical circles.
- Add detail to the wing structure by drawing finger-like bones.
- Make the overall shape of the bat by joining its wings and head using a thin, inclined line.
- Take care the body and wings are in symmetry. Remember bats typically have small bodies.
Tail:
Draw a short, curvy line across the oval-shaped body back to form a bat’s tail. Try to go for other elements like more spines or a different fur pattern.
To achieve a soft, furry look, take short, swift strokes. Now is the time to add some flair and personalization to the bat.
Complete The structure:
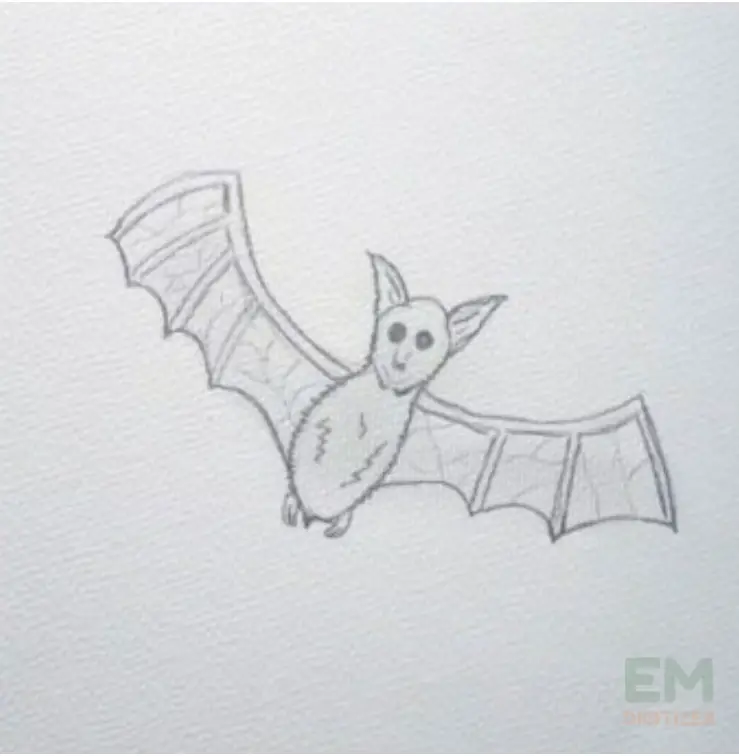
Finish the lines by going around the sketch using a bold pen. Remove the extra traces, leaving a clear, distinct bat outline.
Add Shade And Texture:
Let’s give our wing-bearing creature a different view.
- Considering that bats are nocturnal animals, select colors that are dark like gray, brown, and black tones.
- Start by Filling out the parts before using colors. Pay focus on lighting and shadows.
- Apply a lighter shade to highlight certain parts, like the wing edge and ear tips. It produces a three-dimensional illusion.
- Shading is used to give the bat a texture and realistic touch. You can visualize the bat, resting in the gloom during the starry night.
- Additionally, a 4B Pen is used to shade the facial features and wings of the bat.
Finalizing Your Creation:
We’re nearly there! Complete the final effects, smooth up any rough edges, and adjust everything. A sketch becomes exceptional because of the minute details.
Congratulations! You’ve just created a bat that is prepared to terrorize the scary Halloween night! Take a step back to appreciate your masterpiece!
This collection of Halloween embroidery ideas with a Halloween theme will make this season even more charming.
Take these bats out of the darkness and display the drawings! Take a picture and show everyone your thrilling inventions.
Let people be inspired to take part in the Halloween artwork. You can showcase it with pride in your eerie home or post it on your favorite social network.
Tips And Tricks:
Do you feel stuck? Fear not! See how to draw a bat more effectively by using these helpful hints.
- Go with simple shapes for the body’s structure and their wings
- Verify that all the elements and wings fit the bat’s body accurately.
- To keep proportion and symmetry, lightly outline the directions.
- You are free to improve further, so start with limited details.
- For variation, experiment with distinct wing orientations and body points.
- Try different shading techniques to give your work more dimension.
- Gradually smooth out the shape by erasing any unwanted strokes along the way.
- Avoid being afraid to add a unique twist that will make the sketch stand out.
Mistakes To Avoid:
Drawing is a flawed process for all of us crazy people. You can learn how to draw a bat properly by paying attention to the following factors.
The size of facial elements should not be excessively large or small for the entire body.
- First, avoid trying to include excess features; sometimes, simplification works better
- A bat’s physiology may be distorted if the wings are not properly anchored to its body.
- Incorrectly joined wings can cause anatomical distortion in a bat. So, ensure that its wings are properly connected to its body.
- To create a lifelike portrayal, make sure the face, body, and limb dimensions are correct.
- Don’t omit using light outlines; they keep the sketch balanced and symmetry.
- Try a variety of postures to keep clear of boring or repeated bat pictures.
- When highlighting, be careful; shading rashly can lead to losing the entire appeal of a sketch.
Conclusion
The key for how to draw a bat involves dividing the procedure into simpler phases. Start by drawing an oval to represent the body, then draw a head over it and the wings utilizing curvy lines.
Add distinctive features such as stubby ears, the face, and simple tail and limbs. You can improve the overall look using fur elements and optimizing the curves.
Thus, following those steps, you can create a bat that is both fascinating and can capture the essence of this nighttime creature.
Indeed! Try varying the angles and think about including features like woods or the full moon to enhance the environment.
Deepen the shadows on its body and wings. To make something look more realistic, illustrate curves and outlines.
Pay attention to gaps, especially when it comes to the wings. Don’t forget to be balanced and add all the little things.
Take note of the fur pattern and wing geometry. Inspect sample photos to grasp the different features of the bat.
If you have any questions leave the comments or you can visit our social channels for more updates regularly. We provide embroidery digitizing services if you need digitizing services feel free to contact us or email us.
