How To Embroider On Velvet – Complete Tutorial
Embroidering on velvet is a fun and creative way to add texture, color, and character to any project.
Although it can seem daunting at first, with the right supplies and guidance, anyone can learn how to embroider on velvet.
This tutorial guide will take you through all the steps you need to know to successfully embroider on velvet.
Not only is embroidery beautiful, but it’s also an incredibly relaxing pastime. With this guide, you’ll learn how to create one-of-a-kind pieces that are sure to impress others- plus, you’ll have something unique that you can be proud of!
So grab your supplies here and get ready to embark on a journey of learning how to embroider on velvet.
If you are looking for embroidery digitizing services, EMDigitizer is one of the best embroidery digitizing companies. Providing all types of embroidery digitizing Services. I recommend you try digitizing services.
Order NowGet Free QuoteTable of Contents
Overview
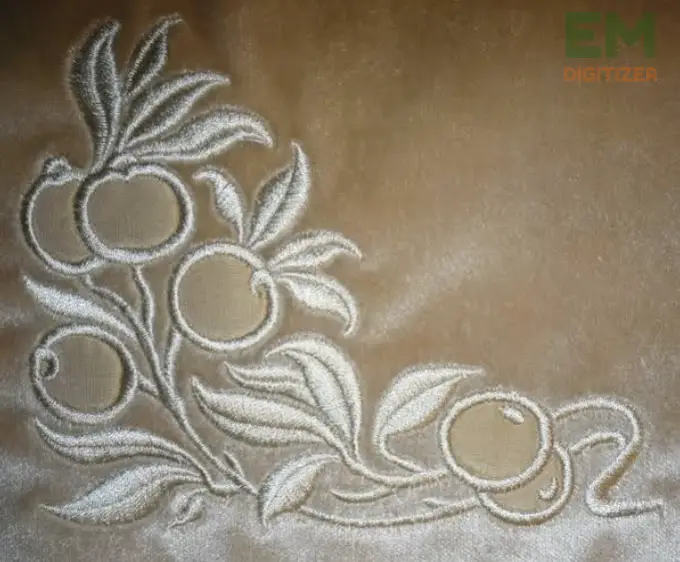
The technique to embroider on velvet has been used for centuries to create stunning pieces of art and clothing, such as tapestries, bedspreads, cushions, and formal wear.
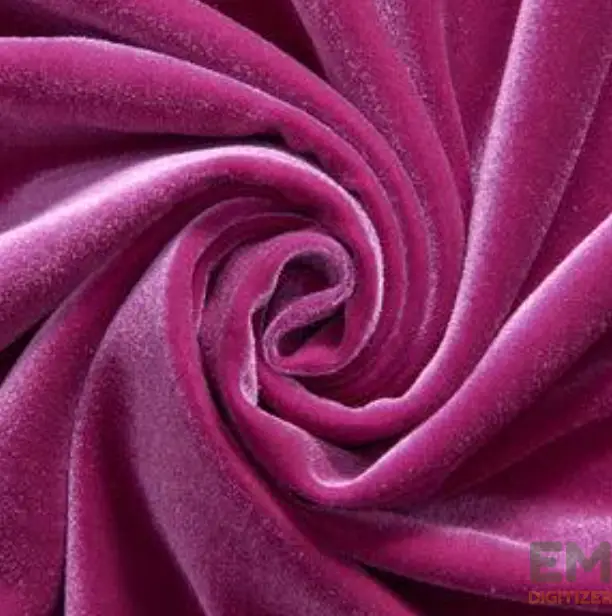
As velvet is a soft, plush fabric with a short, dense pile, it can add an extra layer of beauty and intricacy to these items, making them even more special and unique.
Being a luxurious fabric, it is often used for special occasion garments and accessories, such as dresses, blouses, scarves, and bags.
You can embroider on velvet ranging from simple and subtle to elaborate and extravagant, depending on the desired effect and the skill of the embroiderer.
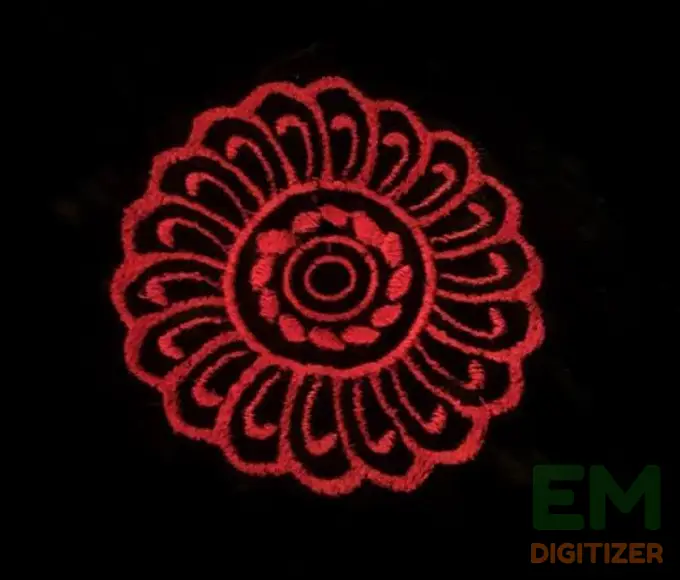
It is often used to create intricate floral embroidery patterns, delicate lace-like designs, and ornament designs.
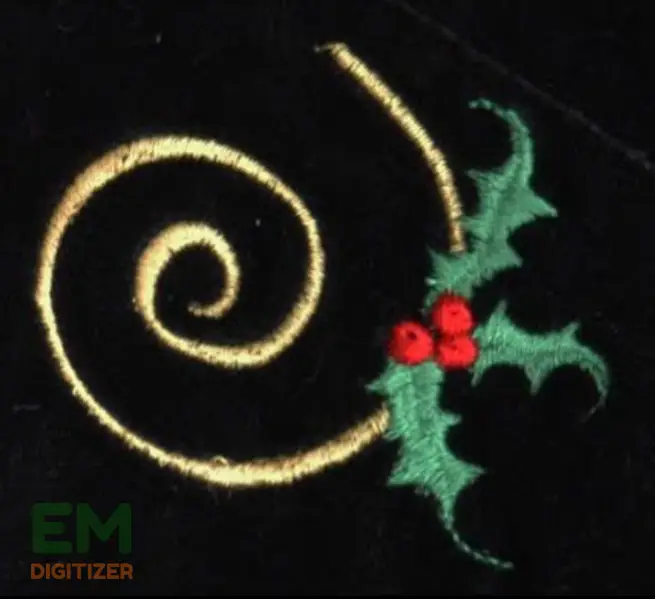
This post is for you if you want to create your in the hoop embroidery ornaments design pattern to celebrate the holidays.
Why Do We Need To Embroider On Velvet?
Today, embroidery on velvet is still a popular technique used in fashion design, home decor, accessories, and art to enhance their visual appeal.
Clothing
Velvet was originally worn by royalty because it was so expensive! Today it is still often seen as an upscale material because it looks so elegant on its own or paired with other fabrics like silk or lace.
If you want to get knowledge about how to create an Embroidered Blouse, then you can visit: Embroidered Blouse
Branding
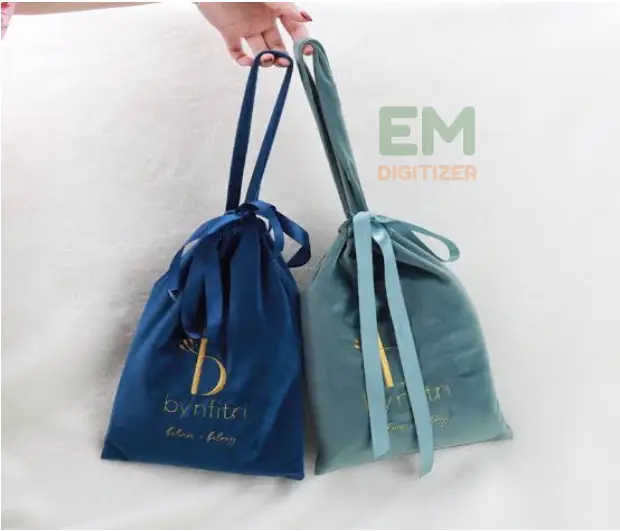
Embroider on velvet to add logos or custom designs to garments, making them unique and personalized.
This is useful for companies or organizations that want to create branded apparel, as well as for individuals who want to add a personal touch to their clothing.
Moreover, you can embroider on velvet to increase the perceived value of a garment, as it requires specialized techniques and adds a level of detail and craftsmanship to the piece.
This can justify a higher price point for the garment, making it more profitable for the manufacturer or retailer.
Would you like to start your embroidery business? Click here to acquire a comprehensive guide on how to do so.
Home Decor
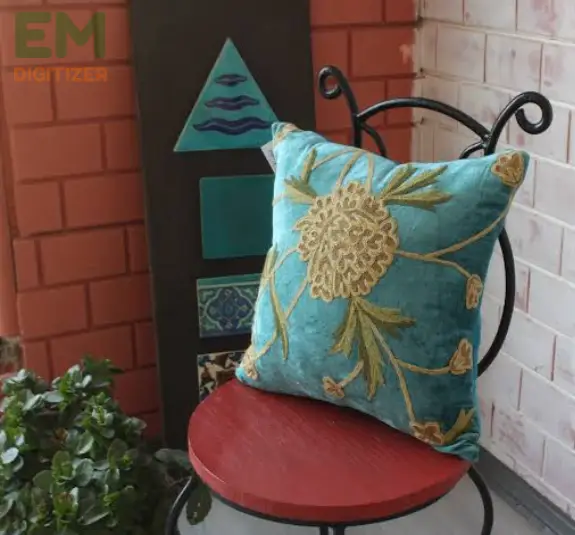
Velvet makes beautiful curtains and pillows that will add elegance to any room in your house!
You can even sew up some throw blankets using this gorgeous fabric if you want something cozy while watching Netflix on those cold winter nights.
If you want to adorn your home for the holiday season, embroidering a pillowcase is a great idea. Check out the step-by-step tutorial.
Other Accessories
Whether you’re making yourself a new purse or just adding some flair onto an old one, adding some embroidery on velvet will make sure everyone knows who owns that bag!
It also works great as a scarf if you want something extra warm during those chilly winter months ahead or anytime!
Tips Before Going To Embroider On Velvet
There are certain tips for you to follow before going to embroider on velvet if you are looking for flawless results.
Choose The Right Fabric And Thread
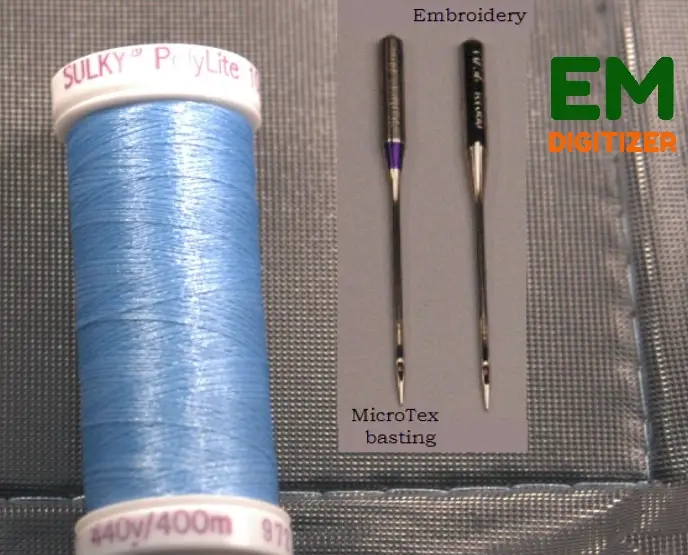
First, make sure that you are using the right type of thread to embroider on velvet.
Cotton or polyester thread is best for velvet, as silk or rayon threads can be too slippery. You should also avoid metallic threads as they can tear velvet fabric.
Your fabric should be a high-quality 100% cotton or silk velvet with a nap, the cut of a velvet pile that creates a particular direction that is 1/8 inch to 1/4 inch in length.
In this article, I’ve recommended the best embroidery thread types for you; read on to find your perfect match.
Pre Wash The Fabric
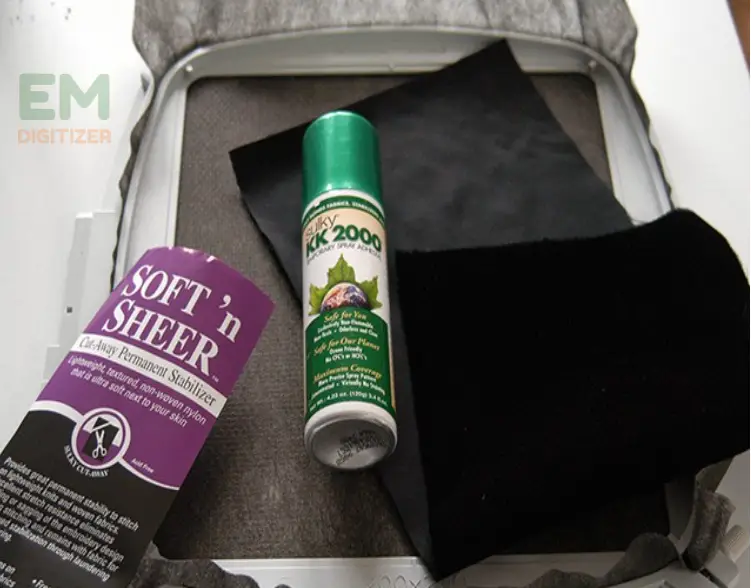
Make sure to prewash your fabric to prevent it from shrinking and give it some stability during embroidery by applying a spray-on fabric stabilizer.
Go With the Right Stabilizer
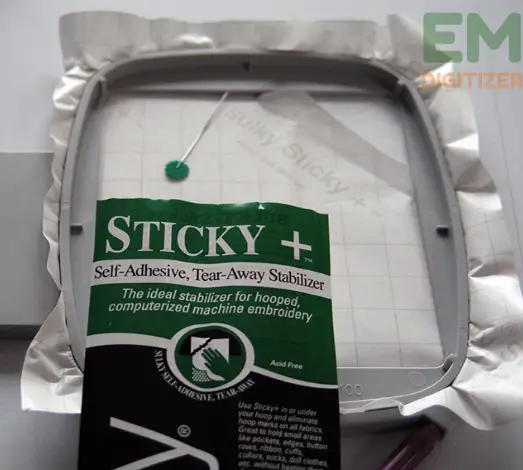
It is essential to choose a stabilizer carefully to be used to embroider on velvet. It helps prevent the fabric from puckering and creates a stable surface for your embroidery.
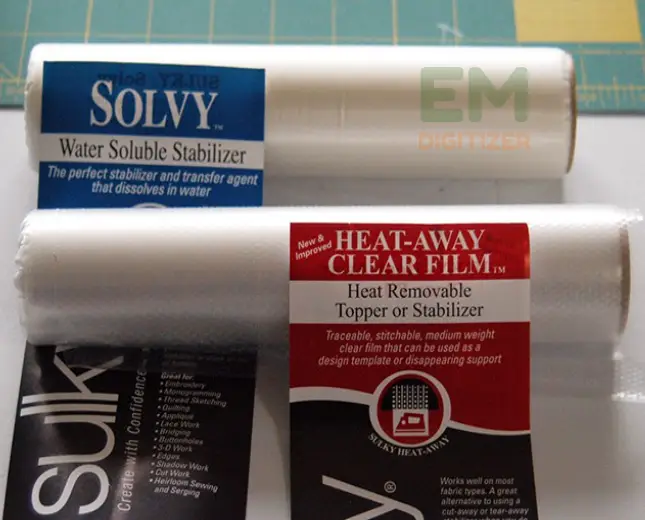
You can do this by basting the fabric to a stabilizer like tear-away or cut-away stabilizer. You can also use an iron-on product like Sulky Sticky Fabri-Solvy Textile Backing Paper.
This will help keep the fabric taut and prevent it from warping during the embroidery process.
Carefully Select The Embroidery Design
It’s important to choose the right design if you want to embroider on velvet that will complement the texture of the fabric. Avoid designs that are too intricate or dense as they may be difficult to embroider on the velvet.
So it is recommended to use simple designs to embroider on velvet with clean lines and open spaces that work best.
Consider Best Supplies
Ensure you have the appropriate supplies on hand such as an embroidery hoop, needles, scissors, marking pins, and a seam ripper.
Once you have all of these supplies ready to go, you’re ready to start stitching up some beautiful designs on velvet!
Hoop Carefully
When hooping velvet, take extra care not to stretch or distort the fabric. Use a larger hoop than the design requires, and make sure to smooth the fabric out before hooping.
You can also place a layer of tissue paper between the velvet and the hoop to prevent hoop marks.
Embroider Slowly
The method to embroider on velvet can be a slow process, but it’s important to take your time to avoid mistakes.
Stitch slowly and carefully, and make sure to keep the fabric taut as you work.
Take Your Time
It is important to take your time and work slowly to avoid making mistakes while dealing with velvet.
So you are advised to go with small and even stitches to embroider on velvet and take breaks when you need to rest your hands or eyes.
List Of Supplies Required To Embroider On Velvet
- Velvet fabric
- Embroidery design
- Embroidery stabilizer (tear-away or cut-away)
- Embroidery thread
- Bobbin thread
- Embroidery needle (size 75/11 or 80/12)
- Embroidery hoop
- Fabric scissors
- Water-soluble pen or chalk
- Iron
- Adhesive spray
Step By Step Guide To embroider On Velvet
Let’s get started on the basic steps you need to follow to embroider on velvet.
Step 1: Choose The Right Velvet Fabric
When selecting velvet fabric for embroidery, it is essential to choose a high-quality fabric that has a shorter pile.
The shorter the pile, the easier it is to stitch on. Avoid using crushed velvet or stretch velvet as these fabrics can be challenging.
Opt for:
- Silk velvet
- Cotton velvet
- Rayon velvet
Check out this article’s collection of the top embroidery fabric for multiple embroidery operations.
Step 2: Select An Embroidery Design
Choose an embroidery design that suits the fabric and the project. A small or medium-sized design works best for velvet, as large designs can be difficult to handle.
You can either download a design from the internet or create your design using embroidery software.
Check out this blog’s list of the greatest embroidery digitizing software for a wide range of applications.
Step 3: Prepare the Fabric
Before embroidering, it is essential to prepare the fabric.
- Cut the velvet fabric to the desired size and shape, leaving some extra space around the edges for hooping.
- Mark the center of the fabric using a water-soluble pen or chalk.
Step 4: Secure The Fabric
Add a layer of stabilizer to the back of your velvet fabric. A water-soluble stabilizer works best, as this will prevent the fabric from shifting or puckering while you work.
And it’s also easy to remove once you’re finished embroidering. Have a look at the steps below:
- Using a smaller hoop will reduce the amount of tension on the fabric, which can help prevent damage to the pile.
- Hoop the fabric and stabilizer together tightly, making sure the fabric is taut and smooth.
- Adding a lightweight backing fabric to the back of the velvet can help stabilize it and prevent it from stretching or warping in the hoop.
- The hoop should fit snugly around the design area, with no wrinkles or puckers.
Step 5: Choose The Right Needle And Thread
- Select a size 75/11 or 80/12 embroidery needle, depending on the weight of the fabric.
- Use a matching embroidery thread and bobbin thread.
- For best results, use high-quality thread that is designed for embroidery.
Step 6: Embroider The Design
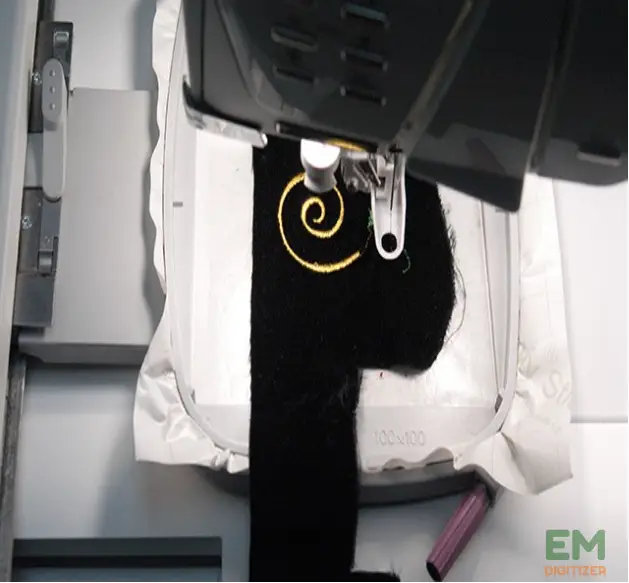
Load the embroidery design onto your machine and begin stitching.
- It is recommended to start with a test stitch on a scrap piece of velvet fabric to check the tension and make any necessary adjustments.
- When embroidering on velvet, it’s best to use a small hoop and work in small sections.
- This will help you maintain tension on the fabric and ensure that the embroidery is even.
- Use small stitches and work slowly and carefully to prevent the velvet from shifting or bunching up.
- Slow down the stitching speed to prevent the fabric from shifting or stretching.
- Stop the machine periodically to check the stitching and reposition the fabric if necessary.
Step 7: Remove The Excess Stabilizer
Once the embroidery is complete, remove the hoop from the machine.
Be gentle when removing the hoop from the velvet. Take care not to pull or tug on the fabric, which could cause it to distort or stretch out of shape.
After that, carefully remove the stabilizer from the back of the fabric.
- If you use a tear-away stabilizer, gently tear it away from the fabric.
- If you used a cut-away stabilizer, use fabric scissors to trim away the excess stabilizer.
- If necessary, you can use a fabric-safe adhesive to secure any loose threads on the back of the embroidery.
Click here to learn how to properly use and remove water-soluble stabilizers from embroidered items.
Step 8: Press The Fabric
- Use a steam iron to press the embroidered velvet fabric on the wrong side.
- Place a pressing cloth or a piece of muslin over the embroidery to protect it from the heat of the iron.
- Do not press the embroidery directly with the iron.
Congratulations! You have successfully embroidered on velvet.
With the above-mentioned tips and techniques, you can embroider on velvet to create stunning projects, including garments, home decor, and accessories.
Conclusion
Velvet embroidery is an art form that takes patience and skill. With our step-by-step guide, you can now feel confident starting your project.
The fabric may not always cooperate, and it can take some patience to create the perfect design.
But, the reward for your effort will be worth it in the end. So, get out your needle and thread and get started!
Cotton embroidery thread is usually the best choice when it comes to creating delicate designs on velvet. You can use silk thread for more intricate work, but make sure that it is not too thick or it will pull at the fabric as you stitch.
Velvet can quickly become stretched out or distorted if not handled properly, which is why using a hoop when stitching is so important. Choose one made from wood or plastic – avoid metal hoops as they can damage velvet fabric.
Simple stitches such as satin stitch, running stitch, and French knots work well on velvet and create beautiful designs. You can also create unique patterns using long-and-short stitches and other more complex techniques.
If you have any questions leave the comments or you can visit our social channels for more updates regularly. We provide embroidery digitizing services if you need digitizing services feel free to contact us or email us.
