You can embroider with any form of leftover stock, such as fabric or floss. For embroiderers, the surplus is inevitable, and they may use it to create amazing things. The embroidered blouse fits the bill in the same situation. When you have finished your intended project of any kind and have some extra things in your store, you may use this fabric pile to manufacture embroidered blouses. This post will show you how to produce interesting embroidered blouses, and wearing one of these will make you look more stylish.
Table of Contents
ToggleEmbroidery Digitizing Services
If you are looking for embroidery digitizing services, EMDigitizer is one of the best embroidery digitizing companies. Providing all types of embroidery digitizing Services. I recommend you try digitizing services.
Order NowGet Free QuoteOverview
Dealing with the trash that is all around you is quite annoying. Your embroidery workspace’s cleanliness will be ruined. However, you no longer need to worry about it. You can reuse the supplies to make something useful for yourself. One can have fun even with this extra pile-up if one already owns an embroidery machine and the necessary equipment. According to the event you want to attend, you can build the most vibrant embroidered blouse with a range of your favorite designs. While expressing devotion with embroidery, this blouse can have a significant impact.
Importance Of Making Embroidered Blouses
Nobody would overlook such a cost-effective technique to make something special. Making an embroidered blouse is the same as that. When sewing an embroidered blouse, there is no need to purchase pricey fabric and floss. When it comes to embroidery software, it’s also a benefit that most providers offer free trials. Take the free 30-day embroidery trial from Hatch, for instance. Old items can be transformed into creative needlework projects in addition to being used as storage.
The embroidery lace you used to embellish your blouse adds to its allure. Being on a budget makes it simple to locate the lace material and pattern, allowing one to create the latest embroidered blouse. Your outfits get a little more shine when you wear that embroidered blouse. Nothing is more intriguing than giving an outdated item a new makeover utilizing an old favorite fabric.
It will be less intimidating to visit a tailor and discuss the errors one makes while taking incorrect measurements and failing to sew the desired blouse to fit on numerous occasions. People won’t appreciate the concept of everyone carrying the same type of items, which is another factor. However, using this method, you can make an even more fashionable and one-of-a-kind embroidered blouse. Moreover, no one else in your community will have that embroidered blouse.
Supplies Needed To Create Machine Embroidered Blouse
- Water soluble stabilizers (If you want to learn how to use and remove water soluble stabilizer click here)
- Transparent Paper
- Felt for free-standing lace (Visit our blog about freestanding lace)
- FSL lace design
- Template of a blouse without sleeves
- Polyester machine embroidery thread
- Marking pencil with ruler
- Tracing paper
- Use of seam ripper for fine cutting
- Embroidery software for editing purposes (You can take advantage of hatch embroidery digitizer 30-day free embroidery trial)
Key Steps:
Let’s begin the process of creating an embroidered blouse that women would wear to show off their love for the craft.
Step 01- First You Need To Develop Lace Embroidery Design
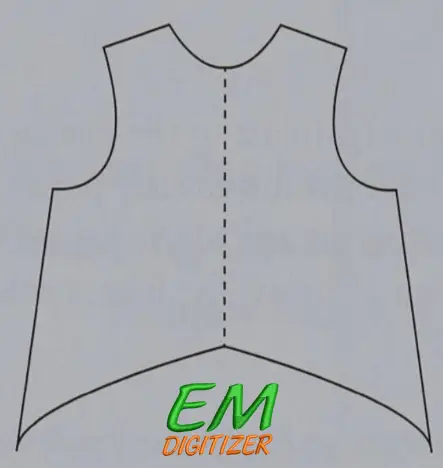
- If you want to create an embroidered blouse, you must first draw the specific template of the blouse.
- To do this, take a piece of carbon paper and start tracing the blouse template from top to bottom on this paper.
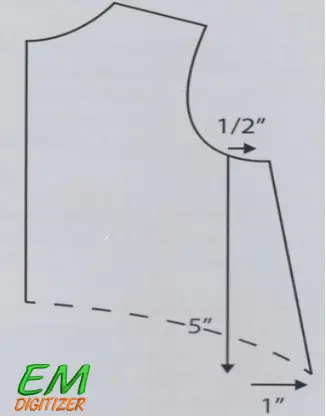
- Making a 1/2′ crease next to the armhole and expanding the peripheral by 5′ near the side junction are the first steps in including another pullover layout. You may also add one more let’s say 1′ from the bottom side junction.
- To build the new side junction at a precise angle, join the armhole mark with the mark of the bottom junction. Draw the arch from the bottom side junction between the upside and downside template components by lowering your hand.
- Once more, draw a line to indicate the center’s back and front.
- Now divide the felt in half.
- Each half is 60 inches by 40 inches and cut one half from the back.
- Draw a line horizontally along the middle of the remaining felt using washable markers. Place the felt on the front side of the blouse template after doing so.
- Again use markers to draw the layout line on the felt, with the center front line.
Step 02- Create the template for the lace machine embroidery design
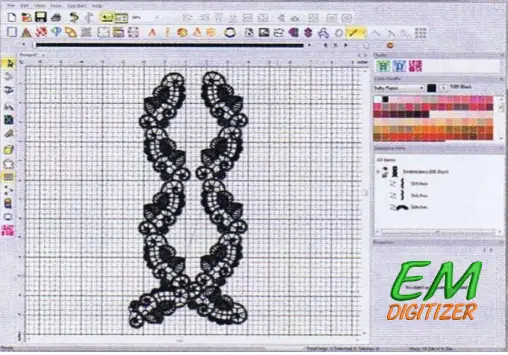
- Open the specific lace design in the embroidery software (Hatch editing window)if you wish to add it to an existing lace design for an embroidered blouse. (Visit our designs store for lastest and best embroidery designs)
- Following that, make adjustments to your design. As an illustration, copy and paste your preferred template and utilize small image designs. And then put the designs side by side by setting a space of 1⁄2 between them.
- Merge the design so that it is located beneath the existing template, and then save it.
Step 03- Print The Embroidered Lace Pattern, Then Put It.
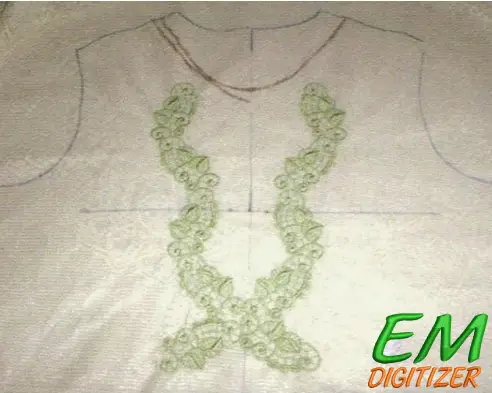
- Print the desired pattern on transparent paper after setting the design.
- The template is positioned in a way so that the top of the printout is placed 1′ lower than the neck’s front edge.
- The use of additional felt is recommended to place the design underneath. Because we’re using sheer lace, it helps to provide support.
Step 04- Hoop Your Machine Embroidered Lace Design
- The crosshair template must now be transferred to the lace’s front side.
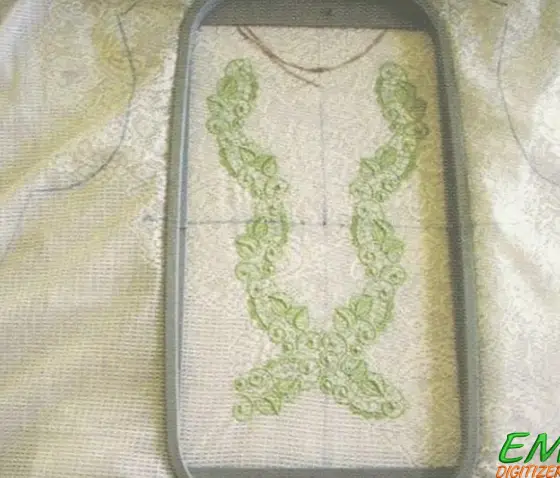
- After that, sew the design to make a lovely embroidered blouse by hooping the required stabilizer to the felt.
Step 05-Take Out The Hoop And Stitch The Front And Back Of The Top Together.
- To help stabilize the felt while making the embroidered blouse, remove the lace from the hoop while leaving the stabilizers in place.
- Make sure the design is embroidered in the middle.
- Additionally, you can position the front piece of the template and redo the drawing.
- Then, trim the front piece, continuing to press while you stitch the top and back sides together along the wide shoulder and side junctions.
- Create an opening of 1′ in the center of the front piece starting at the neck to make an embroidered blouse.
- Begin stitching the embroidered blouse in such a way that the sewing of the neck area, shoulder, armhole, center front, and the bottom side is completed first. Here’s a quick guide to stitching the edges. Sew the rolled border and lace edges first.
- As soon as the embroidered blouse is complete, pour liquid softener into the water and dip the top into it. It will disintegrate every stabilizer to give it a clean finish. Wash and dry the embroidered blouse.
This article is all about how to make an embroidered blouse. You no longer need to discard the extra felt in the trash. The embroidery machine is entirely to thank for continuously producing something special.
Conclusion
You now know how simple it is to use any spare materials to create something enchanted with an embroidery machine. Making your own embroidered blouse at home is far more advantageous than purchasing one. First, you can make embroidered blouses using your colors and patterns. Additionally, producing embroidered blouses is a cost-effective method, which is the second justification.
Because you may utilize the material that is already in your embroidery box, you don’t need to make a significant investment to complete this operation. This embroidered blouse is suitable for women to wear to any occasion, making them the most alluring person there. By using these suggestions, you can inspire yourself to create embroidered blouses in any color and fabric, with the embroidery you like, by utilizing your stash in a fun way.
- irst, you need to develop an intended lace embroidery design by tracing a specific pattern on the tracing paper for making embroidered blouses.
- In the next step, create a template for lace embroidery design by using the software.
- Print and place the lace embroidery design.
- Hoop the lace embroidery design and stabilizer.
- Stitch all sides and edges of the blouse
Open the specific lace design in the embroidery software (Hatch editing window). Following that, make adjustments to your design. Such as copying and pasting your preferred template and utilizing small image designs then putting the designs side by side by setting space of 1⁄2 between them. After that merge the design so that it is located beneath the existing template, and then save it.
When sewing an embroidered blouse, there is no need to purchase pricey fabric and floss even you can use an old one’s leftover fabric to make the embroidered blouse. Nothing is more intriguing than giving an outdated item a new makeover utilizing an old favorite fabric. That’s why it is considered a budget-friendly process.
The embroidery lace you used to embellish your blouse adds to its allure. Being on a budget makes it simple to locate the lace material and pattern, allowing one to create the latest embroidered blouse.
Note: The use of additional felt is recommended to place the design underneath. Because we’re using sheer lace, it helps to provide support.
If you have any questions leave the comments or you can visit our social channels for more updates regularly. We provide embroidery digitizing services if you need digitizing services feel free to contact us or email us.

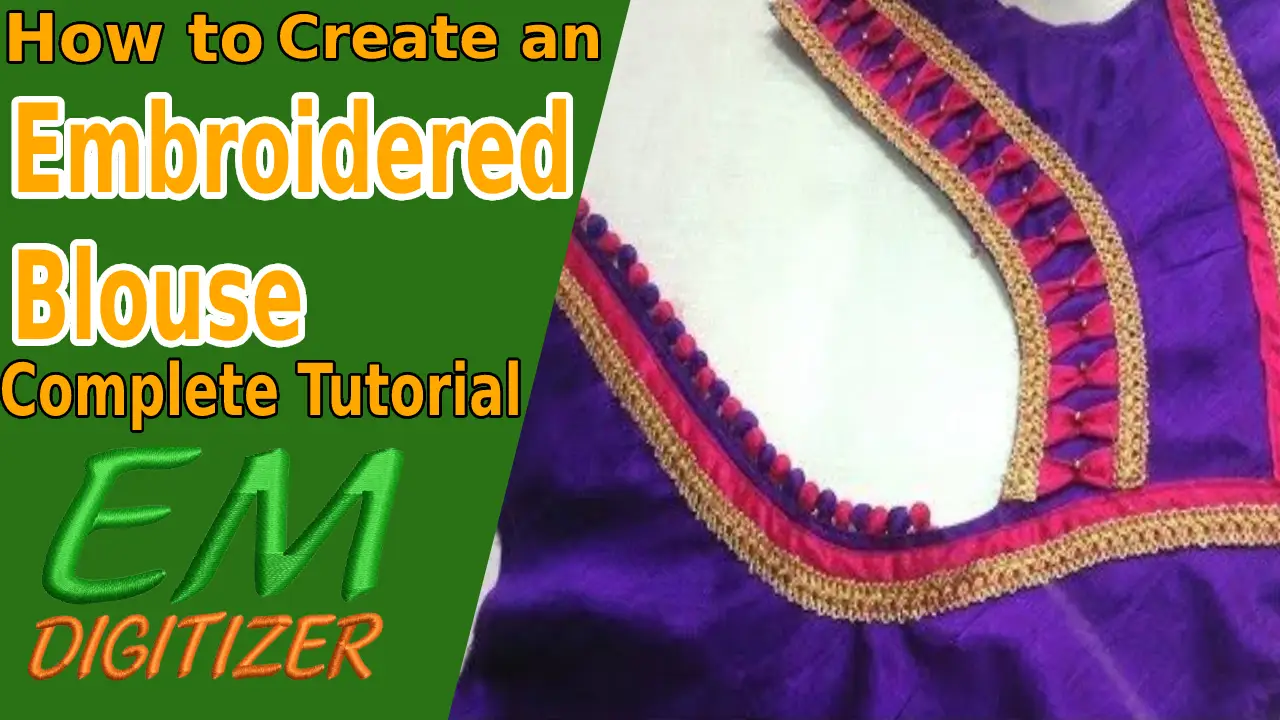
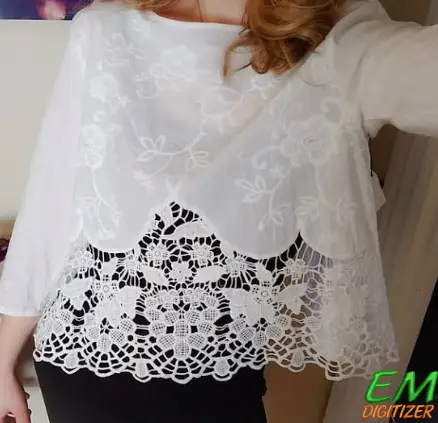
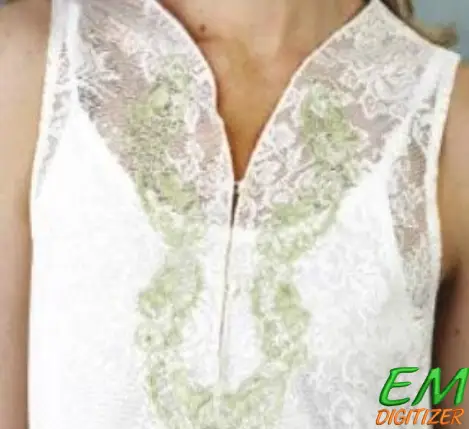


Stitching style and elegance! Follow this complete tutorial on creating an embroidered blouse and add a touch of artistry to your wardrobe. Let your creativity bloom with every stitch!