How to Make Embroidery Patches? Patch Digitizing

Embroidery patches offer a creative way to decorate apparel and accessories. In addition, you can make and sell these patches to make money with good margins. If you want to learn patch embroidery and digitizing, I will guide you from start to finish in this article. You will also learn how to use patches in different ways and tips to apply them to your favorite article. If you want get knowledge about grow you apparel business. You can visit: Tips to Grow Your Custom Apparel Business
Table of Contents
Introduction
Patches are just like a fun and scrappy type project. For example, if you have any leftover goods, such as fabric or thread, the patch is the greatest way to turn them into something unique and helpful. Before starting patch embroidery projects, you have to consider the following:
- What do you want your patch to look like?
- What kind of leftover material do you have?
- What would be the size and shape of your patch design?
- In the end, what would be the stitch coverage for your patches?
Let’s delve into a detailed guide to making embroidery patches and applying them to your desired material with tips and tricks. For more about fabric. you can visit: Top 10 Best Fabric
If you want to get knowledge about thread. Then you can visit: 5 Best Embroidery Thread Brands
Patch digitizing
The first step to getting into patch embroidery is digitizing the chosen design. You can make patches of anything that is stitchable. Rather than patterns, today I will show you how you can turn text into a patch. Here, we have four basic steps:
- Software selection
- Uploading the design
- Digitizing it
- Save in machine-specific format
Step 01- Select software first
There are a lot of embroidery digitizing software but I choose Chroma Lux software that’s the top tier and makes things a lot easier. For more about Chroma Lux software. You can visit: Chroma Software For Embroidery
Step 02- Upload the design file
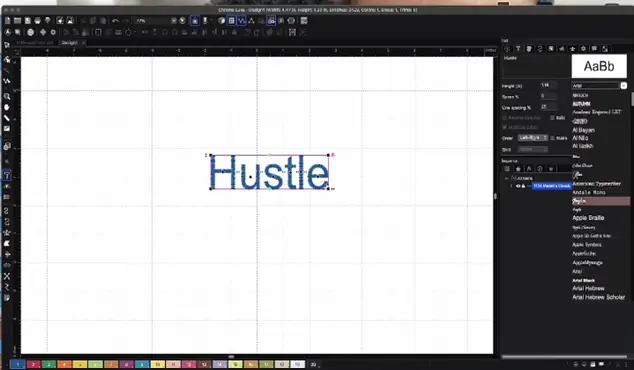
I take an SVG design file of that word that turns into a patch.
Step 03- Work on design
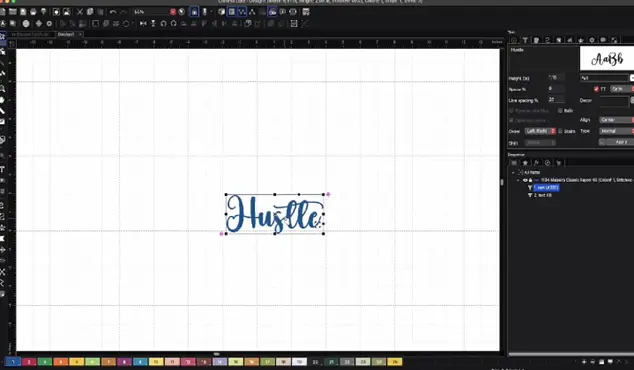
1- Go to the text tool, just type out the word hustle and I will digitize an embroidery and embroider. You can choose any one of your choices.
2- Select an original font from your downloaded fonts. Click the right. Button where it says TT on the side and you can just import your own fonts all right. If you want get knowledge to choose best font. Then you can visit: 5 Tips For Choosing The Best Embroidery Fonts
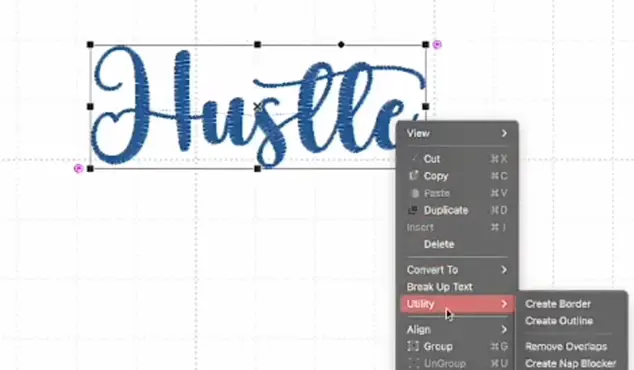
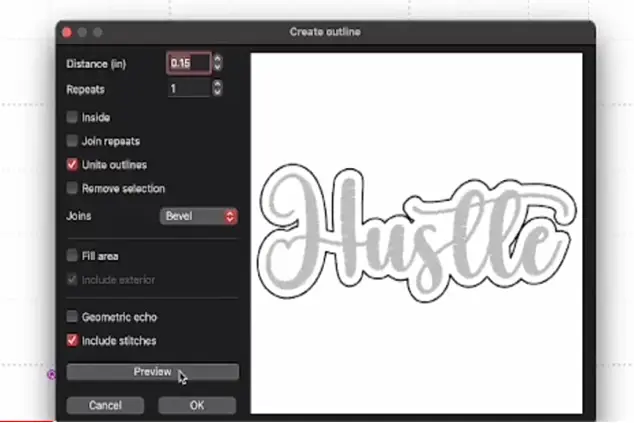
3- Right-click, click on utility and create an outline. Enlarge it to about 0.15 and I’m just going to see how that looks, so click preview.
4- If you want a thicker border, you will see little cutouts so I would getin there and cut that out. Preview it again.
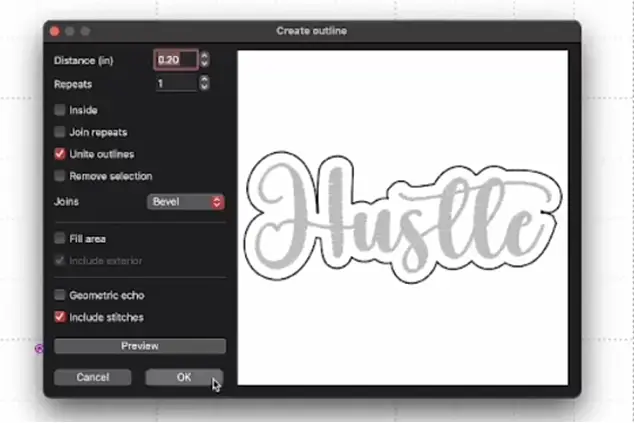
And if you find it bigger, go to 0.20, and now I don’t have the cut on the inside of that so that’s perfectly alright, and click okay.
5- This is where you can come in and change the color for this patch. I’ll probably keep the background white.
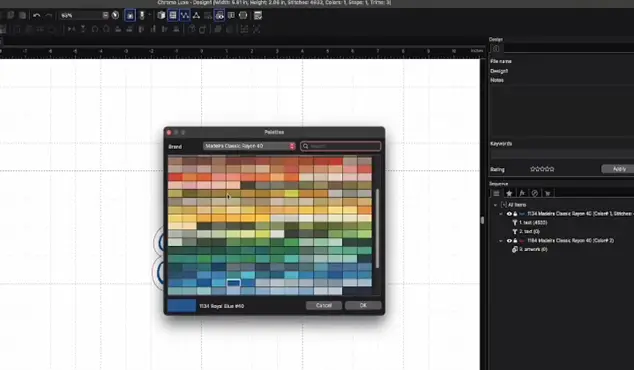
6- Now create the border and then that’s the third color. So I’m going to create two for right now and click. To apply the first color, select gold, the second color would be black. But we want to make sure the inside is filled so for the offset, I want to make sure it’s a stitch.
If you want to get knowledge about How to Embroider A Star, then you can visit: Embroider A Star
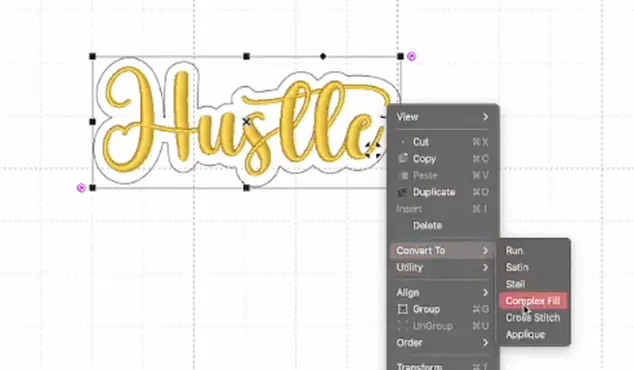
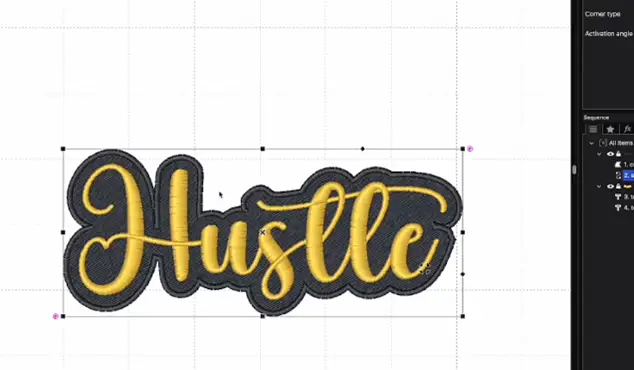
Now it’s not stitched, you only see the satin stitch for the word. So right-click and convert to complex fill. I need to move the complex fill to the back.
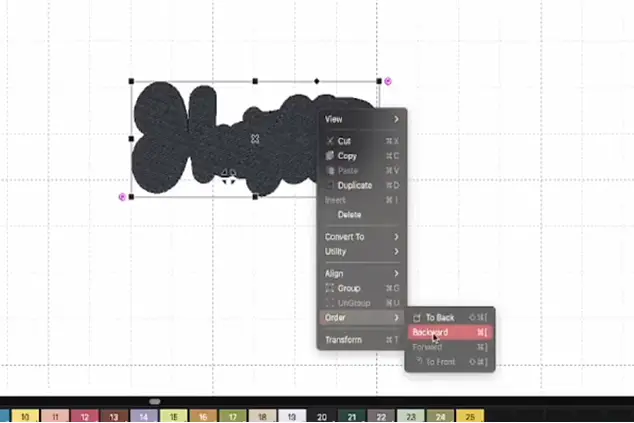
So I can right-click again, click order and I’m going to click to the back loving the way that looks so far. But we need a border, so now I’m going to go back to utility and create a border.
Now you can see the border but I need to make this a third color so I will come back up to the top and now I’m going to click on three.
7- I want to make the text border thick. You can choose any color you want.
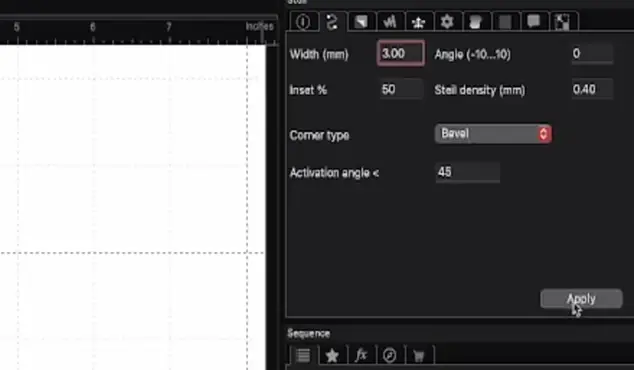
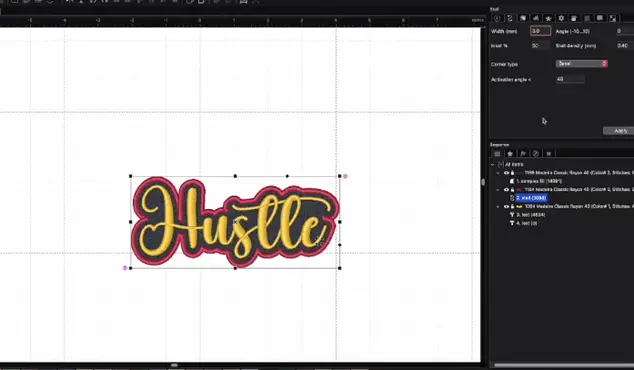
8- As you see, for the width in millimeters, it says 2.0 so let’s take that up to 3.0 and click apply. Automatically it gets thicker.
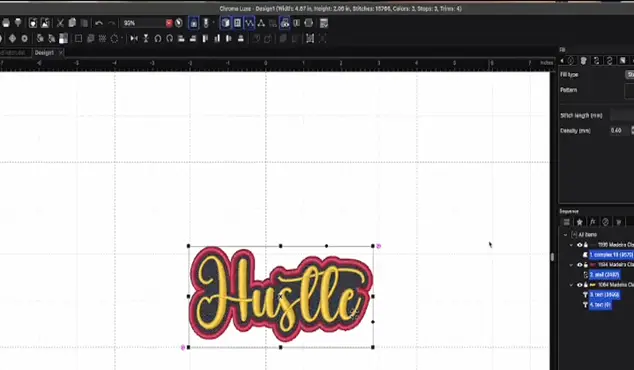
9- Now this text is measuring at 6X 2 which is too big so we’re just going to bring it and change the size. The size shows right at the top and it is 5.45 by 2. But I’m going to make it a little bit smaller. So, we got almost 5 by two. And everything is done now.
Step 04- Save the file in the correct format
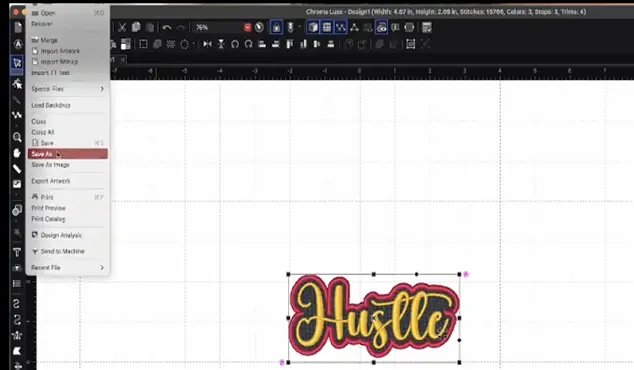
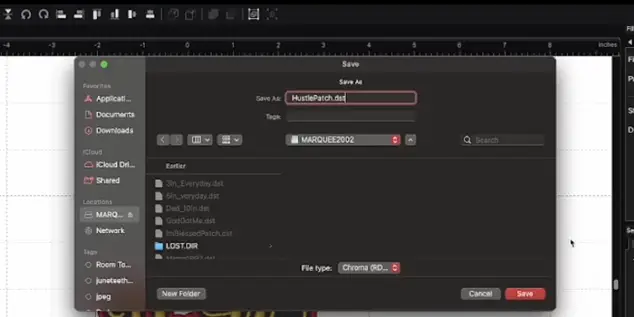
I’m going to save this as a DST file. Whatever software and machine you’re using. Now save it in the correct format.
Name this as a hustle patch and save it as a DST.
A Step-by-step guide to embroidering the patch
Material needed:
- Felt fabric
- Digitized design
- Cutaway stabilizer and backing
- Mighty hoops
- Embroidery machine
- Heat and bond
- Hat
- Scissor
- Cricut prass
- Teflon sheet
Step-by-step process:
1- Prepare hoop and stabilizer
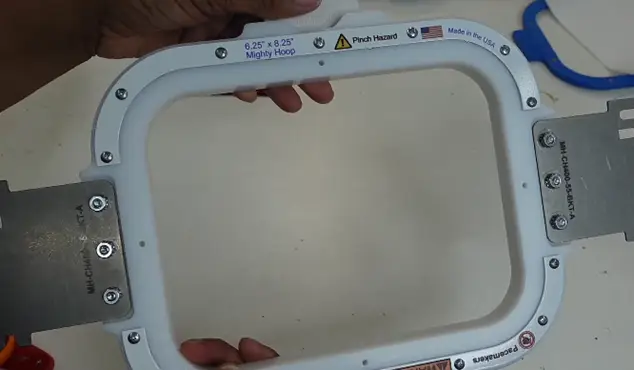
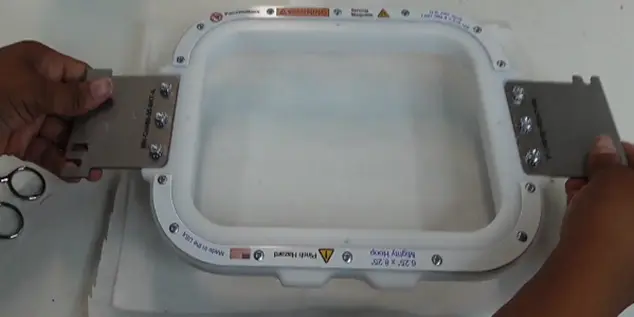
Take a 6.25x 8.25 mighty hoop and make it apart.
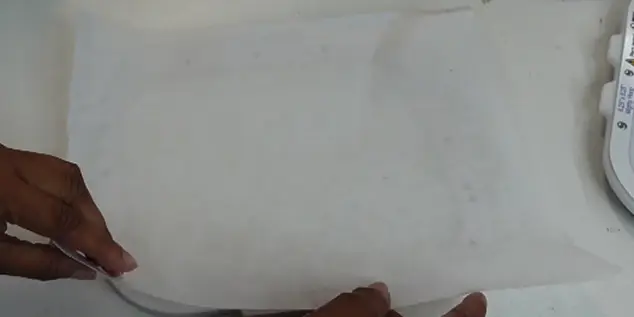
I’m going to use the Cutaway again.
You want to know how to duplicate it, not just make one at a time. So I’m using the felt on top of this. This is the white felt this time.
They put the felt in a hoop and snip it. And let’s head on over to the machine.
2- Insert the hoop in the machine and adjust the design set
Step 01-
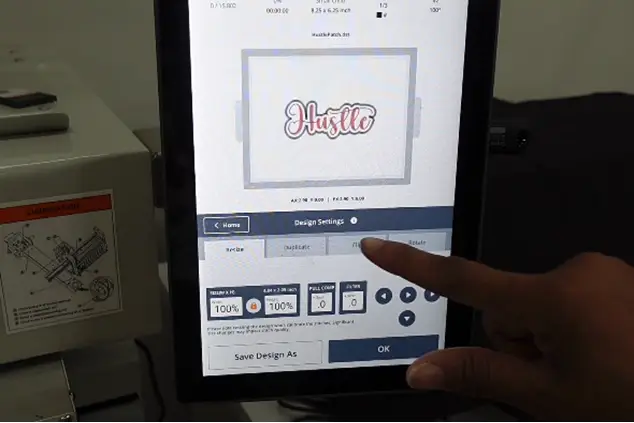
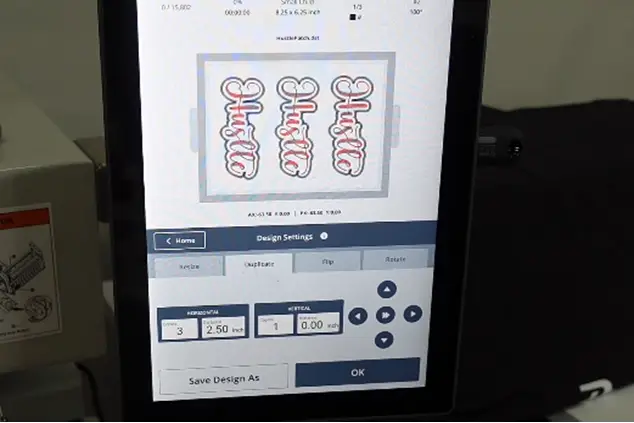
This machine that I have, I love this 10s panel because it just makes embroidery so easy. So I’ve already uploaded my file using the USB and now come here to design settings.
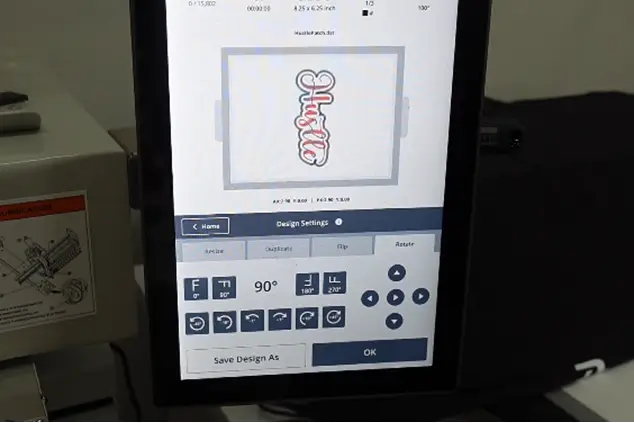
Rotate it at 90° if you want to do multiple. If you’re just doing one, you can keep it that way.
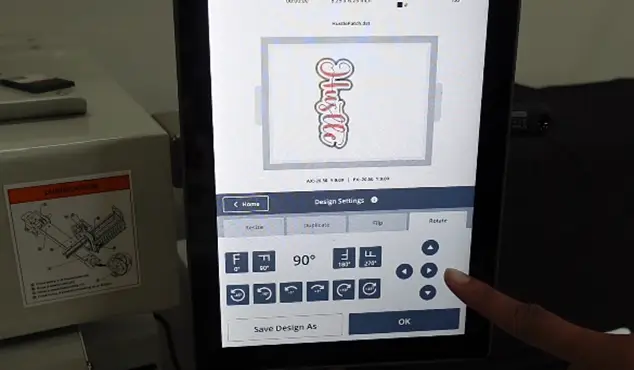
We’re going to move the design over this way to the left so I’m using the arrows and I could have tapped it twice to move it faster.
Step 2-
Now I’m going to hit the duplicate button and down here where it says horizontal, I’m going to duplicate it two times.
Click save and separate it by inches. Adjust the desired spacing and again click save.
Step 03-
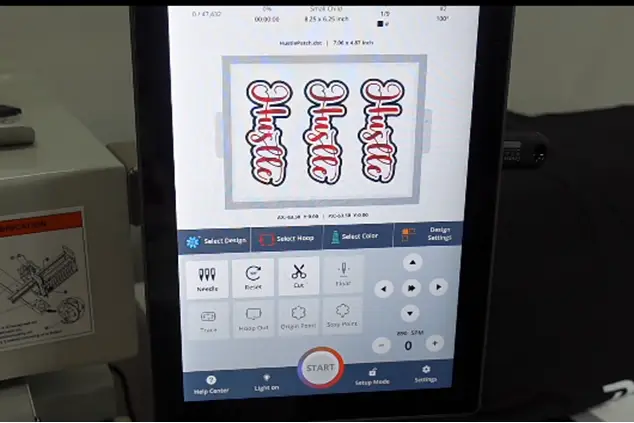
Go to spacing and make sure they’re all in frame and now I have three patches so click OK.
Step 04-
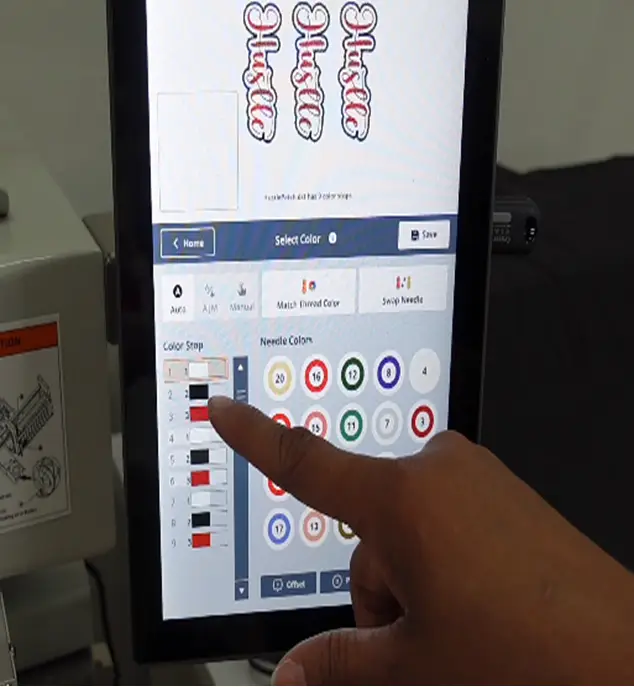
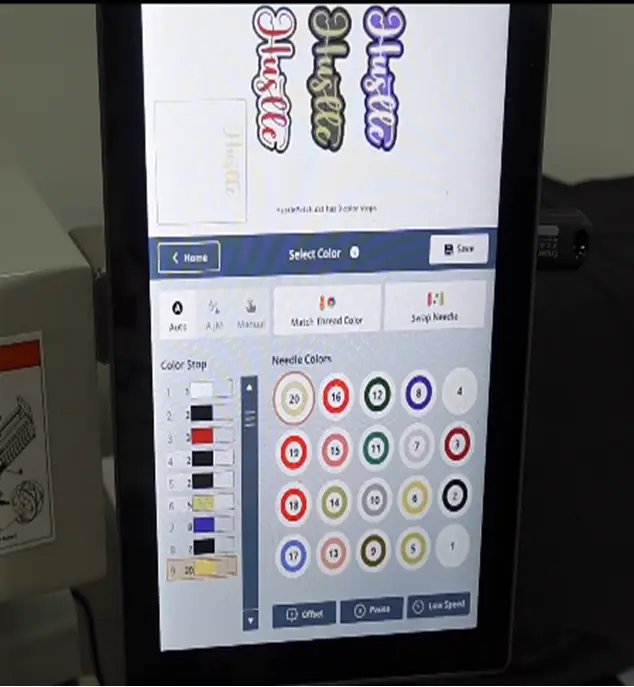
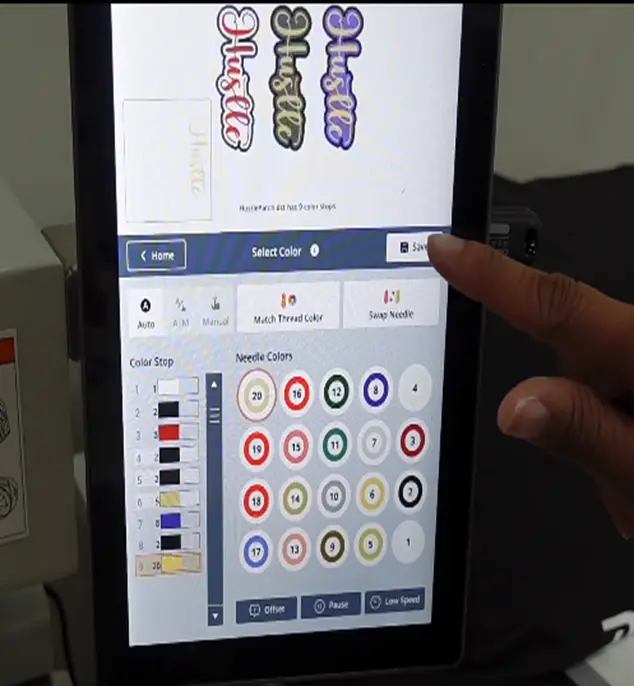
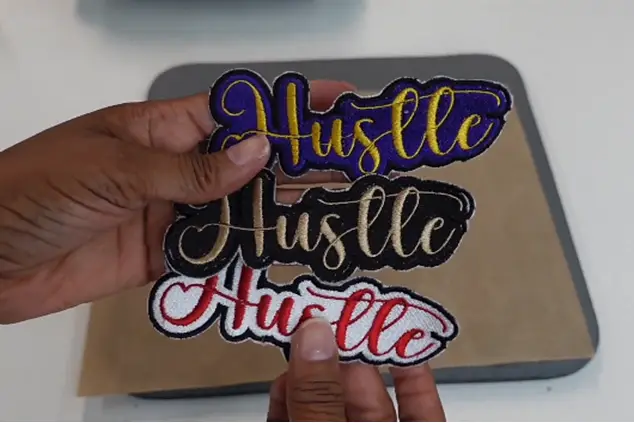
Now I’m going to select my colors. To make sure I have all of my colors chosen and that I can perform them in various shades. So I’m going to make one a different color. So I chose white for the background, black for the border, and red for the within.
Step 05-
We’re going to do the border in black and we’re going to do the words in gold as well so each one is going to be a different color. Let’s see how this turns out.
Step 06-
I’m going to click save and start to embroider these patches.
3- Start embroidering patches
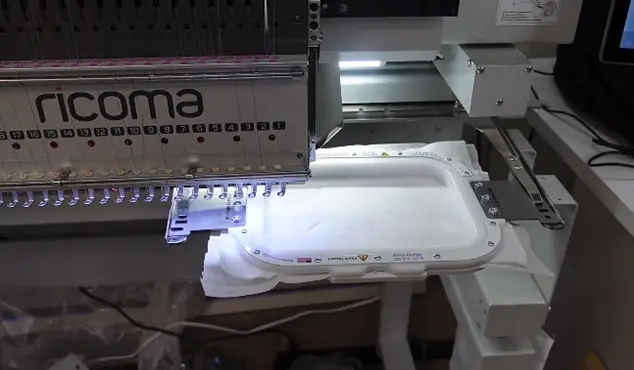
Go ahead, put the hoop in the machine, and trace the design.
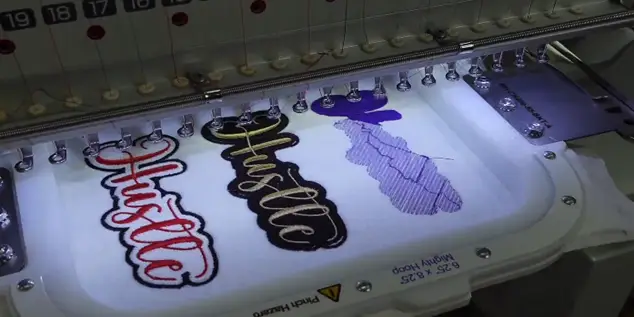
Check out the screen, everything looks perfectly centered. So I like how on this particular panel you can see every color displayed as long as you enter the correct colors in the thread. Because you can have different colors showing if you put the colors in correctly you’ll be able to see exactly what your stitch out will look like on screen. I’m just going to separate and cut them down.
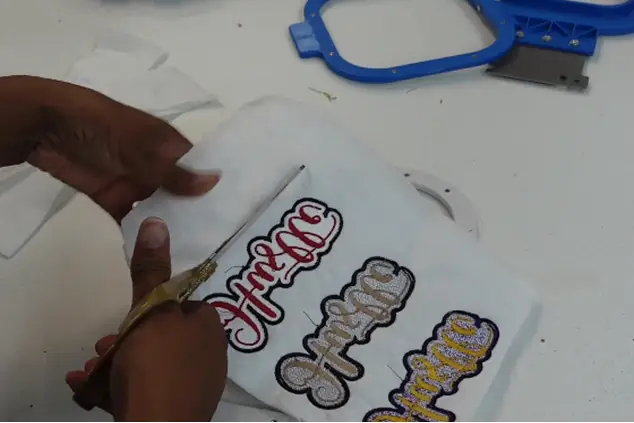
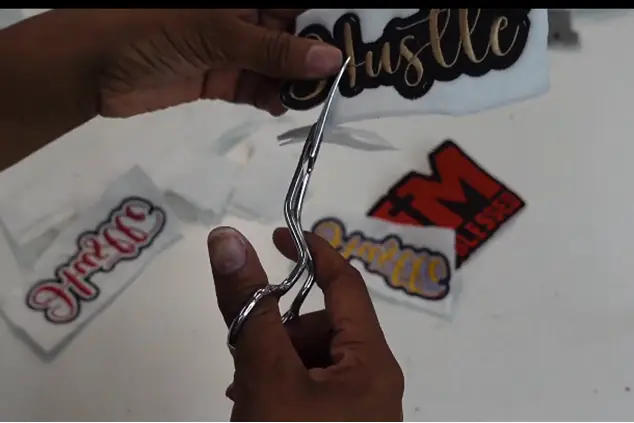
Put all my hoops up out the way and now I’m just going to cut around them so I’m trying to get as close as I can.
Different ways to use a patch
You may create and attach patches in a plethora of methods, like using glitter fabric, glitter HTV, glitter vinyl, and more.
Make a glitter patch in applique style.
If you want to make this a glittering patch, the background wears black glitter or something which would be awesome, you just need to do it like an applique. That way, you can lay your fabric down and that would be perfect because that would just tear right off so you just want to cut off any loose thread and then cut up close. I’m trying to use the same color material as the border if possible. You know sometimes you can’t but then you would just make sure you would clean up your edges as best and as close as you can so that way it doesn’t show.for more about applique digitizing and you want to get services. You can visit: Applique embroidery digitizing service
Apply heat and bond
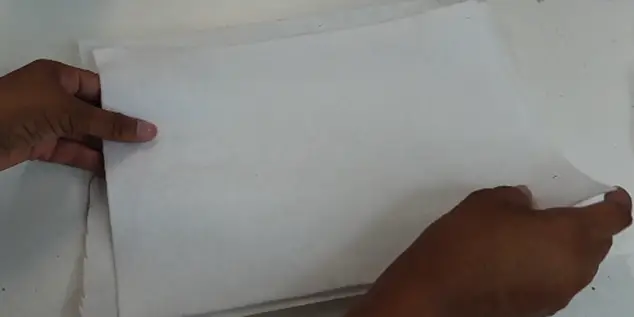
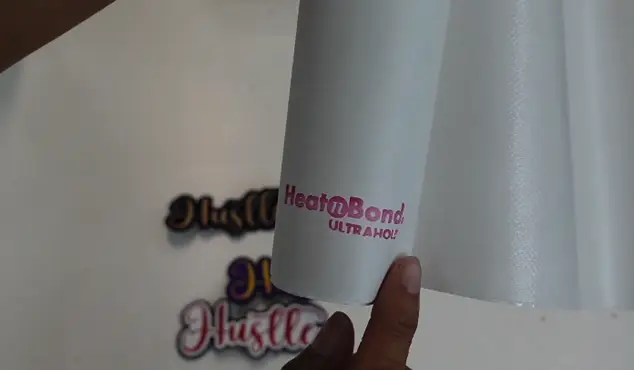
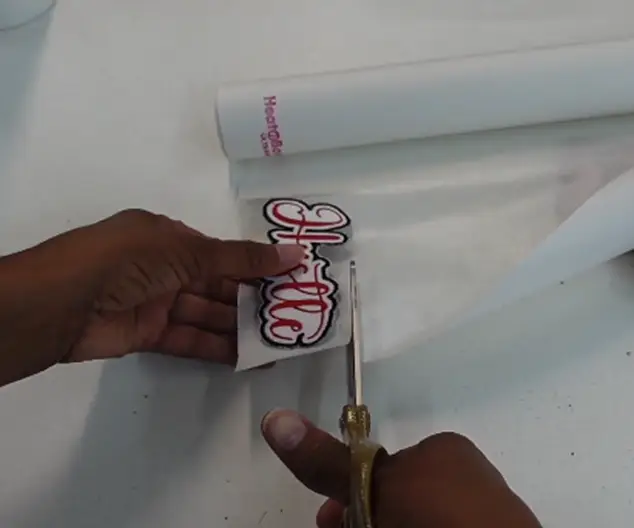
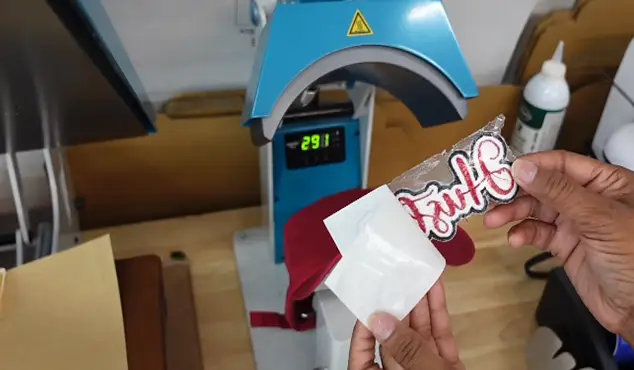
Let’s take the Ultra Bond and cut a piece off for each of the three designs.
You just want to make sure you have enough to cover the design.
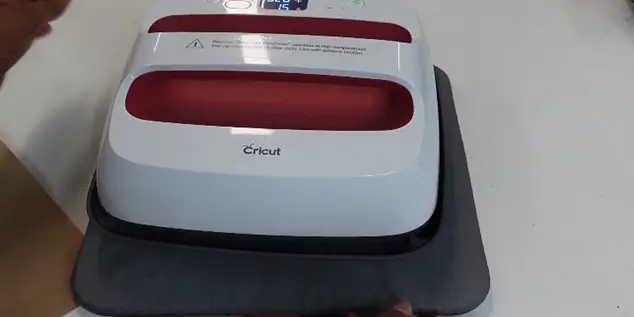
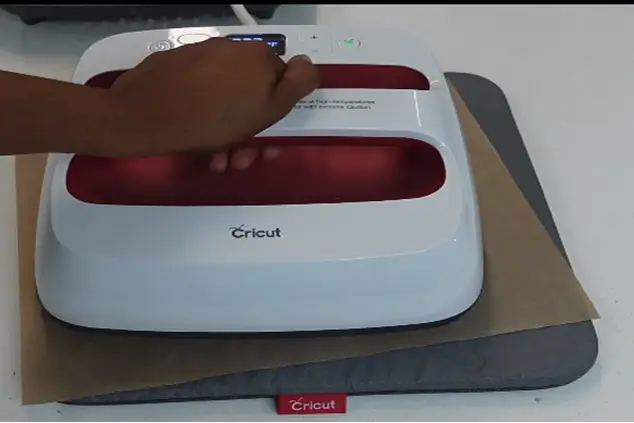
Use the Cricut press to apply heat and bond.
Here, we are using a mini Cricut Press because it’s just easier and faster than doing a heat press. But you can use a heat press or home iron. You can use anything literally to apply the Heat and bonds to the back of your patches. So I got my cutout for my heat and bond.
If you want to get knowledge about Using Embroidery Felt for Embroidery Machines, then you can visit: Embroidery Felt for Embroidery Machines
Apply the patch to the desired material.
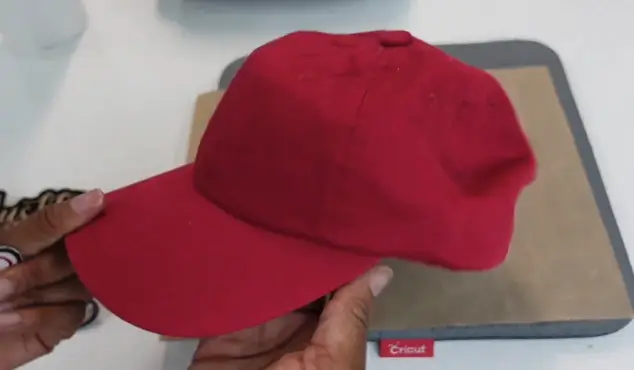
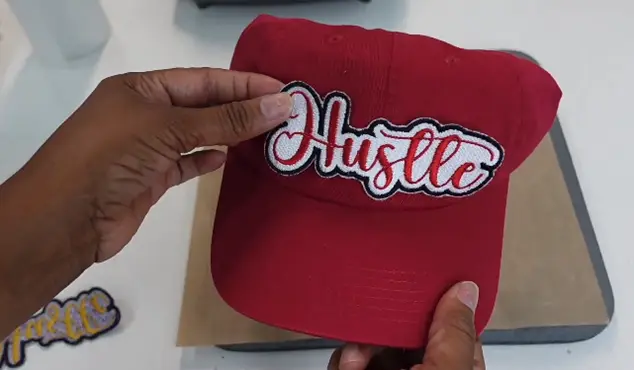
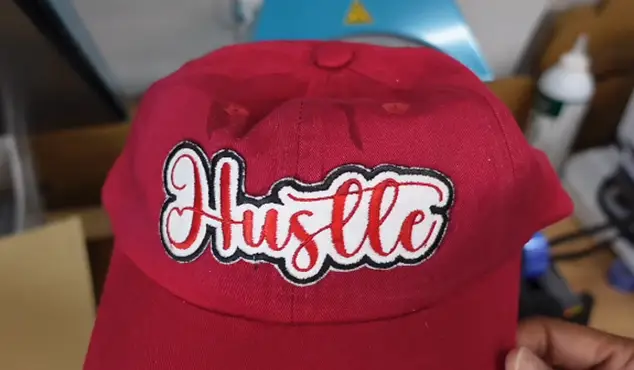
Here, I am using a hat to put a patch on. Press the white black and red one on the red hat. This is a baseball cap with a brass buckle in the back. If for more about baseball cap. you can visit: Top 5 Types of Baseball Hats
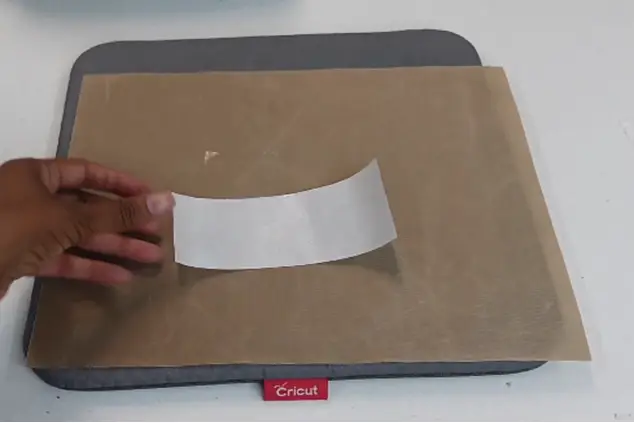
Step 01- Take a Teflon and lay it down because the heating bond is going to have some residue on it.
Always place the heated, rough side up on the back of the bond.
Make sure to hold it down so just put a little bit of pressure on it.
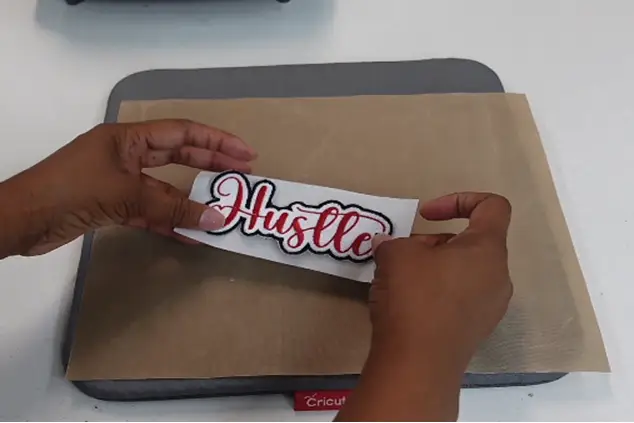
Step 02– Make sure we get that glue to adhere and let that settle in. Now remove this one and as you can see, the heat bond is applied. I just heat this on whatever surface I’m going to use. Just tear the rest of the excess away and now I have my patch.
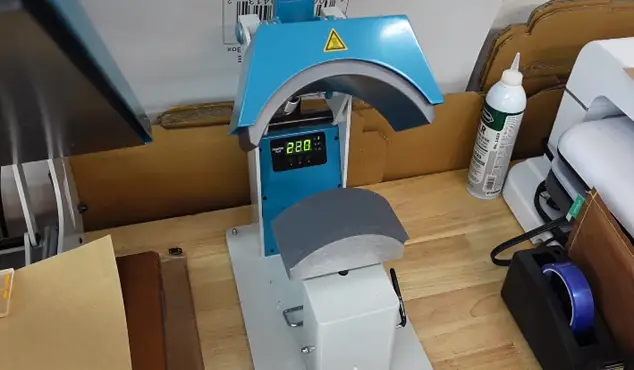
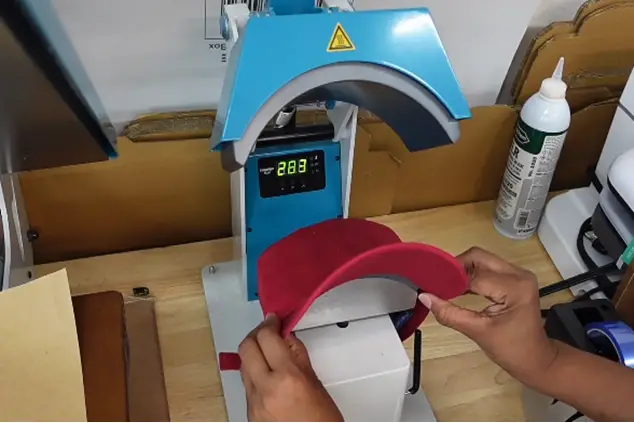
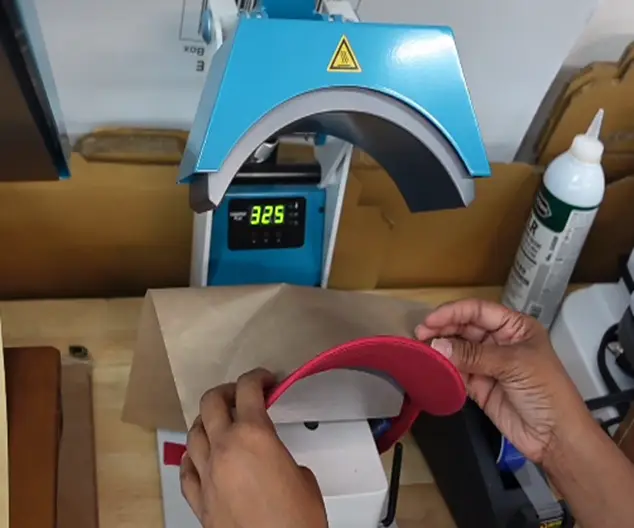
Step 03– Use Trans heat Pro Plus which is warming up in the back at 235°. Now take the cardboard-type material out inside the cap.
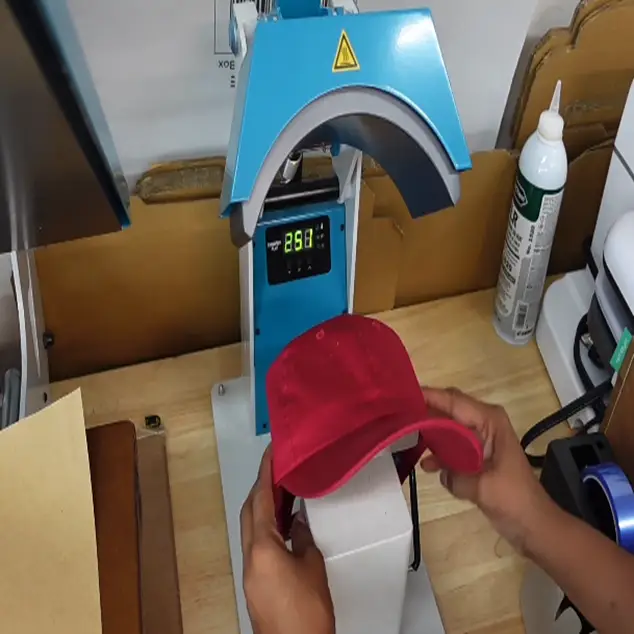
Step 04– Now raise the lever of Trans Heat Pro Plus in the rear, put the cap back, and pull it down.
If you find your material is not stable, you can put a pressing pillow underneath. But as it is a dad hat, it is already flexible so I won’t use it. If you use a snapback or fitted hat, you have to use the pressing pillow.
Step 05- Now fit the hat to its position. Pull the lever down to lock the hat in place. Make sure it is nice and flat.
Step 06- Peel off the backing from the patch and remove the excess one. Place it carefully in the center like you want and make sure it looks good.
You can also use a heat-resistant tap to hold it in place.
Step 07- Add a small piece of Teflon sheet over the design.
Hold the heat press down and lock it.
It is a manual type of heat press and you have to lift it by yourself, which is a little bit hard to do. If your patch does not stick with the hat properly, try using a pressing pillow without a Teflon sheet. It will work for you in that case.
Step 08– After that, take the hat out and let it cool for seconds. And that’s how you can apply an embroidered patch on your desired material. If you want to learn about how to embroider hat. you can visit: how to embroider hat
If you want to get knowledge about the Advantages Of Customized Embroidered QR Code Patches, then you can visit: Embroidered QR Code Patches
Conclusion
We hope that this tutorial helps you to make a patch from start to end. You can digitize and embroider patches of any pattern, logo, text, or whatever you want. If you don’t want to create your patch, you can get it from an em digitizer that offers meticulously digitized patches of any category. To place your order, visit Emdigitizer’s official website or get a free quote now.
FAQs
If you are making a customized patch such as a company logo or something else that requires digitizing, you should include digitizing and material expenses in price. For example, I would charge $10 for a personalized and digitized patch. You can also consider which rate covers your monthly expenses and involves running your business (bill, material expense, internet, spending time). So you can charge your customers between $15 to $20 for customized patches.
It depends on which fabric you are using. For a thinner fabric, you must use a strong stabilizer that is cut away. It is prone to puckering. And if you don’t want the thickness of patch such as for polo shirts, you can try lightweight cutaway pro performance.
If you have scraps and want to make patches of different colors, we recommend making the applique-style patch.
