How To Organize Embroidery Designs – Complete Tutorial
If you install your favorite embroidery design for a project, did you suddenly discover that you can’t find it anywhere else on your screen? Most embroiderers have the typical issue of misplacing their sewing files on the desktop between several documents.
You become frustrated because you need to remember the exact website under which you retrieved the design. Therefore, to prevent such errors, embroidery design organization must be done in a way that allows you to escape this panicky scenario.
I’ll discuss the essential guidelines you need to follow to organize embroidery designs and other files so you can access them easily.
If you are looking for embroidery digitizing services, EMDigitizer is one of the best embroidery digitizing companies. Providing all types of embroidery digitizing Services. I recommend you try digitizing services.
Order NowGet Free QuoteHow To Organize Embroidery Designs Step By Step?
Here, we go over some fundamental methods on how to organize embroidery designs and files.
It will help you avoid wasting time trying to locate embroidered design files that were mixed in with other files.

1) Set The Downloaded Embroidery Designs In Order
It is crucial to acquire or buy embroidery designs from trusted digitizing companies.
It’s because other embroidery designs that were acquired from an online source could cause issues with the machine’s functionality or even malware damage.
Therefore, the first step is to confirm the validity of the embroidery design you saved to your computer or Laptop to preserve the quality of embroidery designs for superior end results.
- When you have located a reliable digitizing company from which you want to download or buy the design online, visit the site and choose the design.
- The design of interest will then be immediately secured to the download folder on your system after you hit the download link.
- The best way to organize embroidery designs is to move them to different locations on your system since you may already have several saved designs within this folder.
2) Set A File To Organize Embroidery Designs
To ensure saving embroidery designs for subsequent usage, you must develop the practice of organizing them.
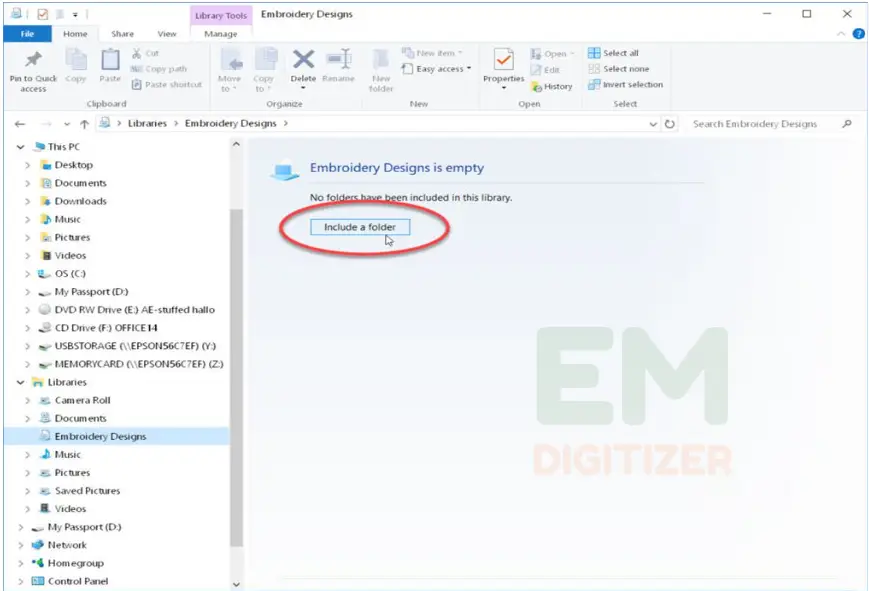
- To organize embroidery designs, you should also make a separate folder for each of your saved designs.
- If you are getting designs from a trustworthy digitizing company, you might create a file or sticky card to post on the computer as a little reminder of the location from where you have purchased them.
- Click on the folder containing the embroidery designs if you’re downloading them from an online source first.
- You can make a new file to organize embroidery designs.
- To create a new folder, first right-click on the space on your device.
- Your new file will be created in this manner.
- Drag your embroidery design into this distinct folder after it has been successfully created, giving it a name, to keep the design secure and well-organized.
You may now choose how to organize embroidery designs by giving the folder a name or by moving the design to the “New folder” for future usage.
3) Specify The Name Of The Design File
If you want to organize embroidery designs in a particular order so that you won’t have trouble finding your design, this is still another excellent option to tag the folder in the following ways:
- Based On the Site’s Name
The best and most practical way to organize embroidery designs that you have acquired from an official site is to name the folder to the title of the company.
(Visit the blog to find out details of the best embroidery digitizing companies)
If you save your file in this way, it will also be easier for you to get in touch with the corporation if the design includes too many stitches and request that they resend the properly digitized pattern.
You can talk with emdigitizers if you’re interested in buying premium designs. We provide our clients with quick turnaround times, 24/7 services, and reasonable costs.
- Based On The Type Of Design
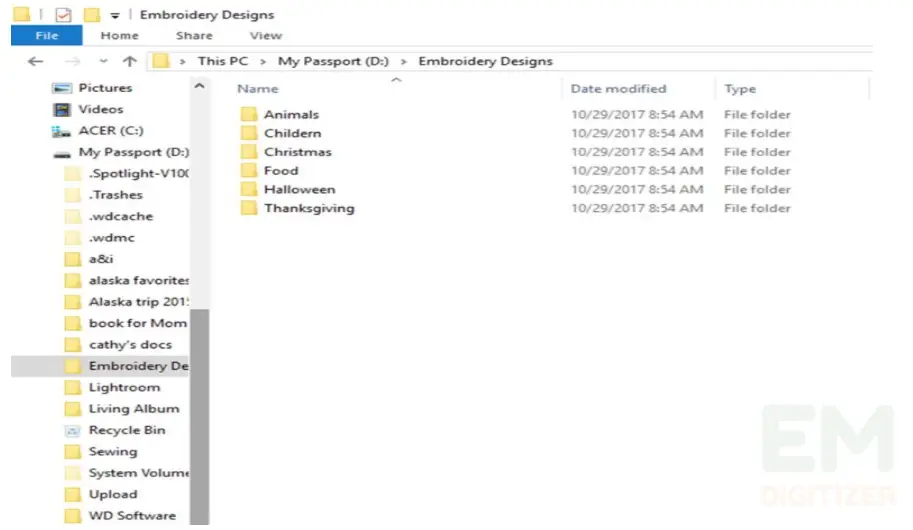
The best and simplest approach to organizing embroidery designs is to keep a file labeled with the names of the categories they fall under, such as Christmas embroidered designs, Halloween, holiday-themed designs, etc.
- You will gain a great deal of time savings from doing so.
- You only need to click the design file and continue when you want to embroider items from one of the following categories.
4) Add Subfolders To A Primary Folder
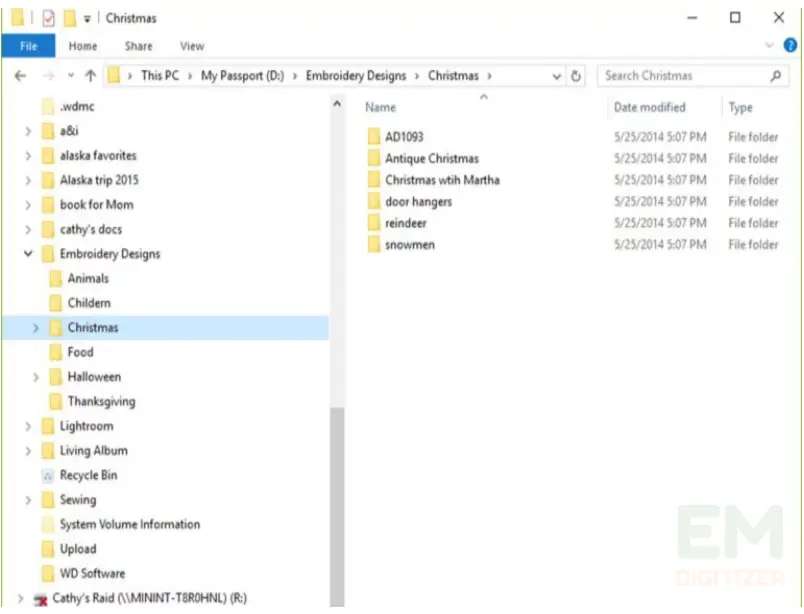
Creating a sub subfolder under the primary folder category is an intriguing technique to organize embroidery designs in the file.
It’ll free up extra space on your device for additional uses.
For example,
- If you wish to work on a Christmas project, for instance, you might create a main file called “Embroidery designs”, a subfolder called “Christmas embroidery designs” can be added to the main category.
- To efficiently organize embroidery designs and spare yourself the hassle of searching for a specific design, you can add more sections to the main folder.
Drawback
While creating sub-folders is unquestionably the best way to organize embroidery designs, it has the drawback of resulting in a large number of design files.
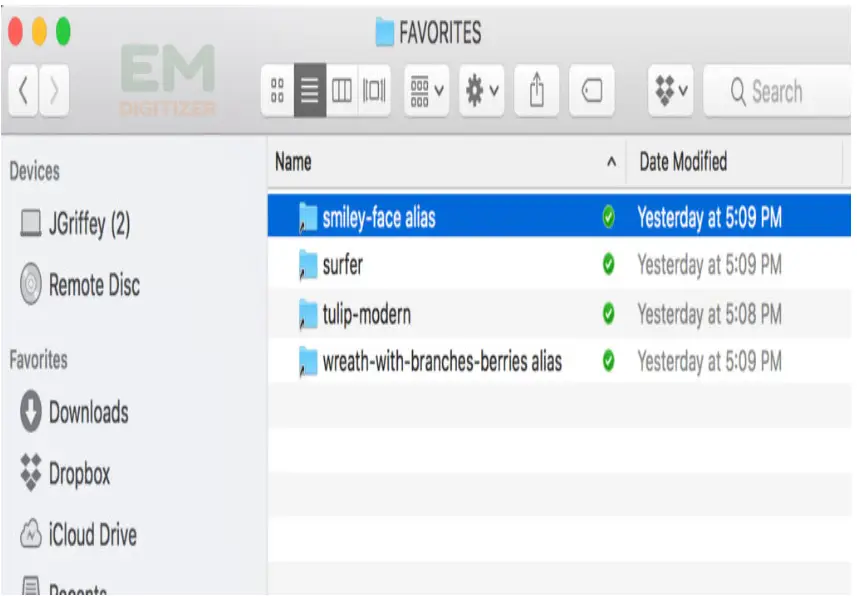
Therefore, the best course of action is to transfer your often-used design folders into your “favorite” folder and make a shortcut for this folder.
You may quickly find embroidery designs thanks to the organization. Your favorite might include fonts, glyphs, appliques, or emblems.
5) Specify The File Format When Saving The Design
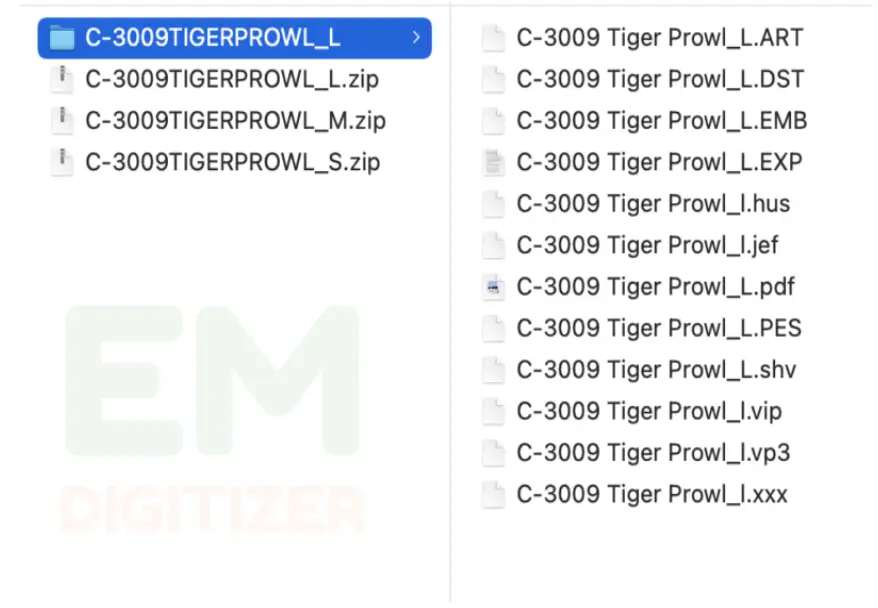
Creating folders to organize embroidery designs and files is the first step; the next is to save the files in the appropriate format.
(For a brief overview of machine embroidery file format, click here)
Giving the design file a specific name will allow you to save it, but you should prevent eliminating the last three digits, which indicate the file format.
You must preserve the design in its current format, for instance, if you download it as “Halloween ideas.DST.”
6) Make Use Of Zip File Types
To organize embroidery designs, you are advised to keep the design files in a specific format in the zip file.
If you purchased designs from one company and created a folder name on this behalf, these different subfolders will occupy a lot of space.
So the best way to organize embroidery design files is to save them in a zip file, you can easily extract the file whenever you need to use it.
If you are using a machine that does not recognize the format of your downloaded design, you can remove such designs other than convert them into other file time to save time.
(If you want to know about the conversion of file formats, click here)
7) Keeping The Design File On A USB Or External Drive
Hard drive or USB storage is an additional method to save and organize embroidery designs.
USB– A suitable storage device is a USB that takes up less space as compared to a hard drive.
One can conveniently store and organize embroidery designs in USB drives and you can edit or retrieve the design easily.
- To utilize the design, simply put the USB into a contemporary embroidery machine.
- The embroidered design may, however, need to be moved from a USB to a computer and then to the machine.
(To get a complete tutorial guide about transferring embroidery design from computer to machine, click here)
Hard Drive– A hard drive is an external storage device that offers a larger capacity than a USB.
- A hard drive is the most secure way to keep and organize embroidery designs if you have a huge collection of designs.
- Additionally, if your device crashes but you still have all of the design files in your possession and they are organized, a USB or hard drive both serve as backups.
- Drag and drop the existing patterns from the computer into a USB or disc to make a place for newly acquired embroidery designs, if your computer device is running out of capacity and you want to save more designs.
Conclusion
I have outlined the many ways to organize embroidery designs because it is simpler to work in this manner than to find your design from a jumble of files.
The ideal way to organize embroidery designs is to have a backup alternative, such as a USB or disc so that you won’t have to worry about losing the valuable designs that you need for future embroidery tasks.
- Create a new file or you may add subfolders
- Specify the name of the folder according to the site tag and design category
- Use of zip file
- Store designs in USB/Drive
Creating sub-folders has the drawback of resulting in a large number of design files.
So the best way is to transfer your often-used design folders into your “favorite” folder and make a shortcut for this folder. It may include your favorite fonts, glyphs, appliques, or patterns.
It is crucial to acquire embroidery designs from trusted digitizing companies because embroidery designs acquired from an online source could cause issues with the machine’s functionality or even malware damage.
If your device crashes but you still have all of the design files in your possession and they are organized, it is all because both USB or hard drives serve as backups.
If you have any questions leave the comments or you can visit our social channels for more updates regularly. We provide embroidery digitizing services if you need digitizing services feel free to contact us or email us.
