Transfer Embroidery Designs from Computer To Embroidery Machine – Complete Tutorial
The newcomers to the embroidery industry were taken into consideration when writing this article. You must first transfer embroidery design from your device to the embroidery machine if you are interested in seeing how a design will appear after stitching.
Several embroidery machines on the market have a design file already loaded. By using these designs, some people can easily complete their portion of the stitching. But occasionally, if someone wants to customize their craft, they can embroider their preferred design, which could be any image, creativity, artwork, character, or other design.
Users download the materials they need from any website into their USB drive or another storage device. To begin stitching their preferred design, they must now transfer embroidery design.
I’ll describe how to transfer embroidery design to a machine so that beginners can sew it with ease. You are unable to complete this step without the necessary information. Continue to take the below-listed actions to avoid any problems.
If you want to get knowledge about how to convert a PDF to a DST file, then you can visit: pdf to DST file
If you are looking for embroidery digitizing services, EMDigitizer is one of the best embroidery digitizing companies. Providing all types of embroidery digitizing Services. I recommend you try digitizing services.
Order NowGet Free QuoteTable of Contents
Overview
One can download one of the countless embroidery designs from the internet or take a photo of them using a phone or camera. Users may occasionally be able to benefit from the machine’s loaded designs.
A user’s preferred design collection might be stored on a USB. The design must be compatible enough with your embroidery machine so that it can read it to embroider.
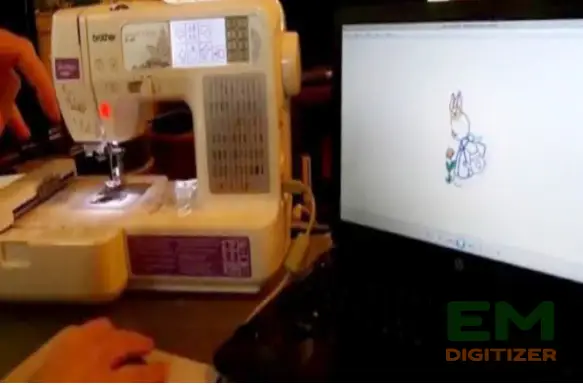
There are certain possibilities that your machine will continue stitching out after reading the format of that design. But in the majority of situations, one should be required to transfer embroidery design into their machine.
It is difficult to view a design on a machine’s screen if the file format of that design cannot be read by that machine. While some embroidery machines can read multiple formats, some types of machines can only recognize a single type of pattern.
Upon saving a file, one can quickly determine the file type by looking at the very last three words of the file which are different for each of the design files.
If you want to get knowledge about PDF Data Files into One Document, then you can visit: PDF Data Files into One Document
Tutorial Guide To Transfer Embroidery Design To The Machine
Here are a few simple methods that will enable you to carefully transfer embroidery design. One might be able to embroider any kind of pattern they like by following these procedures. Additionally, it makes it simple for beginners to transfer embroidery design of their choice into machines.
Step 01- Get Your Embroidery Design
You must first access this design to transfer the embroidery design. As I previously mentioned, one can find their preferred design online in any form. But there is always a quality issue when it comes to online photographs or designs.
We are all aware that not all of the design files we download from the internet are of enough standard to transfer embroidery design into the machine to create your favorite artwork.
The stitching of the design in the manner we see online is not doable. So, to transfer embroidery design into the machine before sewing, we must strive to utilize the best photos possible if we want to obtain a pattern that is impervious to damage.
The fact that not all designs are produced by expert digitizers is another factor that affects quality. It’s crucial to pick a design that is of the highest caliber and works best with the file format supported by the brand of your system.
So, my advice is to obtain the design from a trusted source, or you can consult the top organizations that offer digitizing services, like EMDigitizer.
Emdigitizer has a team of competent digitizers and provides you with services of the highest caliber in a short amount of time. (Click here if you’re interested in the best embroidery digitizing services with a quick turnaround)
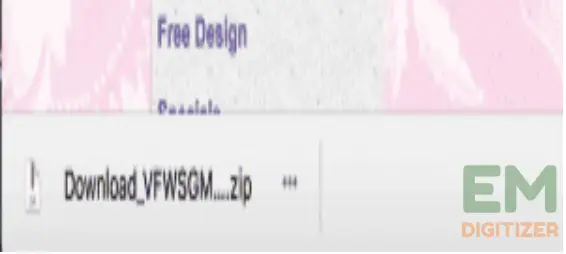
Choose your favorite embroidery pattern, put it in your product catalog, and keep on going before transferring the design into the machine. Most of the time, you must download a bundle of designs, which are then compiled into a single zip folder.
You might need to decompress and split each design to transfer embroidery design. If your design has been downloaded, check to be sure. It should be added to the home screen’s immediately accessible zip folder.
Simply click on that folder to get the various design file types that are compatible with various machine brands. Be careful to use the correct file type when you are going to transfer embroidery design into a USB.
Step 02- Load The USB Drive To Transfer Embroidery Design
Using a USB disc will allow you to transfer embroidery design into the machine after the design has been successfully downloaded. For that collection of embroidery designs, make sure your USB has adequate space.
Try to use a USB drive with 4GB of storage to transfer embroidery design. This is because most machines do not access USB devices with larger capacity ranges.
Another factor is that flash drives with more storage take longer to load and transfer embroidery design. As the design files you want to embroider are limited in Kbs, you can simply use a 2GB USB device.
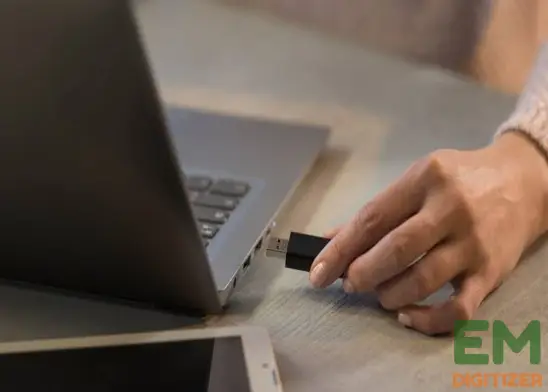
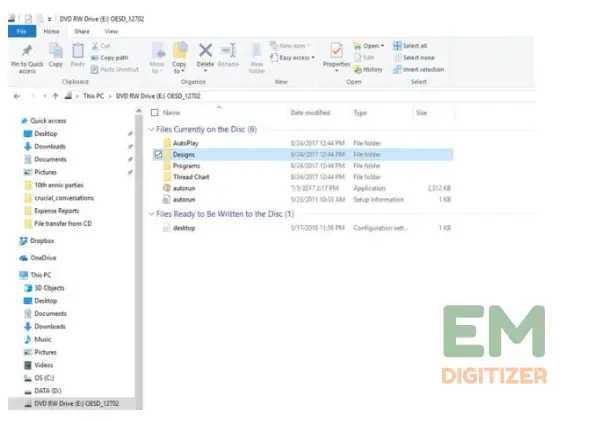
With the help of the USB port, connect a USB to your electronic device and then turn it on. To transfer embroidery design, first, locate the zip file where you downloaded the design.
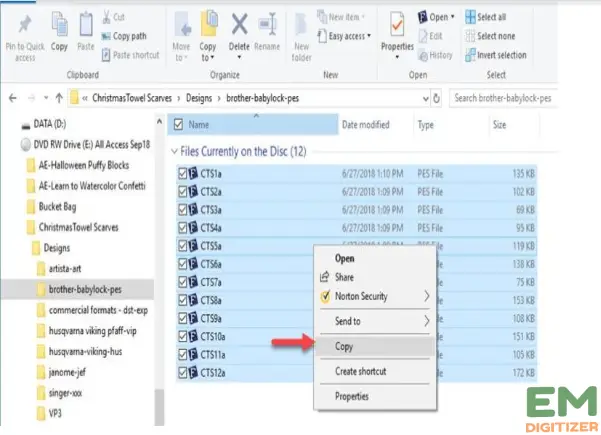
According to the format that your machine can read, choose the correct file type. Drag or paste the file type from the folder onto the USB drive by creating a new folder to transfer embroidery design there.
If you have a large collection of different designs, it is recommended to name each folder. You can rename a folder by right-clicking on it. It will make it simple for you to locate and transfer embroidery design files.
After you have successfully loaded your design file onto the USB, that USB is ready to transfer embroidery design. In this way, you can embroider the cloth of your choice with your favorite artwork.
Step 03- Transfer Embroidery Design From USB Onto The Embroidery Machine
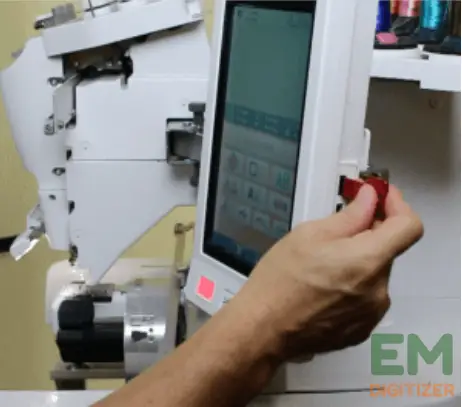
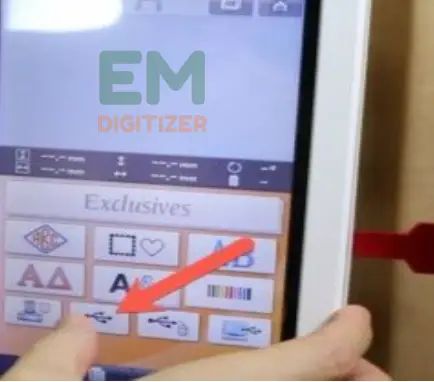
It should be noted that your USB is prepared to transfer embroidery design to the machine. To begin, turn on your embroidery machine. Locate the USB logo on your device by checking.
The majority of clients send the design straight through USB. Currently, there is only one USB choice with the exact design you wish to avail. To have a backup, be sure to copy that design to your device.
Then insert the USB into the computer. Check the location that is flashing USB signs after that. Choose and transfer embroidery design to the sewing machine and begin stitching your preferred pattern.
Conclusion
So, this is how to transfer embroidery design from a USB to the machine to make the embroidery, regardless of the type. Due to ignorance, the majority of people struggle while attempting to transfer embroidery design. They are unsure of which designs to take into account and which file types work best for their embroidery machines. Consequently, get into trouble.
But the embroidery machine has transformed in this technological era. Some contemporary gadgets can wirelessly and directly transfer embroidery design onto the machine. If you want to get the results you want, attempt to utilize a high-quality image. Additionally, check that your design file exhibits similarity with your machine type.
I hope this post has provided you with enough knowledge to accurately transfer embroidery design. For the growth of your embroidery business, keep creating something distinctive to stitch.
Yes, you can upload your own designs to an embroidery machine. Most modern embroidery machines come with built-in USB ports that allow you to transfer your designs from your computer to the machine. You will need embroidery design software to create your designs and save them in a format compatible with your machine. Once the design is saved, you can connect the USB drive to your machine and upload the design directly to the machine’s memory for embroidery.
However, the process may vary depending on the specific model and brand of your embroidery machine.
To transfer embroidery designs to a USB drive, you will need to follow these steps:
Create your design: Use embroidery design software to create your design and save it on your computer.
Save the design in a compatible format: Most embroidery machines use either DST or PES file formats, so make sure you save your design in one of these formats.
Connect the USB drive to your computer: Plug the USB drive into an available USB port on your computer.
Copy the design to the USB drive: Locate the design file on your computer and copy it to the USB drive.
Disconnect the USB drive from your computer: Safely remove the USB drive from your computer by following the appropriate procedures for your operating system.
Connect the USB drive to your embroidery machine: Plug the USB drive into the machine’s USB port.
Load the design into your embroidery machine: Use the machine’s menu system to navigate to the USB drive and select the design you want to embroider.
Embroider the design: Start the embroidery process and the machine will stitch the design directly from the USB drive.
Note: The process of transferring designs to a USB drive and loading them into an embroidery machine may vary depending on the specific model and brand of your embroidery machine.
No, PDF files are not suitable for direct use in embroidery machines. Embroidery designs are usually saved in specific embroidery file formats, such as DST, PES, JEF, XXX, and others, which are specifically designed for use in embroidery machines. To use a design in an embroidery machine, it needs to be converted from a PDF or other format into one of these embroidery file formats.
The easiest way to transfer embroidery designs depends on the specific embroidery machine you are using and the method you prefer for transferring files. Some common methods for transferring embroidery designs include:
USB drive: You can transfer designs from your computer to a USB drive and then plug the USB drive into your embroidery machine.
Direct Connect: You can connect your embroidery machine directly to your computer using a USB cable.
Network Connection: You can transfer designs to your embroidery machine via a network connection if your machine is network-enabled.
CD/DVD: You can burn designs to a CD or DVD and then insert the disk into the embroidery machine.
Each of these methods has its own advantages and limitations, and the easiest method for you will depend on the specific equipment and resources you have available.
If you have any questions leave the comments or you can visit our social channels for more updates regularly. We provide embroidery digitizing services if you need digitizing services feel free to contact us or email us.
