Do you frequently experience difficulties when hooping embroidery projects or wind up with sloppy embroidered projects as a result of faulty hooping? In light of this, I hope you find this post useful. Having an echidna hooping station is a better option for you if you want to avoid the frustration that can come with hooping difficult fabrics like socks and baby onesies. You’ll all find that the set is adequate for hoops of various diameters. Additionally, placing it on your stitching table is simple.
Table of Contents
ToggleEmbroidery Digitizing Services
If you are looking for embroidery digitizing services, EMDigitizer is one of the best embroidery digitizing companies. Providing all types of embroidery digitizing Services. I recommend you try digitizing services.
Order NowGet Free QuoteWhy Is There A Need To Have Your Own Echidna Hooping Station?
The phase of embroidery known as hooping demands the most precision and time. Hooping is done to give the fabric and stabilizer enough stability between the rings of the hoop to embroider high-quality projects. With inappropriate hooping, one could become trapped in the most problematic situation. However, if you’re using robust fabric, you’ll need to keep re-hooping it.
Professional embroiderers can understand the challenges of this approach because it is time-consuming. Owning the Echidna hooping station is something you need to do to streamline that process. Echidna hooping station aids in holding the stabilizer and hoop on the bottom side while arranging the material before placing the hoop on the top side. This step makes it simple to hold several projects from the same place.
If you are intrested in embroidery hooping visit our blog which is completely on Embroidery Hooping.
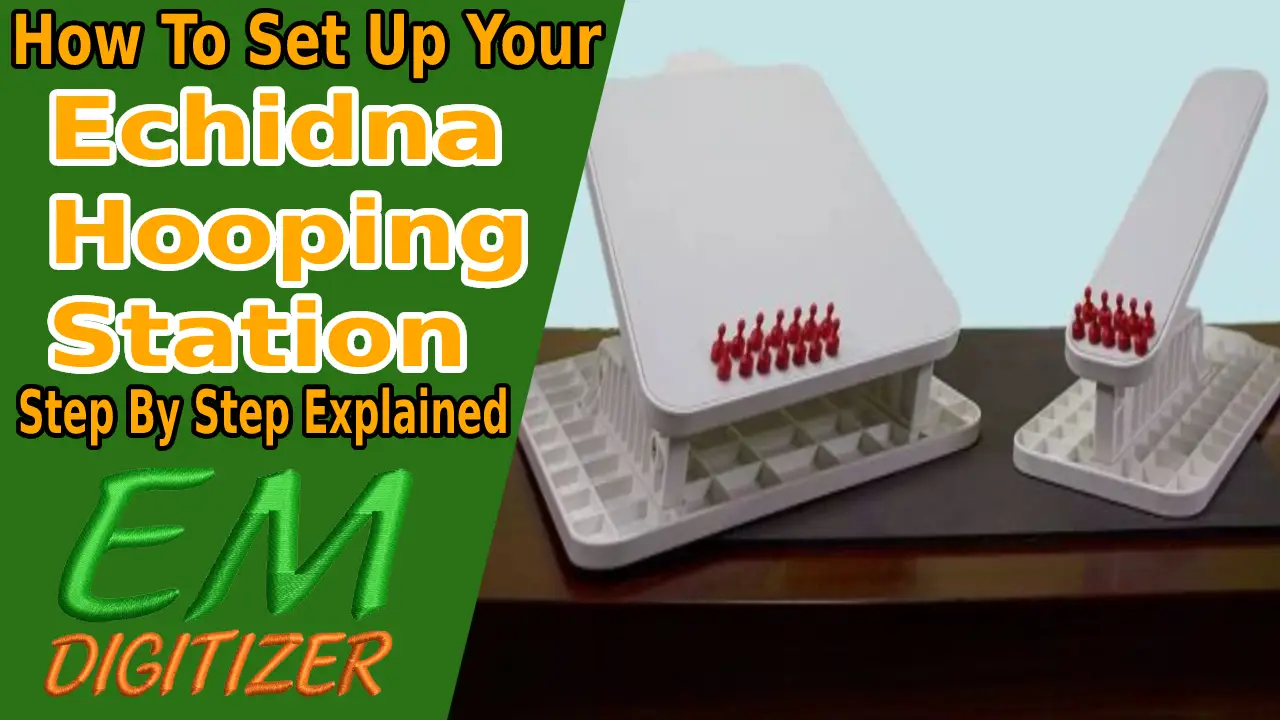
Echidna Hooping Station
Echidna hooping Station is the ideal option since it offers a better grasp on hoops for accurately embroidering the products while considering the embroidery on both large and tiny objects. Because hooping is an essential aspect of needlework that must be done properly. Depending on the size of the stitched items, it comes in a small and large hooping set. Except for size, each hoop station has unique and disparate characteristics.
- These Echidna hooping stations include a non-slip interface with magnets that make it easy to fix the hoop firmly on a surface for users to embroider.
- The use of adhesive sprays, additional pins, and clips to secure the hoop is no longer necessary thanks to these magnets.
- The availability of a handy frame on both sides is another great feature. The frame is angled in a way to make embroidery more viable and to lessen the strain on the user’s wrists in case of embroidering socks, sleeves, shirts, teddies, etc.
- You may fasten hoops of various diameters with the Echidna hooping Station without purchasing additional tools. Therefore, building up your echidna hooping station is a benefit that will enable you to save time and money.
Large Echidna Hooping Station
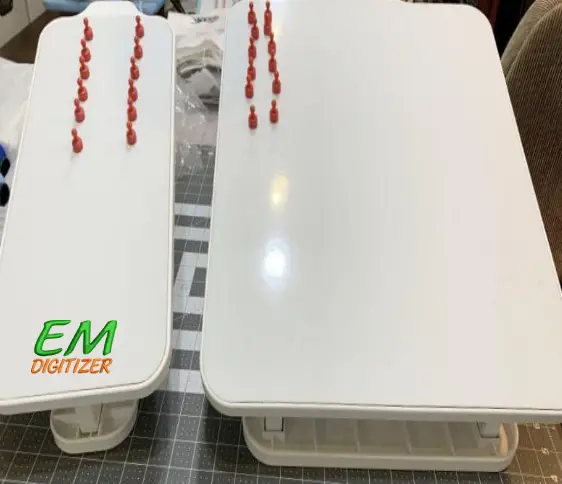
The large side is 45 cm long and 42.5 cm wide. Additionally, the small side has a width of 33 cm and a length of 45 cm. By using a large Echidna hooping station, large embroidery projects are hooped. It also involves:
- Hooping of blankets
- Hooping of towels
- Hooping of both children’s and adults’ apparel
Small Echidna Hooping Station
The little Echidna hooping Station has a main side that is 43 cm long and 20 cm wide, and a smaller side that is 43.5 cm long and 10 cm wide. To hoop the smaller projects precisely, the Echidna hoop station is preferable. It consists of:
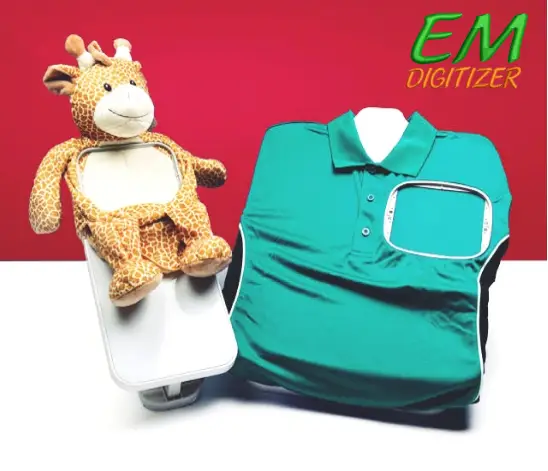
- Hooping of baby clothing that fits the smaller hoops
- Hoops for baby blankets
- To hoops tiny objects
- To hoop the teddy bears for your children
If you want to start our embroidery business here is a complete guidness to start a embroidery business you must visit it.
Step By Step Guide To Set Up Echidna Hooping Station
In this article, I’ll go over the key procedures you must comply with for the placement of the Echidna hooping station correctly.
Step 01- Take All The Parts Out Of Box
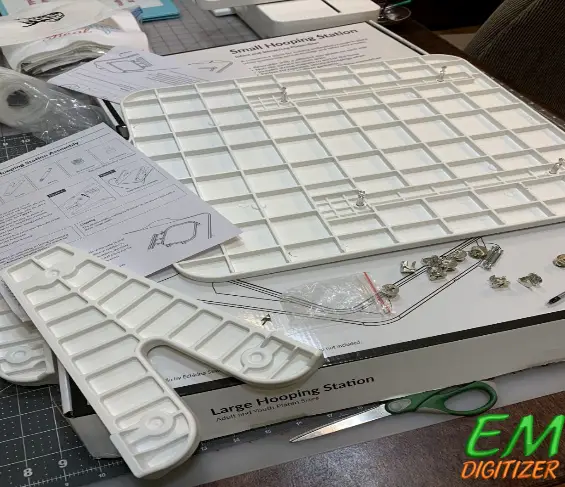
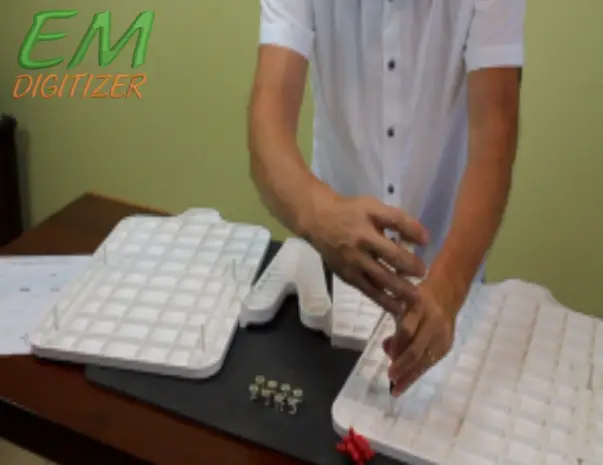
The first step in assembling the Echidna hooping station is to remove all the components from the package. It will assist you in precisely arranging all of the components more easily. After that, sequentially lay out all of the hooping box’s components on the table. Make sure the hooping box contains each of the items on the list. These include a manual with comprehensive instructions, a panel, twist locks, magnets, a pair of pins, and legs.
Step 02- Start Setting The Panel
Pick up the pins from the table and place them inside the panel as you move forward. To ensure that all the panels are securely fixed, first tighten these pins with your hands before firmly grasping the screwdriver.
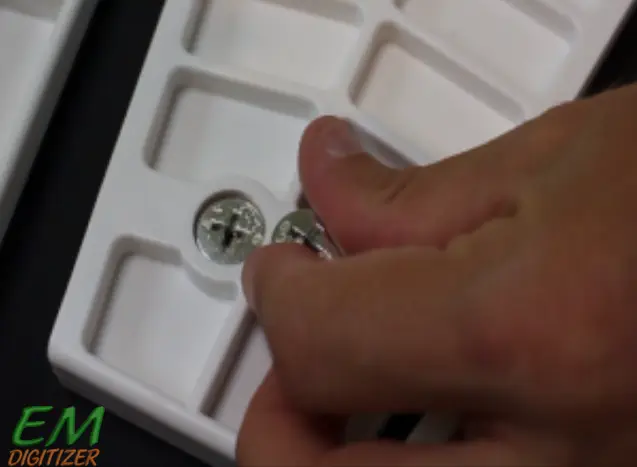
Step 03- Now Enter The Twist Locks
The twist locks now need to be correctly inserted. To achieve this, turn the arrow on the twist locks so that they point in the direction of the holes on the leg’s two sides.
Step 04- Bring All The Components Together
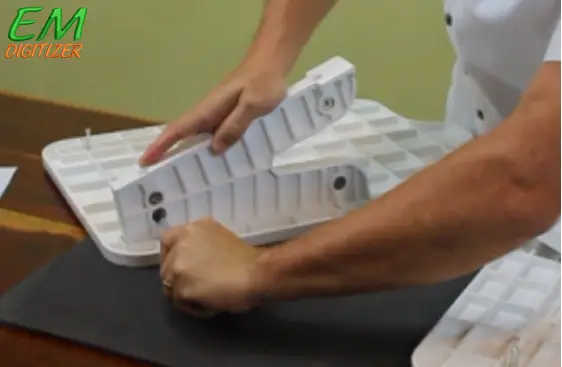
Take a leg at this point and position it on the hole. Be sure to position it above the panel’s pins. Twist locks should then be tightened once more before being turned over and repeat the process with the other leg in the same way.
Final Step
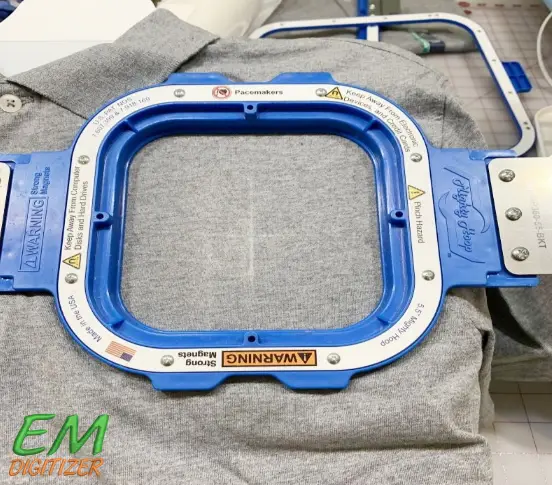
Take the magnet out of the table, place it on the main board, and then begin the hooping process when the panels and legs have been secured. Your echidna hooping is now correctly configured and ready for usage. Enjoy creating embroidered masterpieces with our new Echidna hooping Station.
Conclusion
I hope you will find this post about working with Echidna hooping Station to be attractive. Since it only takes up a small amount of area on the stable, it is adaptable enough to hoop tough material. However, due to its little weight, it is quite simple to set down. You develop an addiction to it once you put up the Echidna hooping station. By making use of this tool avoid the hassle of coming up with hooping of embroidery projects. You can save time and money by setting up your own Echidna hooping station instead of purchasing additional tools to tighten the hoops for embroidery tasks.
Echidna hooping Station is the ideal option since it offers a better grasp on hoops for accurately embroidering the products while considering the embroidery on both large and tiny objects. Echidna hooping station aids in holding the stabilizer and hoop on the bottom side while arranging the material before placing the hoop on the top side. This step makes it simple to hold several projects from the same place.
This includes a manual with comprehensive instructions, a panel, twist locks, magnets, a pair of pins, and legs. You may fasten hoops of various diameters with the Echidna hooping Station without purchasing additional tools.
- In the first step, take out all the components from the hooping box and place them on the table.
- Then start with using pins to secure the panels.
- After that tighten the twist locks and line up the legs with the hole.
- In the end, fix the magnet on the board and start hooping a variety of projects.
By using a large Echidna hooping station, large embroidery projects are hooped. It also involves:
- Hooping of blankets
- Hooping of towels
- Hooping of both children’s and adults’ apparel
The small hooping station includes:
- Hooping of baby clothing that fits the smaller hoops
- Hoops for baby blankets
- To hoops tiny objects
If you have any questions leave the comments or you can visit our social channels for more updates regularly. We provide embroidery digitizing services if you need digitizing services feel free to contact us or email us.

