How To Thread An Embroidery Needle In A Right Way – Complete Tutorial
Threading an embroidery needle may seem like a simple task, but it can sometimes be a bit tricky. With our expert tips and tricks, you’ll master the art of threading in no time, elevating your embroidery skills to new heights.
Join us on this creative journey and unlock the key to perfect stitches with our complete tutorial on threading an embroidery needle the right way!
If you are looking for embroidery digitizing services, EMDigitizer is one of the best embroidery digitizing companies. Providing all types of embroidery digitizing Services. I recommend you try digitizing services.
Order NowGet Free QuoteA. Thread An Embroidery Needle Without Needle Threader
If you don’t have a needle threader on hand, don’t worry! You can still thread an embroidery needle with a bit of practice.
Many people often resort to moistening embroidery floss or any thread in an attempt to thread it through a needle’s eye. Although this method can be effective, it has some drawbacks.
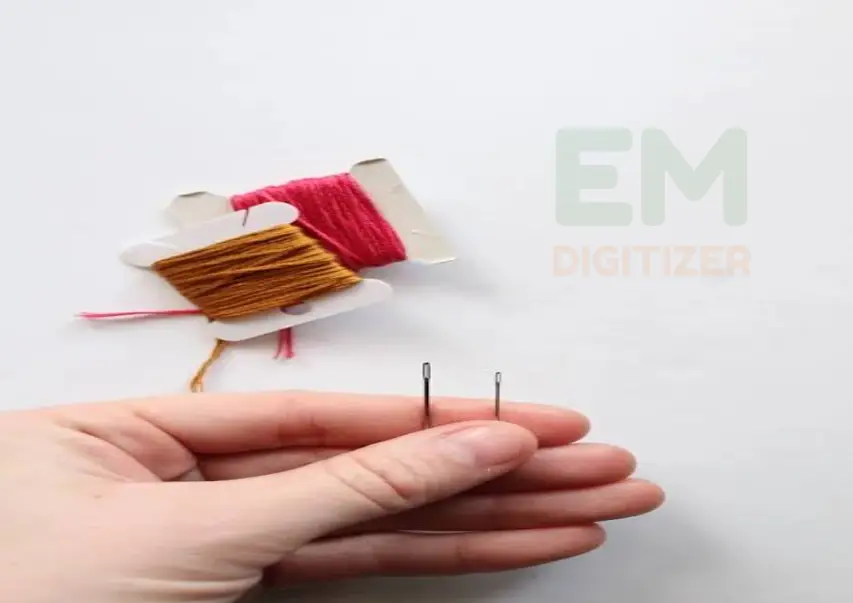
Firstly, it can be a bit unpleasant when threading a needle for someone else. Secondly, there is no guarantee of success, and you may end up with a damp thread instead.
Another technique you might have encountered or attempted is squinting while guiding the thread through the needle.
While this method can work, it is considerably more challenging so Instead of this, you can modify your grip on the embroidery floss to improve your chances of success.
Follow these steps to thread an embroidery needle without a needle threader:
Materials Needed:
- Embroidery needle
- Embroidery thread
- Scissors
- Good lighting
Step 1: Prepare Your Materials
Before you begin to thread an embroidery needle, make sure you have all your materials ready.
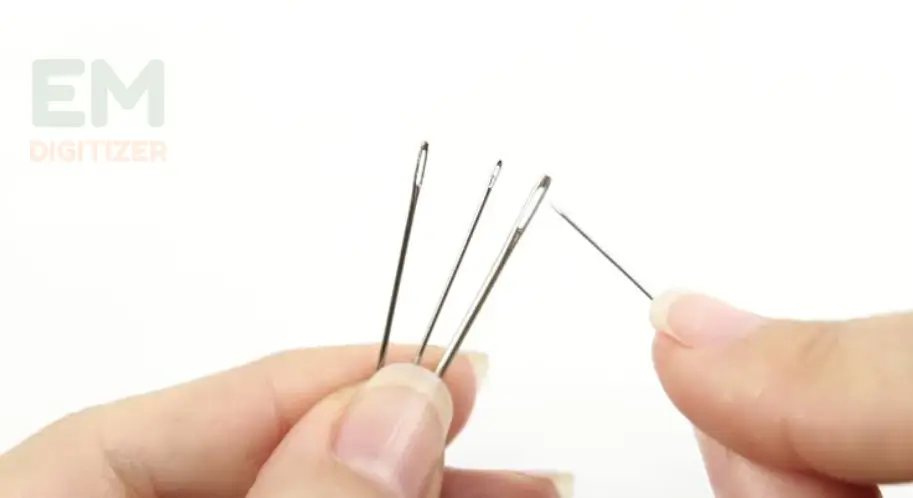
- Choose an embroidery needle with an eye large enough to accommodate your thread easily.
- Cut a length of embroidery thread, approximately 18-24 inches long, depending on your project’s size and the length of thread you prefer to work with.
- Ensure you have good lighting to see the needle and thread.
Step 2: Cut The Thread
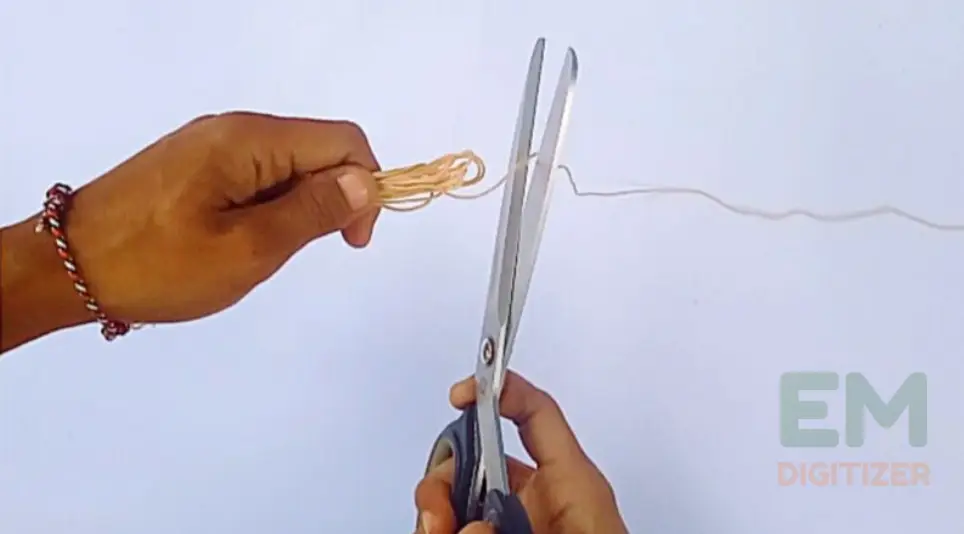
- Using your scissors, cut the end of the embroidery thread at an angle. This will create a pointed tip that makes threading the needle easier.
- Avoid cutting the thread too close to the end, as it might fray and become difficult to thread.
Go and check the list of best embroidery scissors for fine cutting and trimming results of embroidery floss.
Step 3: Wet The Thread (Optional)
- For added convenience, you can moisten the tip of the embroidery thread slightly.
- This can make the thread stiffer, making it easier to thread through the needle’s eye.
- However, this step is optional to thread an embroidery needle, and some embroiderers prefer not to wet the thread.
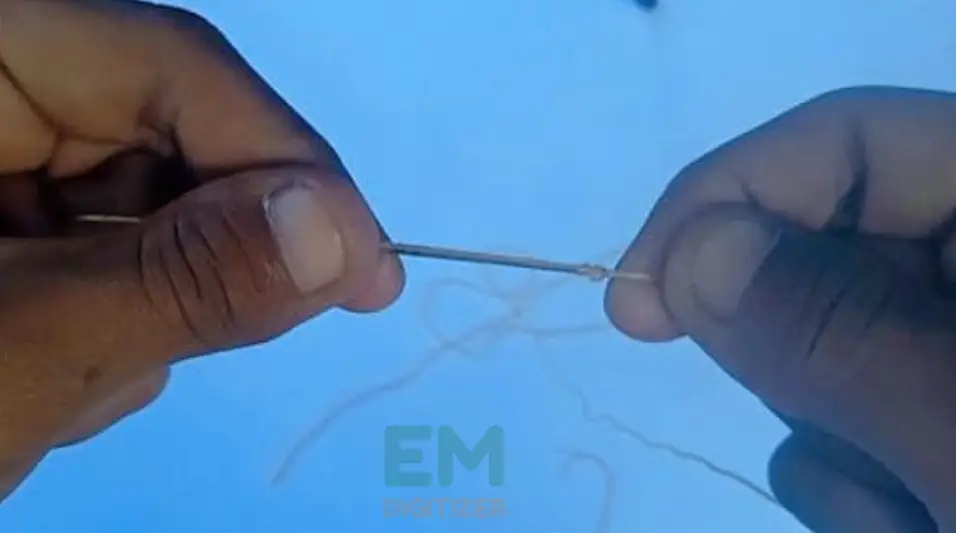
Step 4: Pinch And Flatten The Thread
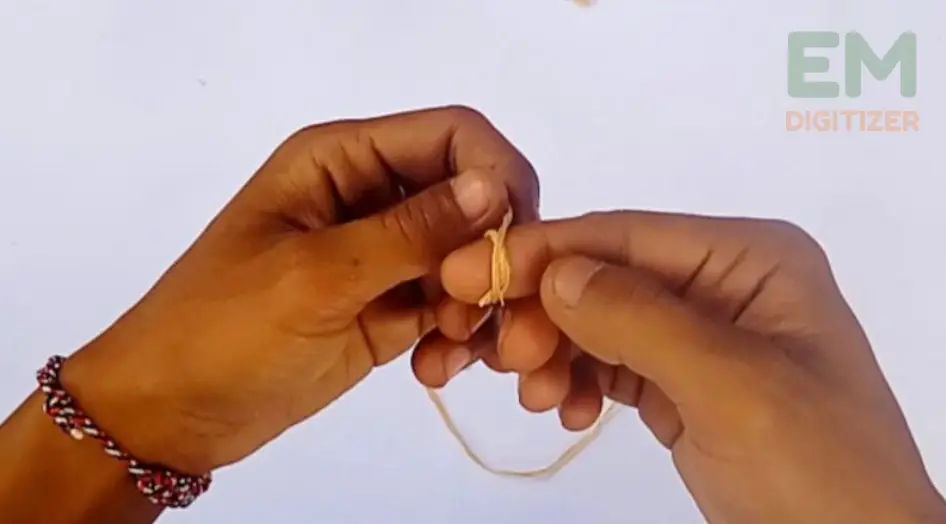
- Take the end of the thread between your thumb and index finger and pinch it tightly.
- Flatten the end of the thread between your fingers to make it more manageable.
- This will help guide the thread through the needle’s eye without splitting or fraying.
Step 5: Insert The Thread Through The Eye
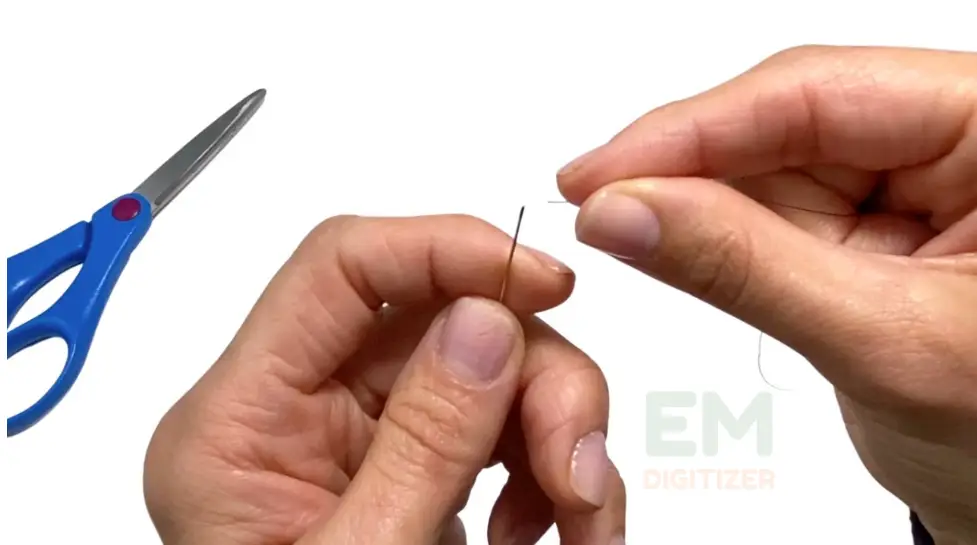
- Hold the needle with your non-dominant hand, with the eye facing upward.
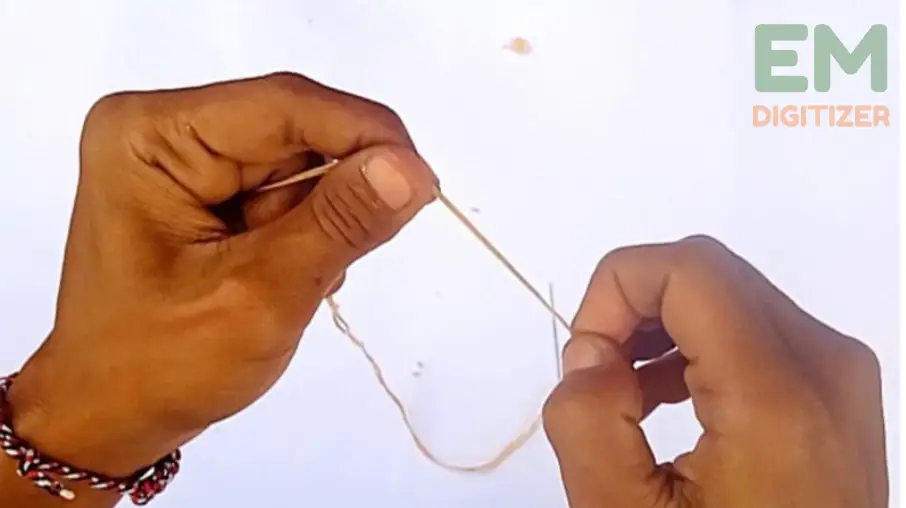
- With your dominant hand, bring the flattened end of the thread close to the eye of the needle.
- Gently insert the thread through the needle’s eye, aiming for the center.
- Move the thread through the eye slowly, maintaining control to prevent it from tangling or bunching up.
Step 6: Pull The Thread Through
- Once the thread is inserted through the needle’s eye, use your non-dominant hand to pull the thread’s free end until it is about halfway through the eye.
- Be gentle but firm to avoid pulling the thread out accidentally.
Step 7: Check The Thread Tension
- Before starting your embroidery project, check the tension of the thread.
- Gently hold the needle with the threaded end facing down and allow the needle to dangle freely.
- The thread should slide smoothly through the needle’s eye without any resistance or knotting. Adjust the thread tension if necessary.
If you are new to embroidery and want a complete understanding of thread tension on the embroidery machine, this post is for you.
Step 8: Secure The Thread
- To secure the thread, tie a small knot at the end opposite the needle.
- This will prevent the thread from slipping out of the needle while you are stitching.
- You can also use a small piece of tape or a thread conditioner to hold the thread in place to thread an embroidery needle.
Thread An Embroidery Needle With A Needle Threader
A needle threader is a handy tool that simplifies the threading process, especially for individuals with visual impairments or shaky hands. Here’s a step-by-step guide to threading an embroidery needle using a needle threader:
Step 1:
To thread an embroidery needle with a needle threader, you will need the following items:
- Embroidery needle
- Thread
- Needle threader
Step 2:
- Using embroidery scissors, cut a length of floss, typically around 18-24 inches, depending on your project’s requirements.
- Make sure to trim the end of the floss to create a clean, pointed tip.
Step 3:
Take one end of the floss and insert it through the wire loop of the needle threader.
- Pull it through until there is an equal amount of floss on each side of the threader.
Step 4:
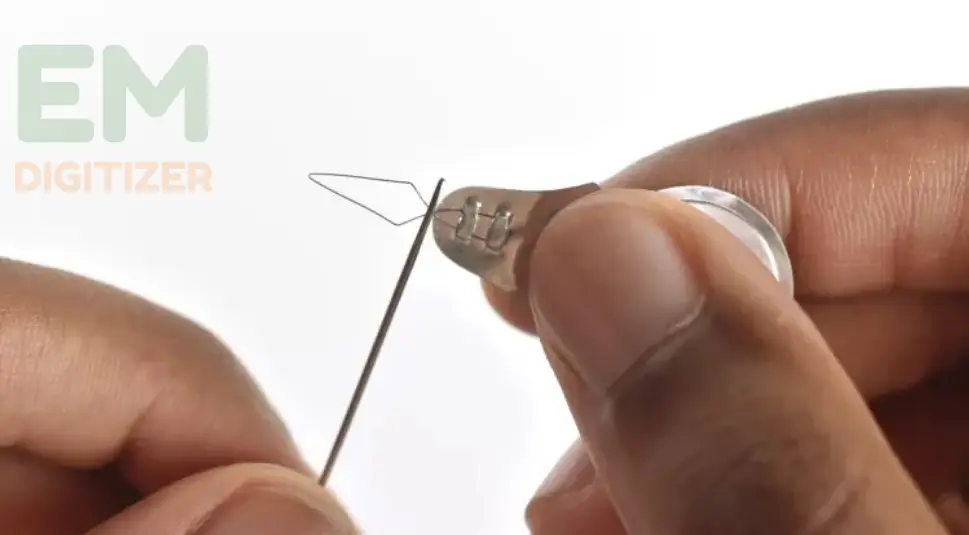
- Hold the needle threader in one hand and take your embroidery needle in the other hand.
- Insert the eye of the needle into the wire loop of the threader, making sure it goes through the loop completely.
Step 5:
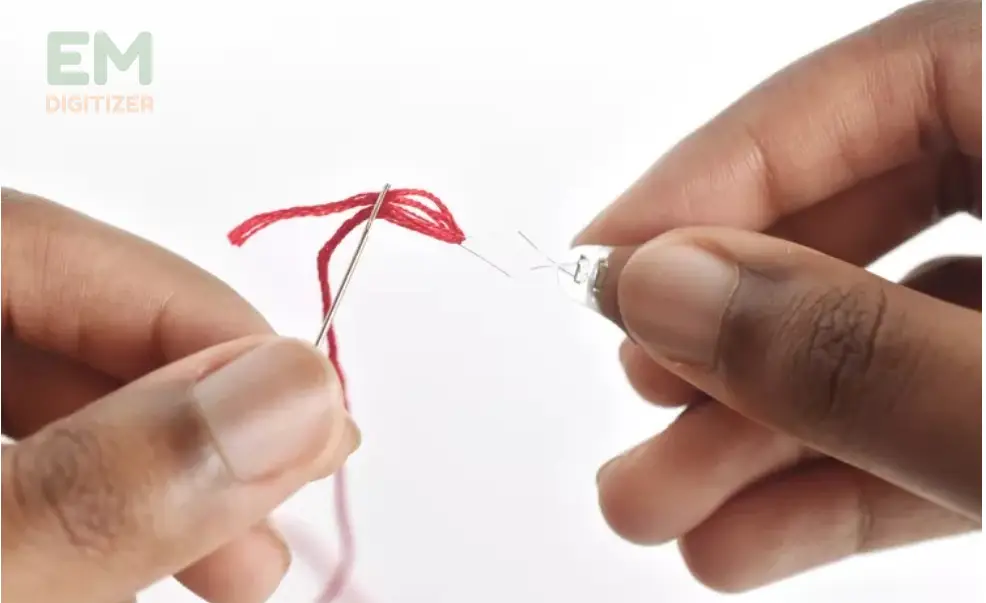
- Carefully pull the needle threader back through the eye of the needle, making sure the floss goes with it.
- Slowly remove the floss from the needle threader, leaving a small tail of floss hanging from the eye of the needle.
Step 6:
- Once the thread is through the needle, carefully slide the needle out of the threader loop.
- Ensure that the thread remains securely in the needle’s eye.
And there you have it! Your embroidery needle is now threaded and ready for stitching.
Remember to adjust the number of strands and thread length based on your specific embroidery design and fabric requirements and enjoy the process of creating beautiful stitches!
Visit our site to get the list of free embroidery designs by a professional em digitizer team.
Note: Initially, this technique may require some practice, but it allows you to thread the needle without relying solely on strong eyesight.
If you still encounter difficulties, you can consider coating the end of the thread with a small amount of beeswax or thread conditioner as an additional aid.
Tips To Thread An Embroidery Needle
The process to thread an embroidery needle properly is essential for a smooth and enjoyable stitching experience. Here are useful tips to help you thread an embroidery needle correctly:
Choose The Right Needle Size
Selecting the appropriate needle size for your embroidery project is crucial and the size of the needle depends on the fabric you are working with and the thickness of the thread.
Generally, the larger the number, the finer the needle. For delicate fabrics, use a smaller needle, and for thicker fabrics, use a larger needle.
Here is the complete guide on how to choose the best machine embroidery needle for better results.
Consider The Length Of the Thread
The length of the thread you cut should be suitable for your embroidery project and for threading embroidery needles and it should be long enough to complete the desired stitching without becoming excessively tangled or knotted.
However, avoid cutting an extremely long thread as it may lead to fraying and make the stitching process more difficult.
A good rule of thumb is to cut a thread length that is comfortable for you to work with without excessive tangling to ensure threading the embroidery needle easily.
Check out the blog to find the list of best embroidery threads and their uses so you can employ the right thread in your embroidery projects.
Prepare The Thread End
To make threading easier, you can try a few techniques to prepare the end of the thread. One method is to moisten the end of the thread slightly, which helps it stay together and pass through the needle eye smoothly.
Another technique is to thread an embroidery needle by trimming the thread end at a slight angle, creating a pointed tip that makes it easier to guide through the needle.
Separate The Strands
Embroidery floss is typically made up of multiple strands twisted together. For most embroidery projects, you’ll need to separate the floss into individual strands.
Hold the floss near one end and gently pull out one strand at a time until you have the desired number of strands for your project. The most common is to use 2 to 3 strands for standard embroidery work.
Use a Good Lighting System
Adequate lighting is essential for successfully threading an embroidery needle. Ensure you have enough light to see the needle’s eye and the thread. Natural daylight or a well-lit area can make it easier to thread the needle accurately.
Steady Your Hands
It’s important to keep your hands steady while threading the embroidery needle. You can stabilize your hands by resting your elbows on a table or holding the needle between your thumb and index finger while threading.
Double-threading Technique
If your embroidery design requires a double thread, you can thread the needle with both ends of the thread together.
Fold the thread in half and follow the same steps to insert the looped end through the needle’s eye. This technique provides added strength to your stitches.
Practice And Patience
Threading embroidery needles is a bit challenging, especially when using fine threads or tiny needles so take your time and be patient.
If you’re finding it difficult to thread an embroidery needle, take a short break and then try again with a calm and focused mindset.
Conclusion
By following this step-by-step tutorial, you can ensure that your thread is securely threaded through the needle’s eye, allowing you to create beautiful and precise stitches in your embroidery projects.
Remember to practice and be patient, as threading needles can take some practice, especially if you’re new to embroidery. Happy stitching!
Embroidery floss is commonly used for embroidery projects. It is a divisible thread made of six strands that can be separated and used individually or combined for different effects. Other options include pearl cotton, metallic thread, and silk thread, depending on the desired look and project requirements.
It is generally recommended to cut a length of thread between 18 and 24 inches. This length allows you to work comfortably without the thread becoming too long and tangling frequently.
The size of the embroidery needle depends on the fabric you’re working with and the thickness of the thread. As a general guideline, use a smaller needle size for finer fabrics and a larger needle size for thicker fabrics. Embroidery needles typically range in size from 1 to 12, with 1 being the largest and 12 being the smallest.
Here are a few tips to prevent thread knotting while threading the needle:
- Cut the thread end cleanly to avoid any frayed edges.
- Wetting the tip of the cable can help smooth it out and prevent tangling.
- Hold the thread taut while inserting it through the needle’s eye to ensure it goes through smoothly.
After threading the embroidery needle, leave a tail of thread at least a couple of inches long. Hold the tail between your thumb and index finger, and begin stitching by taking a small stitch at the starting point. Leave the tail secured underneath the stitches to keep it in place.
If you have any questions leave the comments or you can visit our social channels for more updates regularly. We provide embroidery digitizing services if you need digitizing services feel free to contact us or email us.
