How To Use A Mini Sewing Machine – Complete Tutorial
Have you ever found yourself in a situation where you wished you could fix a torn seam or add a personal touch to your clothing but lacked the necessary tools?
Well, fret no more! Mini sewing machines have become a popular choice among sewing enthusiasts due to their compact size, portability, and ease of use.
In this embroidery tutorial, we will explore the world of mini sewing machines and guide you on how to use them effectively. So, grab your mini sewing machine, thread your needle, and let’s get stitching!
Table of Contents
Embroidery Digitizing Services
If you are looking for embroidery digitizing services, EMDigitizer is one of the best embroidery digitizing companies. Providing all types of embroidery digitizing. I recommend you try digitizing services.
Order NowGet Free QuoteIntroduction
A typical sewing machine that is smaller and more portable is called a mini sewing machine. It is practical for tiny sewing projects, quick repairs, and stitching while on the road because it is lightweight and portable.
Despite their small size, mini sewing machines can still handle basic sewing tasks such as hemming, mending clothes, and creating simple crafts.
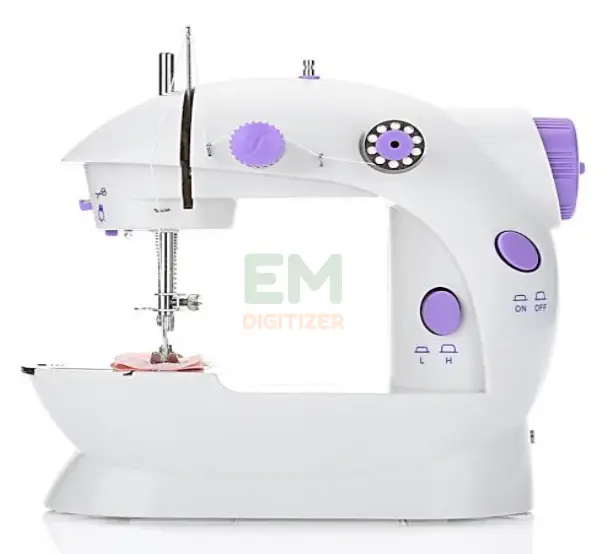
The advantage of a mini sewing machine is its user-friendly design and it is easy to set up and operate, making it suitable for beginners or those who prefer a simpler sewing experience.
Familiarize Yourself With The Mini Sewing Machine:
Before diving into the sewing process, take a few moments to acquaint yourself with the different parts of your mini sewing machine through this embroidery tutorial.
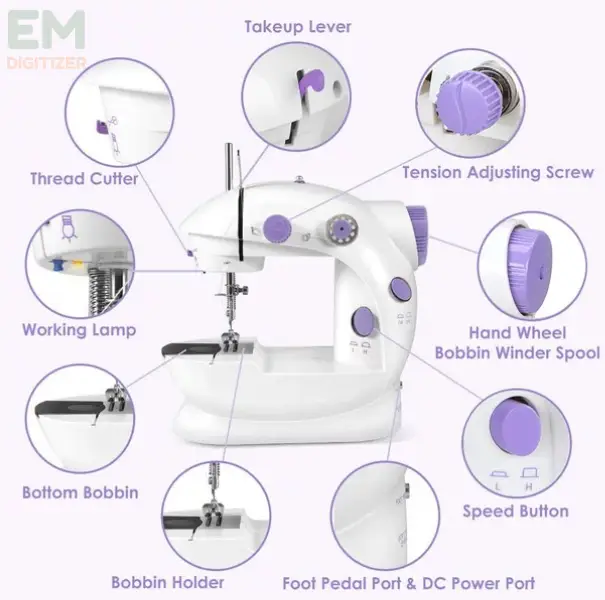
A sewing machine typically consists of several key parts. Here are the main components you’ll find on a mini sewing machine and how to use them:
Spool Pin: This is a vertical pin that holds the thread spool in place.
Bobbin Winder: It winds thread onto the bobbin.
Bobbin: A small spool that holds the lower thread, which is used in conjunction with the upper thread to form stitches.
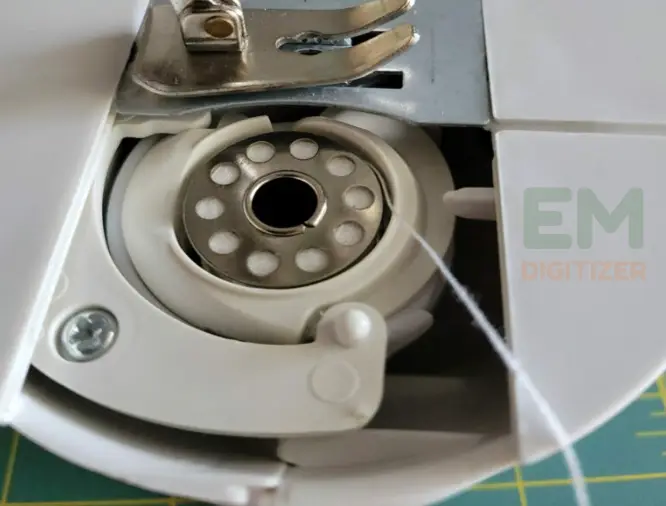
Bobbin Case: The bobbin fits inside the bobbin case and is positioned beneath the needle plate. It helps control the tension and movement of the lower thread.
Needle: The needle is responsible for creating stitches by piercing the fabric. It moves up and down, passing through the fabric and the hole in the needle plate.
Visit the blog to learn the tips to choose the best needle for your embroidery machine for the best results.
Needle Clamp and Needle Bar: The needle is secured in place by the needle clamp, which is attached to the needle bar. The needle bar moves the needle up and down as it stitches.
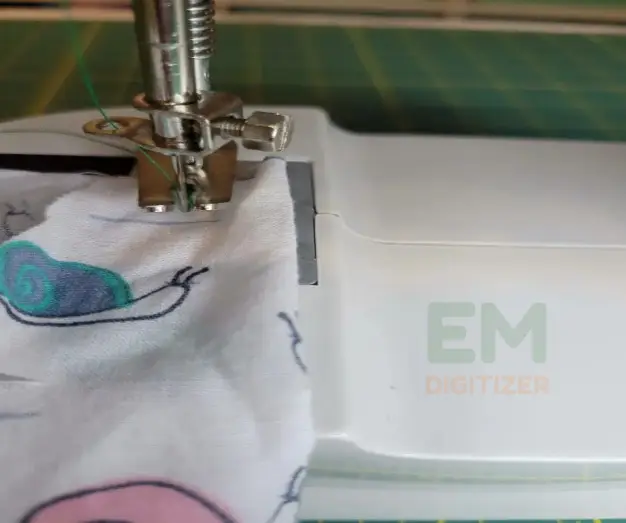
Presser Foot: This is a metal or plastic foot that presses the fabric against the feed dogs (see next point). It helps maintain even feeding of the fabric and prevents slipping.
Feed Dogs: These are metal teeth located beneath the needle plate. The feed dogs grip the fabric and move it along while stitching, ensuring smooth and even feeding.
Stitch Selector: The stitch selector allows you to choose different types of stitches, such as straight stitch, zigzag stitch, buttonhole stitch, etc.
Stitch Length and Width Controls:
These controls adjust the length and width of the stitches, allowing you to customize the size and appearance of your stitches.
Tension Dial: The tension dial adjusts the tightness of the upper thread. Proper tension ensures balanced stitches without loose or tight loops.
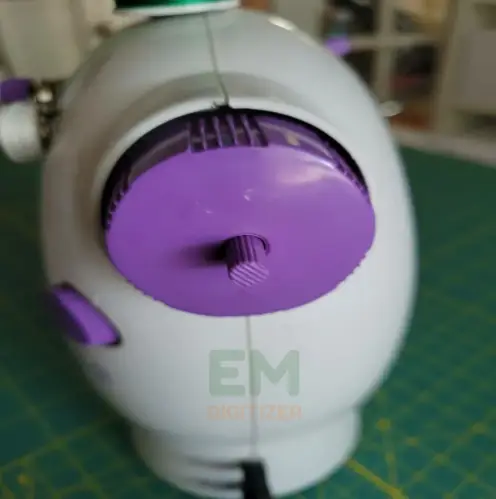
Handwheel: The handwheel is located on the side of the machine and is used to manually raise and lower the needle. It is also used to manually advance the position of the fabric.
Foot Pedal: The foot pedal, also known as the foot controller, is used to control the speed of the sewing machine. Pressing down on the pedal powers the machine and determines the sewing speed.
Power Switch: The power switch turns the sewing machine on and off.
Here is the list of best machine embroidery accessories one must have to make their sewing process more easier and profitable.
How To Use A Mini Sewing Machine?
To prepare your mini sewing machine, start by placing it on a stable surface with ample lighting. Ensure that the power cord is connected securely to the machine and an electrical outlet.
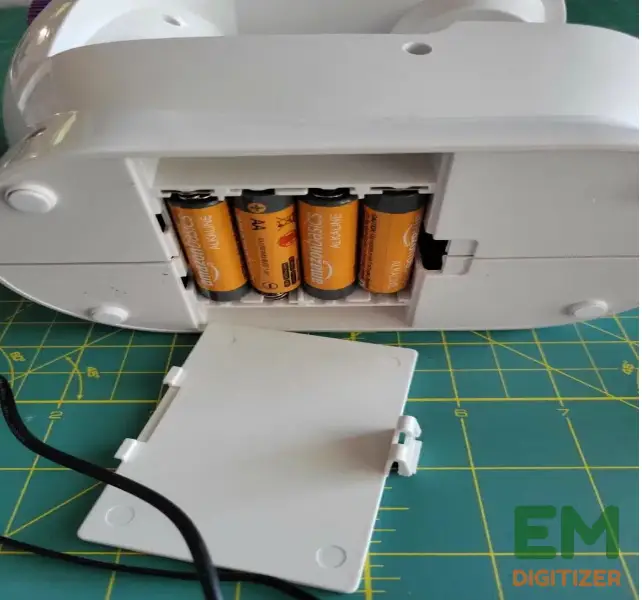
Now Insert the required batteries or turn on the power switch, depending on the machine model, and start following these steps:
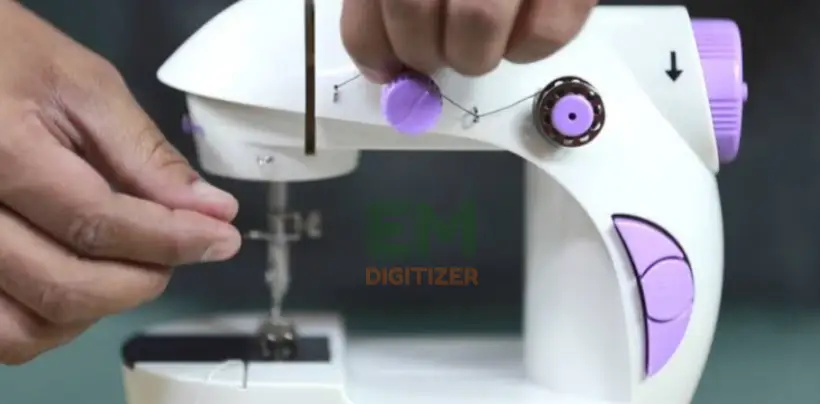
Step 01: Thread The Mini Sewing Machine
- Threading a mini sewing machine may seem daunting at first, but with a little practice, you’ll become a pro.
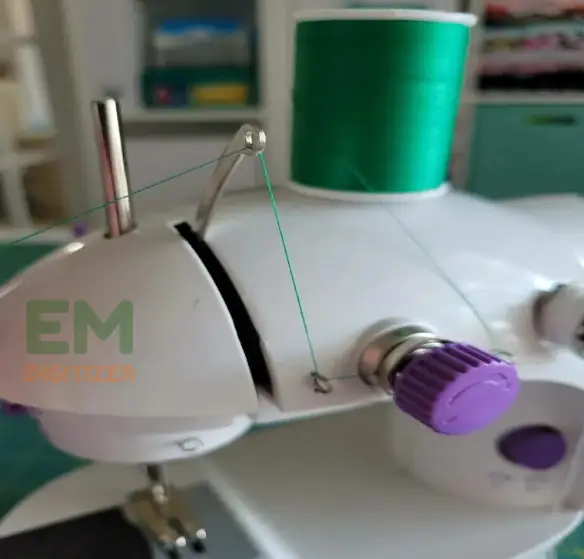
- Start by placing the spool of thread on the spool holder and feeding the thread through the machine’s thread guide.
- Next, wind the thread around the bobbin and place it on the bobbin winder.
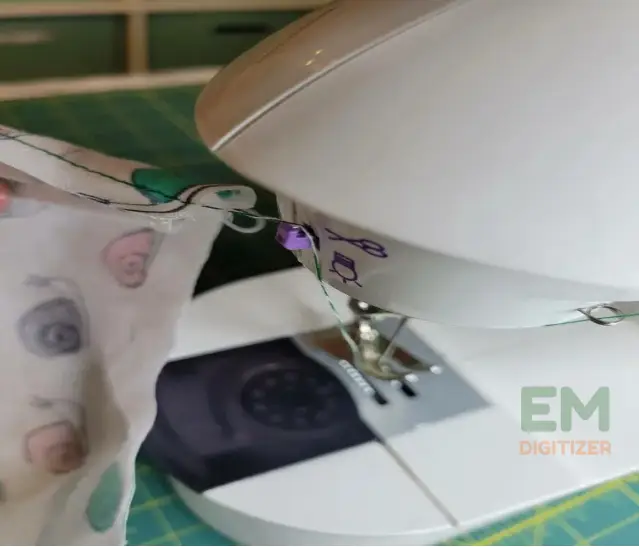
- Finally, thread the needle by following the machine’s specific threading path.
Want to learn how to thread the needle with or without the use of a needle threader? Go and read out the blog.
Step 2: Wind And Instal The Bobbin
To ensure a smooth sewing experience, it’s important to wind the bobbin correctly.
- Begin by placing an empty bobbin on the bobbin winder spindle and pulling the thread through the machine’s designated path.
- Press the bobbin winder lever to engage the winding mechanism and let it wind until the bobbin is full.
- Once done, remove the bobbin from the winder and insert it into the bobbin case according to your machine’s instructions.
Step 3: Adjusting Tension And Stitch Length
Most mini sewing machines offer adjustable tension and stitch length settings. Experiment with different tension levels and stitch lengths on scrap fabric to achieve the desired results.
Lower tension is suitable for lightweight fabrics, while higher tension works better for heavier fabrics. Likewise, shorter stitches are ideal for delicate work, while longer stitches are great for basting or gathering fabric.
This post is for you if you are a novice and want to understand the fundamentals of adjusting thread tension and how it impacts stitching.
Step 4: Using The Foot Pedal
The foot pedal provides control over the sewing speed. Gently press the foot pedal to start sewing and release it to stop.
- Practice controlling the speed by gradually increasing or decreasing pressure on the pedal.
- It may take a few attempts to find the right rhythm and achieve smooth and even stitches.
Step 5: Preparing Your Fabric
Ensure your fabric is clean and pressed before you begin sewing with a mini machine.
- Remember to pin any loose ends or delicate fabrics to prevent them from getting caught in the machine.
- It’s also essential to choose the appropriate needle size and thread for your fabric.
- Thicker fabrics require larger needles and stronger threads, while delicate fabrics call for finer needles and threads.
Following is the list of best embroidery fabrics you should know that will let you choose the best one according to the project.
Step 6: Practice Stitching Techniques
Mini sewing machines offer a variety of stitching options, including straight stitches, zigzag stitches, and buttonhole stitches.
Familiarize yourself with the different stitch settings on your machine and practice on scrap fabric before working on your actual project. This way, you’ll gain confidence in your stitching abilities and ensure the desired outcome.
Finishing Touches:
Once you’ve completed your sewing project, it’s essential to finish it off neatly. Use the machine’s built-in thread cutter or a pair of fabric scissors to trim the excess thread.
You can also secure the end of your stitches by backstitching, which involves sewing a few stitches backward at the beginning and end of your seam.
Unleash Your Creativity With Mini Sewing Machine
A mini sewing machine is a compact and portable device that can be used for a variety of sewing projects. Here are some project ideas that can be made with a mini sewing machine:
Clothing Alterations
You can easily hem pants, skirts, or sleeves that are too long using a mini sewing machine.
Small Accessories
Create handmade fabric accessories like hair scrunchies, headbands, or fabric bows.
Pouches And Bags
Make small pouches, coin purses, or cosmetic bags using different fabrics and patterns.
Patchwork Projects
Piece together small fabric scraps to create patchwork coasters, placemats, or quilted pot holders.
Visit the blog to get the list of supplies needed to make your embroidery patches to beautify your crafts.
Decorative Pillowcase
Sew custom pillowcases with fun fabrics and decorative stitches to add a personal touch to your living space.
Toys
Design and sew miniature outfits for dolls or stuffed animals, which can be a fun project for children.
Fabric Crafts
Create fabric bookmarks, keychains, or fabric-covered notebooks using a mini sewing machine.
Baby Items
Sew baby bibs, burp cloths, or small blankets using soft fabrics and cute patterns.
Embellishments And Appliques
Add decorative elements to clothing, bags, or home decor items by sewing on appliques, beads, or sequins.
Upcycling Projects
Mend torn clothing, sew buttons back on, or repurpose old fabric items into something new and useful.
Start with simpler projects and gradually move on to more complex ones as you gain confidence and skill with your mini sewing machine.
Troubleshooting Tips:
As a beginner, you might encounter a few hiccups along the way. Here are some common issues and their solutions in this embroidery tutorial.
Uneven Stitches: Adjust the thread tension knob or check if the bobbin is correctly threaded.
Thread Breaking: Ensure the thread is correctly threaded and not tangled. Use high-quality threads for better results.
Skipped Stitches: Check the needle’s condition and make sure it is properly inserted. Replace the needle if necessary.
Maintenance And Care: To keep your mini sewing machine in good working condition, remember to clean it regularly.
- Remove lint and dust from the machine’s surface and around the needle area using a small brush or a lint roller
- Lubricate the machine as per the manufacturer’s instructions to ensure smooth operation.
Need additional information? Check out the extra tips to maintain your machine to retain its longevity.
Conclusion
Congratulations! You’ve completed your crash course in using a mini sewing machine. We hope this embroidery tutorial has equipped you with the knowledge and confidence to embark on exciting sewing adventures.
Mini sewing machines are generally suitable for lightweight fabrics such as cotton, silk, and polyester. However, they may struggle with thicker fabrics, multiple layers, or heavy-duty sewing tasks. It’s always recommended to consult the manufacturer’s guidelines and embroidery tutorial for the specific capabilities and limitations of your machine.
Mini sewing machines usually have a limited number of stitches. Look for a stitch selector dial or buttons on the machine. Rotate the dial or press the appropriate buttons to choose the desired stitch pattern.
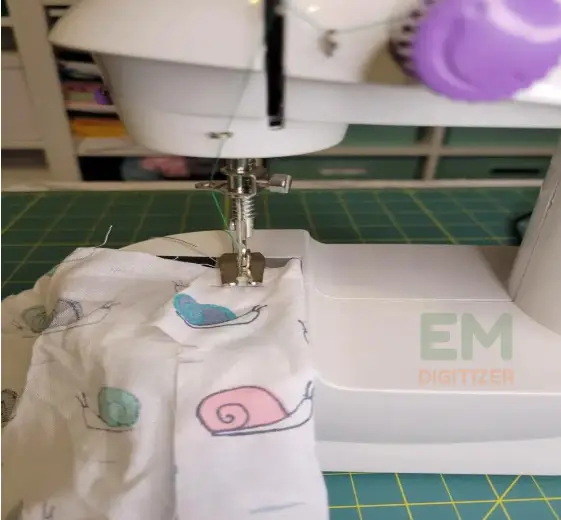
Place your fabric under the presser foot and lower the presser foot.
- Hold the fabric with your left hand and gently press the foot pedal with your foot or press the machine’s button to start sewing.
- Guide the fabric through the machine with your hands, keeping a steady pace.
- Use the handwheel (if available) to manually move the needle when needed.
- Lift the presser foot and remove the fabric once you have finished sewing.
If you have any questions leave the comments or you can visit our social channels for more updates regularly. We provide embroidery digitizing services if you need digitizing services feel free to contact us or email us.
