How to Embroider a Quilt Label – Complete Tutorial
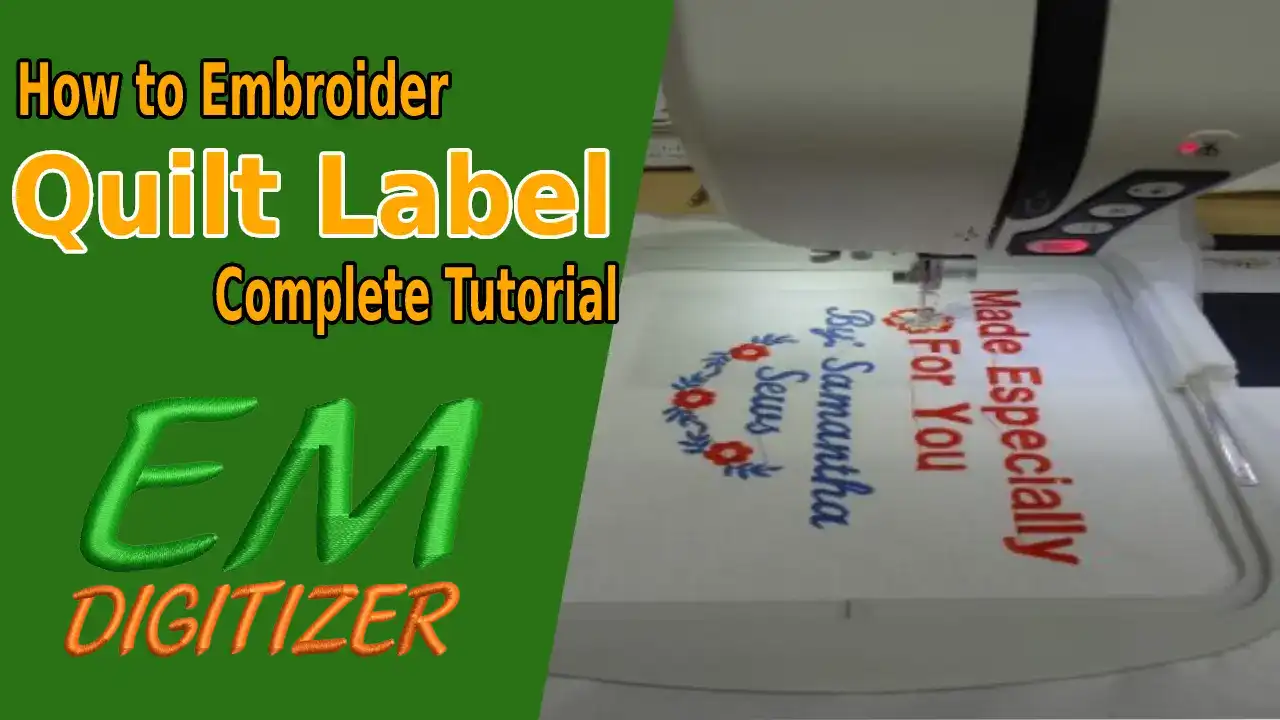
I don’t know about you, but I’m usually done by the time I’m left with just adding the binding and label to the quilt. Thankfully, making labels with an embroidery machine is quick, easy, and painless. So, are you ready to add the finishing touch to your quilt by adding an embroidered label or tag?
Follow along with this tutorial to learn how to embroider a quilt label!
If you are looking for embroidery digitizing services, EMDigitizer is one of the best embroidery digitizing companies. Providing all types of embroidery digitizing Services. I recommend you try digitizing services.
Order NowGet Free QuoteWhat to Include on a Quilt Label
If you check out a selection of quilt labels, you will get different items included on each one. As long as you are entering a quilt show and the requirements are very clear, you can add whatever details you want.
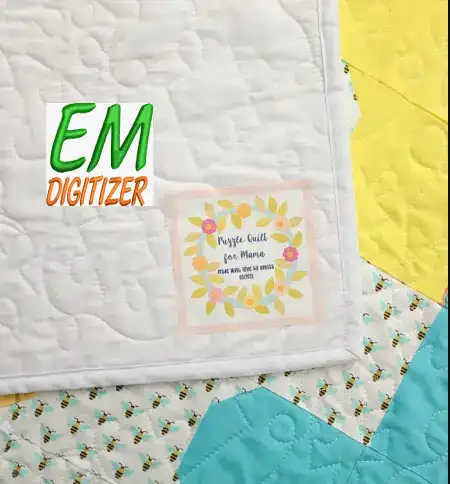
Here are some things you may want to include on your embroidery quilt label:
- Your name (and the names of everyone who helped with the piece or quilt.)
- Recipient’s Name, Recipient
- Name of quilt and/or pattern used
- Construction Details: Machine, thread, and fabric used or other relevant details
- History is complete
- Total hours worked.
- Reason for gift giving: birthday, wedding, birth, etc.
- Your address and phone number (required for quilts that I enter)
- A few ideas for the recipient or a favorite quote
- Anything else you can think of?
Select Fabric for Machine Embroidered Quilt Labels
Now that you’ve decided what to embroider on your quilt label, the next step is deciding what fabric to embroider it on! First, choose a stable, woven fabric that doesn’t stretch (which makes it easier to embroider). Also, make sure that whatever material you use won’t affect how the quilt hangs and moves once the label is attached. Mostly, I use good quality quilting cotton.
Adding a layer of interfacing to the back of the fabric if needed (be careful of steam and shrinkage), starching it well, stabilizing it properly, and choosing a good design are usually labels of good quality.
Quilt Label Embroidery Designs
While quilt labels are fairly straight forward to digitize in embroidery software (I’ll cover that later), sometimes it’s nice to use a pre-digitized design.
So, here are some machine embroidery quilt label design resources.
- Juju Customize Quilt Designs
- Quilt Label Bundle by Ladder Hill Designs
- Anita Goodesign Corner Quilt Label
- Free quilt label from Creative Kiwi
- Embroidery Library Quilt Labels
Stabilizer for Quilt Labels and Puckering
Unless you use a font with a low stitch count (think running stitch, not satin stitch) or choose a very sturdy fabric, your quilt label will suffer from movement or improper stability. That’s why I like to use a fusible no-shoe mesh stabilizer to keep the fabric firm and provide proper stitch support. It’s also important that the stabilizer you use is soft and won’t affect the fabric properties of the quilt when the label is sewn on.
If I don’t use a fusible stabilizer, I attach the stabilizer and base fabric together using a temporary adhesive and add a basting stitch before the design stitches to prevent movement. I also avoid tear-away stabilizers because tearing the stabilizer off the back of the quilt can distort the fabric and stitches, and it often doesn’t support my quilt label embroidery design very well.
Ways to further stabilize the fabric before embroidering include adding Terrell Magic, starch, bast press (I go through gallons of it!), or even a homemade water-soluble stabilizer solution. For added support, you can also try interfacing (SF101, etc.) or an embroidery backing like Tender Touch. Be careful with steaming or washing in case of disproportionate shrinkage.
How to Embroider a Quilt Label Step-By-Step
1. Create or edit your own quilt label embroidery design
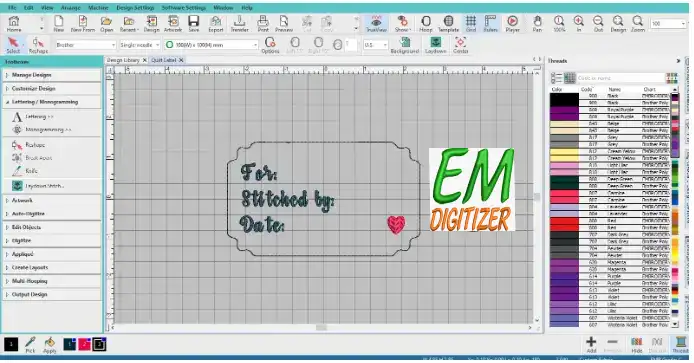
First, most embroidery programs provide the basic functionality you need to edit or create your own quilt label embroidery designs. Choose your favorite built-in border motif or create your own design, add text centrally, and export.
Second, you can create quilt label designs using the built-in functions of the latest embroidery machines. As above, only add text to a frame and then stitch!
Finally, you can purchase a pre-made quilt label design file and fill in the details with handwriting or machine lettering. Choosing a Font for Quilt Labels vs. Deciding to Hand Letter
Whether you create your label from scratch or add text to an existing design, you’ll need to choose a font or decide to write by hand. If you decide to go the hand-lettering route, I recommend following these tips from Pat Sloan for choosing the appropriate fabric marker.
Handwritten labels might be more “personal,” but I’m an engineer and a doctor, and my handwriting isn’t pretty or legible most days. This is because I use embroidery fonts for all my text. If you go the embroidery font route, you have several source options.
First, most embroidery machines have built-in fonts, which is great if you like to edit on screen. One problem I run into here, though, is that if I decide to put multiple lines of text on a quilt label, the fonts don’t always shrink. Also, can not be expected great success with blocky, satin stitch fonts. Instead, choose lightweight fonts or letters made with running stitch
es.
You can also download embroidery fonts or use fonts in your embroidery software. It is only necessary that the fonts are either already small if they are machine file format fonts or can be properly resized if they are native font formats.
Quilt labels can also be different shapes!
While I usually make triangular or rectangular quilt labels (because I can tuck the two edges under the binding), you can create more unique shapes when it comes time to cut out the labels.
To be completely honest, I like to use my Cricut Maker to cut quilt labels that are odd shapes because hand-cutting a circle, star, or anything else is not my forte. Although, don’t be afraid to think outside the box!
Quilt Label Edge Options
I also have several ways to fix the edges on my quilt label. The first option, which is my least favorite, is to use pink shears to cut and sew the edge of an interfacing or non-interfacing fabric. (You can also cut with regular scissors to your desired shape.)
Another is to make a simple shape like a rectangle and then fold the edges of the label evenly under. The final method is to sew a piece of fabric over the quilt label (right side down), leaving a small gap. Open, trim, turn the quilt label right side out and close the opening. It is double-layered and gives a beautiful perfect look.
2. Prep Stabilizer and Hoop Fabric
Now that you’ve created the design and worked out how it will sew, it’s time to start setting up the fabric and machine. For best first-time success, I stiffen my fabric with a bast press before embroidering, but you can use your favorite quilt stabilizer. Terrell Magic, though, requires washing after embroidery to prevent discoloration.
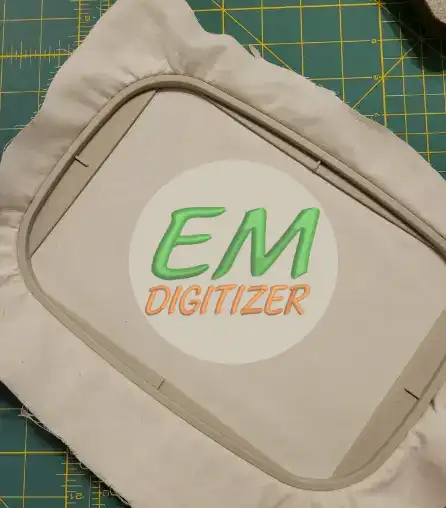
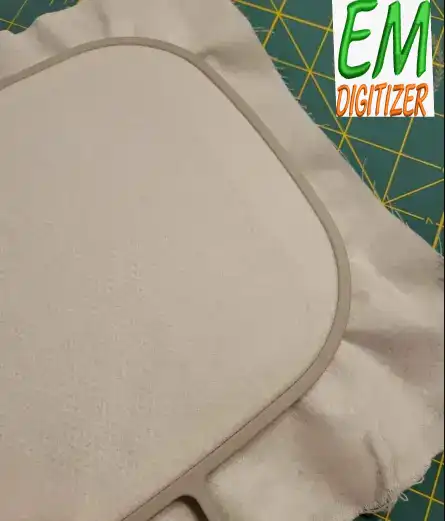
Then, whoop, whoop, whoop! Use the small size hoop that will fit your quilt label embroidery design. This reduces movement and thus slippage, providing better stitching.
However, don’t pull the fabric, because when the fabric is released it will stretch around the stitching on your quilt label and then wrinkle. If you’re not a good hooper, I suggest a magnetic hoop instead of floating your quilt label. Floating, in general, does not provide the best results for me.
3. Embroider the Quilt Label
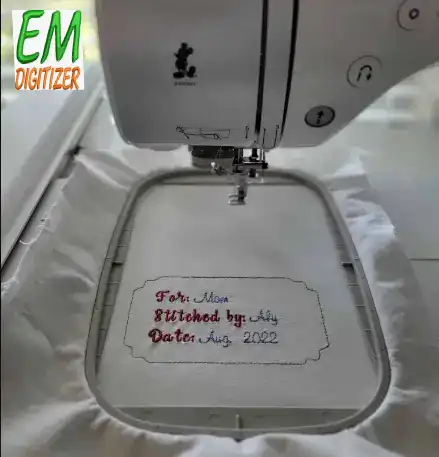
I like to use white embroidery bobbin thread on the bottom.
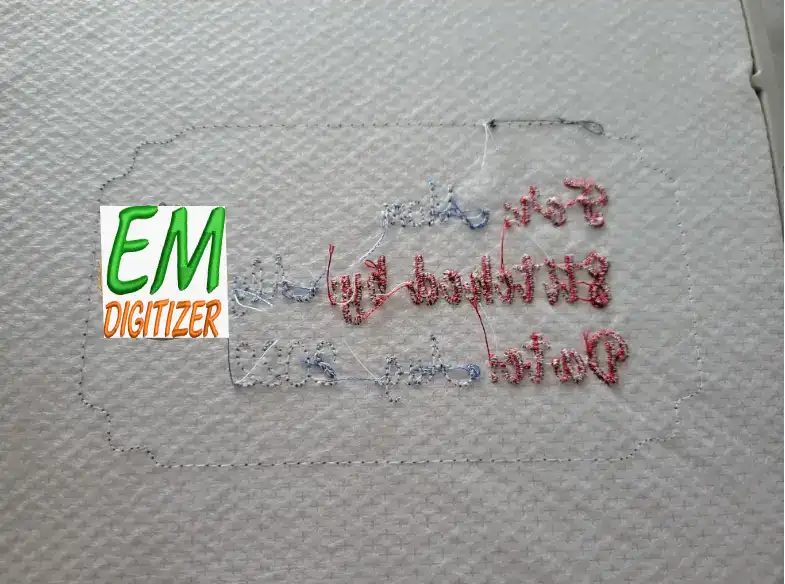
However, if your machine is having trouble sewing lowercase letters, consider winding bobbins in each upper thread color to reduce the unsightly bobbin thread showing on the top of your embroidery. Then, once you’ve ready your machine (loaded designs, verified needles, and threads), press start and watch your machine go!
If you notice puckering after you start embroidering, add a piece of strong tear-away stabilizer to the bottom of the quilt label. (Just be very careful not to distort the stitches or fabric when you remove it later.)
4. Clean Up Design
Once the embroidery is finished, remove the hoop from your embroidery machine, and release the fabric from the hoop. Then, trim any jump stitches or loose threads.
5. Press the Label
Next, press the quilt label right side down with a press cloth and iron. Pressing can remove small puckers and stitches. Be careful with steam, though, in case of shrinkage.
6. Trim the Embroidered Label to Size
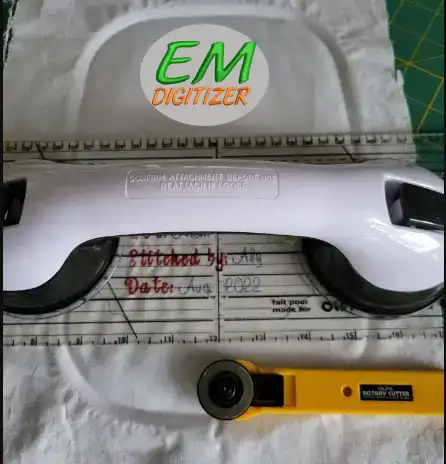
Attaching an Embroidered Quilt Label
I sew my quilt labels to the lower left side of the back of the quilt because that is what is recommended for entering quilt shows. I also prefer to attach my quilt labels after the entire quilt is complete (minus the binding.) That way, I do my all-over quilting with my embroidery machine (or free-motion quilting if I must slog through) and then attach the label.
To attach the label, I first hand sew the top edge and inside edge to the quilt using an invisible stitch. Next, I staple the other two sides of the quilt label to the edges of the quilt, finally securing those sides with binding, which is always my last step.
You can also iron on your quilt label (be careful not to crumple your quilt) by applying fusible web to the back of the label. I once attached a quilt label this way to avoid hand stitching, and when I showed a serious friend, she was horrified! So, take this suggestion with a grain of salt, but I will do my best to avoid hand stitching if my quilt is not being judged.
Conclusion
I hope you enjoyed this tutorial on how to embroider a quilt label with your embroidery machine!
You can actually make handwritten quilt labels. You can write directly on a piece of fabric (or quilt backing) with a fine-tipped permanent marker. Pigma micron pens are widely used for this, but I would recommend doing a test before writing on the back of the quilt.
The best thing about quilt labels is that it’s up to you what to put on them. You can add any information you think is important or meaningful. You can add writing, such as your name, the date, or details about the quilt, but you can also add small designs or other graphics.
Labels don’t have to be elaborate or fancy. It can be made with just a few scraps of fabric from a quilt (or muslin) and a fine-point Sharpie marker in a pinch. These markers are permanent on most fabrics, but the ink will bleed if you leave it on for too long.
If you have any questions leave the comments or you can visit our social channels for more updates regularly. We provide embroidery digitizing services if you need digitizing services feel free to contact us or email us.
