How to embroider t-shirts with tips and tricks
Embroidery has been a famous craft for centuries. It can transform your plane fabric into a stunning outlook. This type of artwork adds a personal touch to your wardrobe. If you want embroidery tips to style your crafted design, you have landed in the right place. In this article, you will learn how to embroider t-shirt and add any monogram, letter, or vibrant design using embroidery on your t-shirts. This is about guiding you from basic embroidery materials to master-level embroidery skills.
There is a complete guide on the Comfort Colors Shirts
Table of Contents
Introduction
Embroidery is converting an ordinary piece of fabric into a versatile craft. It is a form of artwork that uses a needle to apply thread to fabric. It involves stitching your desired design onto fabric using an embroidery machine. The different color combinations of threads add this embroidery to an extraordinary look.A complete guidance ont-shirt fabric
if you want to learn how to use embroidery machine. Then you can visit:
Pre-embroidery tips for t-shirts
- Cotton, polyester, and blend t-shirts are best for embroidery.
- Wash and dry the t-shirt before embroidering on it to get all the shrinkage out of the way.
- Choose light, open-area designs because they drape beautifully on T-shirts. Designs with more stitches result in puckering.
- If you are embroidering stretchy fabric, go with a 75/11 needle for your machine. A cutaway stabilizer suits this needle best. A tearaway stabilizer will tear away the needle perforation, leading to misaligned and gap stitches.
- After finishing the design, leave ½ inch space around the design for cutting excessive stabilizer.
A complete guide to customize a t-shirt
In this guide, you will learn how to add a personalized and professional touch to your t-shirts with embroidery. You can customize it to showcase your taste or for branding purposes.
Here is a complete guide on What Is a Tri-Blend Shirt
Required materials:
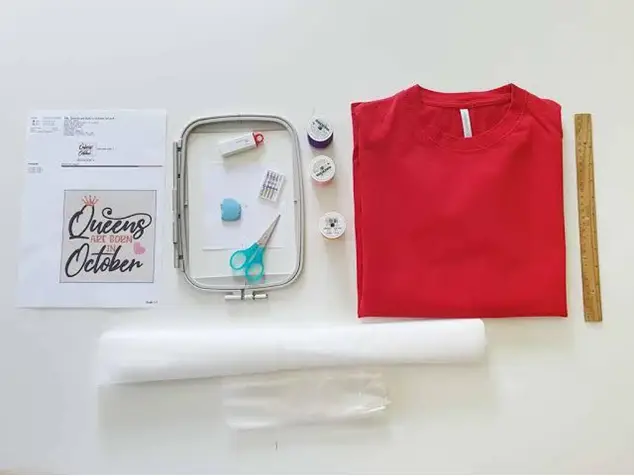
To start embroidery on t-shirts, some essentials are required such as:
- T-shirt (Fabric)
- Digitized design
- Embroidery tools such as needle, hoop, and thread
- Embroidery machine
- Stabilizer
- Scissor
If you want to get knowledge about best scissor for embroidery.Then you can visit: 5 Best Embroidery Scissors
Fabric guide for T-shirts:
The fabric chosen for embroidering t-shirts affects the embroidery. Make sure to select the fabric with the following features:
- The fabric should deter any ripping and puckering while performing embroidery.
- Fabric must be medium-weight. Lightweight material is not capable of carrying stitches properly, and heavy-weight fabric is not easy to handle, especially for beginners.
- It allows you to breathe and sweat comfortably.
Step-by-step embroidery process for t-shirt
Follow these steps that will help you to go smoothly with your machine embroidery:
Step 01- Prepare t-shirt material
Wash, dry, and iron the t-shirt before having it embroidered. Assemble all embroidery tools and t-shirts near the embroidery machine.
Step 02- Decide the location of the design on a t-shirt
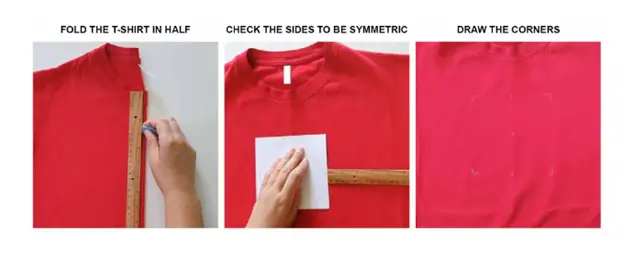
First, test the marker on a scrap of fabric that you will use to mark the area. Always use clover light fabric markers on dark materials. Now, decide where you want to put your embroidery. It looks good on the chest, pocket, or sleeve. If you wish to do chest embroidery, center the design about 7 to 9 inches from the top of the shoulder seam. If you want to get knowledge about how to embroider on clothes, then you can visit: embroider on clothes
Step 03- Place the design
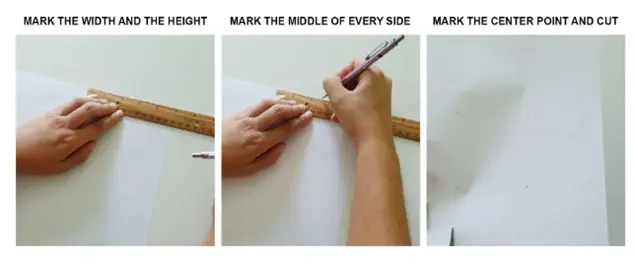
Take your favorite digitized design and place it in the position you want. Mark the vertical line down from the shoulder and the horizontal line from the arm seam for the embroidery design on the middle of the t-shirt. The interception of these lines creates the design’s core. Make the top and bottom alignment points of the design. It will guide you to the proper embroidery position.
If you want to get knowledge about how to create an Embroidered Blouse, then you can visit: Embroidered Blouse
Step 04- Prepare stabilizer
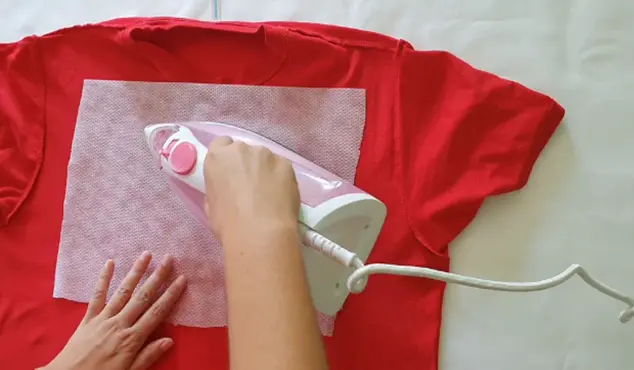
Cut the stabilizer larger than your design. Spray the adhesive on a stabilizer first. It will securely attach the stabilizer to the fabric. Spray it directly onto a clean surface. Also, shake the spray bottle before use to provide a uniform coating. Spraying too much will make it tough to work with.
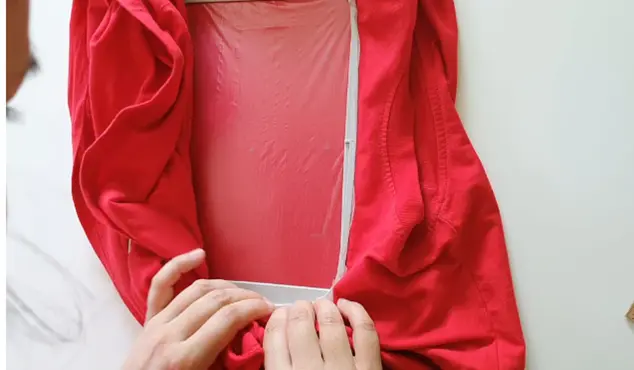
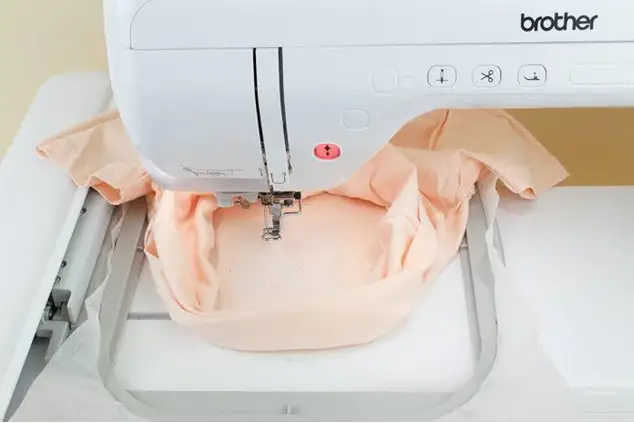
Step 05- Hoop t-shirt
Hoop the fabric on the marked section of the t-shirt to secure it well. Double-check your design to avoid your design going off-center.
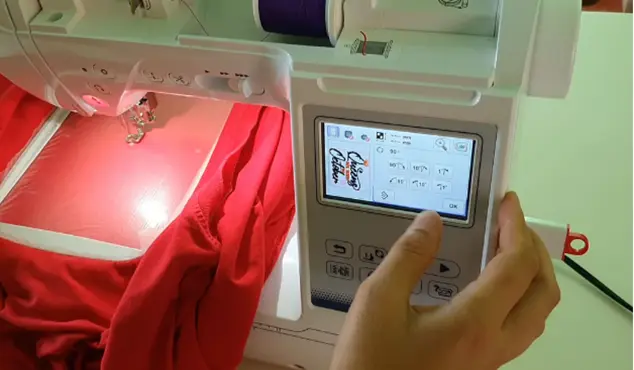
Step 06- Trace and start embroidery
Adjust the t-shirt marked center point under the machine needle. Make sure the machine is locked. Trace the design first. Once done, click on the start button on the machine and begin performing embroidery on it. A complete guide to choose the best machine embroidery needle
Here is a complete guide on How Embroidery Machine Speed Affects Your Embroidery Results
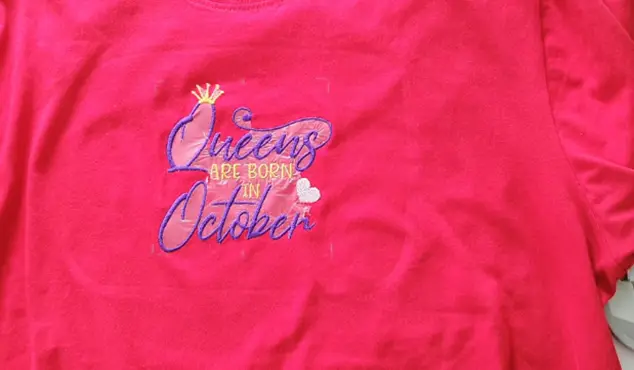
Step 07- Finished t-shirt
Once the machine finished the design, take the hoop off from the machine. Now we have our finished T-shirt. Remove the stabilizer from the top. There should be no puckering in the design. Unhoop the t-shirt and turn it to the wrong side to remove the tear away and trim threads. You are advised to save the leftover supplies for future projects for a fun element. A complete guide on how to use embroidery hoop
Tips and tricks to troubleshoot embroidery issues
It is typical to have problems with any machine embroidery supplies, which eventually affect the final appearance of the embroidery. Here, I’ve highlighted the most frequent problems you could encounter as a beginner in machine embroidery, along with their solutions. For more machine embroidery for beginner. Then you can visit: Machine embroidery basics for beginners
1- Reason of puckering or wrinkles and solution
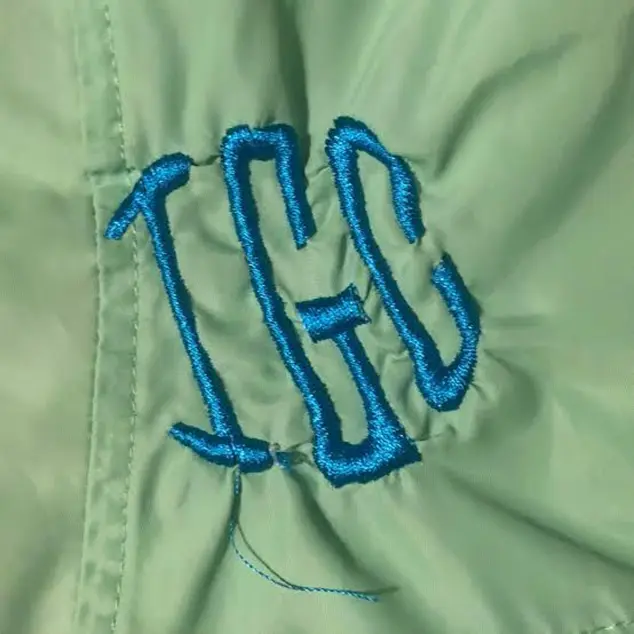
If you see any wrinkle around your finished piece, it looks ugly and ruins the look of your design. There are different causes of puckering:
- Applying more stitches to a thin cloth makes the fabric heavier. If your design has a large number of stitches that must be put on a thin cloth, use a heavy-weight stabilizer.
- The second reason for puckering is improper hooping when you float fabric while it is in the hoop. To learn more about hooping in detail, visit our guide.
- When you operate a machine at high speed, it warms up the needle and causes the thread to stretch. And when it cools down, it contracts and puckers the lightweight fabric. So, slow down the machine to its lowest speed.
2- Reason of thread shredding and tips to avoid
Always use high-quality embroidery thread to prevent breakage and tearing.
- If you want to work with metallic or specialist threads like acrylic or wool, consult the manufacturer’s instructions. They also require specialized needles and function at a modest speed.
- Another possibility for a thread break is when it becomes stuck somewhere. It occurs when it is wrapped tightly on the spool, resulting in a tug that breaks it. So, keep an eye on machines to fix such hang-ups.
- Using the wrong needle might cause thread shredding. Sometimes a new needle has a little burr of metal that shreds the thread.
- Thread buildup also causes friction and thread breakage. So, clean the bobbin case with a small brush or use a Q-tip.
3- Reason of bird nesting and tips to avoid
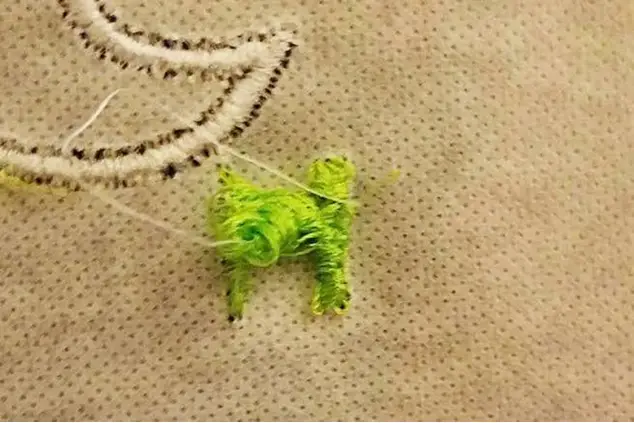
It is also called looping or bunching thread on the back of the embroidery design. If you’re experiencing this problem, inspect the needle plate for nicks and scratches.
- The wrong thread path also results in bunching threads. It means the thread is not following the machine properly. To solve this, put the presser foot up while threading the machine.
4- Reason of Machine jamming with its solution
If your machine requires more pressure on the hand wheel to move it, it is jammed. It may be due to bird nesting or debris in the bobbin case. In most cases, the machine shows an error code. If this cleaning trick does not work, note the error and report it to technicians.
5- Registration errors and solutions
This is a new term for embroidery beginners. This error shows that your design outline does not match with stitches. It may be due to poor digitized design or improper hooping. If your chosen fabric or any material is not properly secured in a hoop, it causes missed registration errors. To help this out, use the right stabilizer for your in-hand material. The designs with outlines require a heavier stabilizer to avoid puckering and shifting while stitching.
Conclusion
T-shirt embroidery is a creative and interesting art. Following all the above techniques will ensure your design is precise and neat. It is a comprehensive guide from choosing the right material to finishing the embroidery. Encourage yourself with more trials for embroidery tools and techniques to become a master. Have fun decorating your wardrobe with an embroidered touch!
FAQs
It depends on which type of T-shirt you want. It could be a sports shirt, casual or event-specific. According to that, Polyester t-shirts are comfortable and breathable for sports and outdoor.
It is always used with adhesive spray. Do not spray too much and unevenly.
Mark the line with a ruler to figure out the center of the design. Mark the vertical line down from the shoulder and the horizontal line from the arm seam. The intercept point would be the center.
It is due to bird nesting. If you continuously facing this issue, check the needle plate for nicks and scratches. The wrong thread path also results in a bunching of threads. It means the thread is not following the machine properly. To solve this, put the presser foot up while threading the machine.
