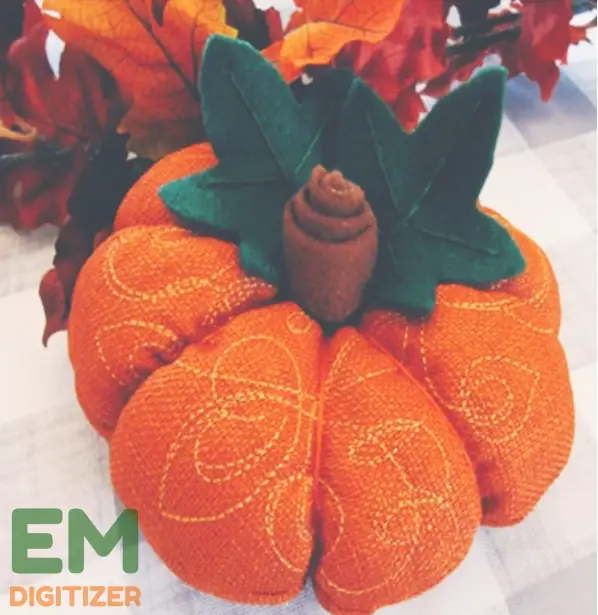
How to Embroidered Pumpkin Decor – Complete Tutorial
Do you have any creative plans for your upcoming fall break? If not yet, Then, try coming up with creative ideas for embroidered pumpkin designs.
I’ll outline some simple procedures for making embroidered pumpkin art in this post for you. Simply make up your mind, choose your favorite pumpkin embroidery pattern, and follow the instructions listed below.
For such an embroidered pumpkin to be sent as a surprise to your loved ones or to add a unique look to your family table, you no longer need to go out and spend a considerable amount of money.
These gorgeous embroidered pumpkins are easy to make at home with materials you already have in your embroidery box.
If you are looking for embroidery digitizing services, EMDigitizer is one of the best embroidery digitizing companies. Providing all types of embroidery digitizing Services. I recommend you try digitizing services.
Order NowGet Free QuoteTable of Contents
Why Is It Worthwhile To Create an Embroidered Pumpkin At Home?
There are many benefits of having an embroidered pumpkin ornament at home. You can employ any fabric and thread colors you prefer, as well as any embroidery design you find interesting.
This will give you the ability to make an original, one-of-a-kind embroidered pumpkin.
The overall cost you see when buying such embroidered pumpkin decorative items for interior decoration is indeed a significant downside.
If you want to get knowledge about Top 50 Halloween Embroidery Ideas, then you can visit: Top 50 Halloween Embroidery Ideas
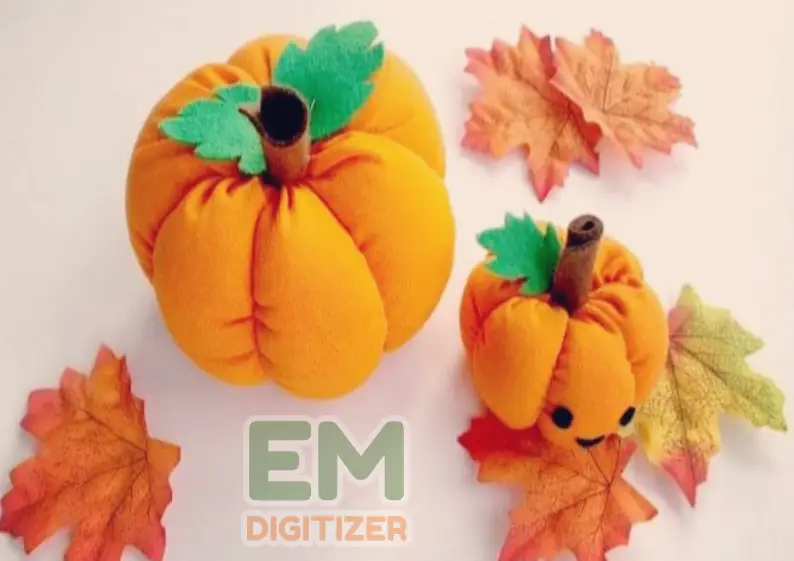
However, if you have your embroidery machine and related materials, such as cloth, thread, and needles, So why not make your own embroidered pumpkin rather than overpaying someone else?
You may give embroidered pumpkin adornment creations some uniqueness by applying a blending effect with multiple thread colors and different fabric colors on the top and bottom.
These embroidered pumpkins can be used in countless ways, including as wall hangings, as a centerpiece for your dinner table and to embellish a kid’s room.
Additionally, you can give an embroidered pumpkin to friends who genuinely adore falling as a unique gift without worrying about running out of money.
List Of Supplies Used To Build An Embroidered Pumpkin Ornament
- Pumpkin embroidery design
- No-mesh stabilizer
- Fabric for embroidered pumpkin (10”x 20”)
- Fabric scraps or any stuffing for filling
- Fabric markers
- Any object to draw the circle
- Embroidery thread and needle
- Sewing machine or hot glue gun
- Green felt for making embroidered pumpkin leaves
- Brown felt for making embroidered pumpkin stem
- Scissors
(For additional information on the embroidery tools required for embroidery business, check here.)
Basic Steps To Embroidered Pumpkin
Let’s discuss them one by one.
Step 01- Choose Your Favorite Pumpkin Design
The first thing you should do is add your preferred pumpkin embroidery pattern to your shopping cart.
Next, load the embroidered pumpkin design to a USB before bringing it to the embroidery machine.
Step 02- Hoop Fabric And Stabilizer
Select your embroidered pumpkin’s prettiest cloth in the second stage. How big you choose to make your embroidered pumpkin art will determine the fabric length.
Next, use the stabilizer to hoop it. If you want to make an embroidered pumpkin, I suggest using a no-mesh stabilizer.
Note:
Make sure to choose a pattern that is scaled down from the pumpkin’s size. This is because the way won’t be clipped after the embroidered pumpkin is produced for display.
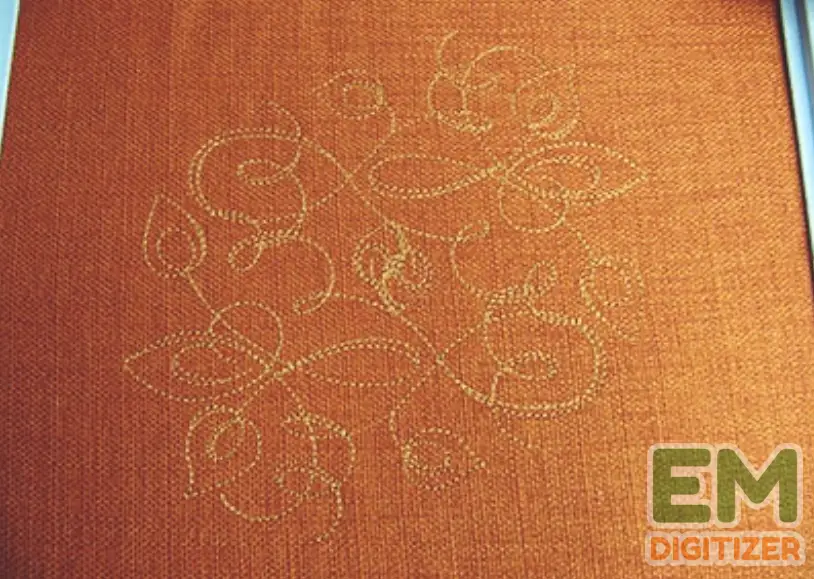
Step 03- Start Embroidering The Pumpkin Design
Start sewing the embroidery after precisely hooping the design for the embroidered pumpkin.
Use a fabric marker for this purpose and begin by drawing the basic outline on any circular object, such as a dish or a compass. Make two spherical fabric shapes in the same manner now.
Step 04- Attach The Fabric Patterns By Stacking Them In Front Of One Another
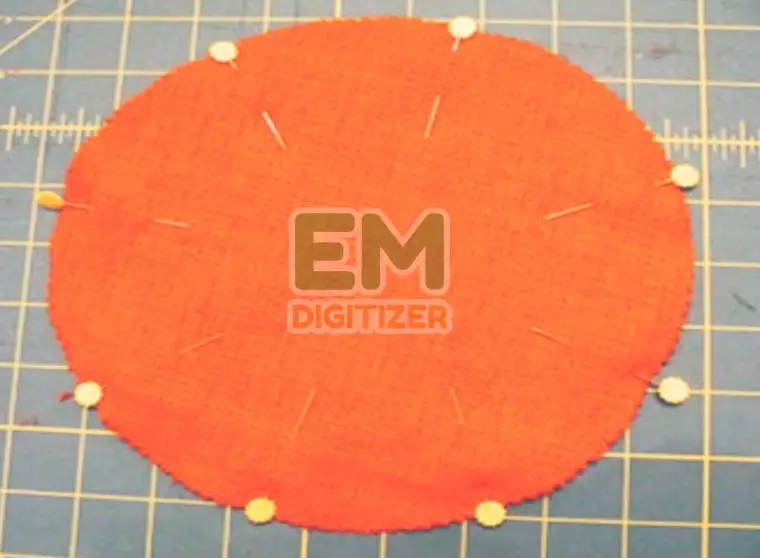
Put two circular fabric patterns in front of one another after cutting them out.
The fabric you have selected for presenting the embroidery pattern should be positioned inside the pumpkin as the next step to create an embroidered pumpkin. And join these two sides together using pins.
Step 05- Leave A Gap When Sewing The Fabric Material
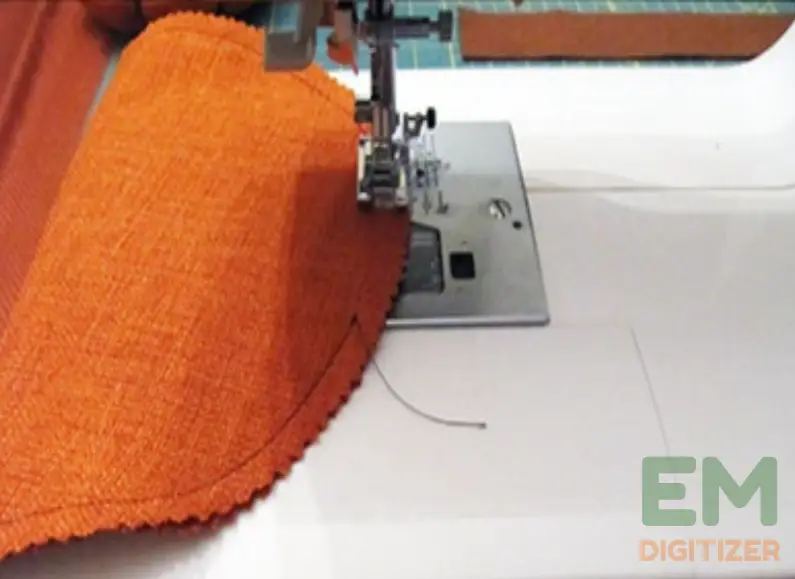
End up leaving a few ends exposed and begin sewing the circles around the outside. Your fabric should now be flipped right side out.
If you are without a sewing machine, you can attach the fabrics to create an embroidered pumpkin ornament by manual stitching or using hot glue.
Step 06- Use Fabric Scraps To Filling Gaps
Use padding or stuffing to cover the remaining gaps to provide your embroidered pumpkin extra charm. Additionally, you can utilize leftover fabric scraps for this purpose. Start stitching the sections you left open after that.
(Click here to discover how to make something wonderful out of fabric scraps.)
Step 07- Make Sections Of Embroidered Pumpkin
Now take a seam ripper needle and wrap it with custom thread before securing a knot.
You can use any thread color that sticks out on your embroidered pumpkins or a color that naturally blends with the cloth’s color while embroidering pumpkins.
(To find out more about the Thread colors Blending technique, click here)
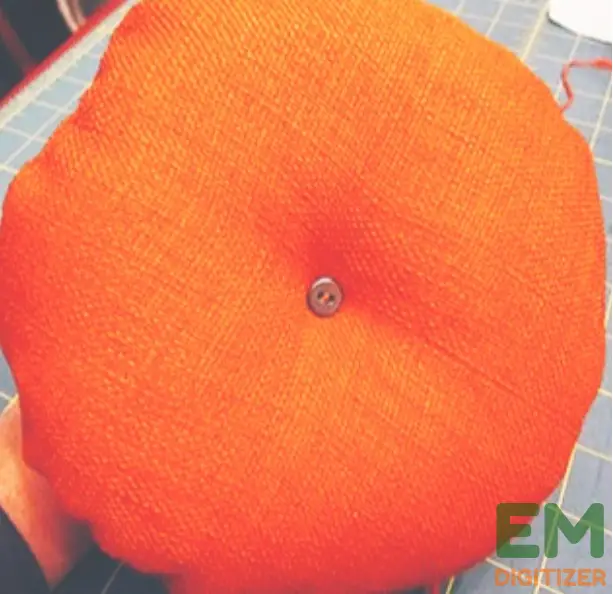
To help in the bottom of the embroidered pumpkin, one can insert a little button that matches the color of the fabric. And before stitching, be sure to stiffen the knot to lock down the button at a place.
You will be able to prevent the fabric from being tugged by the knots this way. However, a piece for the embroidered pumpkin must be treated carefully by tugging on the thread barely at all.
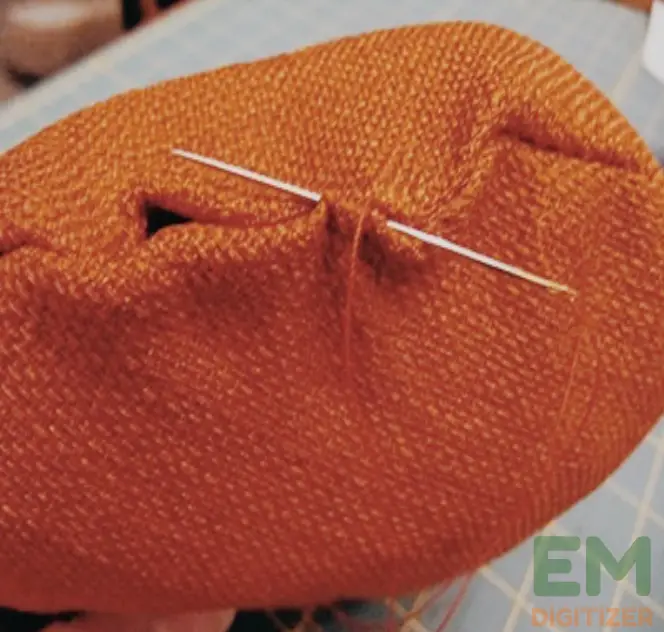
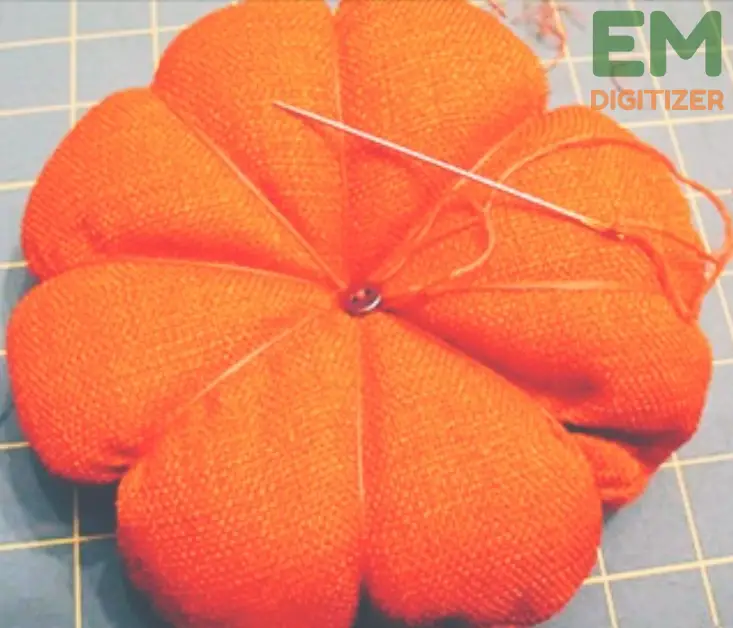
A needle should now be inserted gently into the core of the embroidered pumpkin, and it ought to be pierced out to both sides.
Step 08- Fasten The Parts By Forming A Knot On The Bottom Strand
Pull this same thread throughout the top and bottom of the pumpkin and exceed to the center point. Then, pull the thread once more from the bottom towards the high end.
Making pieces for an embroidered pumpkin involves following these simple steps. Pull the thread into the far side of the circle to split it into halves.
The sphere should be sliced in halves again till you have enough pieces for your embroidered pumpkin. When you’re done making portions, knot the bottom thread of the embroidered pumpkin once again.
Step 09- Draw A Leaf’s Outline For Embroidered Pumpkin
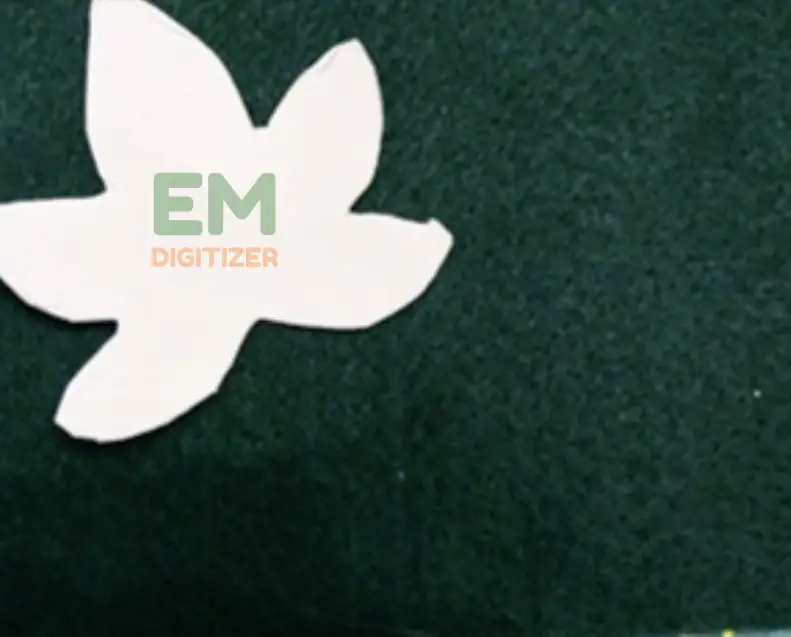
To add leaves to your green felt as you proceed with making the embroidered pumpkin, take a piece of paper and create the desired leaf form.
The leaf form can also be manually cut out and applied to felt. These leaves could be of any size and shape.
Step 10- Make A Stem For Embroidered Pumpkin By Twisting the Fabric
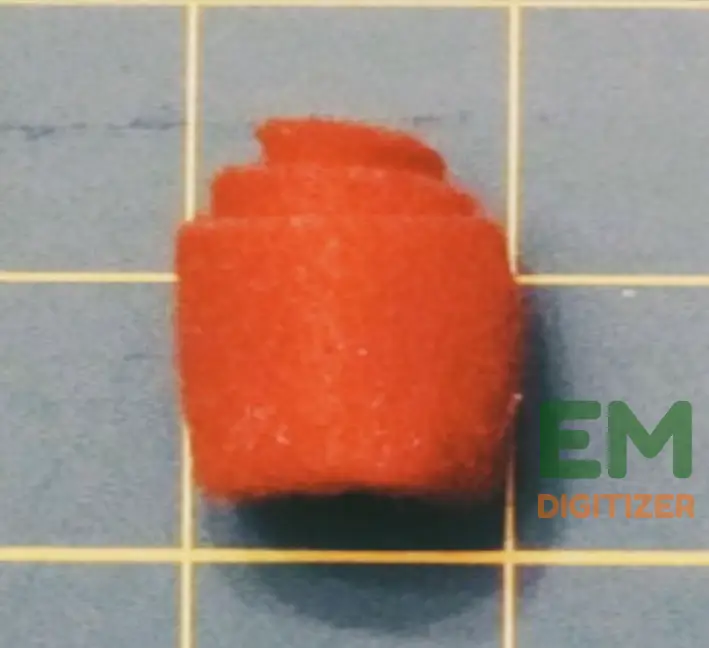
For the stem of the embroidered pumpkin, split a piece of brown felt in half, then coil it up in a certain way. To keep the ends intact, bind or stitch them.
Final Words
Your decorated embroidered pumpkin will be finished once you’ve sewn the stem and leaves securely. It goes well with any fall decorations, so have fun with it.
Conclusion
You’ll show how simple it is to produce embroidered pumpkins that may be used as table decor, sent as a gift for Halloween, or furnishing, etc.
(To get the top 50 amazing Halloween embroidery ideas, visit our article.)
Making embroidered pumpkins has a lot of benefits, one of which is that if the aforementioned methods are followed, one can make such embroidery crafts on a budget and in less time.
You may produce a unique embroidered pumpkin without spending money on bulky materials by using any fabric of your preference, even fabric leftovers.
- Choose a pumpkin design and transfer it to the machine.
- Hoop fabric and stabilizer and start embroidering the pumpkin pattern.
- Create two circular outlines of fabric and bind them together.
- Start sewing these outlines by living gaps that will be filled later with the stuffing of fabric scraps.
- Now make sections for embroidered pumpkin and sew all ends. After that draw stem and leaf outlines and again stitch them together at a place.
- This is how you will create multiple embroidered pumpkin ornament designs.
These embroidered pumpkins can be used in countless ways, including as wall hangings, as a centerpiece for your dinner table and to embellish a kid’s room. You can give an embroidered pumpkin to friends who genuinely adore falling as a unique gift without worrying about running out of money.
While stitching, leave some ends open to be filled with certain stuffing or fabric scraps. The purpose is to add creativity and uniqueness to the embroidered pumpkin by making use of fabric scraps of vibrant colors.
If you have any questions leave the comments or you can visit our social channels for more updates regularly. We provide embroidery digitizing services if you need digitizing services feel free to contact us or email us.
