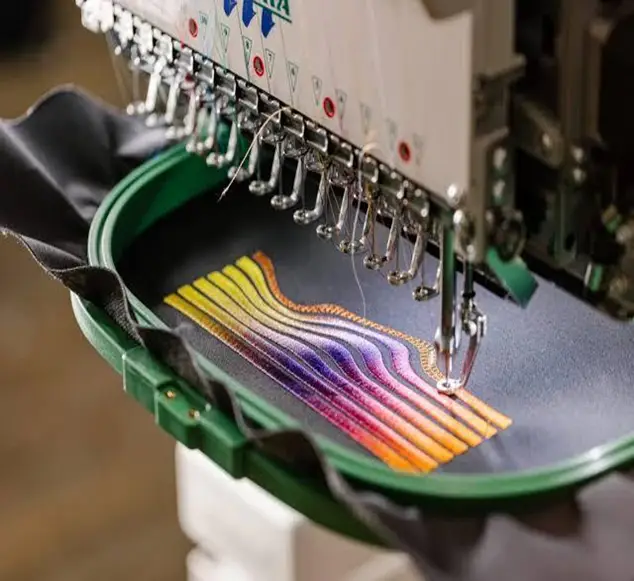
Machine embroidery basics for beginners
In this article, I will highlight the basics of machine embroidery for beginners. Machine embroidery merges technology and art to produce stunning and professional designs. Whether thinking about beginning from home decor, crafting accessories, or personalizing your clothing, you will get the whole guide from selecting the right tools to your last machine embroidery stitch.
Machine embroidery may look tough for beginners as it involves techniques, digital tools, and modern control systems. It is not a matter of worry but time to equip yourself with the proper knowledge of machine embroidery. You will have strong control over machine embroidery with the right guide, substantial practice, and equipment. In this guide, we will give you basic learning to get started with machine embroidery. A complete tutorial on how to use embroidery machine
Table of Contents
Machine embroidery basics for beginners
There are some things you must know when you start machine embroidery.
1- Choose what type of machine fits to your business needs
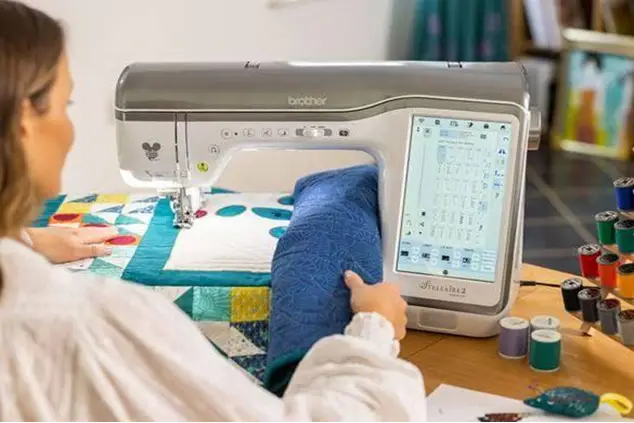
The primary focus for beginners must be seeking the best embroidery machine. Keep in mind some basic points before buying an embroidery machine.
Are you buying for a home business, personal clothing, or commercial business?
You should buy an embroidery machine depending on your plans. Single needle is best suited for beginners, home businesses, and small projects. The multi-needle machine allows for more versatility and rapidly accomplishing large, extensive projects.
If you are looking for the best machine for a home-based business, review our top verdict here.
How to choose the right machine?
1- Firstly, set the price range you can afford. It will save you time not to get involved in unconcerned machines. Low prices may restrict the size of designs but do not necessarily affect quality.
2- Making an expensive purchase might seem challenging for you now, but easy in the future. You will realize when you have to switch different projects, stitch large designs, and adjust large-size hoops. So it is up to you to make the best decision.
Here is a complete guide on What you need to know before buying an embroidery machine
Recommended brands:
I recommend exploring multiple websites and contacting dealers to learn about the various embroidery machines and their characteristics. Check out the machines of famous brands like Janome, Husqvarna, Bravo, and Brother. Read their specifications and features. After complete research, buy one that meets your demands well.
Tip: Getting the right machine is not enough, you must learn how to use an embroidery machine to achieve desired outcomes.
Where to purchase?
Purchase machines from dealers who offer demo classes within the purchase price. After this, you shall be able to embroider intricate designs meticulously with ease without any mentor. Otherwise, you can also take online instructions on different websites.
2- Machine embroidery supplies
Machine embroidery uses essential tools to perform and support embroidery. Without these elements, you are not able to start embroidery. I will discuss them briefly here:
1- Stabilizers
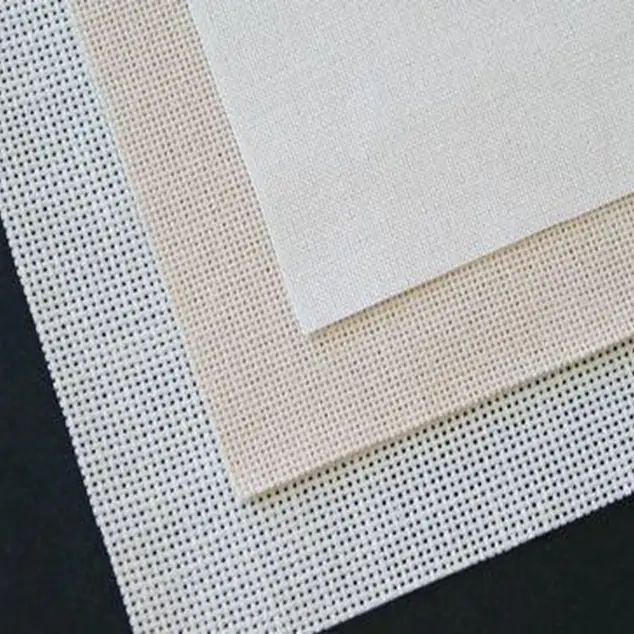
After selecting a suitable machine, it is time to learn about different stabilizers. They act as backings for your fabric and avoid getting unstable. They are attached to the back side of the fabric to arrest puckering and pulling while embroidering. A complete guidance on machine embroidery stabilizers
- Different stabilizers are available for each type of fabric. Every stitch gives us a perfect finish if we use stabilizers accordingly. The wrong stabilizer will have negative impacts on results.
- The three most commonly used stabilizer types are cut-away, wash-away, and tear-away stabilizers. You can have more information about stabilizers.
- Stabilizers are separated from fabric completely or just extra leaving it behind underneath stitches.
2- Hoop and hooping
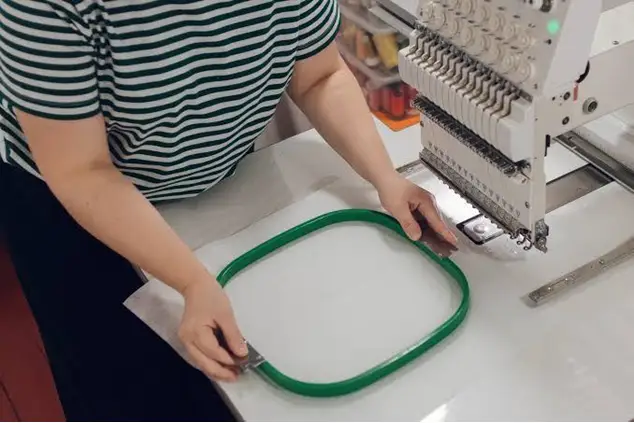
If you are already involved in embroidery, you might be well aware of the hoop and how significant it is to avoid unwanted shifting during stitching. They are an integral part of embroidery and help to secure and stretch the fabric. You will get different sizes and shapes to accommodate design types. Stabilizers are either ironed or sprayed to stick them to the fabric firmly.
If you want to get knowledge about How to Embroider A Star, then you can visit: Embroider A Star
Hoop structure:
Hoops have two rings, an inner ring, and an outer ring. The outer ring contains screws to set tension accordingly. It matters a lot to select the right stabilizer for the perfect outcome.
Hoop size:
- The most common hoop sizes that you will get in your new machine’s accessories are”4×4″ and “5×7”.
The “4×4” size is ideal for little items, while the “5×7” size is great for larger designs and avoiding re-hooping
Hooping:
The reason behind the look of your design depends on how well you hoop up your material. It helps to hold the fabric nice and flat so you won’t get shifting and puckering. So we recommend spraying your stabilizer with spray adhesive and smoothing the fabric on the top. Then hoop both fabric and the stabilizer layer together nice and tight like a drum. This will give the best stability so the stitches won’t make the fabric contract and pucker.
Want to learn embroidery hooping in detail, visit our previous blog.
3- Threads
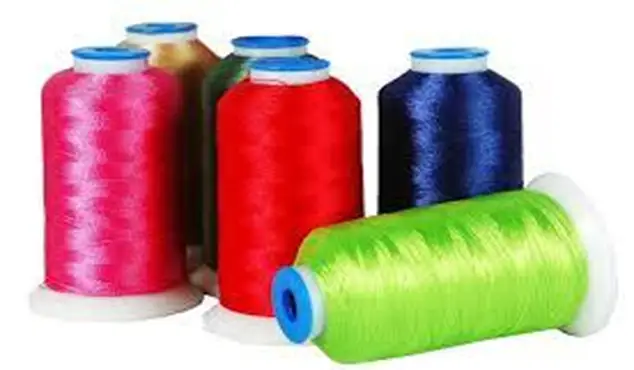
As a beginner, it is important to understand the different thread types. Threads are the key elements in embroidery making it durable and colorful. Consider some basic aspects to select the right threads like thread weight, thickness, fabric type, sheen, and strength.
Try with different threads at the start. Experiments will allow you to realize which provides the best covering. So if you remain successful in finding and selecting the right thread, it will pay you off.
Recommended threads:
Knowledge about some standard threads is essential to achieve high-standard embroidery. Some commonly used threads are polyester, rayon, cotton, and metallic threads.
Polyester: If we talk about standard threads, these are polyester due to colorfastness, and longevity. They can bear wear and tear, and frequent washing.
Rayon: The most commonly used thread is rayon. A high sheen, wide color spectrum, and smooth run of rayon add professional effects.
Tip: At the start avoid using multi-colored threads, and try to be simple not to have over complex stitching.
Are you looking for the best thread brand, review our blog.
4- Fabric
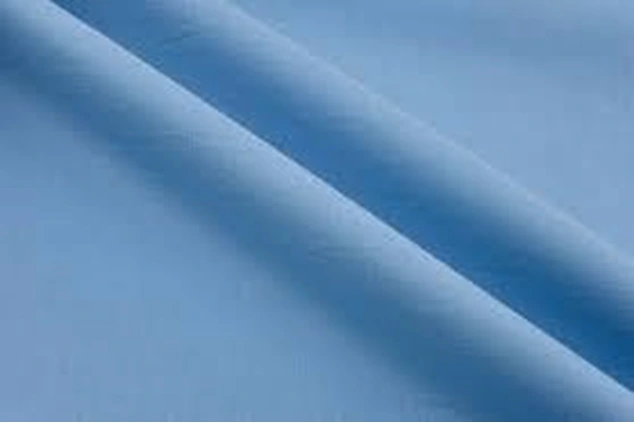
At the start, you have to struggle for the right fabric selection. Whether embroidery is your interest or hobby, even this painstaking task will be amazing fun for you. Because the ease of embroidery depends on the fabric types you choose. Each fabric reacts differently when carrying out embroidery. Fabric Color selection and material matter a lot in the final appearance of your design.
You can also learn the best fabrics for embroidery in detail from the given link.
Which fabric is best for beginners?
100% cotton: It is the best option to learn in the beginning. It easily passes under the needle without any stretch or pull. Medium weight and thickness of 100% cotton allows trouble-free stitching for beginners. It is also standard for beginners in terms of low cost. Once you learn to handle it easily, you can go for denim, linen, and cotton blends.If you want to get knowledge about how to embroider on clothes, then you can visit: embroider on clothes
Linen: Although linen is a beautiful natural fibre it is more expensive than cotton. I advise you to shift to linen only after acquiring enough embroidery skills. You may face some difficulty stitching onto it but you will love the charm it gives to design embroiders over it. Try to select light-coloured fabric to start, so you can easily highlight your embroidered design and the mistakes you made.
Want to get cheap embroidery fabrics online, review the best online stores here.
3- Select a design wisely
Selecting a design is a great fun journey for beginners. Ensure your design compatibility with the hoop size, fabric type, and software used. Follow the instructions given below to select the right design.
Tip: Go with the simple design!
Being a beginner, you must take a start from simple design. It includes small easy flowers with minimal detail or simple shapes for home decor or personal clothing. You can also try fonts and monogramming.
Try pre-digitized design:
Use readymade designs or get them from embroidery websites like Emdigitizer, Embroidery by JuJu, creative Fabrica, and embroiderydesigns.com. You will get a wide variety of designs from simple to complex designs.
4- Embroidery digitizing and Software
Embroidery digitizing is the gateway to scale up your business with versatility. Digitizing in embroidery is about creating guidelines for the machine to stitch your intended designs. You can achieve perfect results without manual thread change, tension setting, or stitch density.
If you are running an embroidery business, you know that handling and delivering complex projects within the deadline is a great challenge. The process is made easy with digitizing software. Creating beautiful patterns and monogramming from scratch is easily designed through digitizing software.
Recommended software:
As I already mentioned above, to buy machines from dealers offering demo classes. The short courses are available online to equip you with digitizing skills.
- Hatch by Wilcom is best for beginners or hobbyists due to its easy learning features and 30-day free trial.
- PE-Design 11 by Brother company with a flip pal scanner option helps beginners scan and convert their designs into digital designs.
For more details on the best embroidery digitizing software, click here.
5- Find your target community
After you have learned embroidering masterpieces, you must have people with whom you can share your art. There are a lot of options: you can join embroidery clubs or be a part of any local online sewing store. Another best option to showcase your creativity by be a part of Facebook groups of some reputed brands. It is a great way to connect with all the machine embroiderers from the world in one place. You can participate in activities and share your artwork via pictures. You will also learn how people doing machine embroidery are hobbyists or professionals.
If you want to get knowledge about What Is Embroidery And What To Do With Embroidery, then you can visit: What Is Embroidery
Conclusion
After creating a complete guide from the basics for your machine embroidery, go along the way without any fear. Experimenting and making mistakes do not limit your creativity. Every single effort makes you closer to perfection in machine embroidery.
FAQs
Basic machine embroidery tips are the right materials selection and consistent practice. Essential machine embroidery involves an embroidery machine, fabric, hoop, stabilizers, and the best software to get started.
You can widen your business and get high profits by creating unlimited designs using digitizing software. These are the best sources of high productivity.
They act as backings for your fabric and avoid getting unstable. So it is easy to handle fabric when you stitch embroidery.
