Machine embroidery stabilizers guide
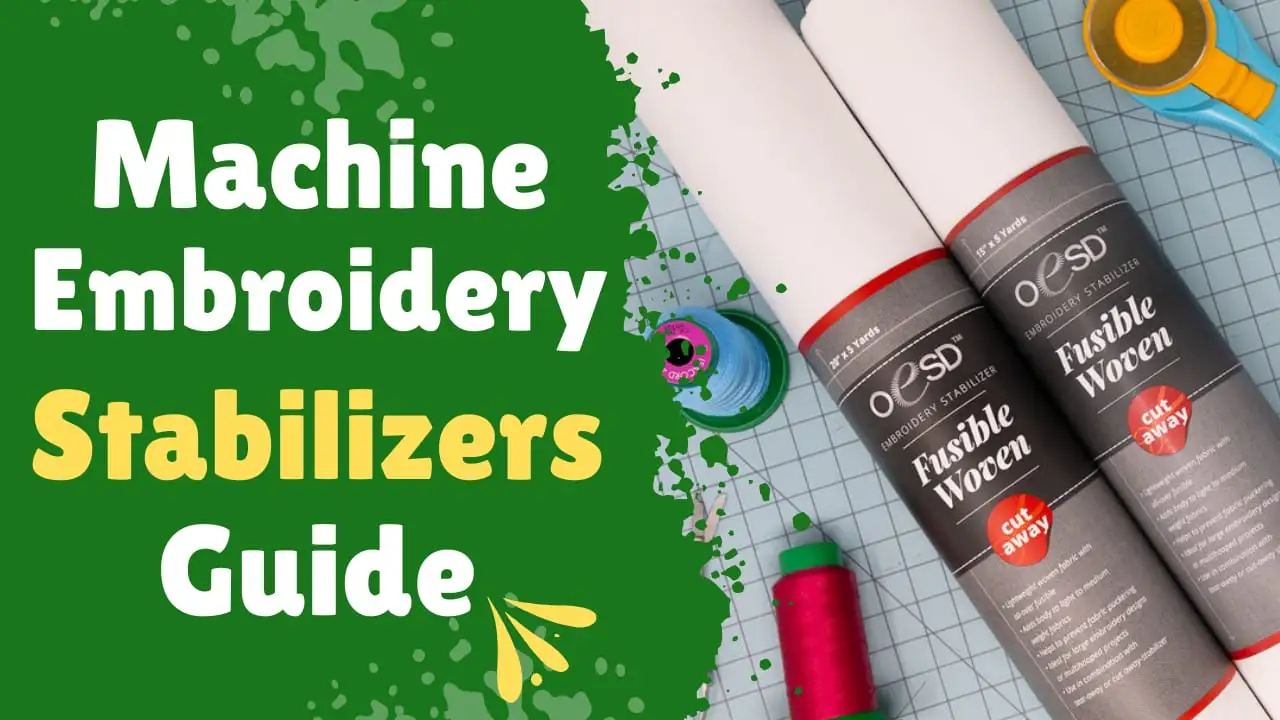
Regarding machine embroidery, acquiring premium results is pivoted on more than just thread and fabric. Despite using the right thread and fabric, your design falls short of its potential. Do you know what the reason is? Why are you tackling such issues while embroidering? To inspect it, check if you have selected the right stabilizer. The stabilizer is the critical element to get your design straight right. Here, we have a complete guide to remove your frustration. Understanding embroidery stabilizers is important to have a professional version of your design. Let’s start to equip you with the full knowledge of stabilizers and their importance. for more about thread. You can visit: 5 Best Embroidery Thread Brands
Table of Contents
Introduction
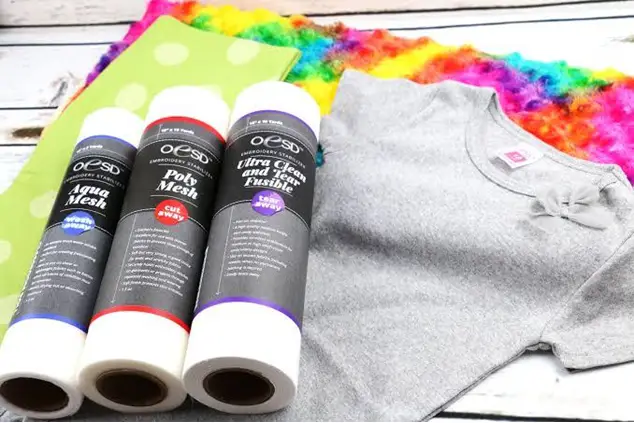
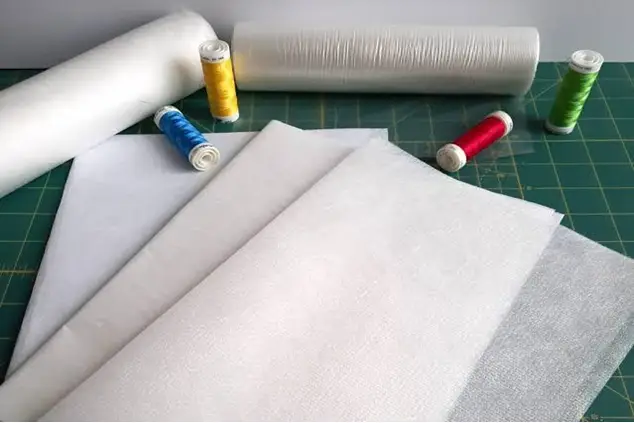
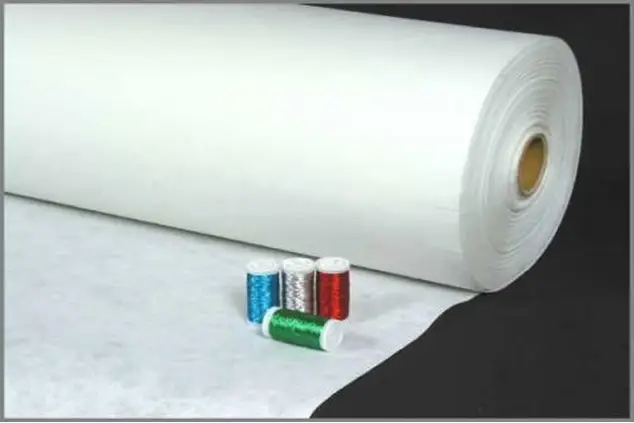
Stabilizer is anything that helps to layer the fabric together to make it stable. It serves as a solid support during the process of embroidery. The reason we need stabilizers is that embroidery demands a lot of fabric and the fabric itself cannot support embroidery. There are a lot of stitches in a design and every stitch applied to a fabric squeezes the fibers. And for a thousand stitches, the fabric starts to ripple and pucker around the selected design. That’s why we use a stabilizer to rescue this situation. There are a lot of stabilizers but in this guide, we will discuss their major types. After choosing the perfect design, ideal fabric, and correct thread; getting the right stabilizer is all above. It helps to keep the fabric balanced under the quick movement of the needle and offers a smooth platform for embroidery. The choice of stabilizer depends on the material, design type, and thread used. For more about fabric. You can visit:
Types of stabilizers
A variety of stabilizers is available for embroidery purposes. We will go through all of them thoroughly in this guide.
1- Cut Away stabilizers
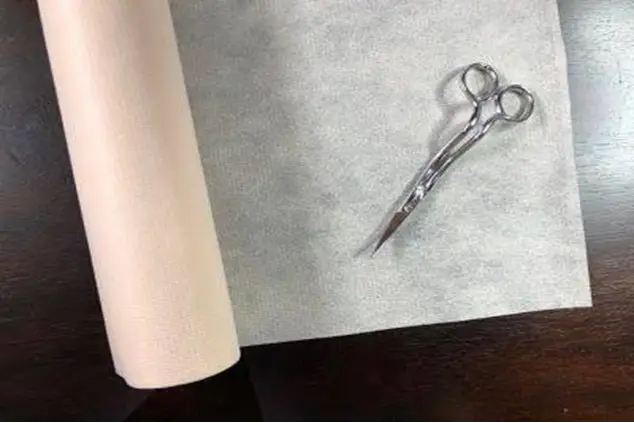
As the name indicates, cut-away stabilizers have the fate of cutting it away after it is done with the embroidery. They help your stitches be fully supported. Cut-away stabilizers attach to the fabric for substantial stabilization even after laundering it. They keep stitches intact for a long period. They are also recommended for stitching intensive designs for embroidering letters on fabric. They provide lifetime support to stitches. Therefore, such stabilizers are preferable for fabrics that go through many washes. They are the perfect choice for unstable fabrics like knit fabric, and denim. I recommend cut-away stabilizers considering their excellent piercing into the hoop and stitching highly dense design. A complete tutorial about How To Use Embroidery Hoop
Heavy Weight stabilizers
When it comes to stitching more dense designs on denim, sweatshirts, and fleece, the heavy-weight stabilizer is the best option. A complete tutorial on How To Embroider On Fleece
Medium weight stabilizers
For heavy to medium stitch counts, I recommend medium-weight stabilizers, especially when using medium-weight knits and lightweight denim.
Mesh away stabilizers
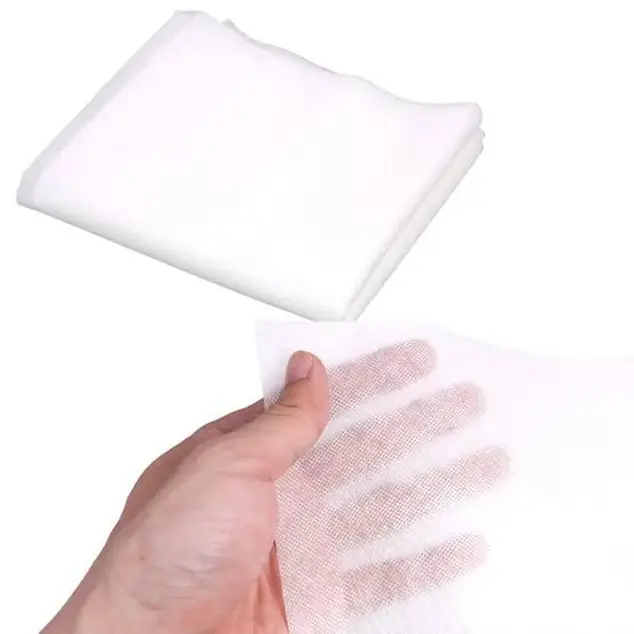
Mesh cut-away attributes to soft, flexible stabilizers having mesh-like texture. They are used for delicate fabrics when you are supposed to make them less visible.
Tip to remove cut-away stabilizer
Take out the stabilizer from the hoop. Start trimming with scissors close to the stitches to avoid cutting into stitches. Keep the remaining stabilizer underneath for permanent suppor. For more about scissors. You can visit: 5 Best Embroidery Scissors
2- Tear away stabilizers
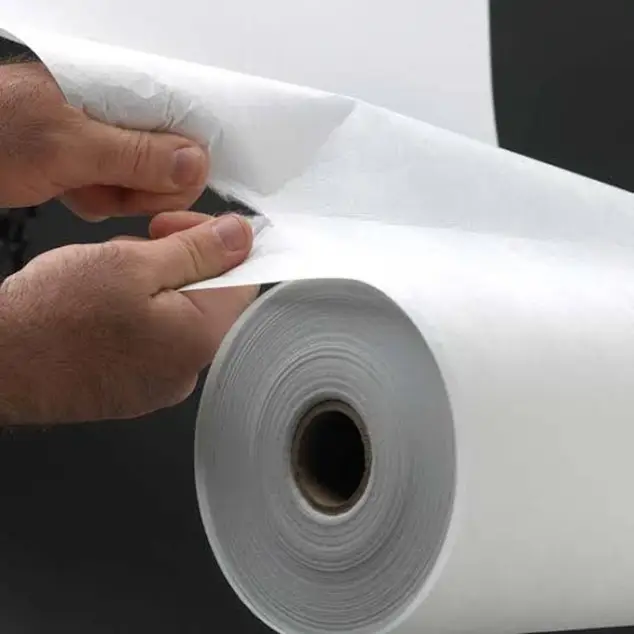
Tear-away stabilizers are most commonly used because of the convenience these stabilizers provide while removing. Use them when you do not want to leave the stabilizer back on the fabric.
When to use a tear-away stabilizer?
If you are embroidering fabrics like towels or any projects you need to wash or launder, this is the best option. Once you have done embroidery, just tear it away. Make sure to have one product of tear away in your hands for neat finishing embroidery.
How do you attach a tear-away stabilizer?
Tear-away stabilizers attach to fabric by ironing and then hooping them together in the hoop. We can also add many layers of these stabilizers to give extra support because not worry about removing them. They are perfect for fabrics without stretch like quilting, vinyl leather, and cotton. I always suggest them for bags, bibs, and towels where the back side is visible. For more about vinyl leather. you can visit: How to embroider on leather and vinyl
Here are four types of tear-away stabilizers:
Heavy-weight tear-away stabilizer
It is thicker in texture. They offer more support for high stitch count design. They require more force to tear but reinforce stability.
Lightweight tear-away stabilizers
They are perfect for lightweight, low-dense designs.
Sticky tear-away stabilizer
It has an adhesive surface and is ideal for fabrics that make hoop difficult, such as hats, cuffs, and collars. In addition, it works best for all those projects that require floating.
The fusible tear-away stabilizer
It has a heat-activated sticky side that has to be ironed onto the fabric.
How to remove tear-away stabilizer?
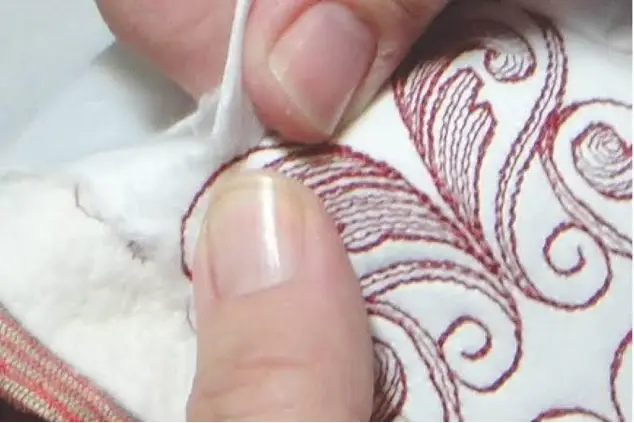
Excessive stabilizer is removed by ripping it out by hand all around the design. Leave them just under the stitches for permanent support. Be careful in tearing it and put fingers on stitches to avoid spoiling the design.
3- Wash away/ water-soluble stabilizers
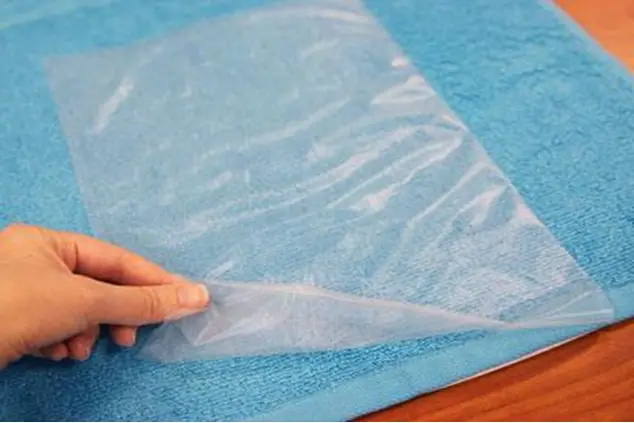
Wash-away stabilizers are temporary stabilizers as they support fabric just during stitching. They dissolve completely in water leaving behind no traces. Wash-away stabilizers are ideal for projects where you intend to have no residue of them at all. They are primarily used for delicate, light materials like sheer, organza, chiffon, freestanding lace, and towels. Water soluble stabilizer also does a great job with lettering too. People also use water soluble stabilizers as backing for a project that you can see from both sides. For example, a mesh stabilizer is used for the cap to make sure you are not seeing backing on the other side of the backing.
What is the procedure for removing the wash-away stabilizer?
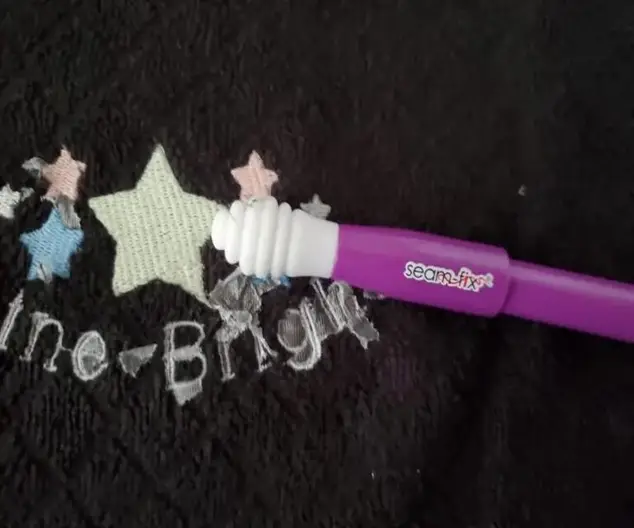
After completing your project, remove the fabric from the hoop. Rinse the fabric gently in warm water. Stabilizer easily dissolves in water leaving the fabric clean. Always tear the stabilizer away from stitches not towards. You can also use a damp towel, seam fixer, or iron to remove it. If you get knowledge about iron. You can visit: Top 5 Best Irons
Other types include:
Topping
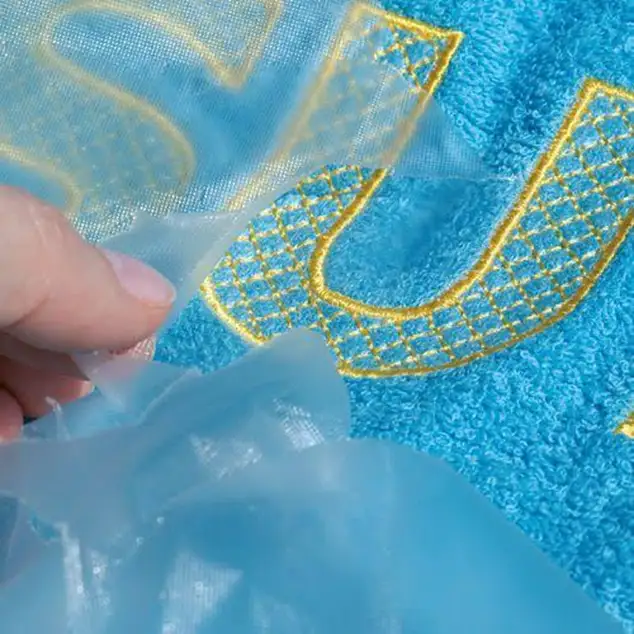
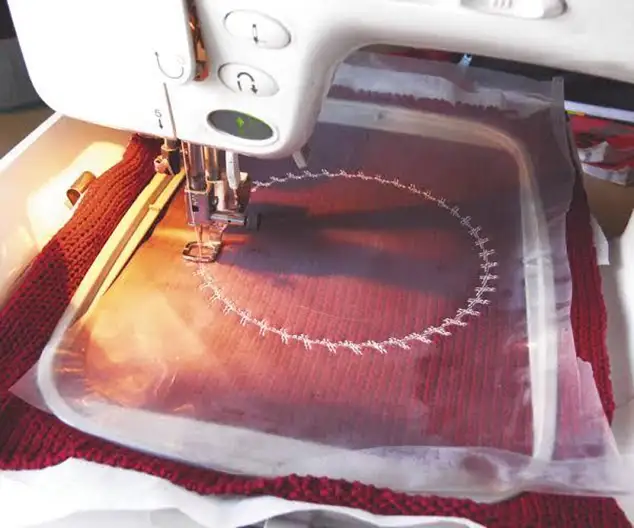
Toper is a material that is placed on top of embroidery before stitching the design. It is especially useful when you are working on high-pile fabrics (e.g., terry cloth, fleece, Minky), etc. It helps keep stitches on top of such fabrics to prevent the sinking of stitches. Some people often use stabilizers as toppings such as tear away, cut, and wash away underneath the garment.
Once done with stitching, you will just pull away the topping and remove what’s left by soaking or running under cool water.
Specialty stabilizer
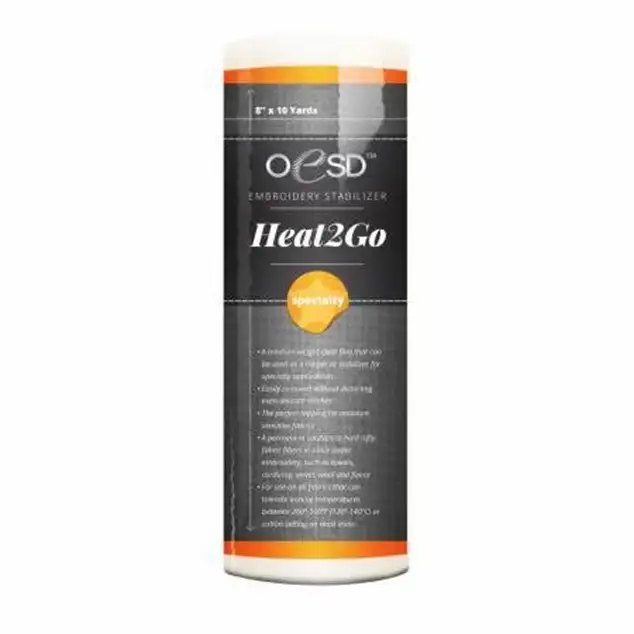
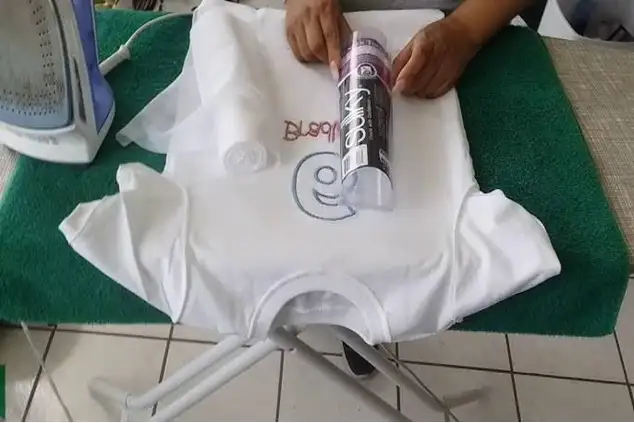
It is not considered a stabilizer. It is just manufactured by companies that produce stabilizers. Most of the time, it will stay there after you have finished with the embroidery. For example, a Heat 2 Go from OESD or Dreamweaver Ultra is a specialty stabilizer used for applique embroidery. For more about applique embroidery. You can visit: Embroidery Designs with Applique
Tender touch
It is another type of stabilizer used for clothing that feels against skin such as embroidered baby garments. It is very simple to use. Cut the tender touch material and iron it to fuse it with the back of your garment and it will keep everything soft.
Role of stabilizers in embroidery
Stabilizers play a significant role in machine embroidery for irreversible design. Here we will discuss how it is so important:
Prevent movements
Stabilizers work to maintain the fabric in the right position and keep the fabric fixed in its place. They are key elements that function to prevent the relocation of fabric after hooping it.
Maintain shape
Stabilizers preserve the fabric shape throughout the embroidery process. They assist in securing the stitches for materials susceptible to puckering and distortion.
Minimize tunneling
Stabilizers also knock off tunneling and pulling of the fabric. Pulling and tunneling arise when stitches pull the fabric inwards creating useless puckering and bunching.
Conserve design detail
Design with high stitch counts may shrink the fabric under tension. They keep the fabric smooth and flat to ensure detail is rendered precisely.
Improve stitch quality
Stabilizers balance the tension of fabric to avoid irregular and uneven stitches. So even regular stitches improve the overall appearance of the design.
How does choosing the wrong stabilizer affect the embroidery?
Selecting the right stabilizer for machine embroidery affects the quality and sustainability of embroidery work. Wrong stabilize leads to various issues that you may encounter:
Puckering
The wrong stabilizer puts unbalanced tension which causes the fabric to pucker. High tension bunch up the fabric and loose tension pulls the fabric.
Poor design detailing
Picking incompatible stabilizers with fabric leads to uneven, and blurry stitches adding poor detailing.
Fabric distortion
The fabric may stretch or warp if the stabilizer is inappropriate. It leads to a glitch and distortion in the design.
Fabric shifting
Fabric shifting occurs when the stabilizer fails to hold the fabric properly. This causes unwanted shifting leading to overlapped stitches.
Thread breakage
Fabric may face tension problems due to depriving the right stabilizer. Under tension, the machine may encounter frequent thread breakage or missed stitches.
Fabric damage
If you select a stabilizer that is causing difficulty in separating from the fabric, it will damage the fabric.
Some famous brands of Stabilizers
So, selecting the right stabilizer according to fabric, thread, and design is critical for perfect design. I recommend some brands that offer a variety of stabilizers that you may need.
Sulky.com
The best stabilizers include Sulky Ultra Solve, Sulky Tender Touch, Soft n Sheer Extra (iron-on), Sulky Stick n Stitch, and Sulky Fabric Solve.
Madeira USA
Examples include Madeira super stable cutaway, Badgemaster, Avalon film washaway, cottom fix tear away, super stable cutaway, etc.
Floriani
The best options are Floriani Wet N Gone stabilizer, Perfect Stick tearaway, fusible bold tearaway, Stitch N Wash fusible, Heat N Gone, and No Show mesh.
Conclusion
We hope this guide gives you complete knowledge of embroidery stabilizers. Remember that the choice of stabilizer depends on what kind of hoop you are using or the frame and type of embroidering blank. Make sure to read the product description to avoid any potential damage to the fabric and design. Go through these types carefully and then make the right purchase for your project.
FAQs
These are embroidery essentials that are put under the fabric. The reason for the stabilizer is to help hold up stitches on a sewing fabric. We can stitch canvas even without a stabilizer because it is itself sturdy.
They are permanent stabilizers that give lifetime sustainability to the design. Excess stabilizers close to stitches are removed using scissors after completing the project.
Choosing the right stabilizer is the most important for professional and high-quality design. It will give your intended outcome.
Sulky, OESD, Madeira USA, Floriani, etc are recommended as good brands to buy stabilizers for your perfect design.
