How to Digitize Large Embroidery Designs with Applique – Complete Tutorial
We all know the need to digitize both small and large embroidery designs according to the project.
Such as if you are given a project to digitize the sports team’s uniform or jerseys, you need to embroider large digitizing designs.
But you require proper planning and digitizing practice. And another factor to consider is that the use of silk for applique and embroidery is appealing when it comes to embroidering the uniform jerseys.
It is a fact that stuff like a jersey or shirt with properly digitized large embroidery designs has the highest cost. And we skipped it as it will disturb the budget.
I will cover how one can digitize large embroidery designs by using applique for various groups in this post step by step.
If you are looking for embroidery digitizing services, EMDigitizer is one of the best embroidery digitizing companies. Providing all types of embroidery digitizing Services. I recommend you try digitizing services.
Order NowGet Free QuoteTable of Contents
Overview
It is well known that digitization is a crucial component in the embroidery process. Remember that the inbuilt digitization process differs from the process used by industries in terms of supply.
For Example
Commercial digitizers create embroidery files that are only suitable for transcribing the logos just on the left chest and crown front.
The crucial thing to keep in mind, however, is that smaller business logos used for certain projects are closely examined, and you must consider the proper density, features, and boundaries for the optimum quality of work and outcomes.
(Why do businesses require custom-embroidered shirts? For more information, go to the blog.)
Digitization Of Large Embroidery Designs
There is no question that the same approach you used to scan small logos may also be used to digitize large embroidery designs which are seen on fabrics, such as those on athlete team kits.
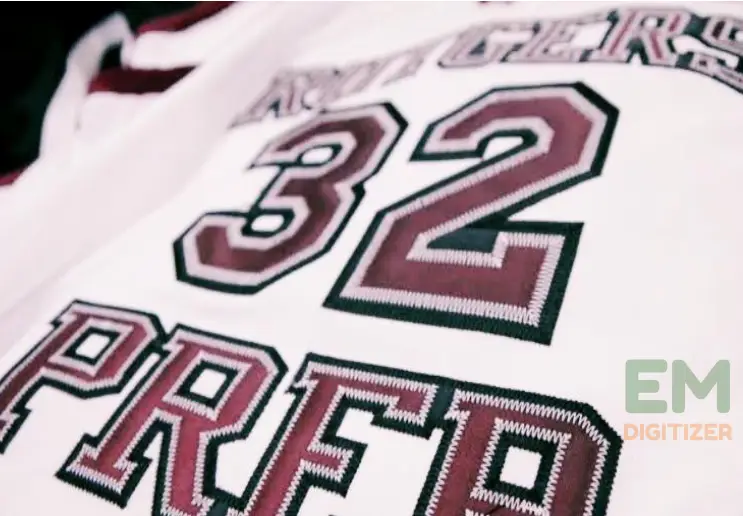
Another fact is that, even though the outcomes of your embroidery project can be more visually appealing, they still fall short of other similar products that are available on the market in terms of effectiveness.
(If you’re interested in learning more about the distinction between an in-house digitizer and a digitizing company, check here.)
The high thread count, which eventually spirals out of control when digitizing embroidery designs on various materials, makes these sorts of needlework projects less economically viable for the market.
Here is a complete guide on how to do Reverse Appliqué Machine Embroidery
Standard Method
I’d recommend using a 14-inch-wide log pattern to start digitizing the medium like sports shirts and hoodies. It needs to be carefully completed and calls for a lot of attention.
To maintain the quality of the artwork, first, analyze its nature and then decide whether reducing the thread count is a viable option.
Using An Applique With Large Embroidery Designs
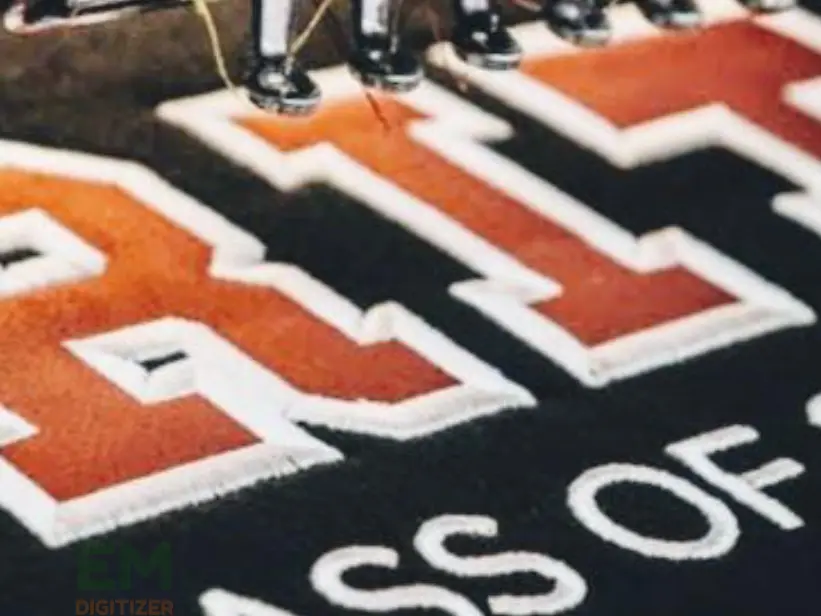
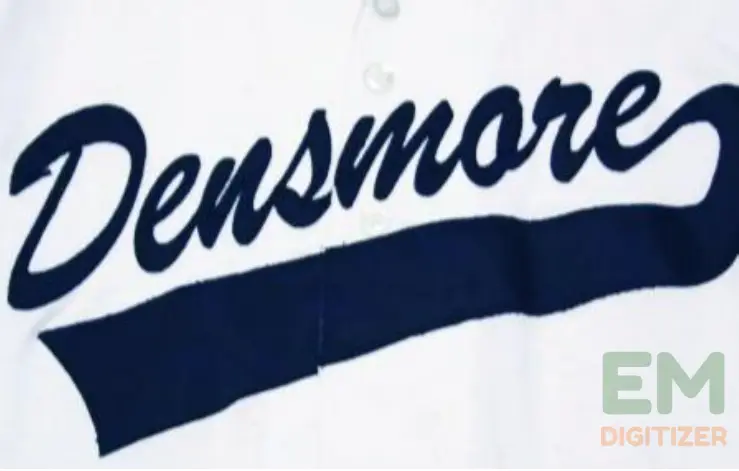
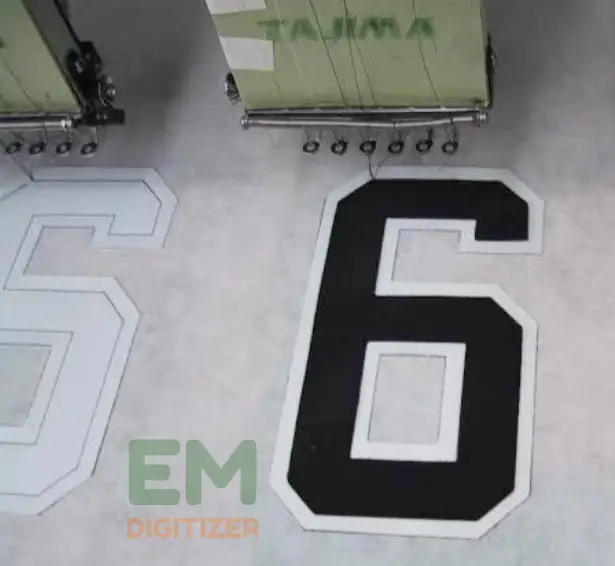
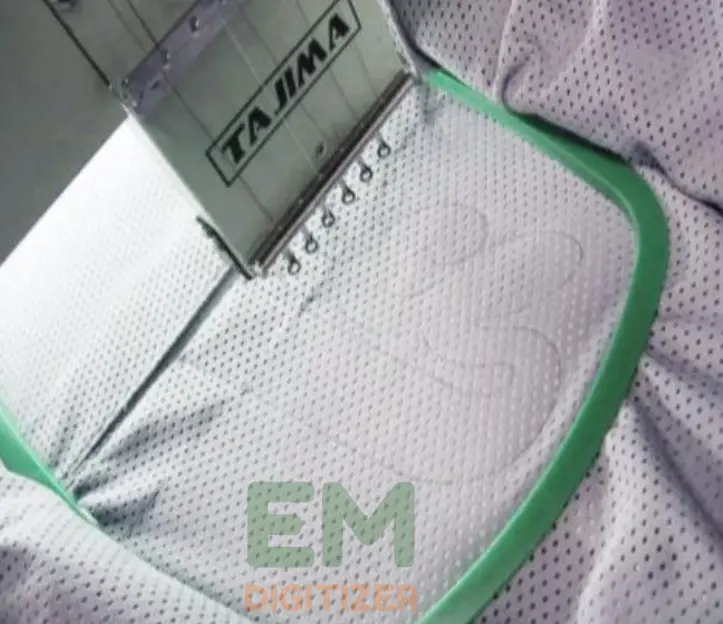
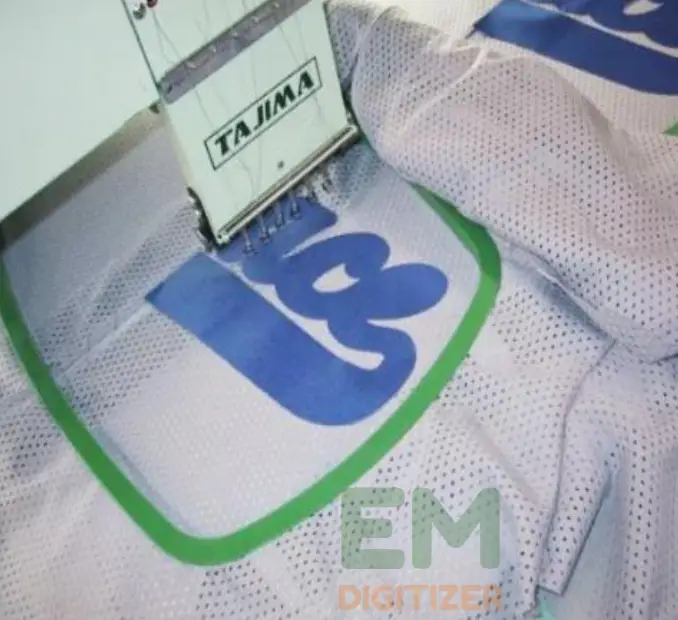
The use of applique to process and stitch large embroidery designs on items like sports team uniforms and hoodies is a great idea.
Here is a complete guide on How To Digitize Disney appliqué design using SewArt
Your projects stand out and help you compete with other marketing initiatives using this method for translating large embroidery designs.
A Complete Tutorial Guide
Consider the procedures below to correctly digitize the large embroidery designs on apparel items like sports jerseys.
Step 01: To Ensure Complete Coverage, Choose A Large Embroidery Design
First, select the design that gives greater clearance of the sections that will subsequently get restored by the applique rather than using fill stitches before digitizing the large embroidery designs.
(Click here to learn more about how to applique letters.)
Step 02: Don’t Use Underlay To Prevent Unnecessary Stitches
When digitizing large embroidery designs, take into consideration that the underlay needed within the fills and satin columns won’t need to be as thick.
For translating large embroidery designs, a lot of unwanted stitches will be generated if the same procedure supposed to digitize the emblem on the left chest is used.
Step 03: Minimize The Density Of Stitches When digitizing Applique With Large Embroidery Designs
When utilizing applique with large embroidery designs, you have the option to minimize the density of the stitches.
Due to the stability of appliqué fabric, employing denser materials will have the opposite effect.
Step 04- Apply Zig-zag Or Twill Applique
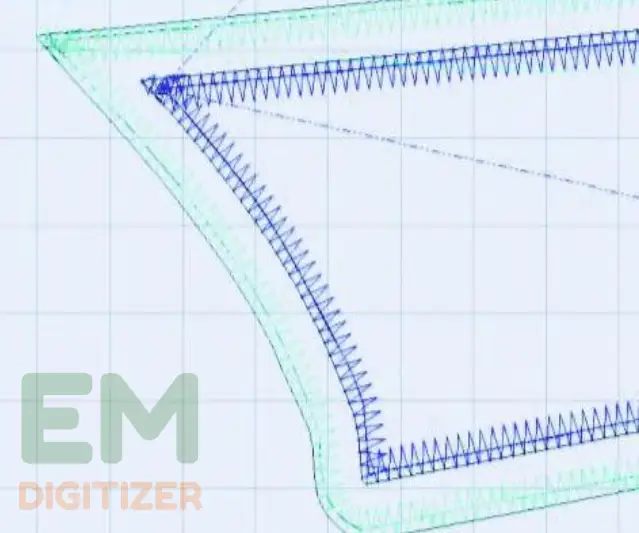
When applying applique to large embroidery designs, define fill sections with column stitches to keep the thread count down while maintaining a neat edge appearance.
Therefore, the most economical way for digitizing a 14-inch design with the lowest thread count feasible is to use zig-zag or tackle twill patterns.
The areas where you plan to apply tackle twill should be carefully considered.
Use the low-density column tool rather than the zig-zag tool in the appropriate software for this purpose.
The zig-zag application doesn’t always reach spots like corners and other locations, which results in the loss of significant stitches.
Additionally, when using column stitches, be sure to double up the stitches and then at the spot where the straight corner meets the fabric. Doing so will help the large embroidery designs last for a long time.
Additionally, it is concerned with the price that the consumer would pay for a product like this that has properly digitized large embroidery designs on it.
(Visit the blog to take into account the major aspects if you want to become a successful embroidery digitizer.)
Step 05: Addition Of Several Appliques
Column stitch appliques are simple to apply with software and produce a clean aesthetic, but they have a high thread count as a disadvantage.
To digitize large embroidery designs in a single step and to increase productivity, several appliques utilizing column stitches can also be put right into the materials.
So the large embroidery designs that are digitally created sometimes include more intricate motifs that require two phases and a greater thread count.
You can use these intricate designs as a patch to attach to the garment afterward.
Step 06: Make An Applique File To Embroider Multiple Layers
It is advised to run the large embroidery designs on a different piece for creating an applique file to use on the clothing.
Because if you embroider these motifs over more than one piece of applique materials, your stitches will get stiff and increase the likelihood that the machine will malfunction when you transfer them to the garment.
(Have you tried digitizing the applique with SewArt? If not, click here to see the full tutorial guide.)
Step 07: Create A Split-Front Design
Instead of beginning from fresh to retain continuity of work and save labor while embroidering the larger designs, split the front instead.
And large embroidery designs perform best with this approach, which is simple for every machine used to learn and apply.
Step 08: Artwork Preparation
To digitally reproduce large embroidery designs, the artwork must be prepared.
Create a split line first on the design to make it easier for the machine operator to sew down both sides of the items. First, begin digitizing the right side. When you split the design, leave 1% of the space for the left side of the garment’s fastened seam and digitize this side for large embroidery designs that cover a 7-inch area.
The extra 3/4 inch that you digitize on the right side will extend the same distance on the left side, creating a flawless split front design.
Step 09: Sew Applique Material Using A Zig-zag Stitch
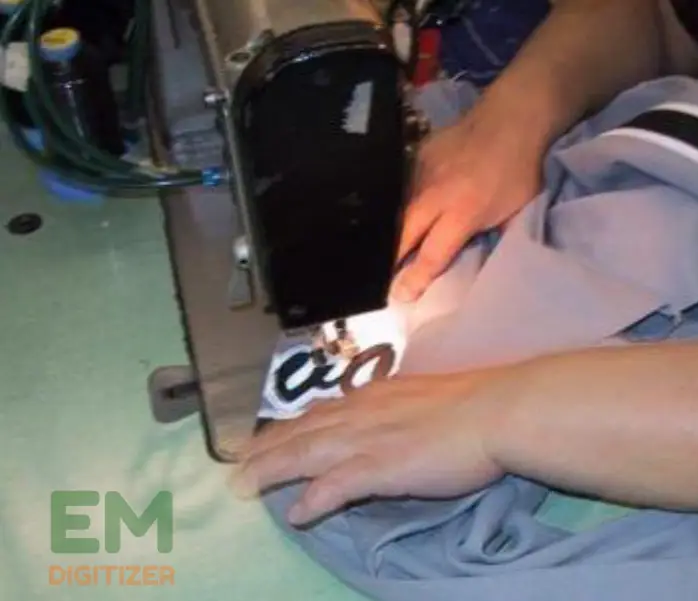
When the applique stuff is taken out of the machine, it should be rolled up at the margin of the seam before beginning to be hand-stitched using a zig-zag sewing machine.
While you can achieve this with your embroidery machine, the process is too difficult.
Final Words
According to many embroiderers, large embroidery designs on clothing might be challenging to digitize.
However, I advise you to stay a little while so you may learn how to properly digitize these kinds of large embroidery designs on multiple mediums to boost production.
(For simple instructions on digitizing a logo using machine embroidery to be used for branding and promotion on garments, click here.)
Conclusion
I’m hoping you’ll like the article and see how crucial it is to develop the knowledge necessary to use applique to personalize clothing by digitizing large embroidery designs, particularly for sports teams and sporting activities. Follow the instructions carefully since, until you can do it flawlessly because digitizing large embroidery designs on fabrics like silk is not an easy operation.
Your projects stand out and help you compete with other marketing initiatives using this method for translating large embroidery designs.
When utilizing applique with large embroidery designs, you have the option to minimize the density of the stitches.
When utilizing applique with large embroidery designs, you have the option to minimize the density of the stitches. Due to the stability of appliqué fabric, employing denser materials will have the opposite effect.
The most economical way for digitizing a 14-inch design with the lowest thread count feasible is to use zig-zag or tackle twill patterns.
The areas where you plan to apply tackle twill should be carefully considered. Use the low-density column tool rather than the zig-zag tool in the appropriate software for this purpose.
Run the large embroidery designs on a different piece and then create an applique file to use on the clothing. Because if you embroider these motifs over more than one piece of applique materials, your stitches will get stiff and increase the likelihood that the machine will malfunction when you transfer them to the garment.
If you have any questions leave the comments or you can visit our social channels for more updates regularly. We provide embroidery digitizing services if you need digitizing services feel free to contact us or email us.
