How to Convert SVG TO PES – Complete Tutorial

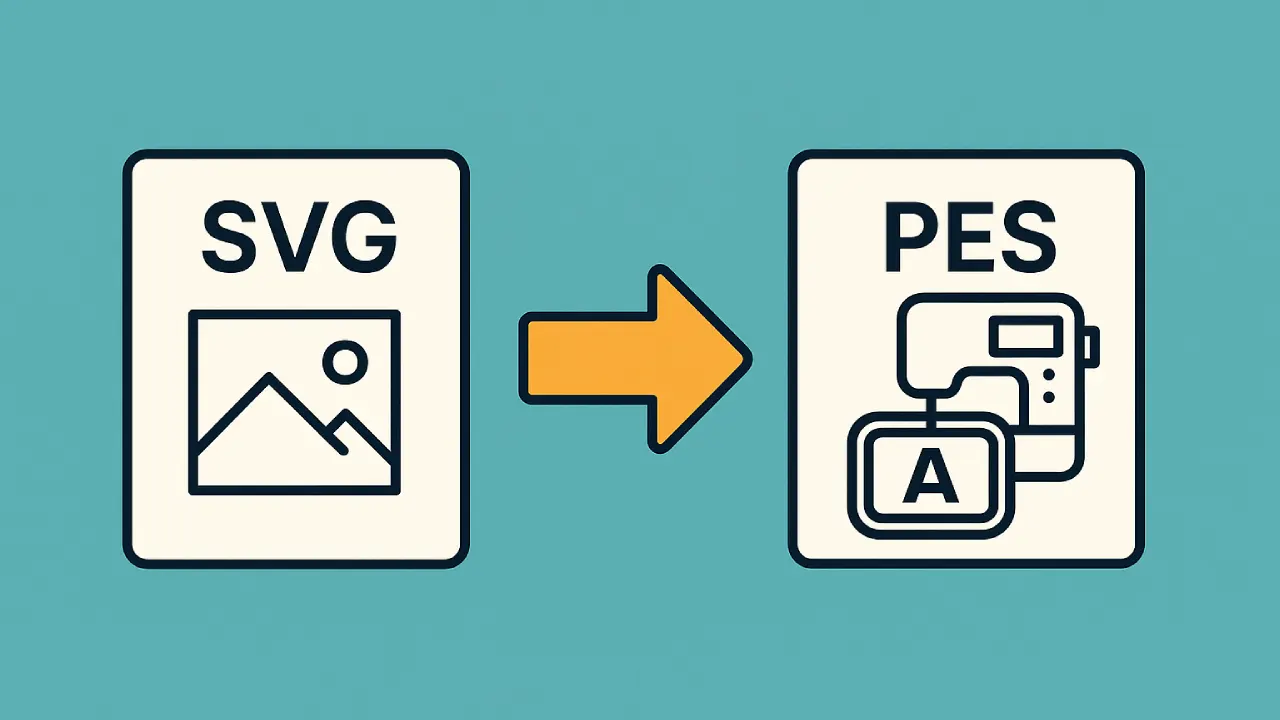
When we want custom embroidery, we look for various image formats such as JPG, PNG, GIF, BMP, etc. But when we zoom in on those images, they start to pixelate and result in poor quality. In today’s article, we explore a unique image file format (SVG) that gives you excellent quality for embroidering logos and characters.
If you want to get knowledge about PDF Data Files into One Document, then you can visit: PDF Data Files into One Document
If you are looking for embroidery digitizing services, EMDigitizer is one of the best embroidery digitizing companies. Providing all types of embroidery digitizing Services. I recommend you try digitizing services.
Order NowGet Free QuoteTable of Contents
What is SVG format?
It stands for scalable vector graphics and is an XML-based image format developed by W3C that doesn’t rely on pixels to make up an image like raster. Its appearance depends on the geometry such as shapes, curves, or vector data. This SVG is better than PNG and JPG format in resolution quality. That’s why it is the best choice for logo designing, icons, animated characters, etc. You can export your artwork as SVG in any design software or convert your image into SVG format in Illustrator, Photoshop, Inkstitch, or any other free conversion tool such as Convertio or vector image.
If you want to get knowledge about How To Convert Emf To Eps, then you can visit: Emf To Eps
What is the PES format?
Abbreviated as “Program for embroidery stitch”, it is an embroidery file format used in most machine models such as Babylock, Brother, Bernina, etc. It contains the details of parameters including stitch data, color sequences, size, density, etc that contribute to stitching a design.
If you want to get knowledge about how to convert a PDF to a DST file, then you can visit: pdf to DST file
How do you convert SVG to PES format?
Although SVG is the most preferred format for business logos or icons, some embroidery software such as Wilcom Hatch or Wilcom Embroidery Studio does not support SVG files to process the design.
So you have to convert SVG into a simple vector file (PNG or JPG) for embroidery purposes. The process of SVG to PES is an indirect conversion that has two steps:
- Convert SVG into PNG or JPG file
- Import this vectorized file into the software, process the design, and then Export the file in PES for embroidery.
SVG into PNG converter tools
It is quite easy to change the SVG format into a simple file. You will find plenty of software and tools that allow you to convert and download the file for free. Let’s explore the best SVG to PNG online converter tools of 2024.
1- SVG to PNG
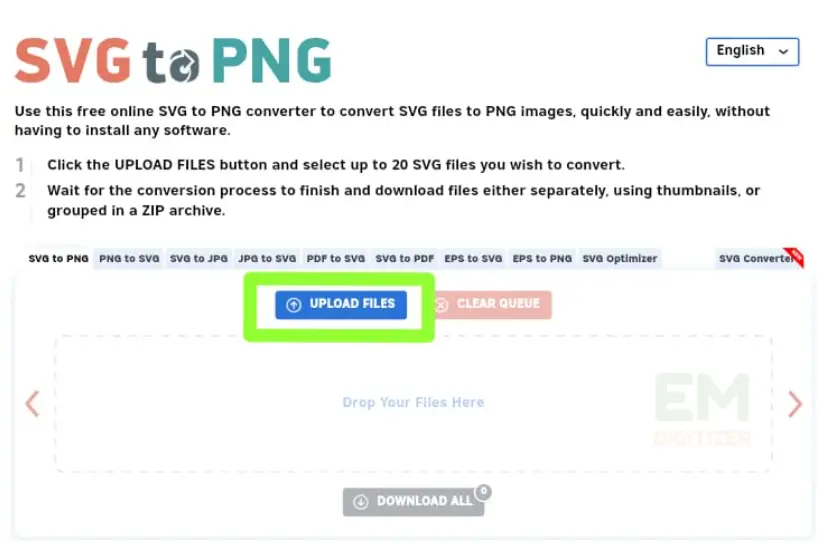
If you want to convert your SVG to PNG images quickly, this is the best tool for you. It supports various conversions such as SVG to PNG, SVG to JPG or PDF, etc. The process is simple. It is important to note, that this auto tool (svg to png) will not work perfectly for complex or larger designs. You have to do it manually.
1- Click on the “Upload file”. It will open up a page on the PC where you have your graphic file.

- Double-click on an SVG file that you want to convert into PNG or JPG.
3- Once uploaded, tap to download that file in PNG format.
2- Photopea
It is one of the advanced online photo editor tools that allows you to edit and save images into SVG JPG or PNG formats etc. You can try photopea.com
- Open the tool, and click open to the computer.
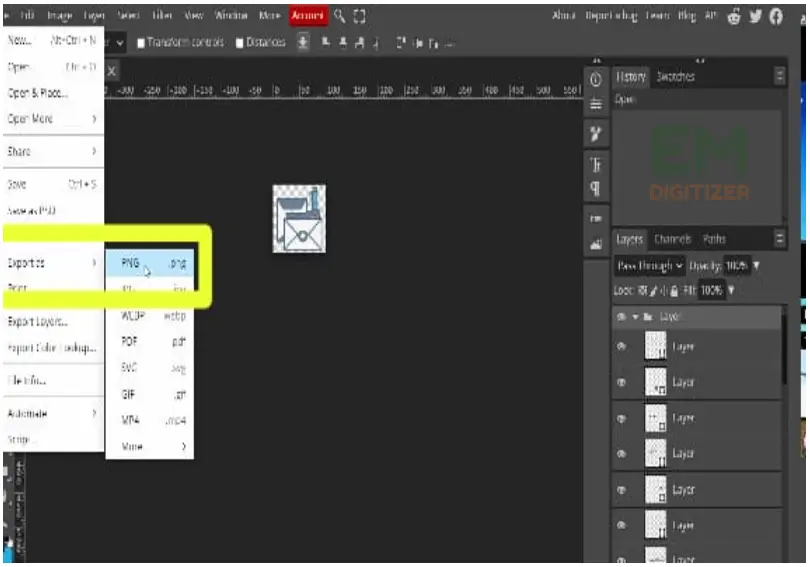
Now select your SVG graphic file to upload into Photopea.
After uploading the SVG file, go to the File menu, click “Save as” and choose PNG format.
Now you can download the PNG file and import it into any digitizing software for further processing.
How can I convert vector graphics into a PES file for embroidery?
Once you have converted an SVG file into a vector graphic (JPG or PNG), load it into software for making embroidery files.
Choose software first: Among the best embroidery digitizing programs, I will choose Wilcom Embroidery Studio (designing e4). In today’s blog, I will guide you on how to take advantage of an auto-digitizing tool of Wilcom e4 for image-to-embroidery conversion.
I have also explained the manual digitizing steps in detail in our previous blogs for the conversion of Images to DST files.
Step 01: Import graphic file
Open the Wilcom embroidery studio software and navigate to the Graphics from the toolbar.
Go to the graphics drop-down menu, it will take you to the location where you have your graphic file.
Double-click on that graphic and it will load into the software screen.
Step 02: Prepare the image
Before starting working on the design, adjust the size according to the client’s demands.
For this purpose, go to the Object size, and fix the design according to its finished embroidery size as your clients need for the intended material. Here, my design size is about 3 inches tall. Preview the size that gives you an indication of how the selected design size will look.
Step 03: Remove outlines
Make sure to check there are no outlines around the object’s border.
Move to the top corner, where the color bar is located, and right-click with the mouse to remove all the outlines.
Step 04: Ungroup the objects
To work on design, first, break the image into small objects.
Click on “Ungroup objects”. If you want to increase the length of any object, move to the top and change the point size.
I will increase the border width in the same way.
Step 05: Use Auto-digitizing
Select the whole image, and from the top toolbar, select Convert into Embroidery. This is how your finished embroidery design will look like.
If you want to check the number of vector objects in your design, click on the colo-object list.
Here you can see and delete objects that are not needed in your design.
Step 6: Add underlay stitches
In the case of auto-digitizing, you still need to edit and allot the stitches to each design element appropriately. Here, I want to add satin stitches for the border and tatami stitches for that yellow area.
- Move to the screen toolbar, click on edit, and from the drop-down menu, select “Stitch Type” and then tatami and press ok.
To check this configuration, right-click on the object properties and under the underlay tab, select first underlay to edge run and then second stitch as tatami stitch.
Now move to the fields and adjust the spacing between stitches to make sure they are of equal length.
- For applying satin stitches, repeat the same step as above. Go to the edit drop-down menu, click stitch type, and choose satin stitch.
- To adjust the narrow column in our text, navigate to the object properties.
Under the underlay section, ensure “single underlay” is selected. Then, choose “center run” for alignment, and for the border, opt for “edge run.”
Step 7: Preview the design
If you want to simulate how your machine stitches the design, enable the stitch player.
You can check missing and additional stitches, gaps, overlap, angle direction, and stitche symmetry.
Step 8: Remove extra stitches
Preview your design and check if any excess stitches need to be removed.
From the drop-down menu, scroll and select “Remove small stitches”. When you save that design, you can check the number of stitches that are reduced after removing unnecessary stitches.
Step 09: Save the design in EMB file
It is recommended to save copies of the design that store the stitch details such as stitch type, colors, density, etc.
Go to the file, scroll, and select “Save as”.
This file is now an EMB file that you can use to edit the design parameters later.
Step 10: Export design into machine format
Now export that EMB file to the customer’s desired format. You can either save the design file directly by pressing Shift+E from the keyboard or the export icon.
Another way is to navigate to the file drop-down menu, and click on ‘Export machine files’.
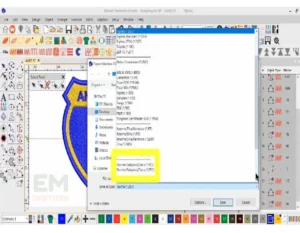
It will open up a screen where you choose your design location and in “Save as type”, select PES format.
Note: You can convert an EMB file to PES but PES cannot be converted into an EMB file again.
That’s how you can convert your vector file into embroidery format automatically in a few easy steps.
Conclusion
SVG is the best-designed format for business logos, flyers, and promotional items due to their exceptional results in quality even after scaling. But for embroidery purposes, you can directly change it into a PES file with Inkstitch or Embrilliance or can simplify SVG to simple PNG for digitizing in Wilcom. Make sure to align the image format with a software-compatible format and then with the embroidery machine. Follow the outlined steps carefully and enjoy working with your favorite format for customized embroidery projects.
Can we auto-digitize images for embroidery?
Yes, you can make use of Wilcom Embroidery Studio which is equipped with advanced auto-digitizing features and a stitch player. If you are a proficient digitizer or a freelancer, you can take better advantage of auto-digitizing but still, you have to be skilled at manual stitch editing and digitizing.
How to convert SVG to PNG or JPG free online in 2024?
Photopea is an advanced online free editor tool that allows for editing photos and formats quickly. When you upload graphics, it shows the design layers or raw material. You just have to upload the SVG file and click on “save as” to change it in any format (JPG, GIF, PNG, PDF), etc. Download and enjoy working with your desired image format.
Can we directly convert SVG to a PES file?
Although this is not a direct conversion, you can use the following tools to convert photos to embroidery formats: Ink/Stitch, Hatch, Embird, EmbroideryDesigns.com, Wilcom TrueSizer, etc.
Can all the SVG files be converted to PES directly?
It depends on what software you have for digitizing the graphics. Various software such as Wilcom Embroidery Studio or Hatch does not support SVG files for digitizing. In that case, you need to convert SVG into a simple image format and then load that file into the software. After finishing digitizing, export it in PES format that will work with Brother or Bernina machines for stitching that pattern.
What is the difference between EMB and PES files?
Both files look the same but have different roles. EMB is an output or software file format that is editable and produced after digitizing the design, whereas PES is an embroidery file format that we created from an EMB file to utilize for stitching.
EMB: A vector-based software file that is native to the Wilcom software brand such as Hatch or EmbroideryStudio. It includes all the data of digitized design such as applied stitches, direction, densities or spacing between them, etc. You can easily edit any information.
PES: This machine file format is meant for just working, not editing. Its coding detail acts like a blueprint that tells the sewing machine to follow the path while embroidery the pattern.
If you have any questions leave the comments or you can visit our social channels for more updates regularly. We provide embroidery digitizing services if you need digitizing services feel free to contact us or email us.


