How to embroider a towel, Best Tips for towel embroidery

Are you thinking of decorating towels for home decor or gifting purposes, you are at the right place. In this blog, we will cover the process of embroidering a towel and provide tips to help you become a master of towel embroidery.
Table of Contents
Overview
Embroidered towels are not only great for things you are making for yourself whether it be a beach towel a bath towel or something you can decorate for home decor but they also can be great gifts for kids and adults. Embroidery is also a great way to dress up little older towels.
The best feature of a towel is that the more you wash it, the fluffier it gets, and that embroidered towel will last forever. Moreover, you don’t need to worry about puckering as it is not very stretchable. When embroidering. keep the tension right for a clean-looking design or text.
If you want to get knowledge about how to create an Embroidered Blouse, then you can visit: Embroidered Blouse
How to embroider a towel?
This procedure is a little complex, but with patience and experience, you will be able to personalize any sort of towel. Let’s check how to embroider a towel within a few steps.
The material you need:
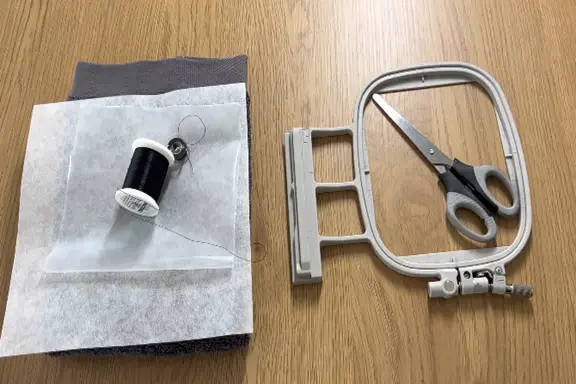
1- Here I take a towel that weighs 700 grams per square meter. You can follow the same method to embroider a less thick towel but add more stabilizer on the bottom. The crucial part of embroidering a towel is to ensure all the fibers are knocked down so they don’t poke through your embroidery. If you want to select the appropriate stabilizer, you can visit Machine Embroidery Stabilizers, Complete Guides
2– Then, you need a non-woven tear-away stabilizer. If you want embroidery on a thinner towel, we recommend using two instead of one sheet. You need a water-soluble stabilizer on top that will knock all the fibers down. If you have a knockdown stitch, work on text sizing because this stabilizer makes the design cleaner.
3- Use the same upper thread color as the bobbin thread and stabilizer also as it gives a neat look to your embroidery, especially the backside.
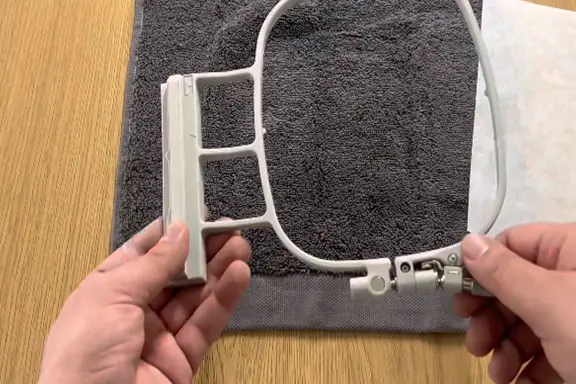
4– You need an embroidery hoop, and a pair of scissors to cut the loose thread at the end. for more about scissors, you can visit: 5 Best Embroidery Scissors
5- We recommend using a needle or marker to mark the middle where you want to embroider the design. this material are very important for embroider a towel.
Step 01: Mark the middle of the towel
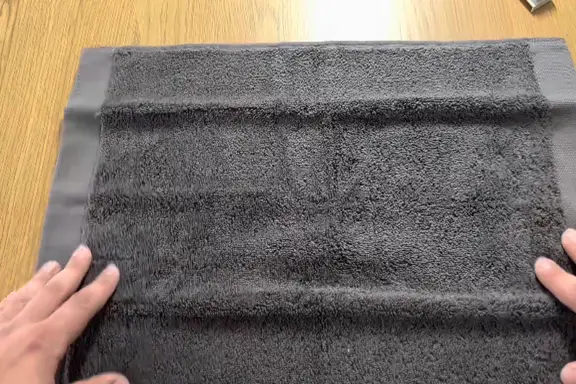
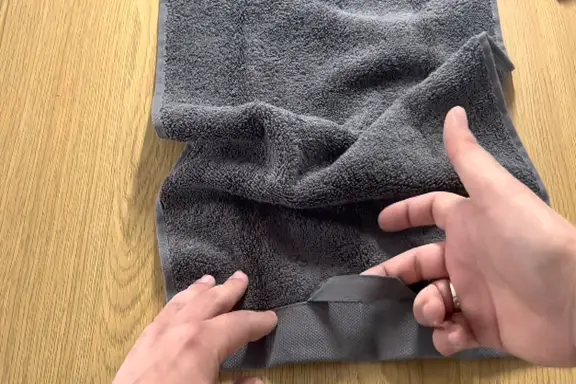
When you are embroidering a high-quality towel, there is a loop that has to be on top and it is not the site where you want to embroider on.
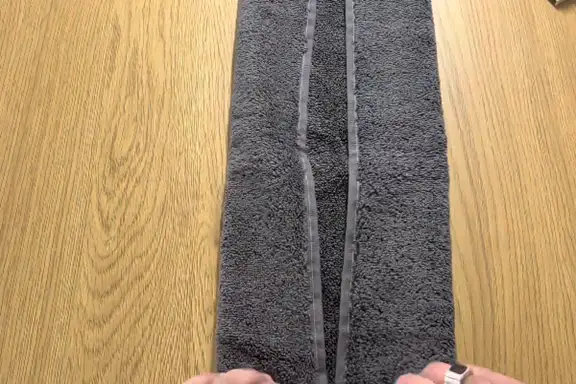
Make sure the loop is facing you and fold the towel by the other side.
Once you are confident you exactly fold it in the middle, turn it over, and check that the parts you are embroidering are facing you.
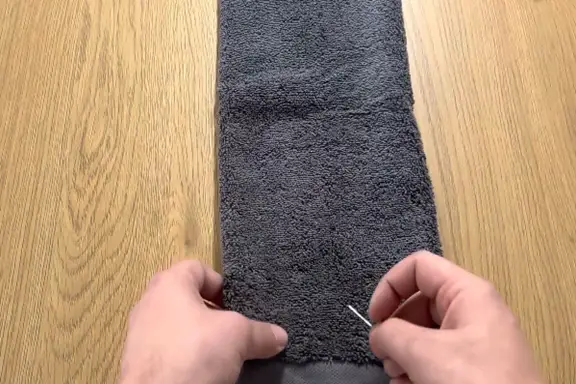
Take a pin or needle and place it in an area where you mark the center bottom of your design.
Step 02: Hoop the towel
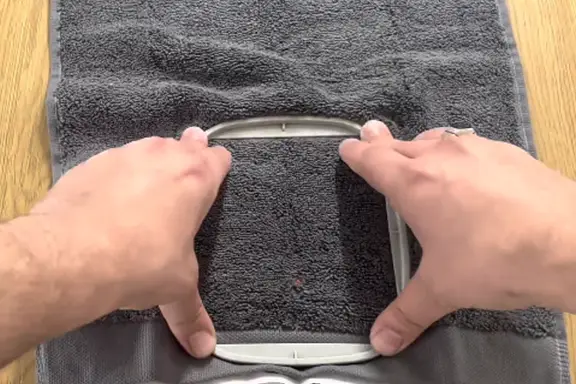
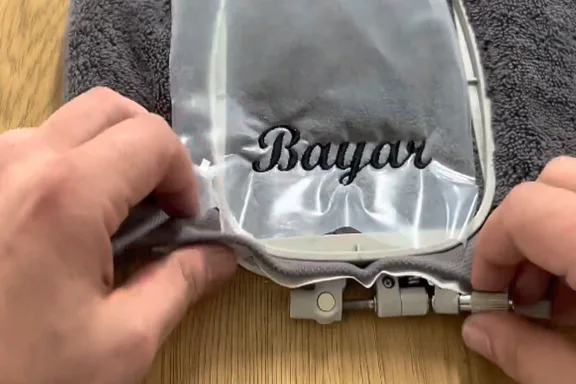
When embroidering a towel, you have to loosen up the embroidery hoop. The reason is that the towel is itself a thick material. for more about embroidery hoop. you can visit: how to use embroidery hoop
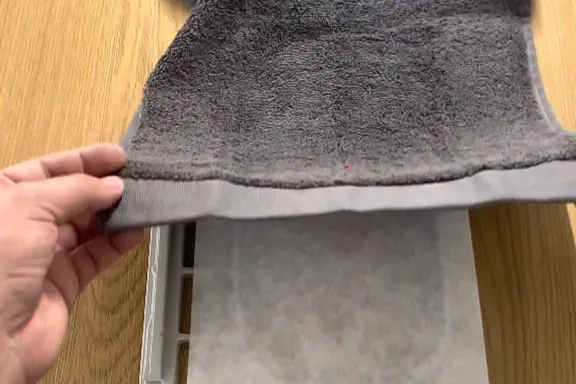
Now add the stabilizer at the bottom.
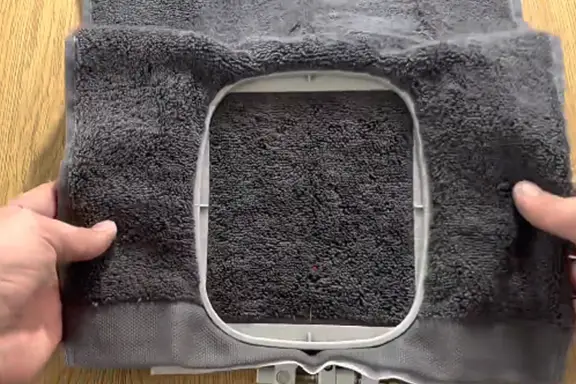
Take your time when hooping because it can be difficult if you have thick fabric like a towel.
Then, check the bottom of the outer fabric to see that it is straight. When you have done this, the hoop is ready to take in the machine.
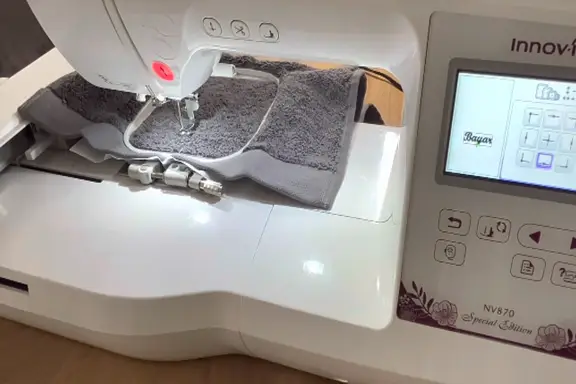
Step 03: Start embroidery
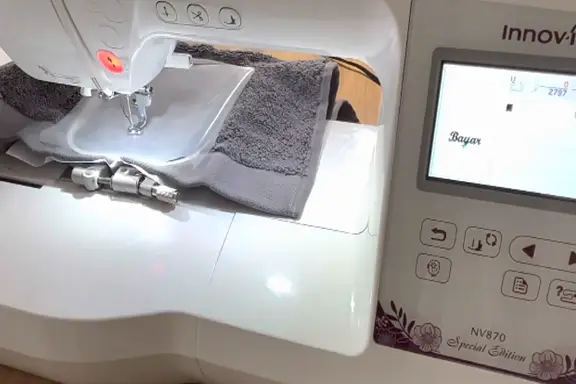
Center the design first and if you want to add text, keep it above the design line. I am removing the needle inserted while marking the design in the middle. Let’s go ahead and start stitching. If you want to get knowledge about how to embroider on clothes, then you can visit: embroider on clothes
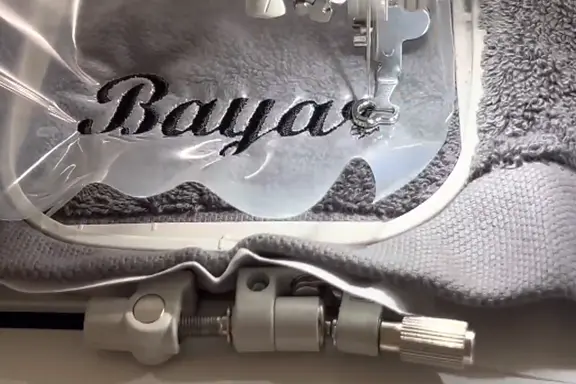
First, we apply a knockdown stitch to keep the fluffiness of the towel under control. Now select the color, you can also try a color combination.
If you don’t want a knockdown stitch, you can delete it but remember that it is useful for embroidering towels.
Step 04- Remove the hoop from the machine
Once done with the design, take the hoop off the machine. you want learn more about embroidery machine. you can visit: Embroidery Machine Review
We know popping off the hoop is very satisfying but we recommend losing it first because the hoop is fragile and you don’t want to break it.
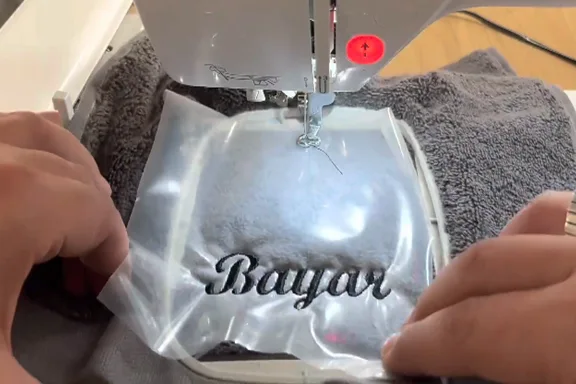
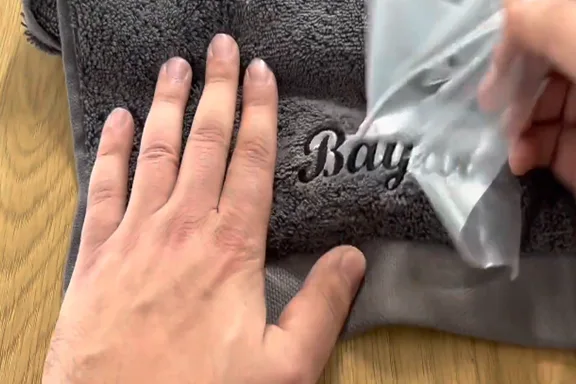
Take off the hoop, and remove the stabilizer before I throw it for washing just so water’s fluid will stabilize your fades away.
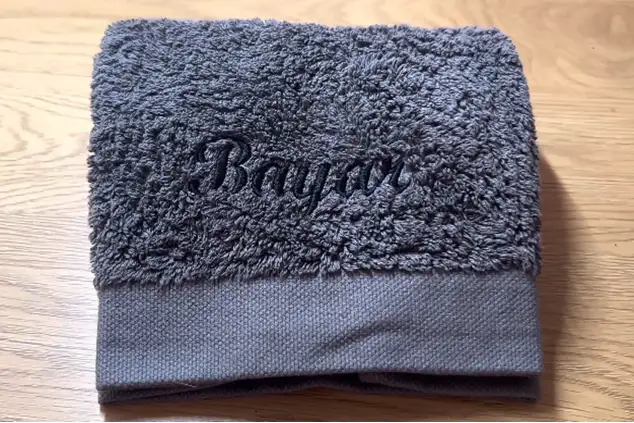
Our masterpiece is ready, now it’s up to you whether you want to take it or send it as a thoughtful gift to your loved ones.
Helpful tips for embroidering towel
Tip 01- Never hoop the towel directly
Because doing so can cause hoop burn. When the hoop ring leaves an imprint on your towel, it is irrecoverable. Remember, anything that has a nap or velvet, terry, or fleece, you don’t hoop it directly into an embroidery hoop. So the tip is to hoop the stabilizer, attach your garment, and secure it.
Tip 02- Choose a stabilizer according to the embroidery design
For example, if the embroidered design has very dense stitches and you don’t see any stabilizer underneath when you peel it away, use a tear-away stabilizer.
Tip 03- Use a topper
Using a topper ensures that stitches sit nicely on top of those terry clothes loops. In this way, stitches will not sink into toweling.
Tip 04- Secure the hoop from machine features
Once you secure the topper, use the based-on hoop features on the machine. In different machines, you will see options like basting.
You can choose to base the design or base it around the hoop. Make sure the design placement, and then you can base it around the hoop for an additional layer of security so that your stabilizer and towel don’t move when sewing.
Tip 05- Choose embossed embroidery for towels
If you are embroidering letters and monograms on towels for your kids, embossed embroidery works well. It is because towels have a natural fuzzy type of loft and the stitching of this type of design is so dense and layered that makes the rest of the design and open areas look prominent and raised. for more about monograms. you can visit: top 10 monograms fonts
Tip 05- Choose bobbin thread color wisely
When selecting thread for your project, avoid typical bobbin thread because you will see the wrong side. So whether you want it to blend in or stand out depends on the thread you use.
Try to use poly deco thread because this towel will be exposed to chlorine, sunlight, and a lot of wear, and poly deco can withstand these conditions. It is more resistant to bleach and sunlight than rayon.
Tip 06- Use a 90/14 embroidery needle for embroidering a towel
It works great through all those layers of stabilizers and towels.
Tip 07- Select design size carefully
Depending upon which hoop comes to your embroidery machine, you can choose a monogram size accordingly. Some recommended hoop options are 4×4, 5×7, 8×10, and 8×8. You can choose any of them according to the text size you want on your towel.
Tip 08- Spacing between stitches
When digitizing design, especially letters, set the space between stitches to about 0.3 millimeters. The reason is, that it will keep less space for the fabric to come on top.
Tip 09- Wash the towel after embroidering it
You don’t need to worry about shrinkage or any weird things if you dont wash the terry towel before. However, if your towel is made of a different fiber from terry, you need to pre-wash it.
Tip 10- Avoid heat-pressing embroidered towels
You can iron other embroidered clothes from the wrong side. But for towels, we don’t recommend using iron-on towels to avoid any jeopardization because they flatten threads. Make sure to read the thread description carefully.
For example, a sulky glowy thread cannot bear the heat and can melt. You will see flat embroidery that looks like it was never stitched but only messed up melted threads. for more about threads. you can visit: 5 best embroidery threads brands
Conclusion
After reading this blog, you find out embroider a towel easly. Make sure to follow the steps carefully and also don’t forget to stick to the tips mentioned for successful towel embroidery. Have fun embroidering towels for yourself and your loved ones too!
FAQs
How to mark the middle in a towel for embroidery?
When you are embroidering a high-quality towel, there is a loop that has to be on top. Make sure the loop is facing you and fold the towel. Once you are confident you exactly fold it in the middle, turn it over, and check the parts you are embroidering are facing you. Take a pin or needle and place it in an area where you mark the center bottom of your design.
How to prevent hoop burns while embroidering a towel?
When the hoop ring leaves an imprint on your towel, it is irrecoverable. Remember, anything that has a nap or velvet, terry, or fleece, you don’t hoop it directly into an embroidery hoop. So the tip is, to hoop the stabilizer and then attach your garment to the stabilizer.
Is it important to pre-wash the towel for embroidery?
If you have a toweling material made with different fibers than terry, you may need it to pre-wash.
Where to find free digitized embroidery designs for towels?
Emdigitizer offers a great variety of free embroidery designs that work for all materials and machines. To get your designs customized, you can email the design or get a free quote from the official website.
