To celebrate spring cleaning, we’ve put together a quick and easy free embroidery tutorial to embroider your own DIY fabric basket! Tidying up is most people’s least favorite part of crafting, so we wanted to find a way to make it a little more fun! You can use DIY fabric baskets to store craft supplies, cosmetics, scrap materials and yarn.
Table of Contents
ToggleUsing a breathable fabric such as cotton means it would also make a great fruit or vegetable storage solution! Basically, DIY fabric baskets are the all-rounder you need to stay organized! This embroidery pattern is perfect for beginners, so if you’re new to embroidery, grab your favorite fabric and give it a try.
Embroidery Digitizing Services
If you are looking for embroidery digitizing services, EMDigitizer is one of the best embroidery digitizing companies. Providing all types of embroidery digitizing Services. I recommend you try digitizing services.
Order NowGet Free QuoteWhy should you make this embroidered DIY fabric basket?
Half the fun of making something is using your artistic talents and customizing it to whatever your decorative taste is. Whether you want it to match the colors of your kitchen cabinets or that Thanksgiving table runner you made last year, you can be sure it will fit right in with your kitchen decor. will be done. Not only can you make a DIY fabric basket to meet your needs, but you can also make it as a thoughtful gift for someone else.
This DIY fabric basket would make a great birthday gift for your mom or a great housewarming gift for your sister’s new place. You can make it even more special and personalized by adding a special saying or their name to the bottom of the basket. Everyone needs a little spice in their kitchen, am I right?
This DIY fabric basket is the cutest way to present your bread. Instead of leaving your bread and buns in a hamper in the corner of your kitchen counter (yes, I was guilty of that too), this is a beautiful way to store and serve them. While I love the idea of this DIY fabric basket for bread storage, its uses are not limited.
Why not create a personalized DIY fabric basket to hold your Thanksgiving themed napkins in the center of your kitchen table?Use it to serve your guest’s fresh homemade cookies, or place it on your coffee table in the living room to keep your books and magazines tidy. As you put each basket to a different use, vary your embroidery designs and fabrics to best suit its purpose.
This DIY fabric basket is perfect for those who want to stay on a budget (or really anyone who likes to save money). Materials are inexpensive, and some may even be on hand. Dig deep into that fabric stash and see what you can use before buying more fabric. Remember, there is no wrong way to choose what materials or designs you use on this basket project!
Finally, these DIY fabric baskets are super easy to wash. Depending on which fabric you choose (here is a complete guidness about to select best fabric), you can simply wipe the surface with a cloth, or for a more thorough cleaning, remove the ribbon, wash it with soapy water, And then hang to dry. With different seasons and different reasons to use this DIY fabric basket, you might want to swap it out for a different look of DIY fabric basket. Simply unfold the ribbons and lay them flat. Voila, easily to store and takes up very little bit space.
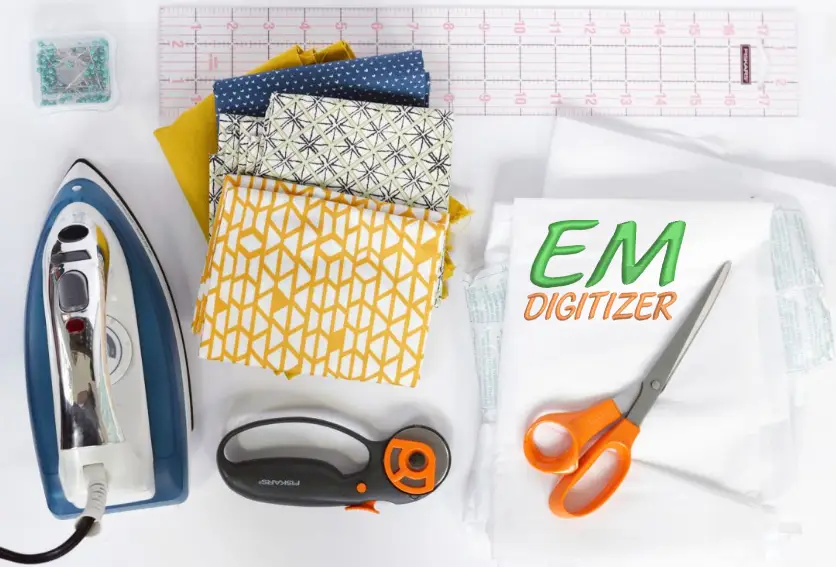
Materials needed for this embroidered DIY fabric basket
- 1 piece of 16″ x 20″ fabric to fit the large hoop
- 1 piece of fabric 14″ x 19″
- 1 piece Sewn Shape or Shape Flex 13″ x 18″
- 8 pieces of ribbon 16″ each
- Stabilizer (To decide which stabilizer is right for different embroidery projects, see our complete guide to embroidery stabilizers)
- Iron
- Pin
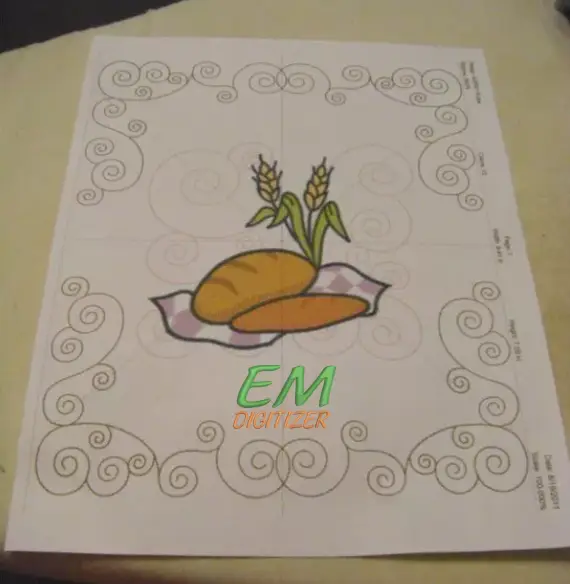
- For embroidery designs, we used:
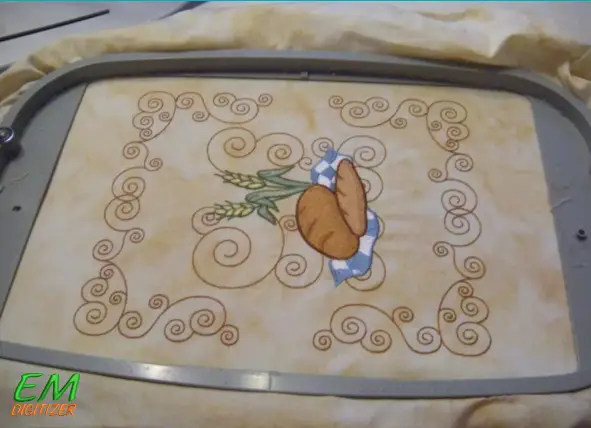
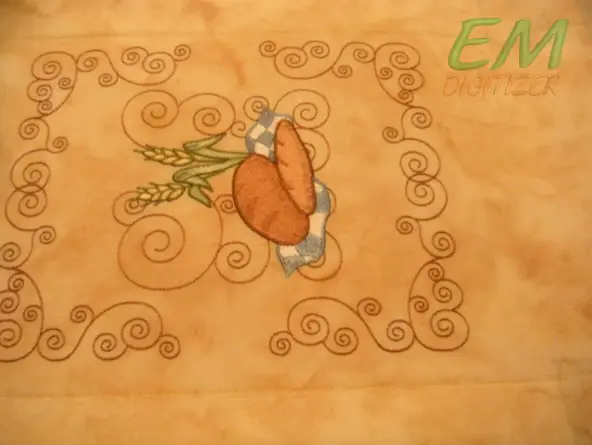
- Two loaves of bread
- The corners turn.
- A sewing machine to sew the fabric (or even just a needle and thread if you’re feeling ambitious) – you don’t need a lot of sewing skills.
Embroidered DIY Fabric Basket Tutorial
Step1 : Decide on your choice of fabric and the design you want stitched to accent your fabric basket.
Print the design template.
Step 2 : Wrap your 16″ x 20″ fabric with the appropriate stabilizer.
Step 3 : Stitch your desired embroidery design.
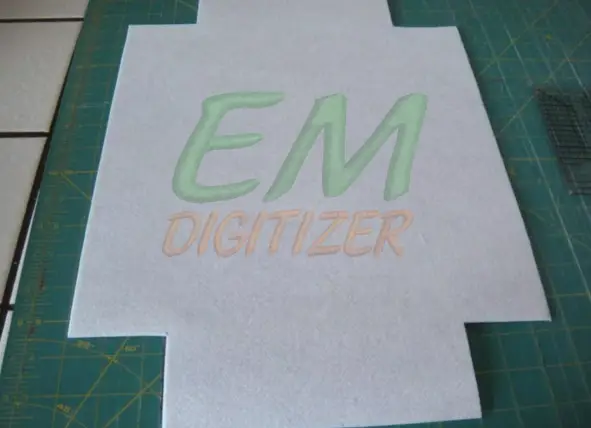
Step 4 : Cut a 2½” square from each of the four corners on your Sew N Shape or Shape Flex.
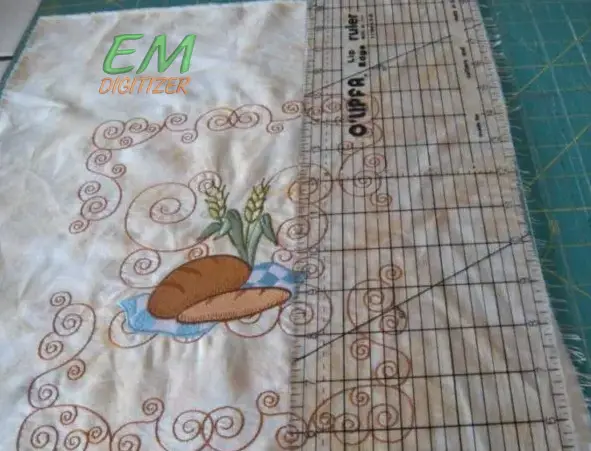
Step 5 : Trim the embroidery fabric to 14″ x 19″.
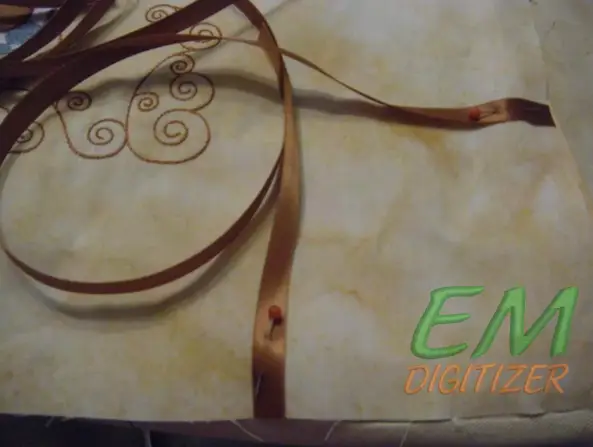
Step 6 : Pin a 4″ piece of ribbon from each corner.
Stitch in place.
Step 7 : Pin the loose ends of the ribbon to your fabric so they don’t get caught in the seam.
Step 8 : Place your two pieces of fabric together on the “front” side, like a sandwich where the designs are in the middle.
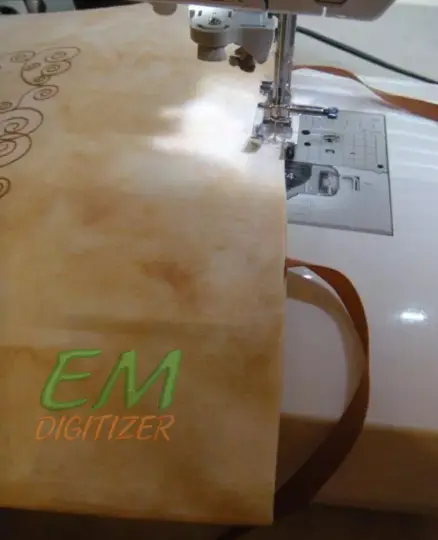
Sew only three sides of the fabric (you want to leave one side open so you can turn it inside out).
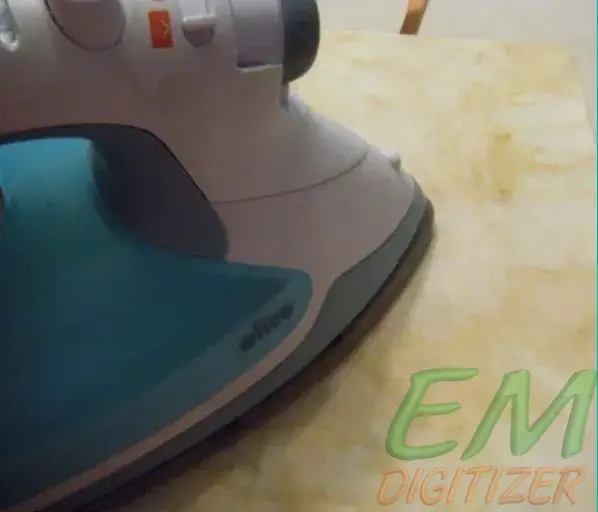
Step 9 : Turn the fabric right side out and press with the help of an iron.
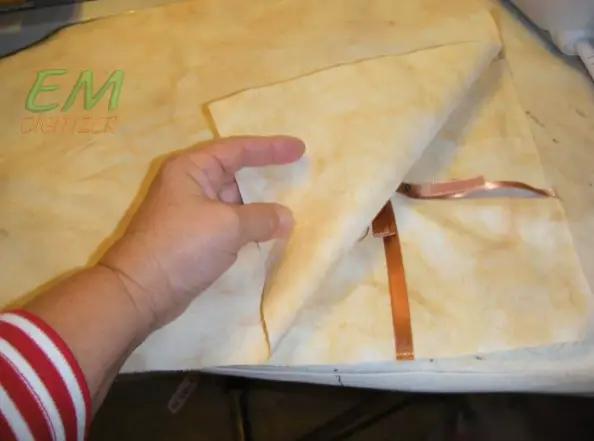
Step 10 : Insert Sew N Shape or Shape Flex into the unsewn side of your fabric.
Step 11 : Sew the last opening of the fabric closed.
Top stitch along all edges of your sandwiched fabric.
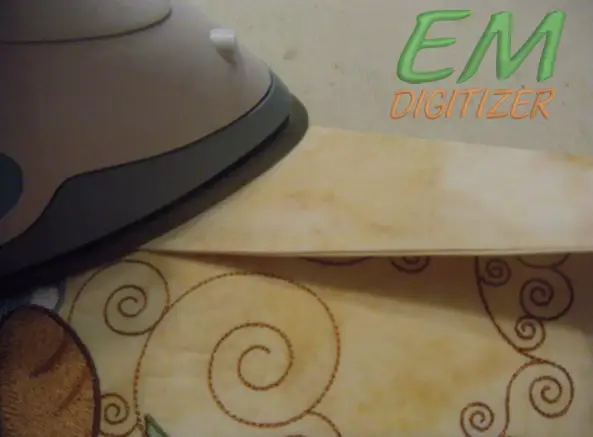
Step 12 : Fold each side 2″ inward toward the center of the fabric and press with a hot iron.
Step 13 : Sew along the fold line of the bottom four sides to form the bottom of the basket.
Step 14 : Tie two ribbons together at each corner to create a basket shape.
Flat store for easy storage; Putting the basket back together is as easy as tying the ribbon back together.
Conclusion
With multiple uses, many different shapes, and easy cleaning and storage. Why wouldn’t you make this DIY fabric basket? Whether you’re looking to spruce up your kitchen, give a thoughtful gift, or create home decor on a budget, this is the right plan for you.
Use layers or thicker batting.
The first option, which is the option she demonstrates in this tutorial, is to use layers of felt or thick batting between the outer and lining fabrics. Other options to stiffen the basket would be to use thick interfacing or stabilizer layers between the layers.
Interfacing – Cut 2 from Heavy Fusible Interfacing – For large and extra large baskets, you will need extra heavy interfacing to hold its shape. For smaller baskets, regular heavy interfacing is fine.
This is done by passing the needle from one point (A) to another (B), diagonally below point A, and then straight across the back of the fabric to another point (C), directly below A and to the left of B. Work is done. , and then diagonally to point D, which is to the right of A and directly above B.
If you have any questions leave the comments or you can visit our social channels for more updates regularly. We provide embroidery digitizing services if you need digitizing services feel free to contact us or email us.

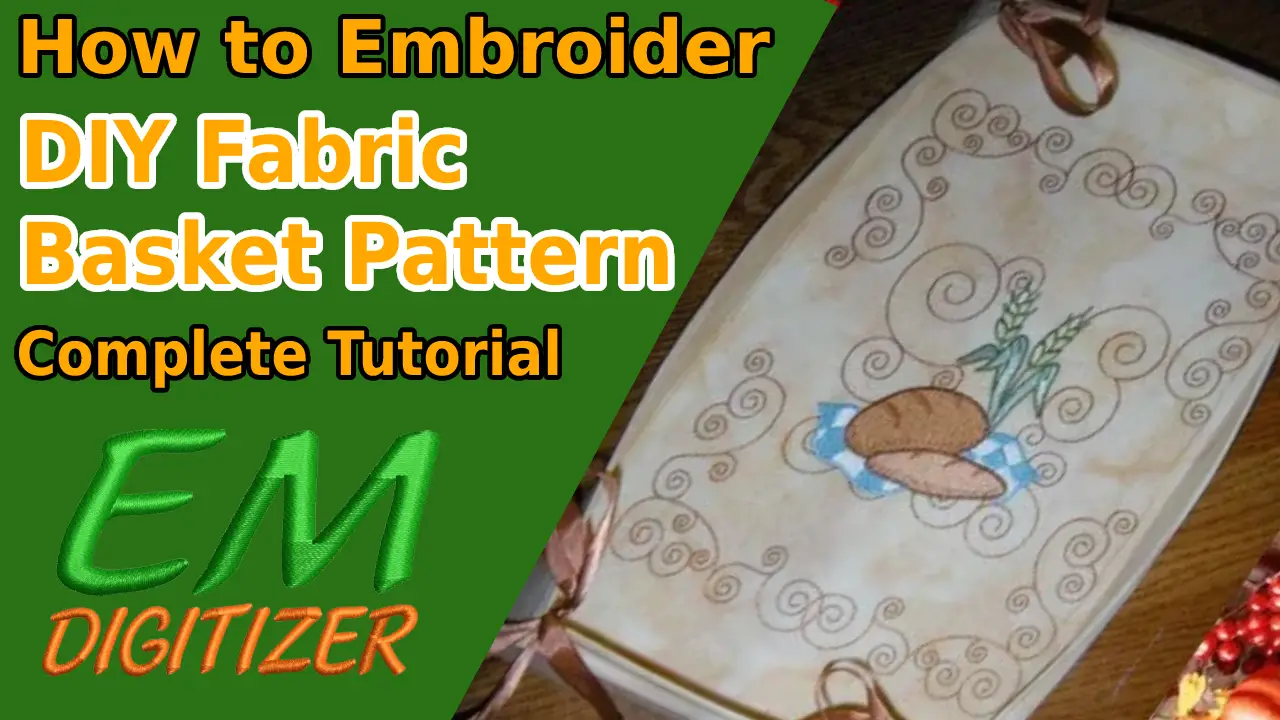
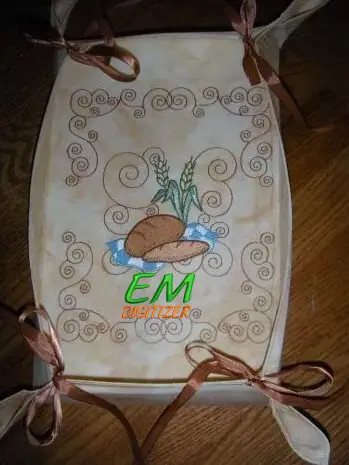


Organize with style! This complete tutorial on embroidering a DIY fabric basket pattern will guide you through creating charming and functional fabric baskets for your home. Stitch your way to beautifully organized spaces!